
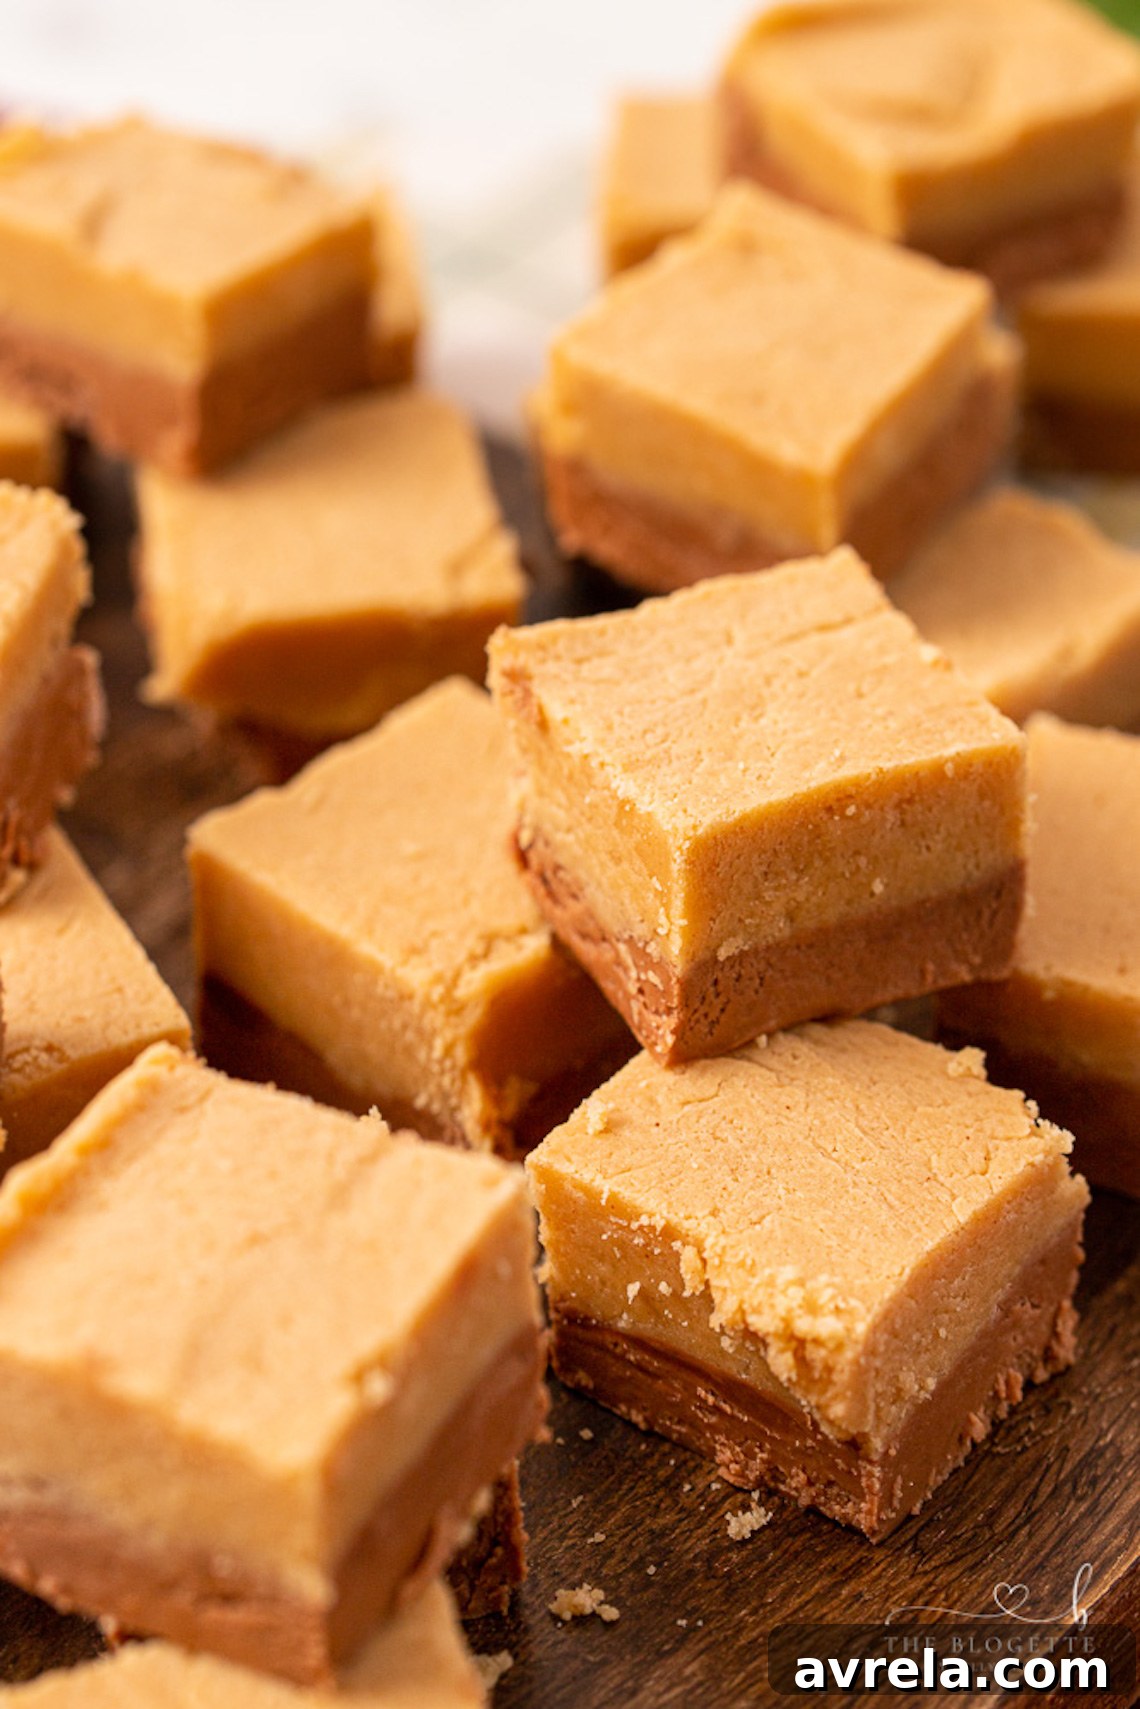
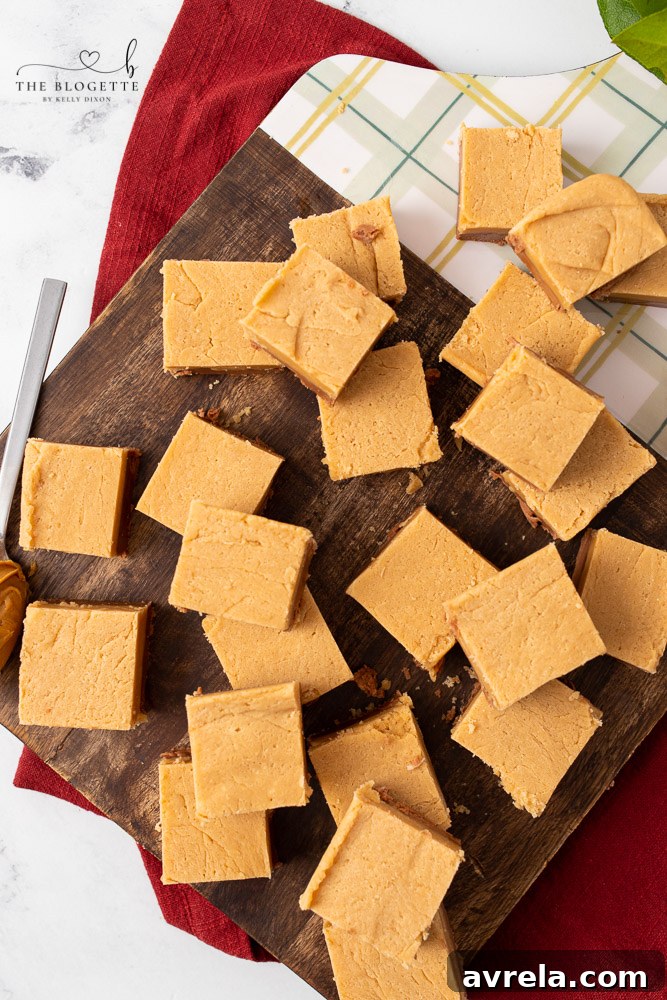
Chocolate Peanut Butter Fudge isn’t just a dessert; it’s a culinary hug, a timeless classic that brings together two universally adored flavors: rich chocolate and creamy peanut butter. This exceptional recipe is a must-have in your collection, promising a velvety smooth, melt-in-your-mouth experience that transcends ordinary treats. Everyone agrees that chocolate and peanut butter are a match made in heaven, and transforming them into a beautiful, layered fudge elevates this vintage combination into an utterly irresistible delight. It’s the perfect harmony of sweet and savory, a simple yet sophisticated confection that will captivate taste buds and leave everyone craving more. Prepare to fall in love with the ultimate easy fudge!
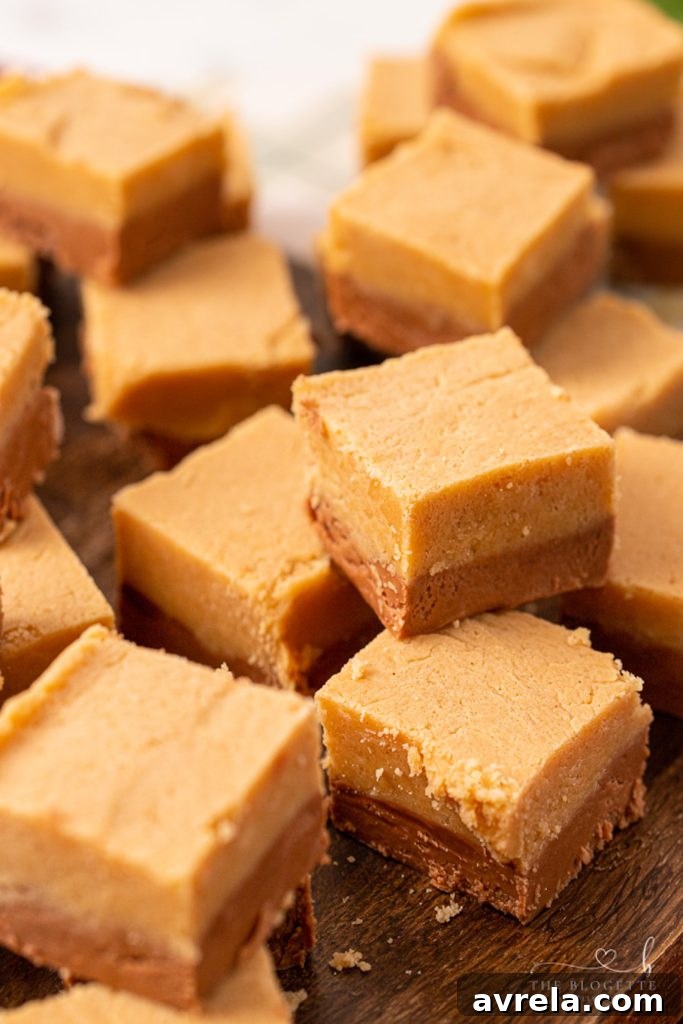
Indulge in Homemade Chocolate Peanut Butter Fudge: An Irresistible Treat
Chocolate Peanut Butter Fudge is an incredibly delicious and surprisingly simple treat that comes together with minimal effort, making it ideal for both seasoned bakers and kitchen novices. This classic homemade fudge is perfect for countless occasions – whip it up for a bustling bake sale, craft thoughtful edible gifts for friends and family, bring it as a crowd-pleasing dessert to a potluck, or serve it at any party. There’s truly always a fantastic reason to enjoy this easy, delectable fudge recipe that combines the best of both worlds in every creamy bite.
Why This Easy Chocolate Peanut Butter Fudge Will Be Your New Favorite
There’s something uniquely comforting and exciting about the combination of chocolate and peanut butter. This fudge recipe takes that beloved pairing and transforms it into a smooth, rich, and utterly satisfying confection that’s hard to resist. Beyond its phenomenal taste, here’s why this **homemade chocolate peanut butter fudge** is destined to become a staple in your kitchen:
- Effortless Preparation: Forget complicated baking techniques. This stovetop fudge recipe requires no oven and straightforward steps, making it accessible for everyone.
- Crowd-Pleasing Flavors: The universal appeal of chocolate and peanut butter ensures this fudge will be a hit with guests of all ages, disappearing quickly from any platter.
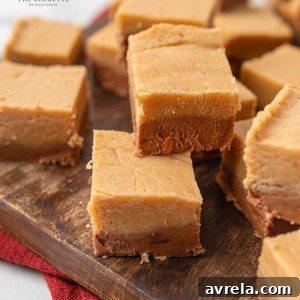
- Versatile for Any Occasion: From casual family gatherings to elegant holiday spreads, this fudge fits perfectly. Its beautiful layered appearance makes it look impressive.
- Perfect for Gifting: Homemade fudge makes a thoughtful and cherished gift. Package it in decorative boxes or bags, and you have a personalized present that truly speaks from the heart.
- Customizable Potential: While delicious on its own, this fudge serves as a fantastic base for customization. Add nuts, sprinkles, or a sprinkle of sea salt to elevate its appeal even further.
- Make Ahead Friendly: Fudge keeps well, meaning you can prepare it in advance, freeing up time when you need it most.
This **easy chocolate peanut butter fudge** is more than just a dessert; it’s a testament to how simple ingredients can create something extraordinary. Prepare to create lasting memories and delight everyone with this indulgent treat!
Chocolate Peanut Butter Fudge Ingredients
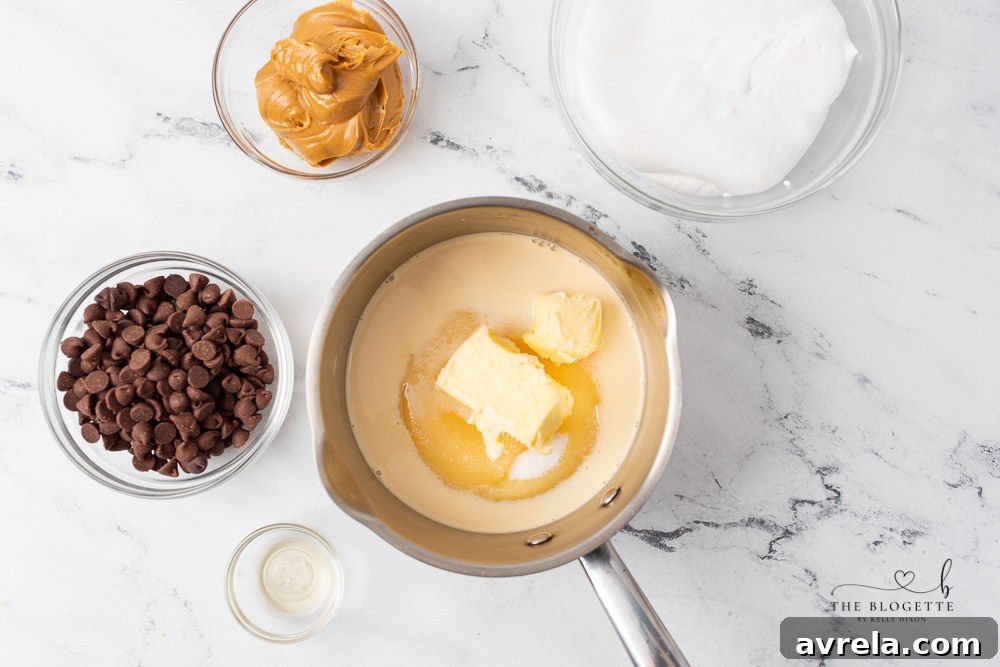
The magic of this **creamy homemade fudge** lies in its simple yet effective list of ingredients. Each component plays a crucial role in achieving that perfect texture and flavor. Using high-quality ingredients will always yield the best results for your fudge.
- 3 cups granulated sugar
- 3/4 cup butter, softened (unsalted is preferred for better control over saltiness)
- 2/3 cup evaporated milk (this is key for the fudge’s signature creaminess)
- 6 ounces semi-sweet chocolate chips (or your favorite chocolate, chopped)
- 1/2 cup peanut butter (creamy peanut butter works best for a smooth texture)
- 7 ounces marshmallow fluff (the secret ingredient for that soft, non-grainy consistency)
- 1 teaspoon vanilla extract (pure vanilla extract will enhance all the flavors)
How to Make Perfect Chocolate Peanut Butter Fudge
Crafting this delightful **layered fudge** is a straightforward process, but patience and attention to detail are your best allies. Follow these steps closely to ensure a consistently creamy and utterly delicious result. The key is in the consistent stirring and careful timing during the boiling process to prevent graininess and achieve that perfect melt-in-your-mouth texture.
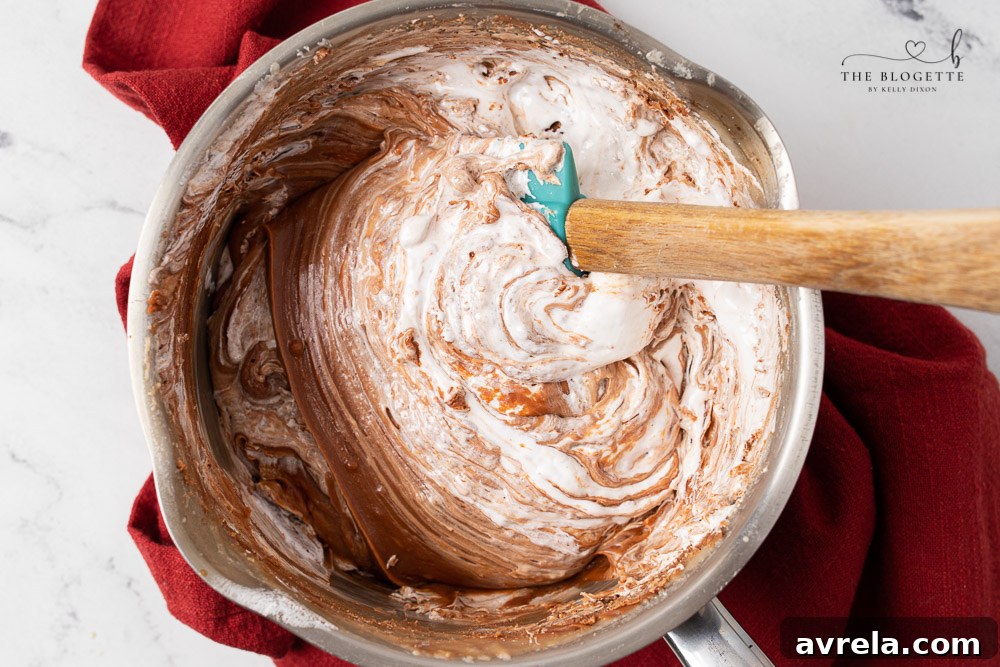
First, prepare your pan: lightly grease a 9×9 inch baking pan or, for easiest removal, line it completely with parchment paper, leaving a slight overhang on the sides. Set this prepared pan aside. Now, for the chocolate layer: in a sturdy medium-sized pot or saucepan on your stovetop, combine exactly half of the granulated sugar, half of the softened butter, and half of the evaporated milk. Place the pot over medium-low heat. Bring this mixture to a full, rolling boil, ensuring you whisk and stir constantly to prevent any ingredients from sticking to the bottom and burning. Once it reaches a full boil, continue whisking and boiling for precisely 4 minutes. This critical step ensures the sugar properly dissolves and the fudge sets correctly.
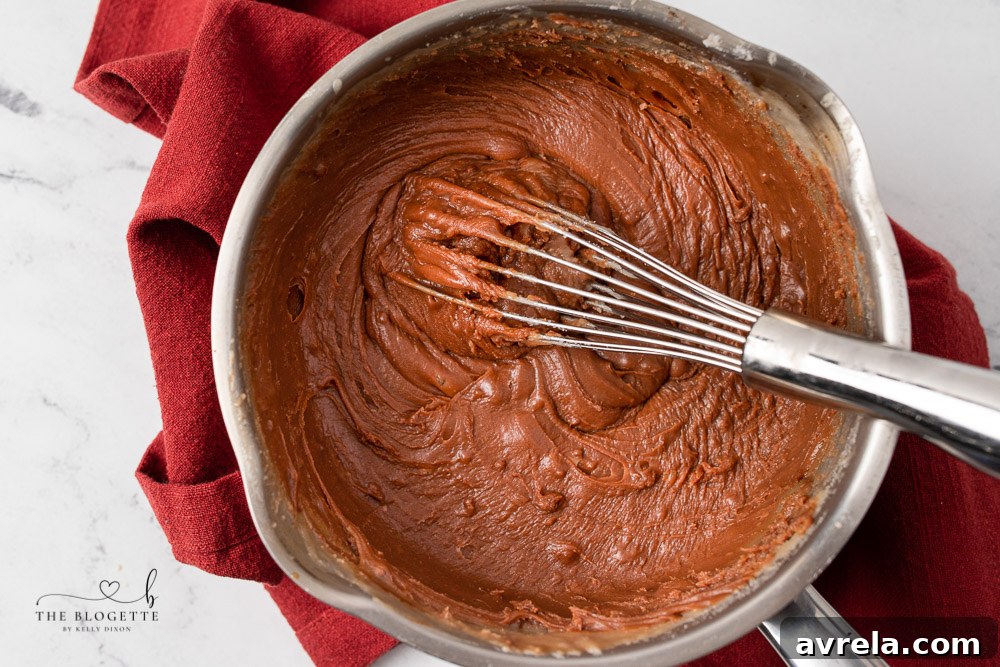
Immediately remove the pot from the heat after the 4-minute boil. Quickly add the 6 ounces of semi-sweet chocolate chips to the hot mixture. Continue to stir vigorously until all the chocolate chips are completely melted and the mixture is smooth and uniform. Next, incorporate half of the marshmallow fluff and half of the vanilla extract. Stir well until all ingredients are thoroughly combined and the mixture is silky. Promptly transfer this luscious chocolate mixture into your prepared 9×9 inch pan, spreading it quickly and evenly to create the foundational layer of your **peanut butter chocolate fudge**.
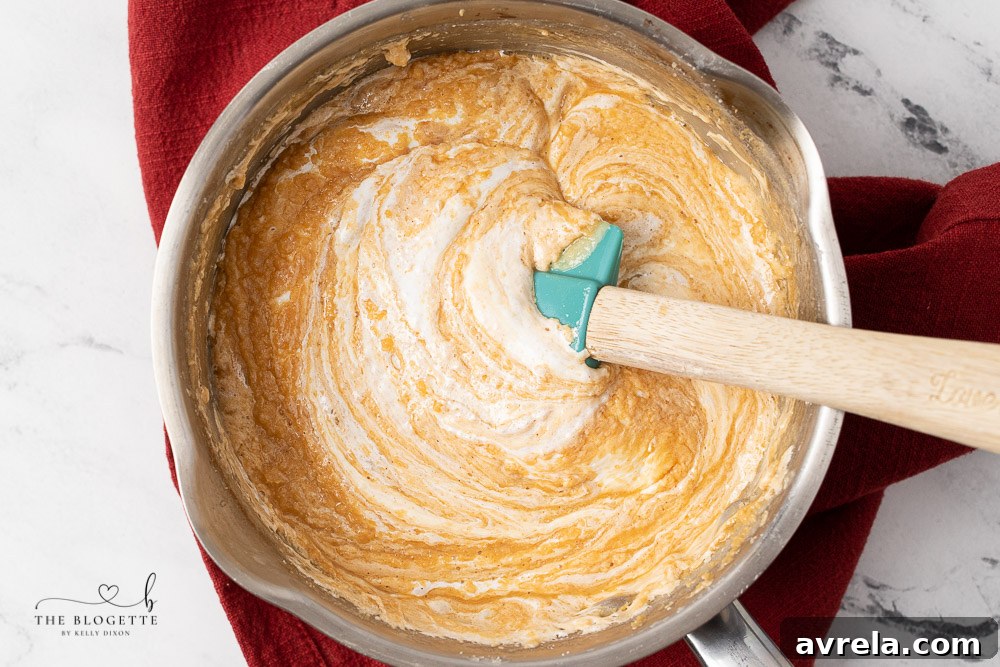
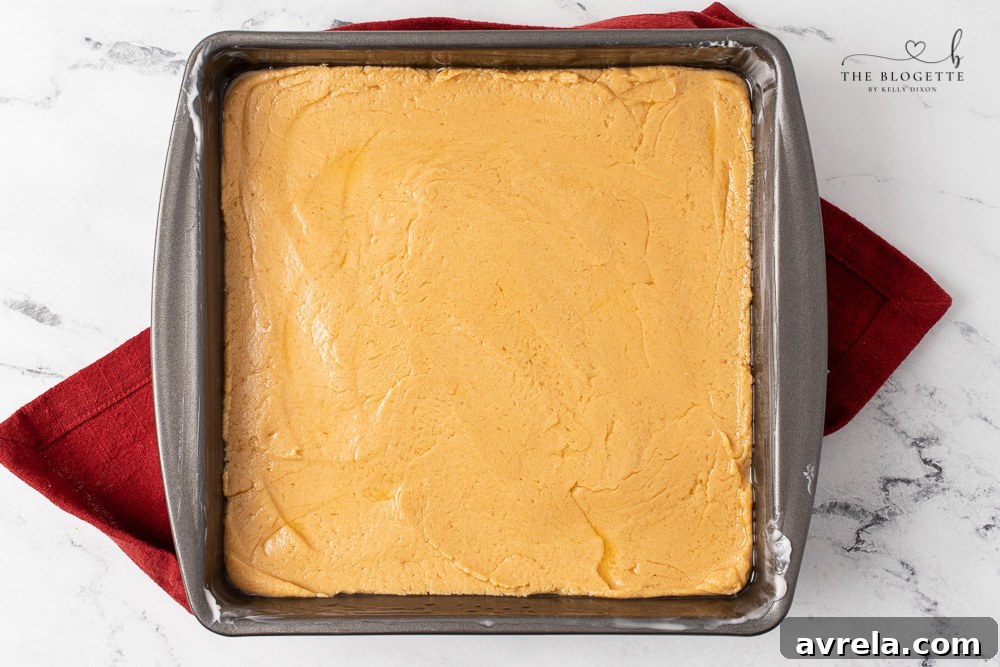
Now, for the equally delicious peanut butter layer: clean your saucepan thoroughly or use a second clean pot. Repeat the exact same boiling process as before, combining the remaining half of the sugar, butter, and evaporated milk. Bring it to a full boil over medium-low heat, whisking constantly for 4 minutes. Remove from heat and, this time, instead of chocolate chips, add the ½ cup of peanut butter. Stir until the peanut butter is completely melted and smoothly integrated. Then, add the remaining half of the marshmallow fluff and the remaining vanilla extract, stirring until perfectly blended. Carefully pour this warm peanut butter mixture on top of the chocolate mixture already in the baking pan, spreading it gently to form an even second layer. Allow the layered fudge to cool undisturbed at room temperature for 1-2 hours, or until it has fully hardened and set. Patience here is key for clean cuts and perfect texture.
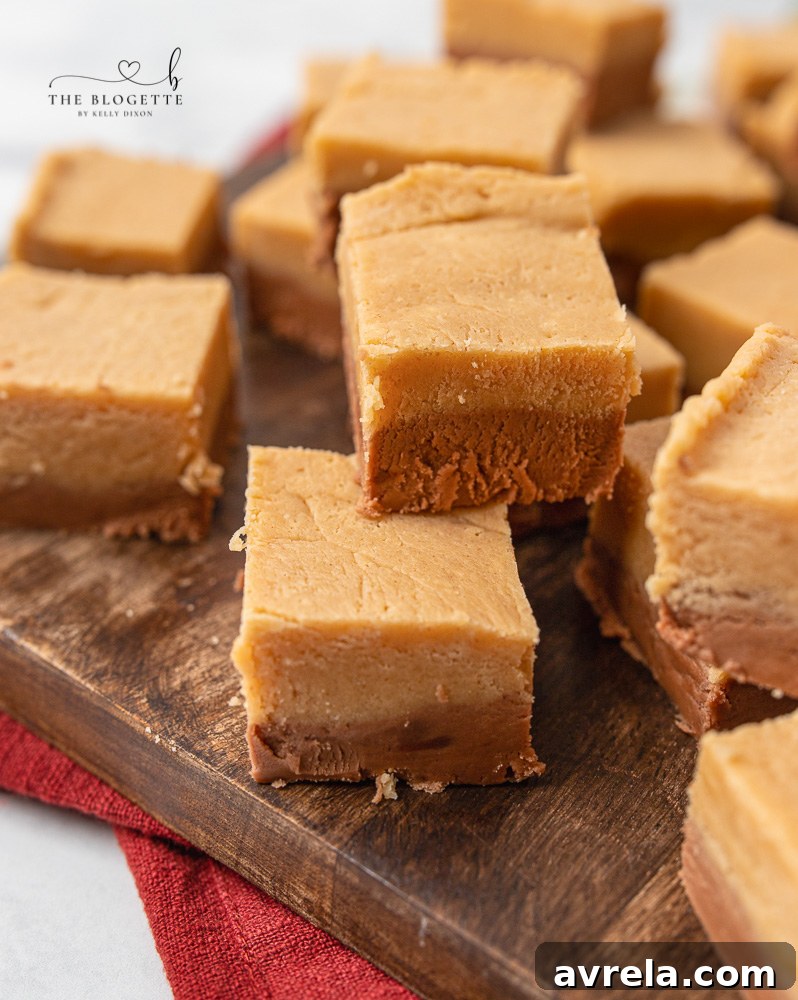
Once your **homemade fudge** has cooled sufficiently and is firm to the touch, use the parchment paper overhang to lift it gently out of the pan. Place it on a clean cutting board. For clean, neat squares, use a sharp, warm knife. You can run the knife under hot water and wipe it dry between cuts to achieve this. Cut the fudge into beautiful little squares before serving. The single most important tip I can offer for successful fudge-making is to take your time and do not rush the boiling and setting stages. You don’t want your fudge to be grainy (from undissolved sugar) or overly creamy and soft (from not cooking enough). It is crucial to allow all the ingredients to melt and cook sufficiently over the necessary amount of time to achieve that perfect, smooth, and firm consistency. Enjoy your perfectly crafted **Chocolate Peanut Butter Fudge**!
Tips for Achieving the Best Fudge Every Time
While **making fudge** is relatively simple, a few expert tips can elevate your creation from good to absolutely outstanding:
- Accurate Measurements: Fudge is a science as much as an art. Precise measurements, especially for sugar, butter, and milk, are crucial for the right consistency.
- Constant Stirring: During the boiling phase, do not stop stirring. This prevents sugar crystals from forming on the sides of the pan, which can lead to grainy fudge.
- Avoid Scrapping Sides: Once the sugar mixture is boiling, try not to scrape down the sides of the pot. Any sugar crystals that fall back into the mixture can cause crystallization, making the fudge gritty.
- Boil Time is Key: Stick to the exact 4-minute boiling time. Too short, and the fudge won’t set; too long, and it might become too hard or crumbly.
- Quality Ingredients: Use good quality semi-sweet chocolate chips and creamy peanut butter. The better the ingredients, the richer the flavor of your fudge.
- Marshmallow Fluff’s Role: Marshmallow fluff is not just for flavor; it helps achieve that incredibly smooth, non-grainy texture, preventing sugar crystallization.
- Patience During Cooling: Do not rush the cooling process. Letting the fudge set completely at room temperature results in the best texture and makes it easier to cut.
- Warm Knife for Cutting: For perfectly clean slices, warm your knife under hot water, wipe it dry, and make your cuts. Repeat for each slice.
Delicious Variations and Customizations for Your Fudge
This **chocolate peanut butter fudge recipe** is fantastic as is, but it also serves as a wonderful canvas for creativity. Here are a few ideas to customize your next batch:
- Nutty Crunch: Fold in chopped peanuts, pecans, or walnuts into either the chocolate or peanut butter layer for added texture.
- Sea Salt Swirl: A sprinkle of flaky sea salt over the finished fudge before it sets can enhance the flavors and provide a delightful contrast.
- Different Chocolates: Experiment with milk chocolate chips for a sweeter fudge, or dark chocolate for a more intense cocoa flavor.
- White Chocolate Peanut Butter: Swap the semi-sweet chocolate for white chocolate chips for a brighter, sweeter variation.
- Miniature Cups: Instead of a pan, pour the fudge into mini paper cupcake liners for individual servings, perfect for parties.
- Chocolate Drizzle: Once cooled and cut, melt a bit more chocolate and drizzle it over the peanut butter fudge squares for an extra touch of elegance.
How to Store Chocolate Peanut Butter Fudge for Optimal Freshness
Proper storage is essential to keep your **creamy fudge** fresh and delicious for as long as possible. Whether you plan to enjoy it over a few days or save it for a special occasion, these tips will help:
- Short-Term Storage (Up to 2 Weeks): If you plan on eating the fudge within two weeks, the refrigerator is your best friend. Cut the fudge into individual pieces. Place them in an airtight container, separating the layers of fudge with parchment or wax paper to prevent sticking. This method keeps the fudge firm and fresh.
- Long-Term Storage (Up to 3 Months): For longer storage, such as several months, the freezer is the ideal option. Wrap individual fudge pieces tightly in plastic wrap, then place the wrapped pieces in an airtight freezer-safe container or a heavy-duty freezer bag. Label with the date. When you’re ready to enjoy, simply thaw the fudge at room temperature for about 30 minutes to an hour before serving.
- Room Temperature: While fudge can sit at room temperature for a day or two in a cool, dry place, refrigeration is generally recommended to maintain its best texture and prevent it from becoming too soft or sticky, especially in warmer climates.
Frequently Asked Questions About Fudge Making
Here are some common questions people ask when making **homemade fudge**:
- Why is my fudge grainy? Grainy fudge usually results from sugar crystals forming. This can happen if the mixture isn’t stirred constantly during boiling, or if sugar crystals stick to the sides of the pan and fall back in. Ensuring continuous stirring and not scraping the sides during the boil helps prevent this.
- Can I use natural peanut butter? It’s generally not recommended. Natural peanut butter tends to separate and can make the fudge oily or give it a different, less creamy texture. Stick to processed, creamy peanut butter for best results.
- What if my fudge doesn’t set? If your fudge is too soft, it likely didn’t boil long enough or didn’t reach a high enough temperature. The 4-minute boil time is crucial. Ensure you bring it to a full, rolling boil.
- How can I make my fudge cut cleanly? A sharp knife and patience are key. Let the fudge cool completely. For extra clean cuts, run your knife under hot water, wipe it dry, and then slice. Repeat this for each cut.
More Delectable Desserts to Try Next:
- Uncrustable Donuts
- Monster Cookie Balls
- Ice Cream Sandwich Cake
- Banana Pudding
- Chocolate Turtles
- Fluff Salad
Chocolate Peanut Butter Fudge
Chocolate Peanut Butter Fudge is a classic recipe that you simply need to have in your back pocket. EVERYONE loves chocolate and peanut butter together, so making it into a beautiful fudge elevates this vintage treat!
Cook Time: 20 minutes
Total Time: 2 hours
Equipment
- 9″ x 9″ pan
- Non-stick cooking spray or parchment paper
Ingredients
- 3 cups granulated sugar
- ¾ cup butter, softened
- ⅔ cup evaporated milk
- 6 ounces semi-sweet chocolate chips
- ½ cup peanut butter
- 7 ounces marshmallow fluff
- 1 teaspoon vanilla extract
Instructions
- Grease or line a 9×9 inch pan with parchment paper, leaving an overhang on the sides for easy lifting, and set it aside.
- In a medium-sized saucepan on the stovetop over medium-low heat, combine half of the sugar, half of the softened butter, and half of the evaporated milk. Bring to a full rolling boil, whisking and stirring constantly to prevent scorching. Continue boiling for exactly 4 minutes.
- Remove the pot from the heat. Immediately add the chocolate chips and stir until they are completely melted and the mixture is smooth.
- Next, add half of the marshmallow fluff and half of the vanilla extract. Stir vigorously until all ingredients are well combined and the mixture is silky smooth.
- Promptly pour the chocolate fudge mixture into the prepared 9×9 inch pan, spreading it evenly across the bottom to form the first layer.
- Clean the saucepan thoroughly or use another clean saucepan. Repeat the process from step 2, but this time, after removing from heat, add the ½ cup of peanut butter instead of chocolate chips. Stir until the peanut butter is fully melted and incorporated.
- Once the peanut butter mixture is smooth, add the remaining half of the marshmallow fluff and the remaining half of the vanilla extract. Stir until perfectly blended.
- Carefully pour the peanut butter fudge mixture directly on top of the chocolate layer in the baking pan, spreading it gently to create an even second layer.
- Allow the layered fudge to cool completely at room temperature for approximately 1 to 2 hours, or until it has fully hardened and set.
- Once set, use the parchment paper overhang to lift the fudge out of the pan. Place it on a cutting board and cut it into desired squares before serving.
There you have it – a magnificent batch of **Chocolate Peanut Butter Fudge**, ready to be savored and shared! This recipe is a testament to the fact that some of the most extraordinary treats are born from simple ingredients and a little bit of love. So, whether you’re making it for a special occasion or just to satisfy a sweet craving, this fudge promises to deliver pure joy in every creamy bite. Happy fudging!