
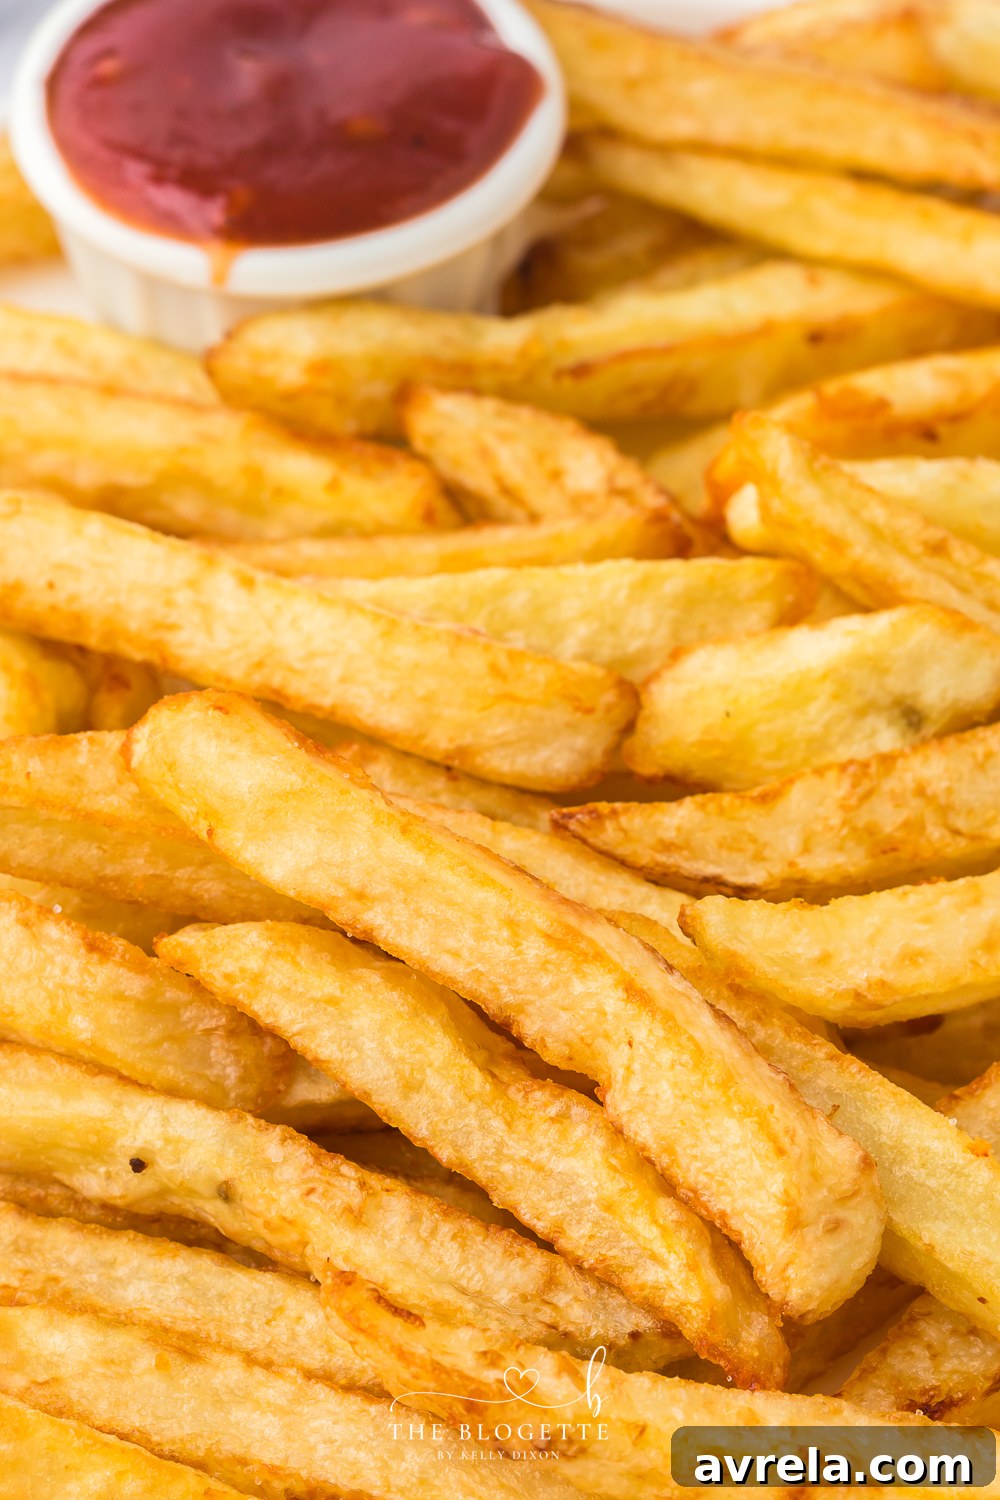
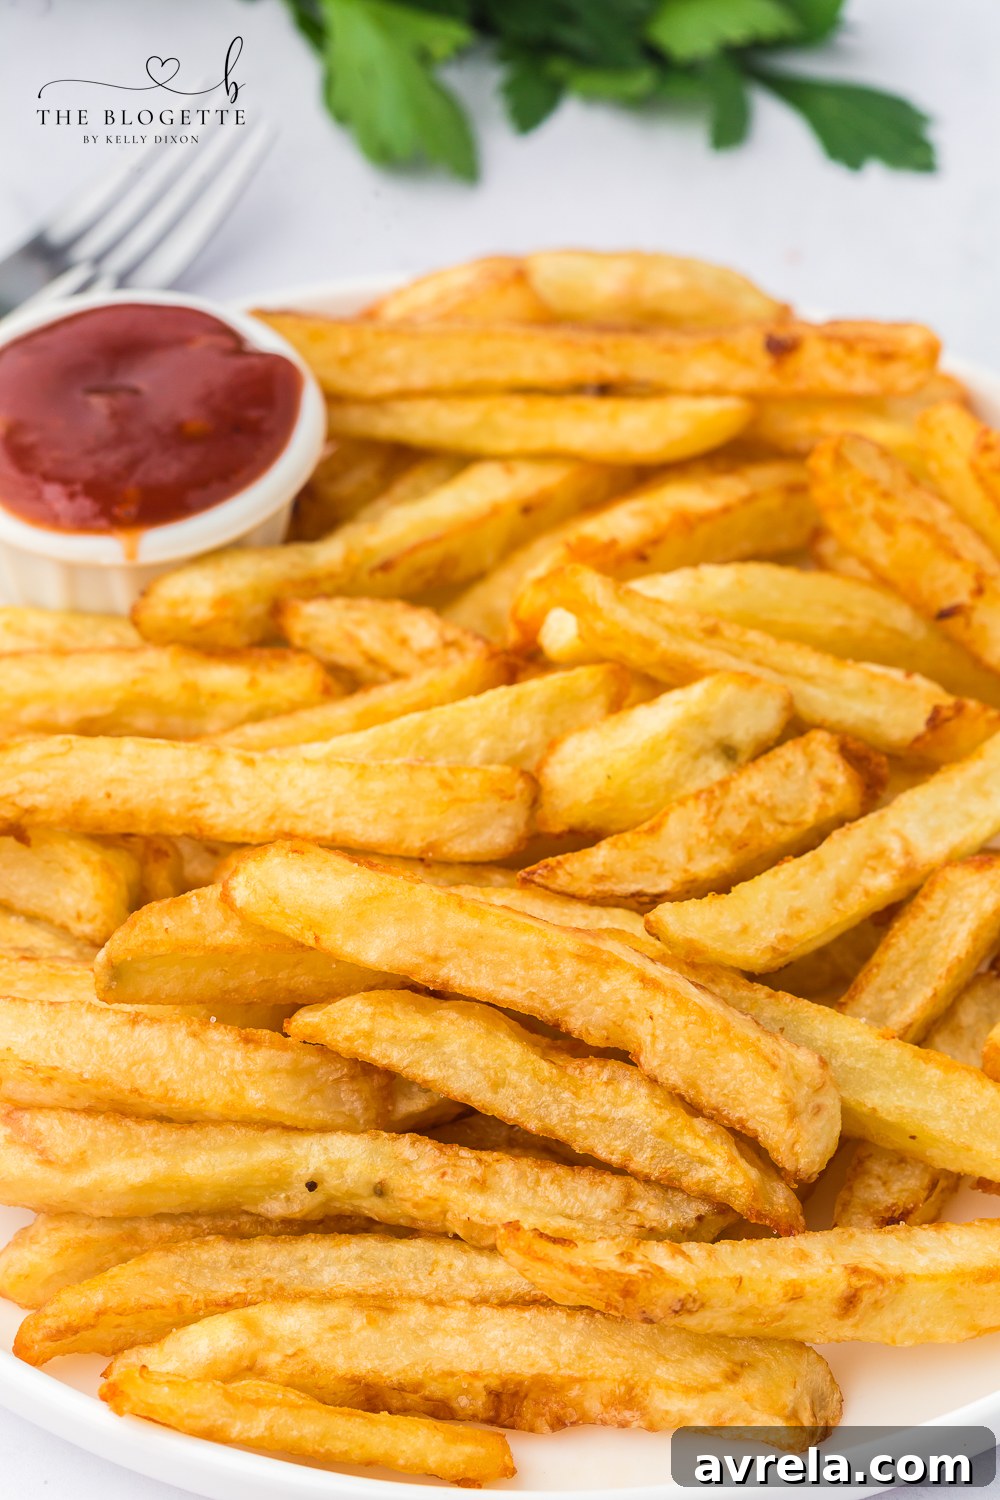
Indulge in the ultimate culinary delight with these remarkably simple yet incredibly satisfying **homemade French fries**. Crafted from fresh, quality potatoes, meticulously hand-cut, and perfected through a double-frying technique, these fries achieve an unparalleled golden crispness that rivals your favorite restaurant treat. Seasoned with just a touch of salt, their natural potato flavor truly shines through, offering a delightful experience that’s shockingly easy to recreate in your own kitchen.
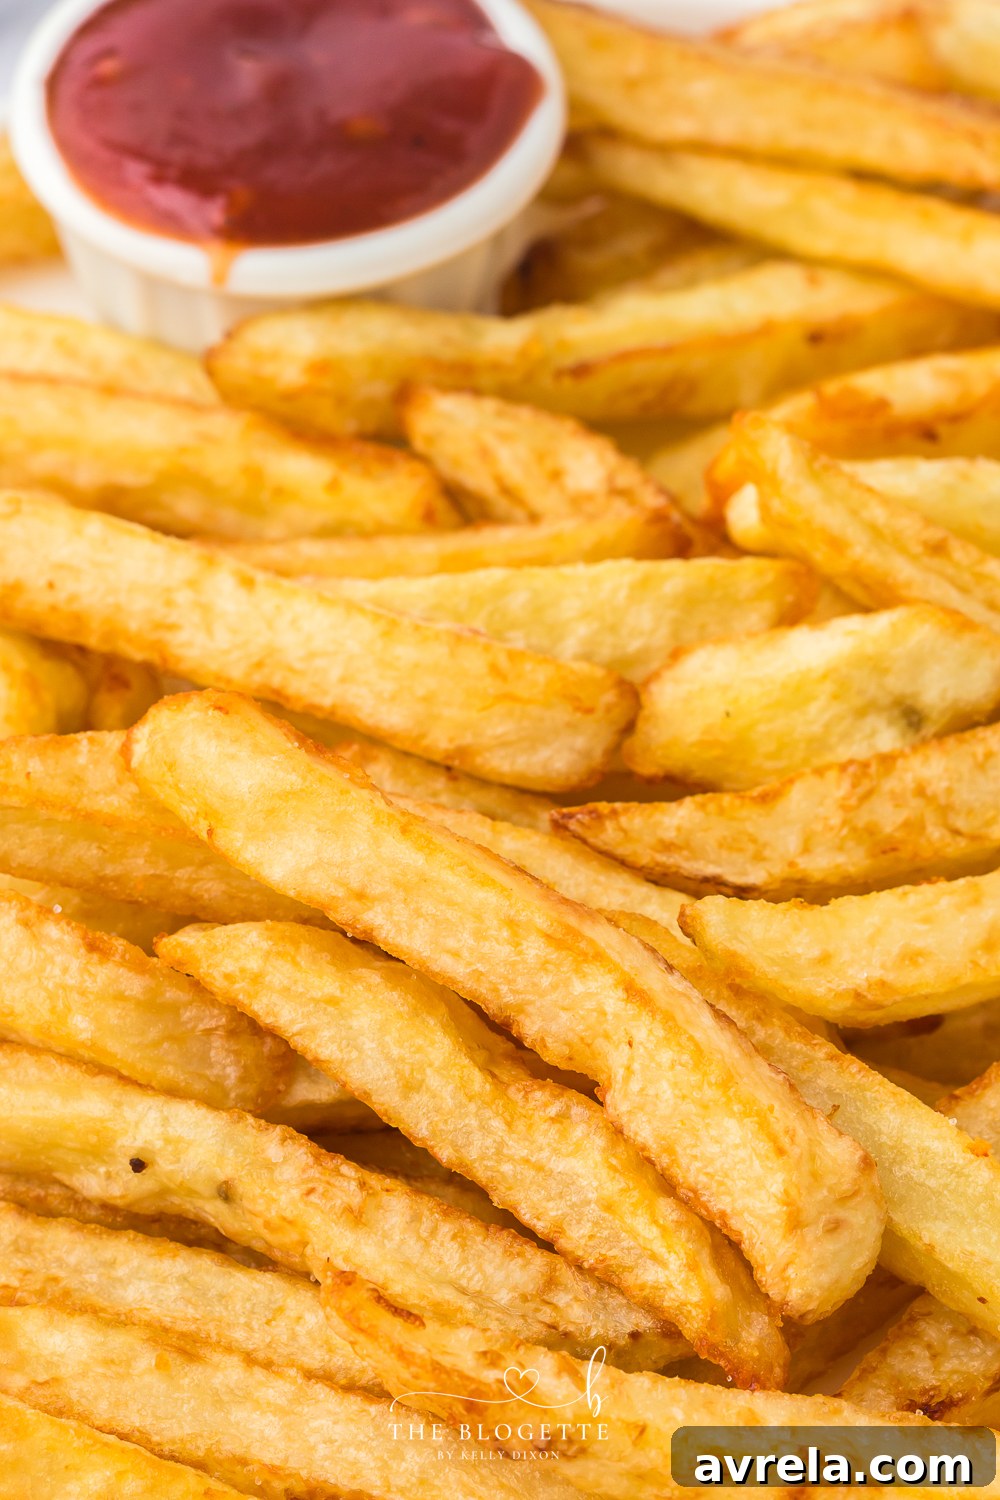
Mastering the Easiest Homemade French Fries Recipe (Step By Step Guide)
There’s nothing quite like the irresistible allure of perfectly prepared French fries. With a tantalizingly salty, exquisitely crispy, and beautifully golden exterior giving way to a soft, warm, and fluffy potato interior, these homemade French fries are everything you’ve ever wanted and more. Forget soggy, bland, or lukewarm store-bought alternatives; this recipe promises a fresh, flavorful, and incredibly satisfying batch of fries that you’ll undoubtedly want to keep all to yourself. Get ready to elevate your snack game and impress everyone with your newfound frying prowess.
Pin this recipe now to save it for later and enjoy crispy fries anytime!
Pin It Now
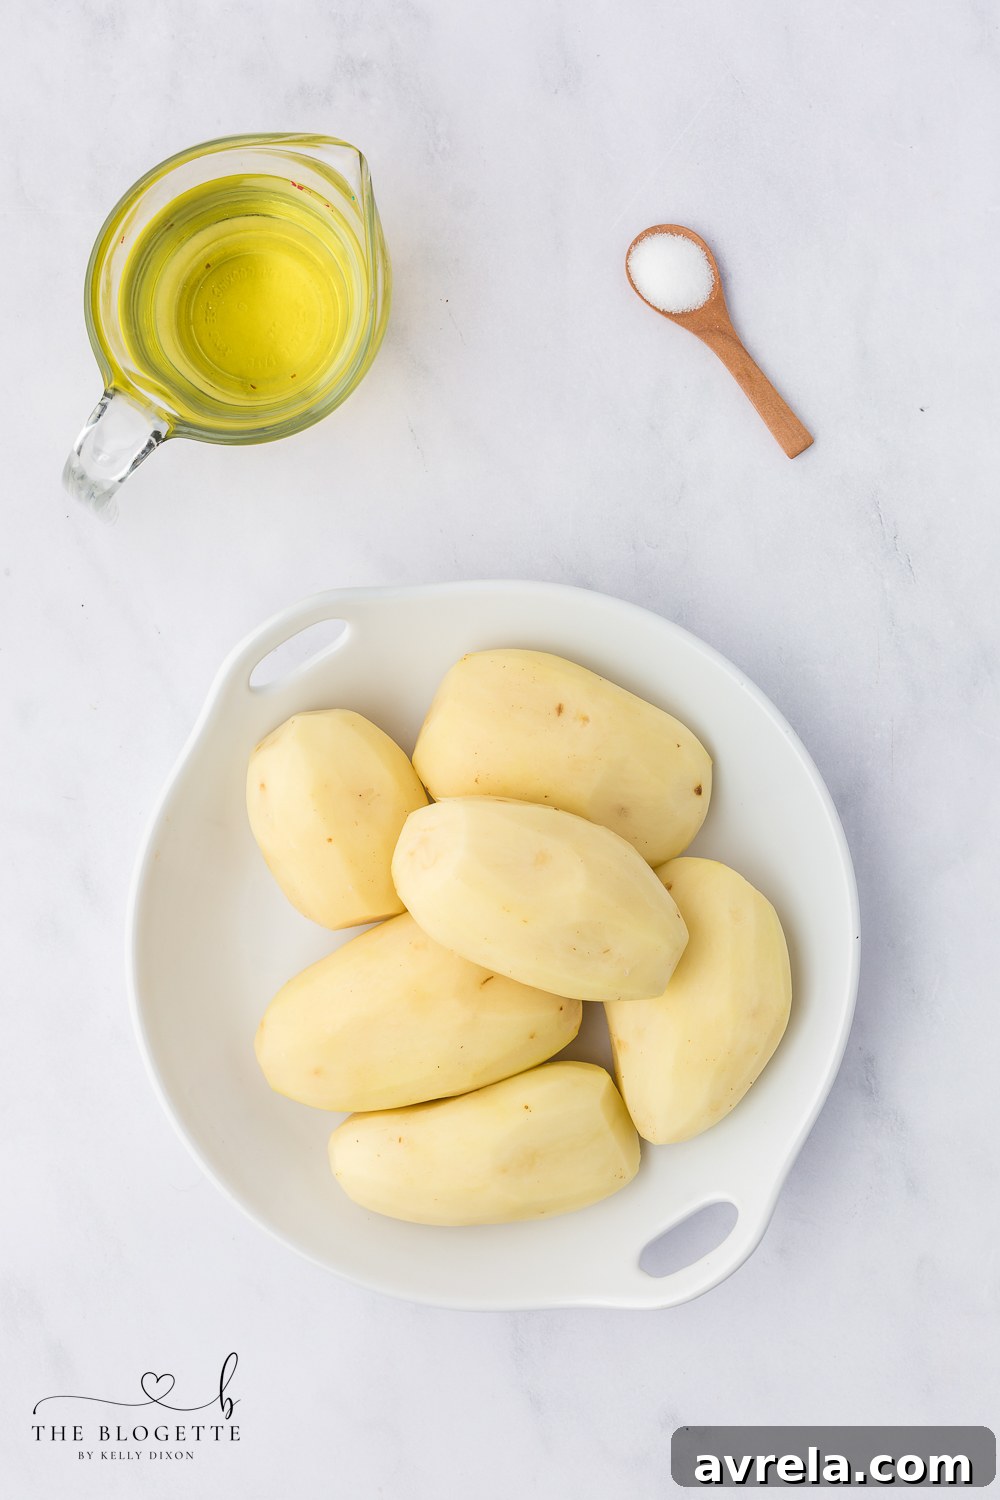
Essential Ingredients for Perfect Fries:
- Russet potatoes – Russet potatoes are unequivocally the star for homemade French fries. Their high starch content and low moisture make them ideal for achieving that coveted fluffy interior and crispy exterior. The starch breaks down during cooking, creating that perfect texture. However, if you prefer, you can certainly experiment with yellow (Yukon Gold) or red potatoes. Just be mindful that these varieties are waxier and contain more moisture, which means they will require an additional 6-7 minutes of cooking time to reach the desired tenderness and crispness. Always choose firm, blemish-free potatoes for the best results.
- Canola oil – The choice of frying oil is crucial for taste and texture. Canola oil is a fantastic option due to its neutral flavor profile and high smoke point, which means it can reach the necessary high temperatures without burning or imparting unwanted tastes to your fries. It’s an excellent all-around frying oil. However, feel free to use any other high-heat, neutral-flavored oil you prefer. Vegetable oil, peanut oil (for a subtle nutty flavor), corn oil, and avocado oil (known for its even higher smoke point) are all great alternatives that will deliver similarly delicious results.
- Salt – A simple seasoning with salt is all that’s truly needed to let the natural potato flavor sing. You can use regular table salt, fine sea salt, or flaky kosher salt – each offering a slightly different texture and burst of flavor. Don’t be afraid to experiment with other seasonings and spices to personalize your French fries. For a savory kick, try garlic powder, onion powder, or a blend of dried herbs like rosemary or thyme. If you’re mindful of your sodium intake, fresh herbs or a sprinkle of nutritional yeast can add flavor without excessive salt.
Necessary Supplies for Frying Success:
- **Sharp knife or French fry cutter** – A sharp chef’s knife ensures clean, even cuts, which are essential for uniform cooking. For ultimate consistency and ease, a dedicated French fry cutter can slice potatoes into perfect sticks in seconds.
- **Large mixing bowl** – This is indispensable for soaking the cut potatoes, a crucial step for achieving extra crispiness, and for rinsing.
- **Plate or baking tray** – Needed for drying the potatoes thoroughly before frying and for draining them after each fry. Using a baking sheet allows for a single layer arrangement.
- **Paper towels** – An absolute must-have for patting the potato sticks completely dry, which is critical for safety (to prevent oil splattering) and for crispiness.
- **Slotted spoon or spider** – This tool is essential for safely adding and removing potato batches from hot oil, ensuring you don’t splash.
- **Large pot or Dutch oven** – A heavy-bottomed pot, like a 6-quart Dutch oven (as used in the original recipe), is vital. Its thick walls and base distribute heat evenly and retain temperature well, which is key for successful deep frying.
Step-by-Step Instructions for Crispy Perfection:
1. Prepare and Slice the Potatoes: Begin by thoroughly washing and peeling your chosen potatoes. Once clean, place them on a cutting board and slice them lengthwise into uniform ½-inch thick planks. Lay these planks flat and slice them lengthwise again into ½-inch thick sticks. The key here is consistency; try to make all your fries roughly the same size to ensure they cook evenly. A sharp kitchen knife works beautifully, but a French fry cutter can make this step remarkably quick and effortless.
2. The Optional (Yet Recommended) Soak for Ultra-Crispiness: For truly exceptional, ultra-crispy fries that boast a beautifully light and airy texture, incorporate this optional (but highly recommended) soaking step. Place your freshly sliced potato sticks into a large mixing bowl and add enough cold water to fully submerge them. Cover the bowl and refrigerate for at least one hour, or ideally, up to overnight. This process removes excess surface starch, which is the secret to preventing sogginess and promoting that desirable crisp texture.
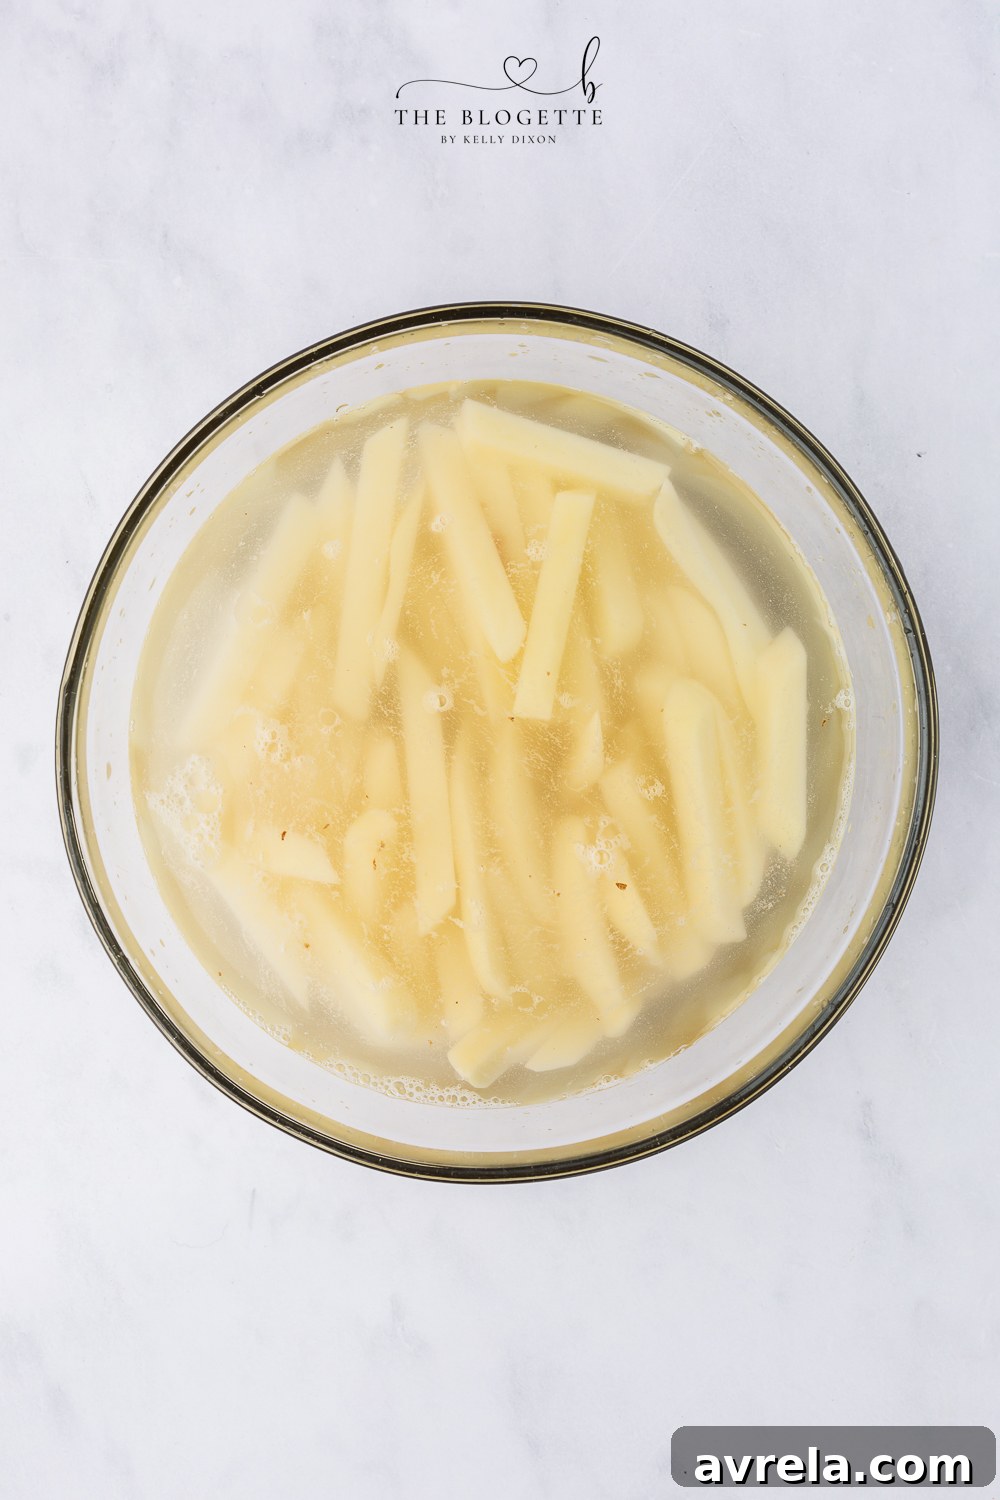
While soaking the cut potatoes is not an absolute requirement for this recipe, and you can certainly skip it if you’re pressed for time, we highly recommend it for optimal results. Soaking the potato sticks in cold water in the refrigerator serves a vital purpose: it draws out excess starch from the potatoes. This reduction in starch is crucial for two main reasons. Firstly, it prevents the fries from becoming soggy and clumping together during frying, ensuring each fry achieves individual crispness. Secondly, it contributes significantly to that coveted super-crispy exterior that everyone loves. If you desire truly restaurant-quality, non-soggy fries, don’t skip this simple yet effective step!
The Double-Fry Technique for Crispy French Fries:
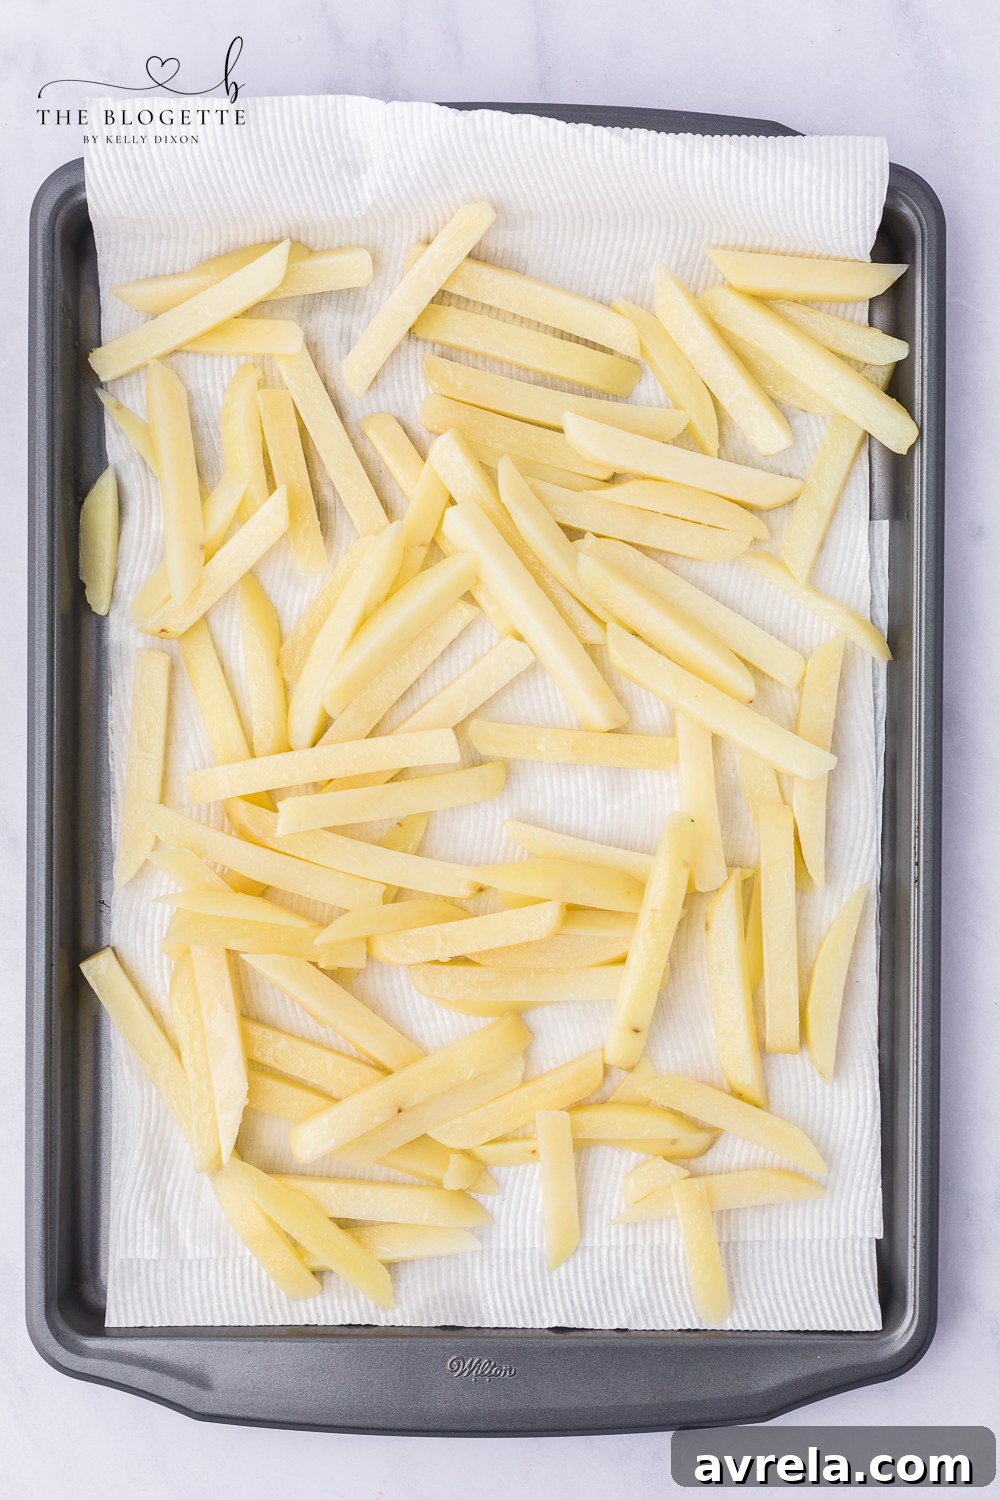
3. Thoroughly Dry the Potatoes: This is a critical step that cannot be overstated. After soaking (or rinsing, if not soaking), drain the potatoes completely. Line a clean plate or a baking tray with several layers of paper towels. Spread your potato sticks in a single layer over the paper towels. Use additional paper towels to pat them as dry as humanly possible. Any residual moisture will cause the oil to splatter dangerously and prevent your fries from crisping up properly. The drier the potatoes, the crispier your fries will be!
4. First Fry: Heating Your Oil to 300°F: In a large, heavy-bottomed pot or Dutch oven (which maintains heat best), pour about half of your chosen frying oil. Heat the oil on medium heat until it reaches a precise temperature of 300°F (150°C). A kitchen thermometer is highly recommended for accuracy. This initial fry is designed to cook the potatoes through, making them tender on the inside, without browning them too much.
5. First Fry: Cooking the Potatoes Until Tender: Carefully, and working in small batches to avoid overcrowding the pot, use a slotted spoon or spider to add the potato sticks to the preheated oil. Overcrowding will lower the oil temperature too quickly, leading to greasy, undercooked fries. Fry each batch for approximately 5 minutes, or until the fries just begin to turn a very pale golden color and feel tender when pierced with a fork. Remember, the goal here is to cook the interior of the potato, not to make them crispy yet. Do not extend this first frying time anticipating crispiness; that comes later.
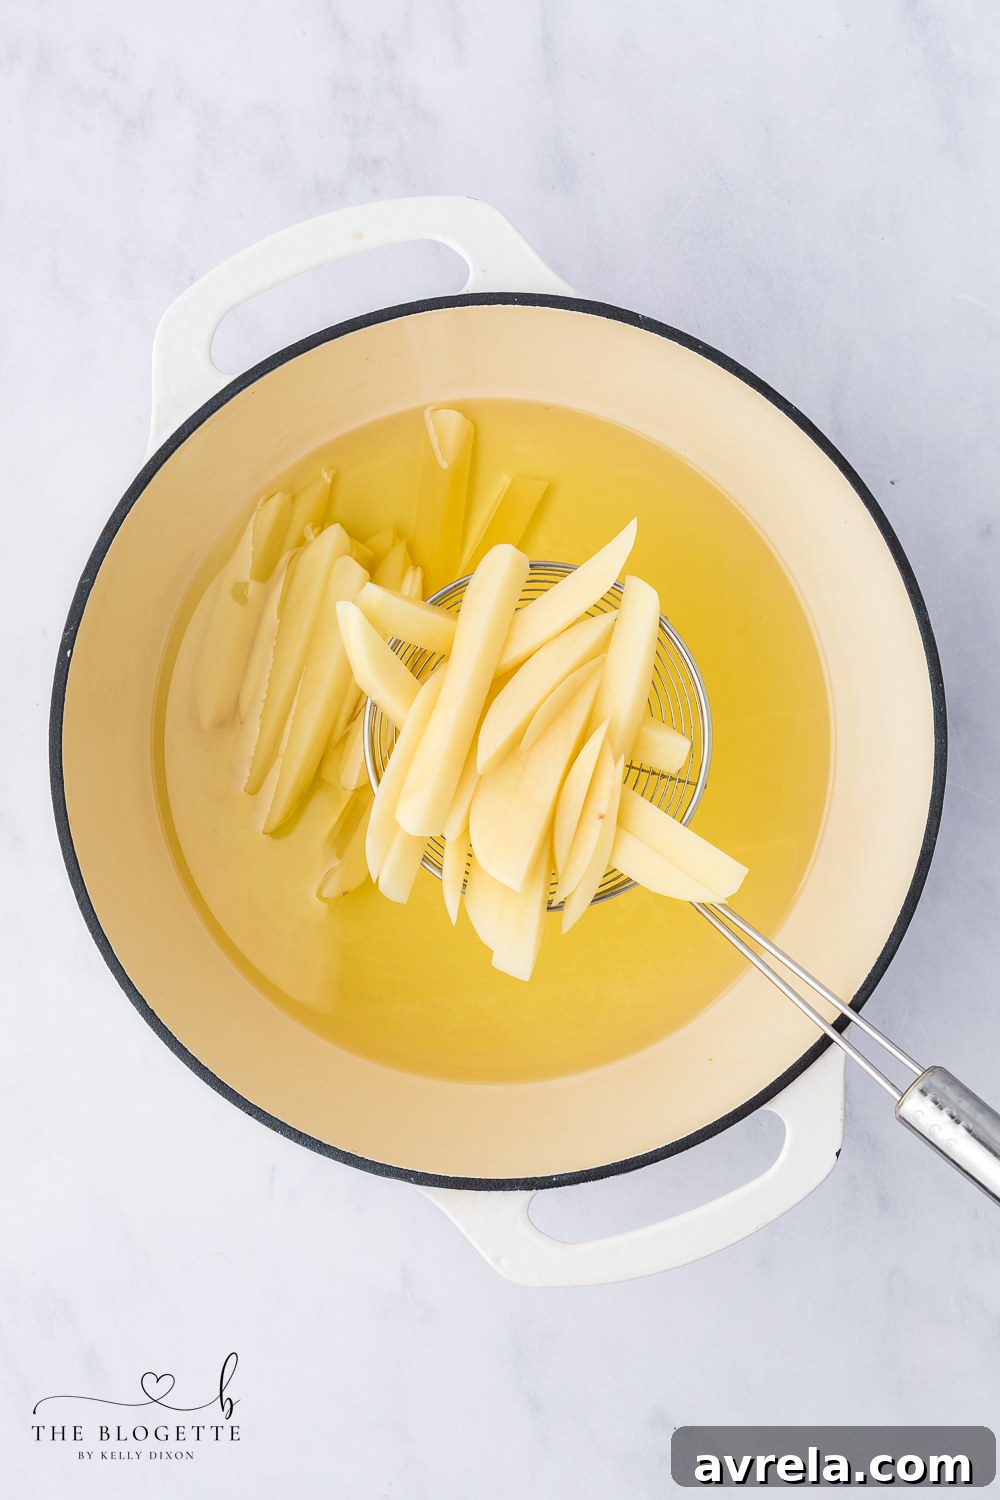
6. Prepare for Draining: While your first batch of fries is cooking, take a moment to line a fresh plate or baking sheet with a clean layer of paper towels. This will be ready for the drained fries.
7. Drain the First Fry: Once a batch of fries has completed its 5-minute first fry, carefully remove them from the oil using your slotted spoon or spider. Transfer them immediately to the prepared plate or baking sheet lined with fresh paper towels to drain off any excess oil. Allow them to cool slightly while you repeat the first frying process with the remaining potato batches.
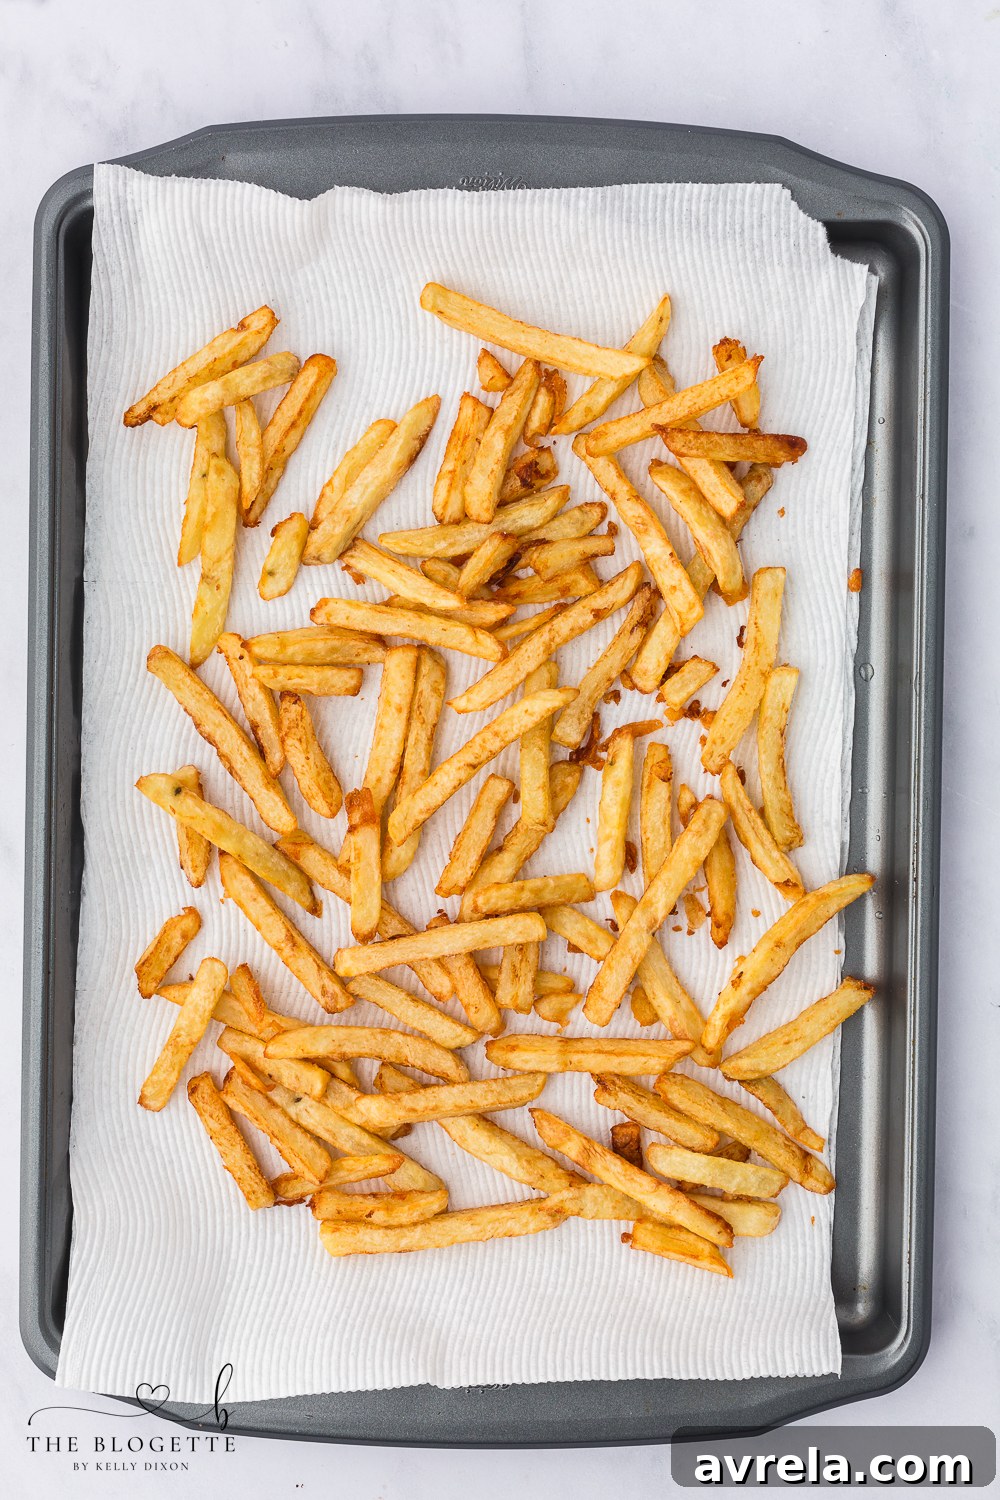
8. Second Fry: The Crisp-Making Stage at 400°F: Once all your potatoes have undergone their first fry and have rested, add the remaining oil to the pot if necessary, ensuring a sufficient depth for frying. Increase the oil temperature to 400°F (200°C). This higher temperature is crucial for achieving that ultimate golden-brown color and irresistible crisp texture. Repeat the frying process, again working in batches, but this time fry for 4-5 minutes, or until the fries are beautifully golden brown and delightfully crispy. Watch them closely, as they can brown quickly at this temperature.
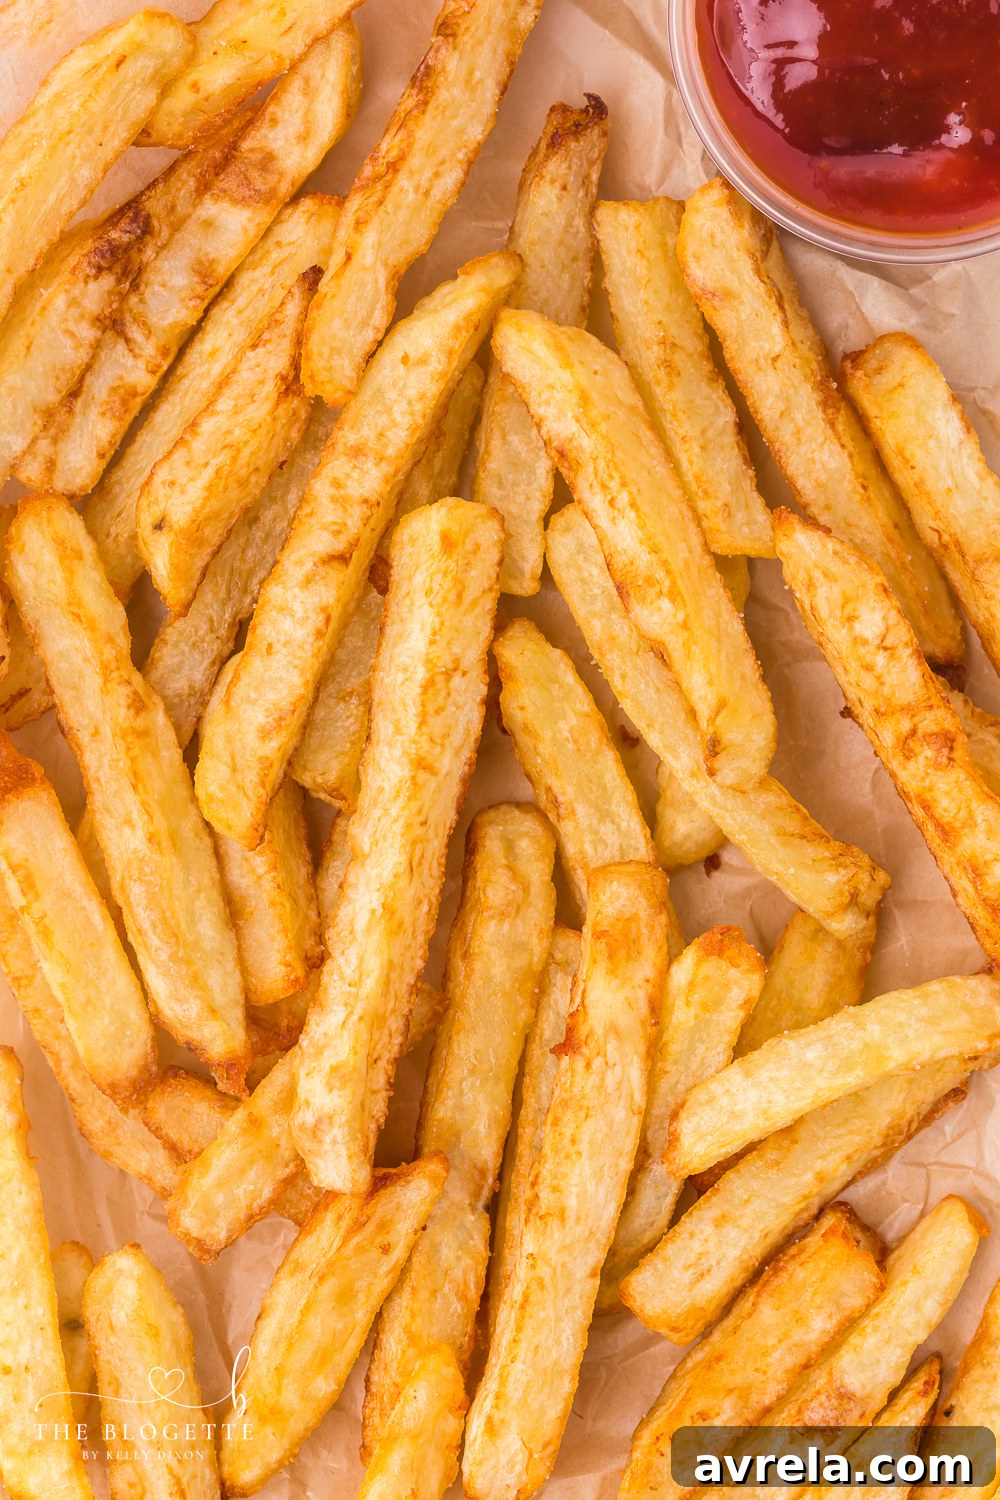
9. Season Immediately and Serve: As soon as each batch of fries emerges from the hot oil after their second fry, transfer them to fresh paper towels to briefly drain excess oil. While they are still piping hot – this is key for seasoning adherence – generously sprinkle them with salt to taste. Toss gently to ensure even coating. Serve your perfectly homemade French fries warm and enjoy!
Beyond Salt: Additional Flavors for French Fries
While the classic sprinkle of salt is undoubtedly delicious, homemade French fries are a versatile canvas for culinary creativity. Don’t hesitate to experiment and customize your fries with these exciting flavor suggestions:
- Dipping Sauces: Elevate your fries with a variety of dipping sauces. Classic ketchup is always a hit, but consider homemade garlic aioli, spicy sriracha mayo, tangy barbecue sauce, or even a creamy blue cheese dip for an indulgent twist.
- Garlic Lover’s Delight: For an aromatic kick, substitute regular salt with garlic salt, or combine a generous sprinkle of garlic powder with your salt for an intensified savory flavor that garlic enthusiasts will adore.
- A Touch of Spice and Color: Dust your hot fries with paprika for a beautiful reddish hue and a hint of smoky sweetness. For those who enjoy a bit of heat, cayenne pepper or chili powder will introduce a pleasant fiery warmth.
- Vinegar Zing: Recreate the traditional British chip shop experience by serving your fries with a side of apple cider vinegar or malt vinegar for a bright, tangy counterpoint that cuts through the richness of the oil.
- Cajun Kick: Transport your taste buds to the bayou by dusting your freshly fried potatoes with a vibrant Cajun seasoning blend, offering a complex mix of savory, spicy, and herbaceous notes.
- Loaded Fries Extravaganza: Transform your humble fries into a hearty meal by loading them up! Pile them high with creamy sour cream, melted sharp cheddar cheese, crispy bacon bits, and fresh, finely chopped chives for an ultimate comfort food experience.
- Herbal Infusion: Finely chop fresh rosemary or thyme and toss with your hot fries for an earthy, fragrant aroma and flavor.
Freezer-Friendly Homemade French Fries: Prepare Ahead for Convenience
This recipe is wonderfully suited for advance preparation and freezing, allowing you to enjoy fresh, crispy fries whenever a craving strikes! Follow the instructions for making these homemade French fries through the double-frying stage. Once fried, allow them to cool completely to room temperature. This is crucial to prevent ice crystals from forming. Next, arrange the cooled fries in a single layer on a baking sheet. Flash-freeze them for approximately 1 hour, or until they are firm and solid. This step prevents them from sticking together. Once frozen solid, transfer the fries into a labeled and dated resealable freezer bag. They will maintain their quality in your freezer for up to 6 months. To reheat, simply follow the oven or air fryer instructions below, no thawing required!
Crispy Air Fryer French Fries Recipe (from frozen or fresh)
For a healthier, less messy alternative to deep frying, your air fryer is a fantastic tool for reheating frozen homemade fries or even cooking fresh ones. If using fresh, lightly toss the prepared (and dried) potato sticks with a tablespoon of oil before air frying. Preheat your air fryer to 375°F (190°C) for a few minutes. Add the fries in a single layer to the basket, ensuring not to overcrowd it (cook in batches if necessary for optimal crisping). Air fry for 5-7 minutes, shaking the basket halfway through, or until they are golden brown, crispy, and thoroughly warmed throughout. Air frying gives a remarkably similar crunch to deep-frying with significantly less oil.
To save this delicious recipe and have it sent straight to your inbox, please provide your email address in the field below. You’ll never lose track of your favorite homemade French fries recipe!
(Please note: This is a static HTML representation. For an active email signup, a functional form powered by a backend system would be required.)
Discover More Delicious Potato Recipes
Garlic Parmesan Roasted Potatoes
Potato Pancakes
Cream Cheese Mashed Potatoes
Potatoes Au Gratin

Print Recipe
Homemade French Fries
10 minutes
15 minutes
1 hour
1 hour
25 minutes
4
Equipment
-
Sharp knife or French fry cutter
-
Large mixing bowl
-
Plate or baking tray
-
Paper towels
-
Slotted spoon or spider
-
Large pot or Dutch oven (6-quart recommended)
-
Kitchen thermometer (for oil temperature)
Ingredients
-
3
pounds
Russet potatoes
peeled and rinsed -
8
cups
Canola oil
(or other high smoke point, neutral oil) -
Salt
to taste (fine sea salt or kosher salt recommended)
Instructions
-
Slice the potatoes. Wash and peel potatoes. Slice them lengthwise into ½-inch thick planks, then lay flat and slice again lengthwise into ½-inch sticks. Aim for uniform size for even cooking.
-
Make them extra crispy (optional but recommended). For ultra-crispy fries, place the potato slices in a large bowl and cover with cold water. Cover the bowl and refrigerate for at least one hour, or up to overnight, to remove excess starch.
-
Dry the potatoes thoroughly. Drain the soaked potatoes. Line a plate or baking tray with several layers of paper towels and spread the fries in a single layer. Pat them as dry as possible with additional paper towels. This step is crucial for crispiness and to prevent oil splattering.
-
First Fry: Heat your oil to 300°F (150°C). Using a large, heavy-bottomed pot or Dutch oven, heat half of your canola oil on medium heat until a kitchen thermometer registers 300°F.
-
First Fry: Cook the potatoes until tender. Working in small batches to avoid overcrowding, carefully add the potato sticks to the hot oil using a slotted spoon or spider. Fry for about 5 minutes, or until they just begin to turn a very pale golden and feel tender. The goal is to cook them through, not to crisp them yet.
-
Prepare fresh paper towels. While the current batch of fries cooks, line a clean plate or baking sheet with fresh paper towels for draining.
-
Drain the first fry. After 5 minutes, remove the fries from the oil with a slotted spoon and place them on the prepared paper towels to drain excess oil. Repeat for all batches.
-
Second Fry: Fry again until crispy at 400°F (200°C). Add the remaining oil to the pot if needed, and increase the oil temperature to 400°F. Repeat the frying process, working in batches, until the fries are beautifully golden brown and delightfully crispy (this usually takes 4-5 minutes per batch).
-
Season immediately and serve warm. Once a batch is finished with the second fry, transfer them to fresh paper towels to briefly drain. While they are still hot, generously sprinkle with salt to taste (and any other desired seasonings). Toss gently to coat evenly. Serve your perfect homemade French fries immediately and enjoy!
Notes
If you find yourself with leftover homemade French fries (a rare occurrence!), you can store them in the refrigerator. Allow the fries to cool completely to room temperature before transferring them to an airtight container or a resealable plastic bag. Stored properly, they’ll keep fresh in the refrigerator for 3-4 days.
How can I reheat this dish?
To bring your leftover homemade French fries back to their crispy glory, reheating them in the oven or air fryer is recommended. Microwaving will unfortunately make them soggy.
Oven Reheating: Preheat your oven to 400°F (200°C). Arrange your French fries in a single layer on a baking sheet. For extra crispiness, consider placing them on a wire cooling rack set over the baking sheet to allow air to circulate. Bake for 8-10 minutes, or until the fries are golden, crispy, and thoroughly heated through.
Air Fryer Reheating: For a quick and easy method, add the leftover fries in a single layer to the basket of your air fryer. Air fry for 5-7 minutes at 375°F (190°C), shaking the basket halfway through, until they are crispy and warmed throughout. This method often yields the best results for reheating!
Additional Tips for French Fry Perfection:
- Oil Temperature is Key: Always use a kitchen thermometer to monitor your oil temperature. Too low, and fries become greasy; too high, and they burn before cooking through.
- Don’t Overcrowd the Pot: Frying in small batches ensures the oil temperature remains consistent and allows fries to cook evenly and crisp up properly. Overcrowding drops the oil temperature quickly.
- Season Immediately: Salt (and any other seasonings) adhere best to fries when they are hot and slightly oily, straight out of the fryer.
- Safety First: When deep frying, always be mindful of hot oil. Ensure your pot is on a stable surface, never leave hot oil unattended, and have a fire extinguisher rated for grease fires nearby. Slowly add potatoes to avoid splashing.
- Oil Disposal: Allow used oil to cool completely before transferring it to a sealable container and disposing of it responsibly. Do not pour it down the drain.