
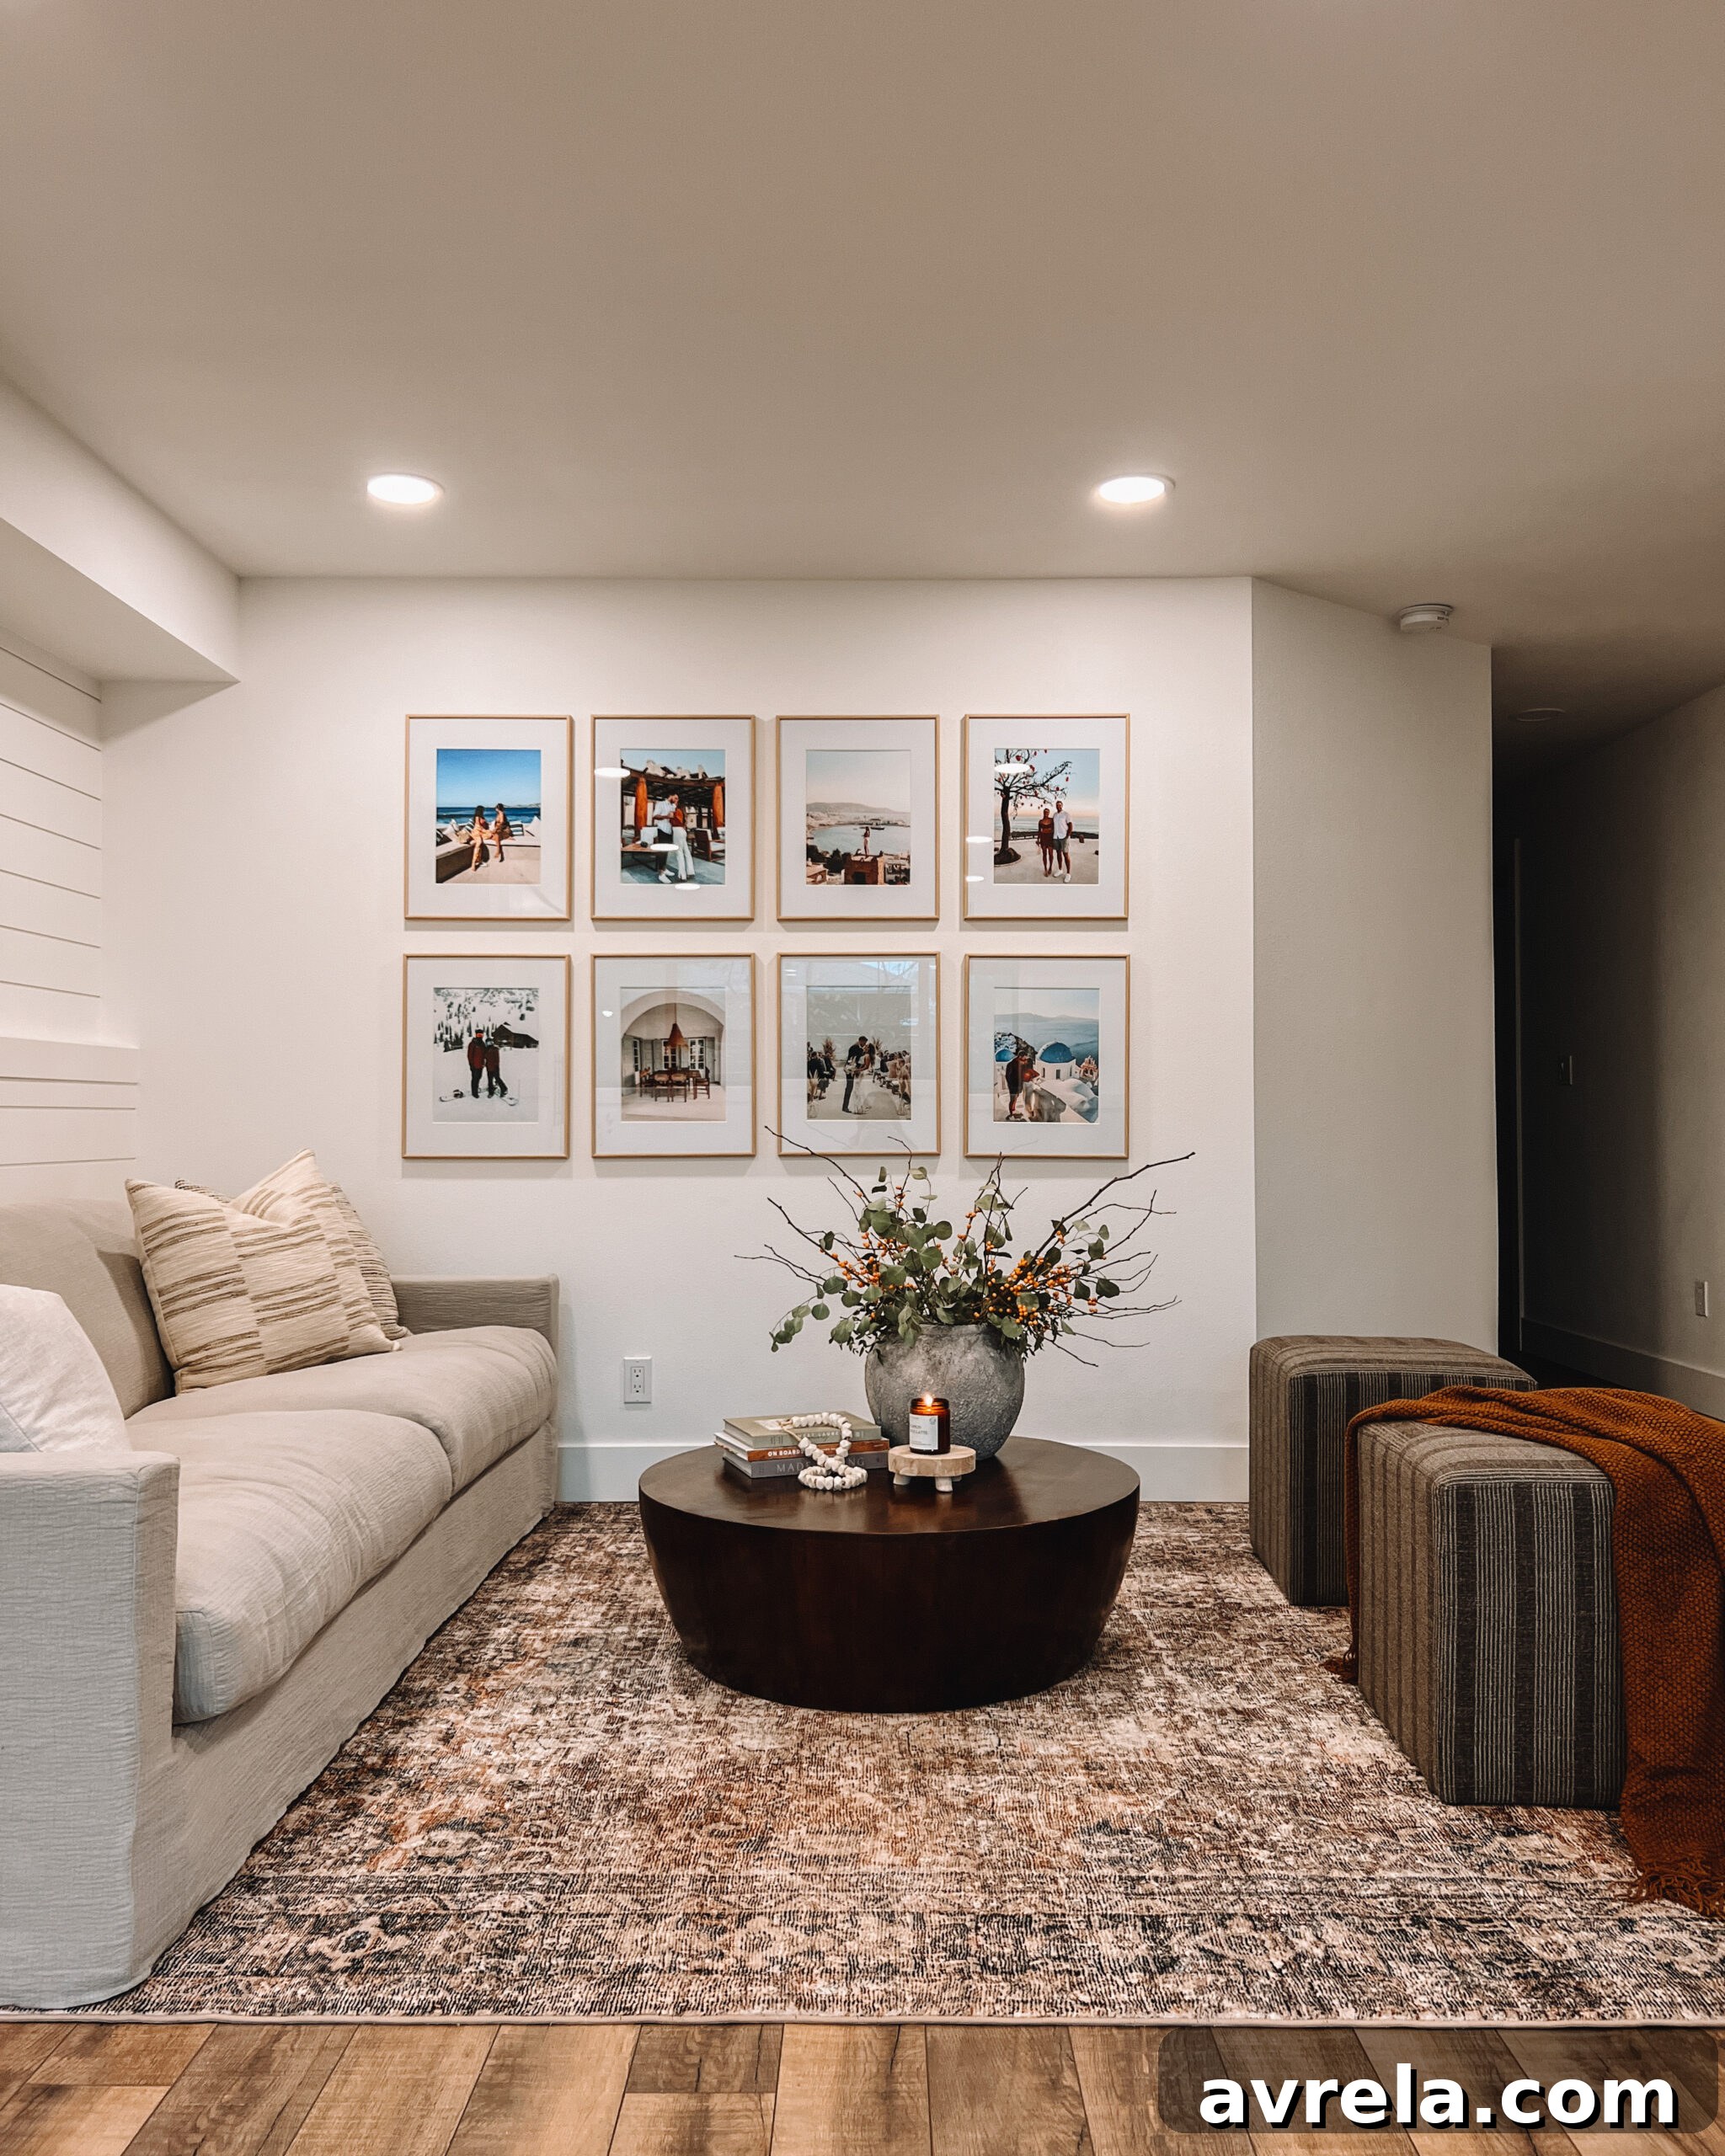
Transforming Our Downstairs: From Empty Space to Cozy Haven
The journey of transforming a house into a home is often a marathon, not a sprint. We experienced this firsthand after moving into our residence in July of 2021. It’s a common story for many homeowners: you move in with big dreams, and then life happens, projects get delayed, and certain spaces sit patiently, awaiting their turn. For us, it took a significant year and a half for our downstairs living area – once an echoing, empty canvas – to finally blossom into the warm, inviting sanctuary we had always envisioned. This transformation has been incredibly fulfilling, and I’m thrilled to share the details of how this once-vacant space, which some of you might remember as the backdrop for my Instagram live workouts (a practice I dearly miss and hope to revive in 2023!), became our new favorite cozy sitting area.
With the invaluable insights and keen eye of my design-savvy sister and cousin, this vision has not only come to life but has surpassed my initial expectations. The result is a welcoming spot in front of the fireplace, perfectly designed for relaxation, connection, and making new memories. It’s a testament to patience, collaboration, and the magic of thoughtful interior design. Join me as I walk you through each element that brought this space together, from major furniture pieces to the smallest, most personal decorative touches.
The Heart of the Home: Selecting the Perfect Sofa
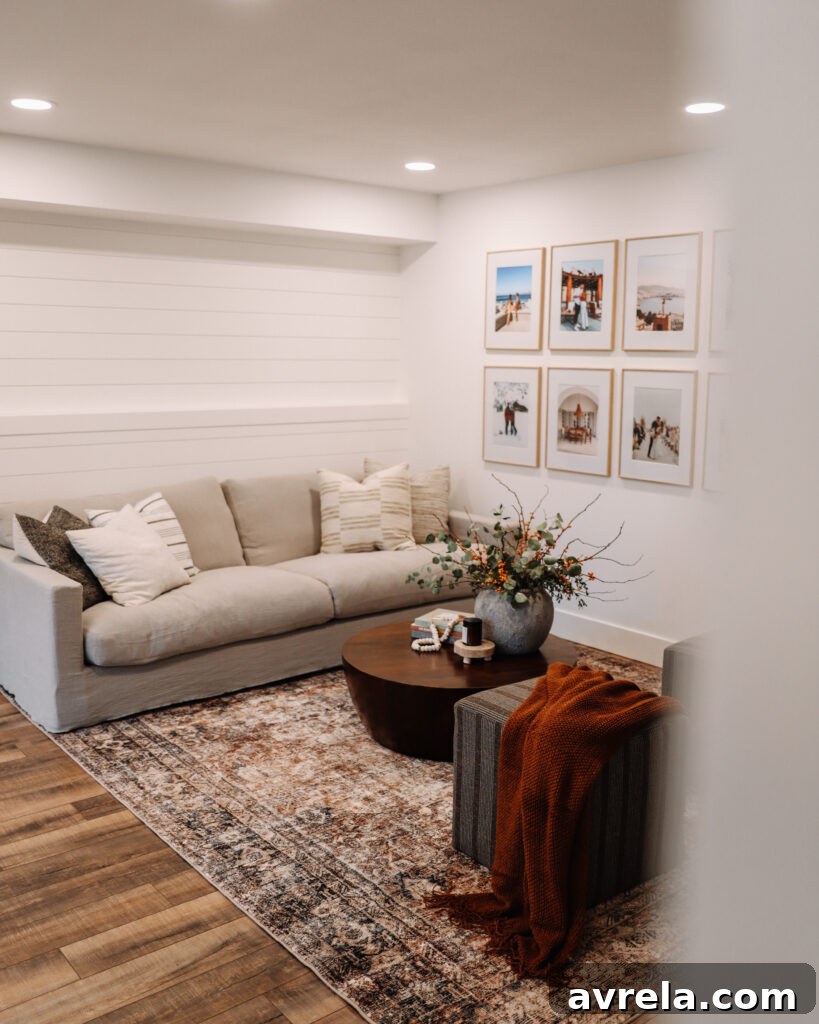
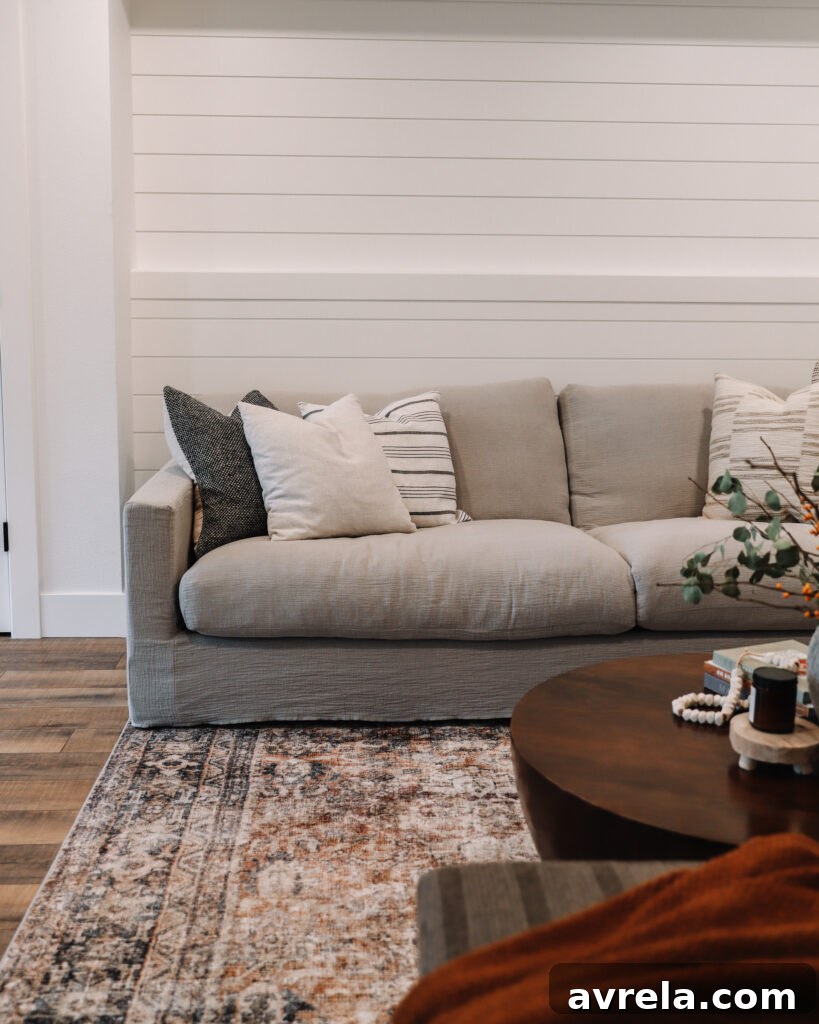
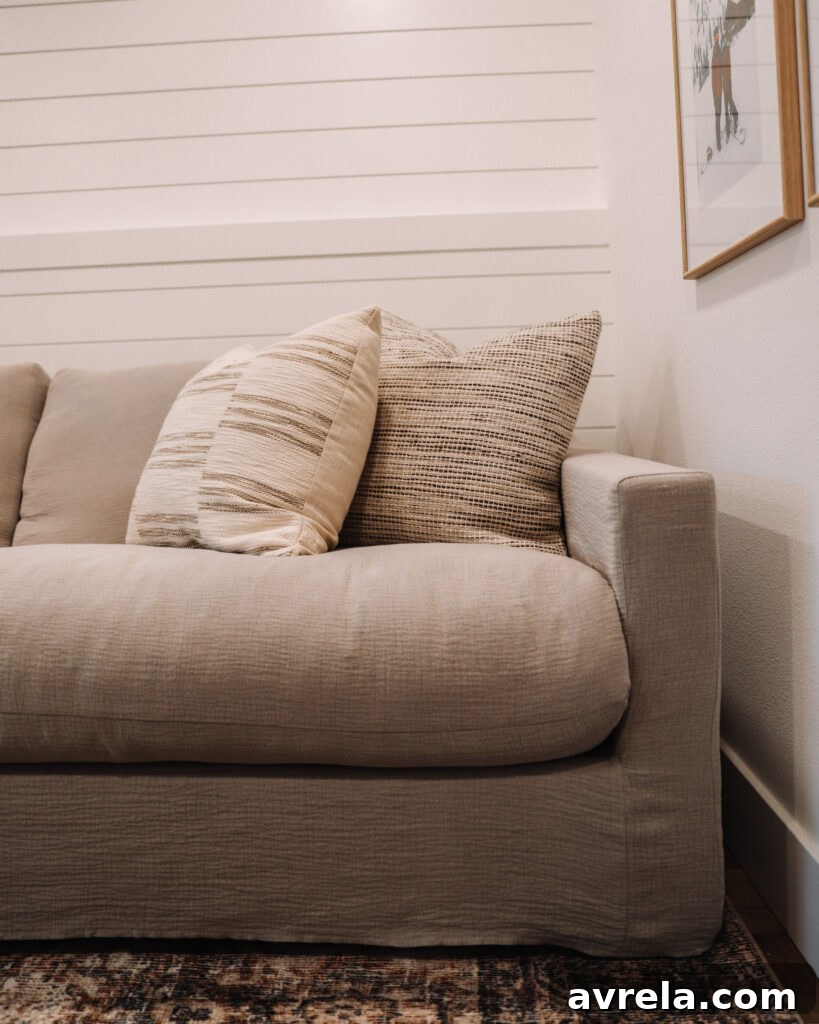
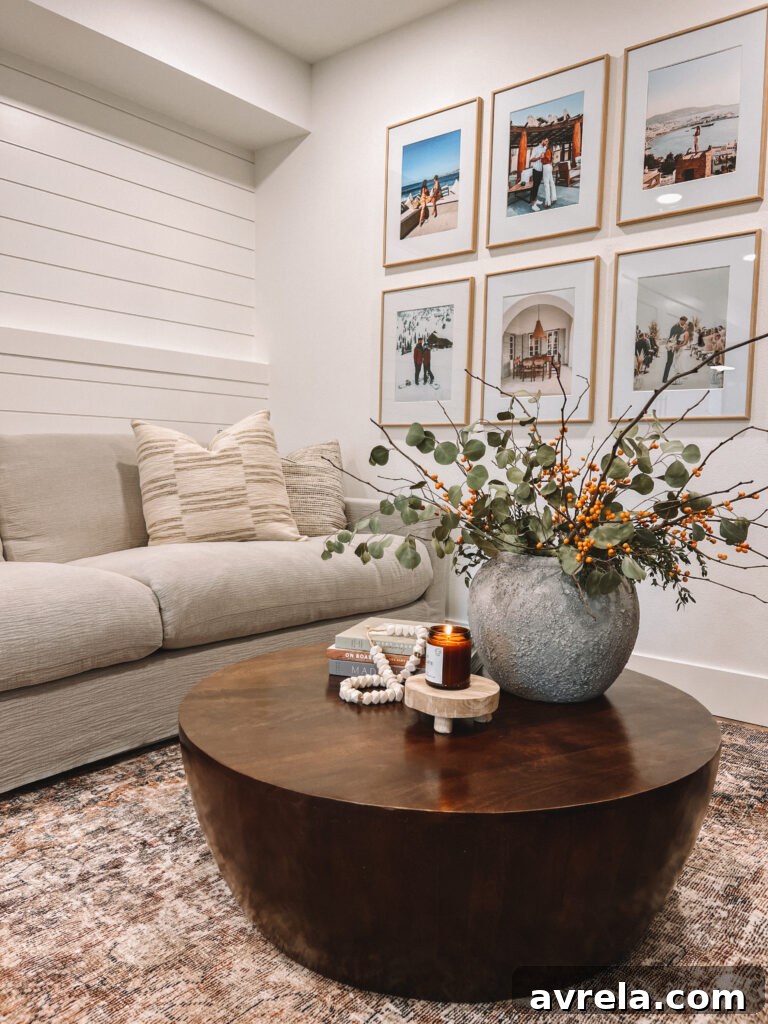
Every great living space starts with a foundational piece, and for us, that was the sofa. Our downstairs area features a charming, small cubby along a shiplap wall, which presented a unique sizing challenge. After much searching, our journey began and ended with this exquisite sofa from Sixpenny. I’ve had mixed experiences with sofas in the past, but Sixpenny consistently garners glowing reviews for quality and comfort, making it a brand I felt confident investing in. We chose the Devyn Sofa in “Blanched Almond,” crafted from Washed Cotton Linen with a feather down fill. And when I say it’s the nicest couch we’ve ever owned, I mean it with full conviction!
From the moment it arrived, its superior quality was evident. It’s incredibly plush and provides unparalleled comfort, even the armrests are generously cushioned for ultimate relaxation. The beauty of this design extends beyond aesthetics; all the pillows and cushion covers are removable and feature zippers, allowing for easy washing and maintenance – a practical feature for any busy household. Sixpenny offers a vast selection of in-stock items on their site, many of which deliver within a swift 2-3 weeks, which was precisely our experience. If you’re in the market for a new sofa or an accent chair that perfectly blends style, comfort, and durability, I wholeheartedly recommend exploring Sixpenny’s collection. They often have fantastic sales, so keep an eye out for opportunities to invest in high-quality, beautiful furniture that will stand the test of time. My only dilemma now is resisting the urge to replace our upstairs couch with another one from them!
Crafting the Cozy Vibe: Coffee Table & Styling
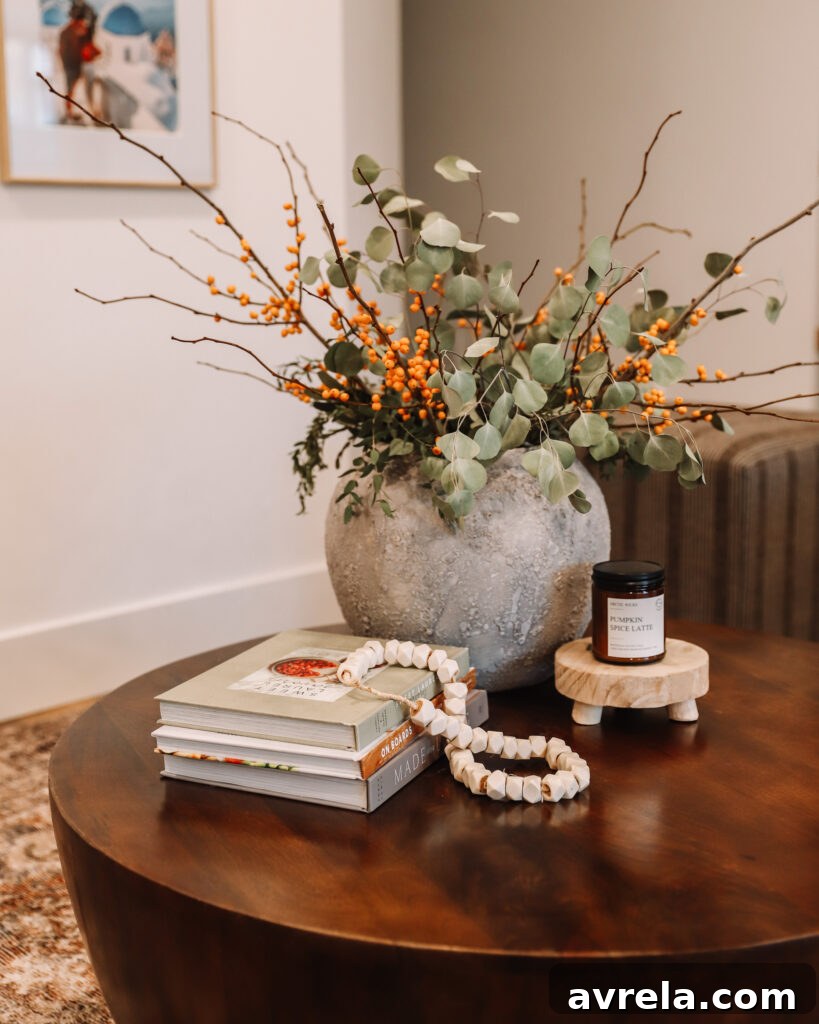
With the sofa in place, the next crucial step was finding the perfect coffee table. My initial desire was for a specific design from Amber Interiors, known for their sophisticated, earthy aesthetic. However, I’m a firm believer that beautiful design doesn’t always have to come with a hefty price tag. After a bit of savvy searching, I stumbled upon this stunning alternative. It was not only significantly more affordable but also nearly identical in style and quality to my original inspiration. This find truly solidified my belief that with patience and a keen eye, you can achieve a high-end look without breaking the bank.
The coffee table itself is a testament to understated elegance, providing a functional centerpiece for the seating area. To bring life and personality to the table, I focused on a few key styling elements. I absolutely adore this particular vase, which I filled with lush, vibrant greenery sourced from a local supermarket (Met Market in West Seattle). Incorporating natural elements instantly adds a touch of freshness and organic beauty to any space. Complementing the greenery, I stacked a few thoughtfully chosen books – both for their visual appeal and for easy access to a good read – alongside a stylish pedestal and a soft, inviting candle. These layers create visual interest, texture, and a truly inviting atmosphere, making the coffee table more than just a surface, but a curated display that enhances the room’s overall warmth and character.
Grounding the Space: The Art of Rug Selection
The journey to finding the ideal rug is notoriously challenging, and I can honestly say it was one of the primary reasons this decorating project took so long to get off the ground. Rugs, perhaps more than any other decor item, can look dramatically different online compared to their appearance in real life. What seems perfect on a screen might be entirely wrong in person, whether due to color variations, texture discrepancies, or the way light interacts with the fibers. This often leads to a cycle of ordering, returning, and re-ordering, which can be both frustrating and time-consuming.
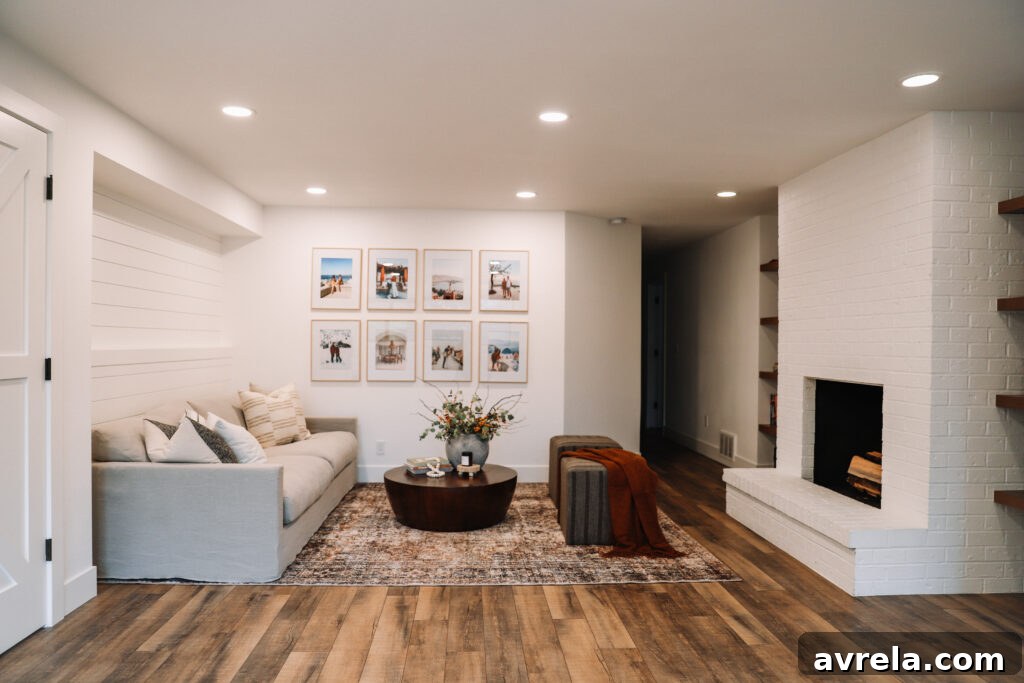
For this space, it took three attempts to finally land on this exceptional rug, which, to my delight, was also on a major sale! The perseverance paid off immensely. This rug is a true masterpiece, boasting a rich, deep “chocolatey” feel that immediately grounds the room. Its intricate design weaves together a captivating palette of burnt oranges, various shades of green, earthy browns, and subtle reds. This thoughtful combination of colors and textures breathes a tremendous amount of character into the room, preventing it from feeling sterile or one-dimensional. Beyond its aesthetic appeal, the rug serves a vital functional purpose: it ties all the disparate elements of the sitting area together, creating a cohesive visual anchor. It defines the space, adds an essential layer of texture, and infuses warmth and an undeniable sense of comfort underfoot, making the entire area feel more complete and inviting.
Functional Flair: Versatile Ottomans for Enhanced Comfort
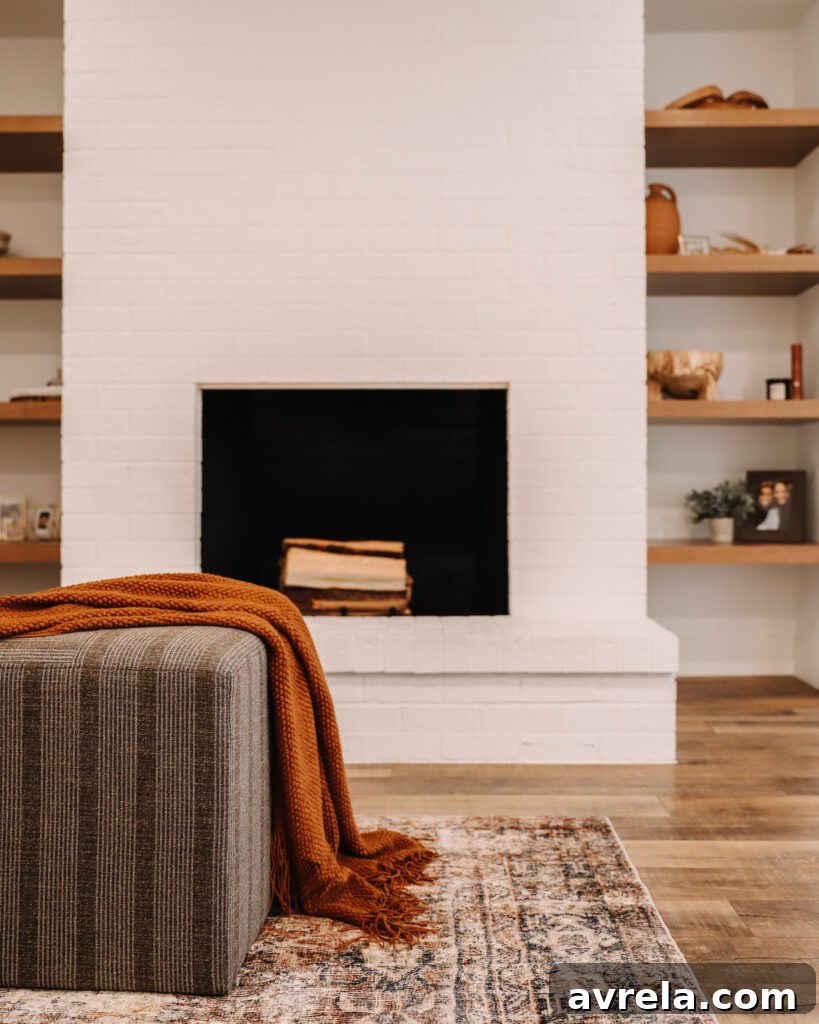
To further enhance the functionality and comfort of our newly designed sitting area, my sister offered a brilliant suggestion: incorporating ottomans on the side opposite the sofa. This simple addition has proven to be incredibly impactful, truly “rounding out” the space and elevating its overall versatility. Ottomans are often underestimated in their ability to transform a room. They are not merely decorative pieces but multi-functional elements that offer flexible seating options, serving as comfortable footrests after a long day, or even as impromptu side tables for drinks or books when entertaining.
One of the most deliberate decisions we made for this room was to forgo a television. This choice was intentional, aimed at preserving the space as a dedicated zone for relaxation, conversation, and quiet contemplation. In an age dominated by screens, creating a sanctuary free from digital distractions felt incredibly important. The ottomans perfectly complement this philosophy, encouraging a more engaged and present experience within the room. I’ve found myself gravitating towards this cozy setup in the evenings, bringing my laptop down to finish work in a more serene environment. The absence of a TV fosters an atmosphere of tranquility, making this room not just visually appealing, but also a truly restorative haven where one can unwind and recharge. It’s a space designed to support well-being and genuine connection, a true respite from the everyday hustle.
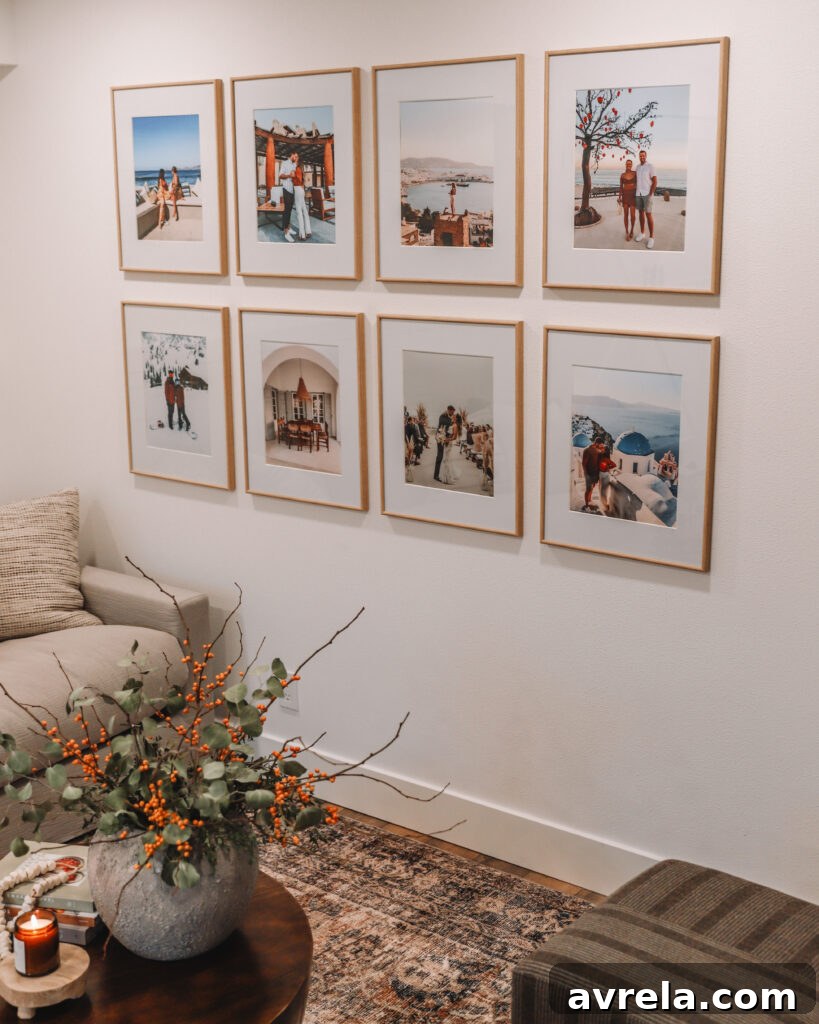
Personal Touches: Curating a Meaningful Gallery Wall
For a long time, the idea of creating a gallery wall felt incredibly intimidating. The sheer number of options for layouts, frames, and photo selections always seemed overwhelming. However, I am so incredibly happy that I finally embraced the challenge! Our home doesn’t feature an abundance of displayed photos, so a gallery wall offered a beautiful and cohesive way to showcase some of our most cherished memories and inject personal character into this new space. When selecting the photos, there wasn’t a strict “rhyme or reason” beyond choosing images that evoked wonderful feelings – mostly sun-drenched moments from unforgettable trips to Cabo and Greece. This approach ensures that every glance at the wall brings a smile and a flood of happy recollections.
For printing our photos, I consistently turn to Artifact Uprising. Their quality is simply exceptional, and I’ve relied on them multiple times in the past for larger prints, our wedding and honeymoon albums, and even custom calendars as thoughtful gifts. The vibrancy and clarity of their prints truly make the memories pop. As for the frames, I sourced these specific ones, and I absolutely adore them! I opted for the 16×20-inch frames matted down to 11×14 inches. The matting adds a professional, polished touch, drawing the eye to the photo itself and providing a clean border that enhances the overall aesthetic of the gallery. This combination of quality prints and elegant frames transforms a collection of individual moments into a striking visual narrative that truly personalizes our living area.
DIY Masterclass: Hanging a Gallery Wall with Ease
Creating a perfectly aligned gallery wall can seem daunting, but my sister shared a truly genius method that makes the process incredibly simple and stress-free. This technique eliminates the guesswork and ensures a professional, polished result every time. Forget eyeballing; this is the way to achieve precision with ease. Here’s a step-by-step guide to hanging your own gallery wall flawlessly:
- Layout on the Floor: Begin by taking a large roll of wrapping paper or brown craft paper and spreading it out on the floor. Arrange your picture frames directly on the paper in your desired layout, ensuring you’re happy with the spacing and overall composition. For my wall, I opted for two rows of four frames, with approximately 2.25 inches of space between each row and about 3.5 inches between each column of frames. This step is crucial for visualizing the final arrangement before any holes are made in your wall.
- Trace and Mark: Once you’re completely satisfied with the arrangement, carefully trace around each frame using a pen or pencil. Then, within each traced outline, make a distinct dot where the nail or picture hook should be placed. To streamline the process, I was able to trace the entire top row of frames starting at the edge of my paper roll, and then approximately a quarter of the second row underneath before needing to adjust the paper.
- Transfer to the Wall: Next, measure your wall to determine the exact center where you want your gallery to be positioned. Carefully tape the paper template to the wall, making sure it’s perfectly level using a spirit level. Take your time with this step; an even foundation is key to a perfectly aligned gallery.
- Hammer Away: With the paper securely taped and leveled, you can now confidently hammer your nails or screw in your picture hooks directly through the paper at each marked dot. The paper acts as your guide, ensuring every nail is in the correct spot.
- Reveal and Hang: Once all the nails are in place, gently tear the paper off each nail, one at a time. Then, simply hang your picture frames onto the corresponding nails. You’ll be amazed at how precisely everything aligns, creating a stunning and cohesive gallery wall with minimal fuss.
This method not only saves time and frustration but also prevents unnecessary holes in your wall, making the entire process enjoyable and rewarding. It’s a DIY hack that every home decorator should know!
Bringing It All Together: A Cohesive Design Philosophy
The completion of this downstairs living space wasn’t just about filling an empty room; it was about weaving together a cohesive design philosophy that prioritized comfort, functionality, and personal expression. Our approach leaned into a blend of cozy modern and rustic influences, aiming for a look that felt both current and timelessly inviting. Each element chosen, from the plush texture of the Sixpenny sofa to the rich, earthy tones of the area rug, contributes to a layered aesthetic that stimulates the senses without overwhelming them.
We focused on warm neutrals as a base, allowing pops of color from the rug and natural greenery to add depth and vibrancy. The shiplap wall provides a subtle rustic backdrop, beautifully contrasted by the clean lines of the furniture and the elegant matting of the gallery frames. The deliberate choice to make this a screen-free zone underscores our commitment to creating a space for true relaxation and connection, away from digital distractions. It’s a room designed to be lived in – a place for quiet mornings with a book, lively conversations with loved ones, or simply unwinding in comfort after a long day. The synergy between classic comfort and modern simplicity has resulted in a space that feels authentically “us” and incredibly welcoming to anyone who steps inside.
Looking Ahead: One Room at a Time
It’s an incredibly satisfying feeling to finally have this downstairs living space complete and functioning exactly as we envisioned. The transformation from an empty, underutilized area to a cozy, inviting haven has truly made our house feel more like a home. Each piece, carefully selected and thoughtfully placed, now contributes to an atmosphere of comfort and style that we cherish daily.
While this major project is wrapped up, the journey of home improvement is, as always, ongoing! We still have one more exciting space to tackle downstairs: our wet bar area. We’re already brimming with ideas for how to transform that corner into another functional and stylish extension of our home. Stay tuned for more updates on our next renovation adventure! xx