
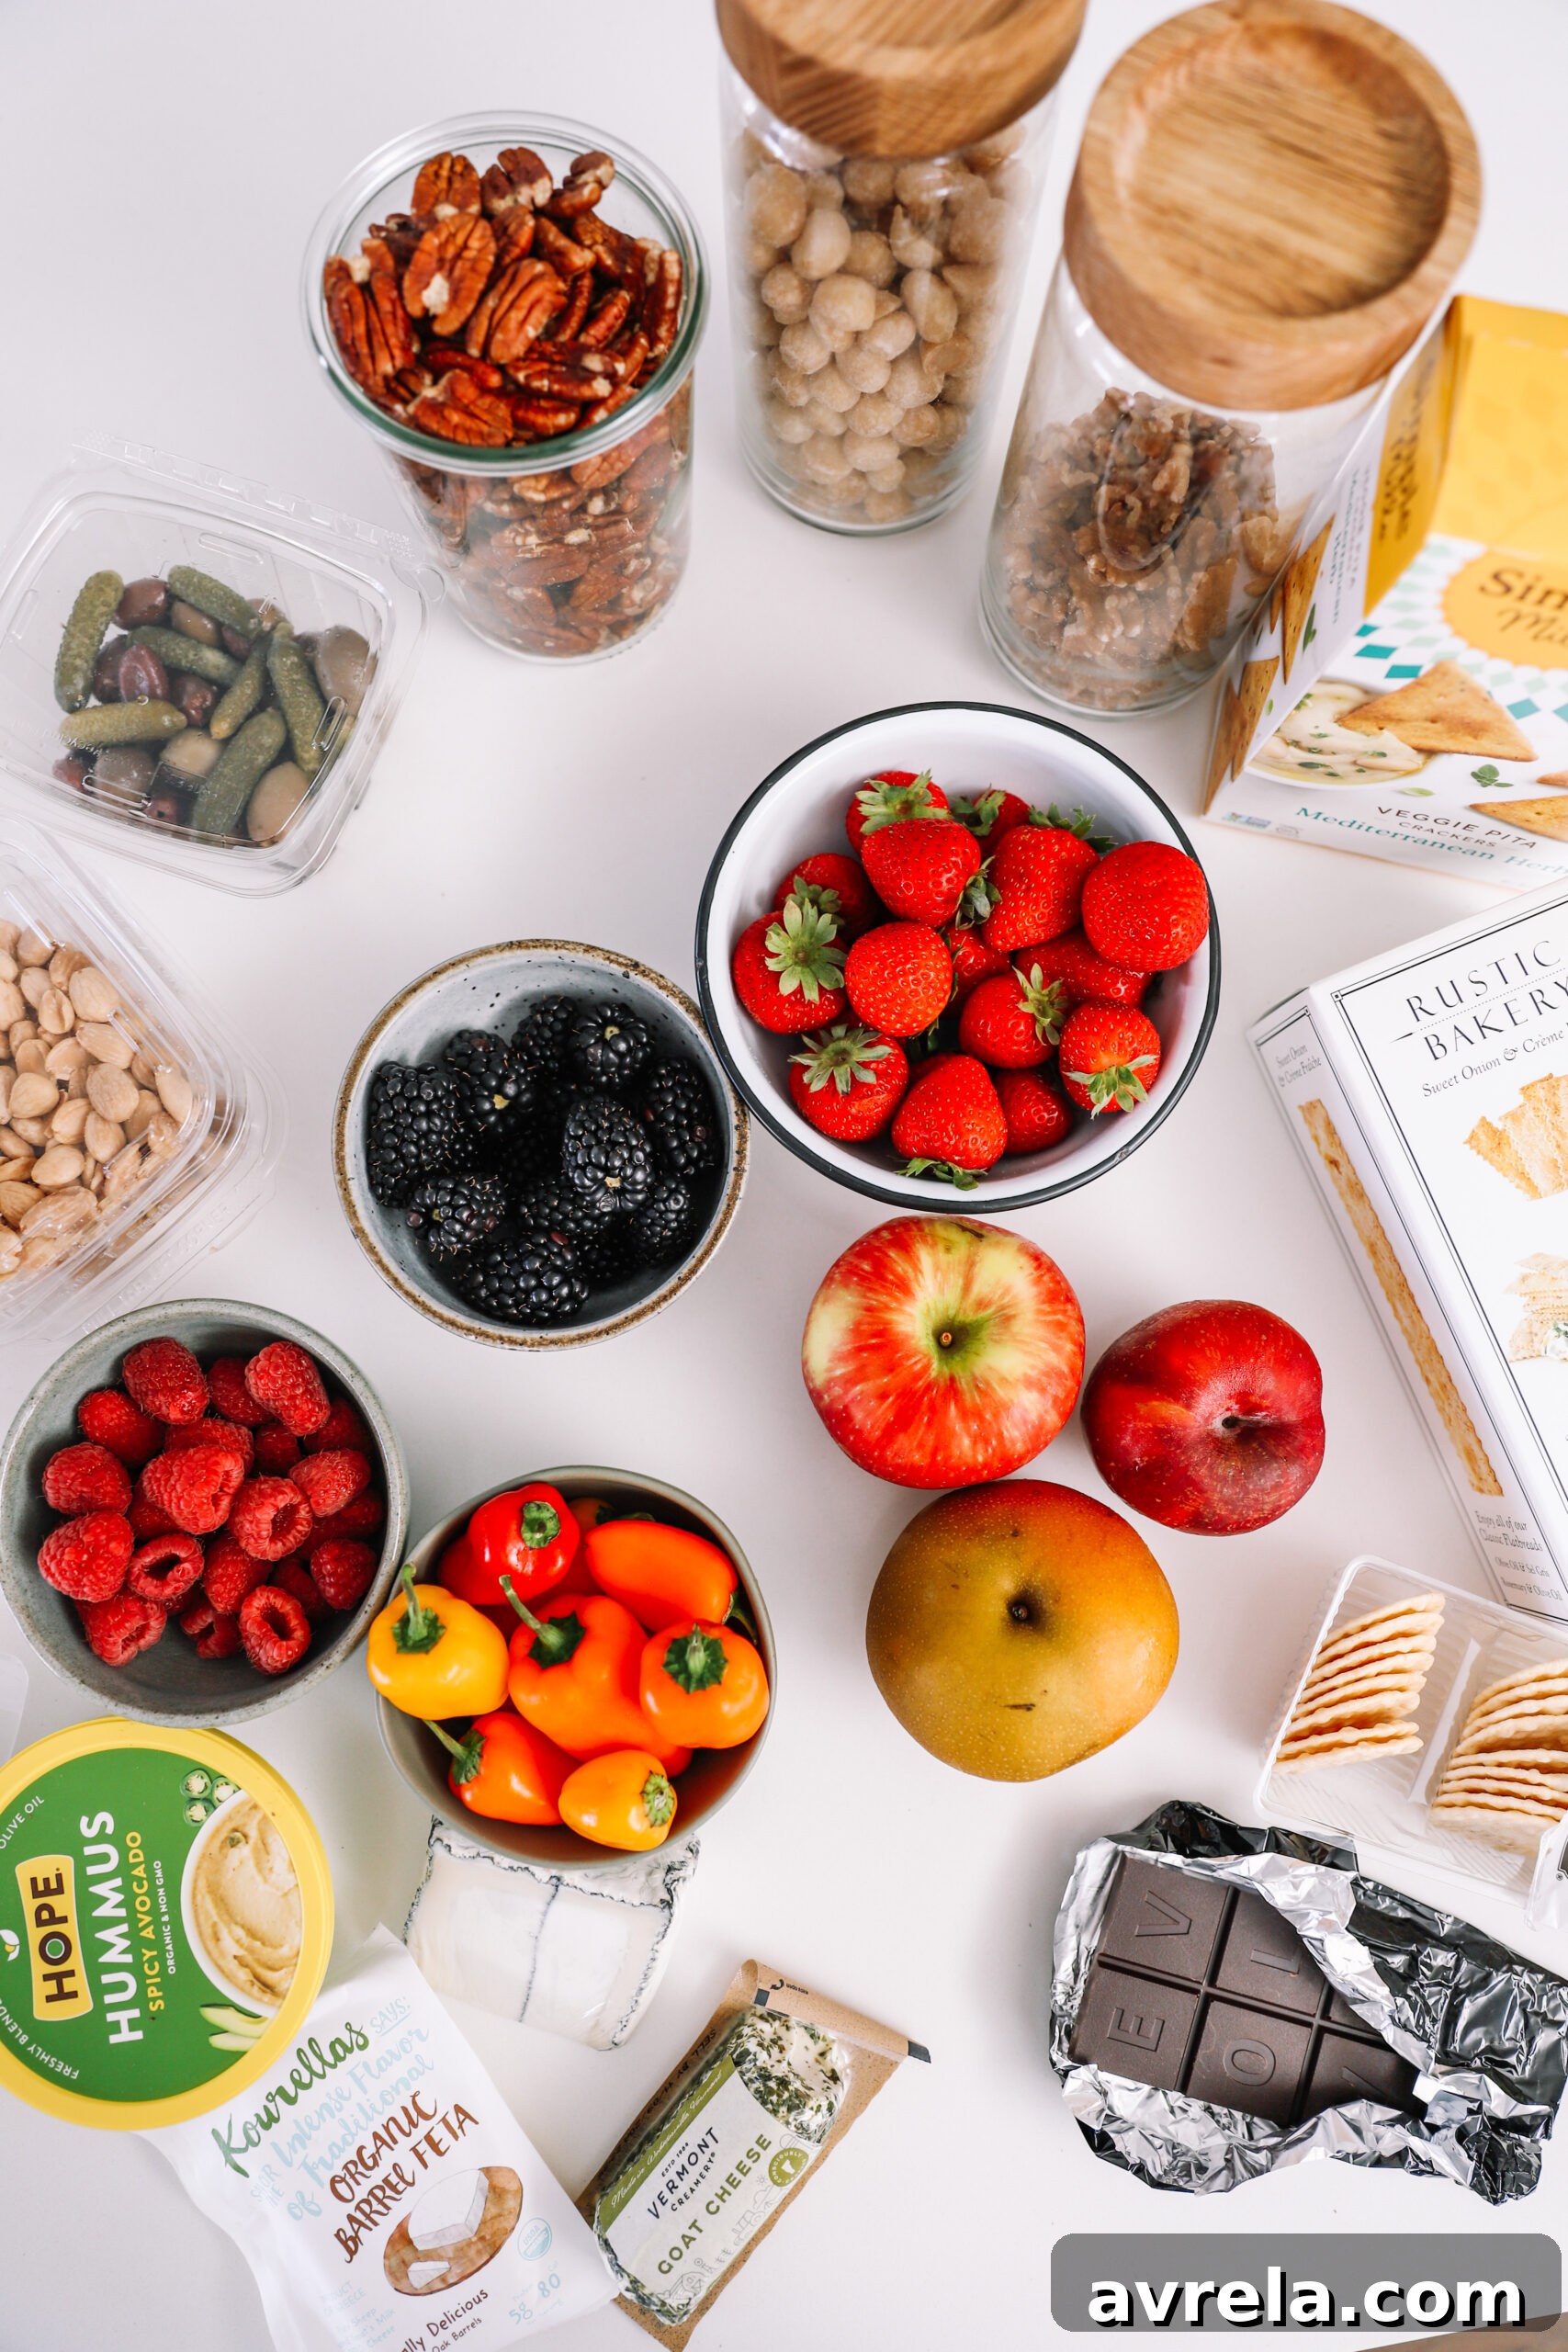
The Ultimate Guide to Keeping Produce Fresh Longer & Reducing Food Waste
We’ve all been there: excitedly stocking up on vibrant, fresh produce at the grocery store, only to watch it slowly wilt, brown, or go bad in the fridge just a few days later. It’s a frustrating cycle that leads to wasted food, wasted money, and often, a rush to the store for replacements. For those of us who prioritize fresh fruits, vegetables, and meats—foods notorious for their shorter shelf lives—this challenge is particularly acute. The idea of daily grocery runs isn’t practical for most, yet planning meals six nights in advance and buying everything at once can feel overwhelming. My personal sweet spot lies in 2-3 smaller grocery trips throughout the week, allowing for flexibility and ensuring I buy only what we need, thereby minimizing waste right from the start.
Over the years, through trial and error, I’ve gathered an arsenal of simple yet incredibly effective tricks for extending the freshness of produce. These aren’t complicated culinary techniques, but rather smart storage solutions that can dramatically change how long your food lasts. You’ll be genuinely amazed at how much longer your delicate lettuce can survive, or how vibrant your herbs can remain!
Understanding the Enemies of Freshness: Why Produce Spoils
Before diving into specific storage tips, it’s helpful to understand the primary factors that contribute to produce spoilage. Moisture, temperature, air exposure, and even certain gases emitted by fruits can all accelerate the decay process. By controlling these elements, we can significantly extend the life of our groceries.
- Moisture: Excess moisture can encourage bacterial growth and mold, especially on leafy greens and berries. Conversely, too little moisture can cause produce to dry out and wilt. The goal is often a balanced environment.
- Temperature: Most produce has an optimal storage temperature. Storing items too warm can speed up ripening and decay, while storing some items too cold can cause chilling damage.
- Ethylene Gas: Some fruits (like apples, bananas, avocados, and tomatoes) release ethylene gas, a natural ripening hormone. This gas can accelerate the ripening and spoilage of other sensitive fruits and vegetables stored nearby. Knowing which produce are “ethylene producers” and “ethylene sensitive” is key.
- Air Exposure & Damage: Cuts, bruises, or excessive air exposure can lead to oxidation, dehydration, and a quicker breakdown of plant tissues.
General Principles for Extending Produce Shelf Life
While specific advice varies by produce type, a few universal principles apply to almost everything you bring home from the market:
- Wash Only When Ready: Resist the urge to wash all your produce as soon as you get home. Excess moisture from washing can promote bacterial growth and spoilage. Wash just before you’re about to use it.
- Proper Airflow: Don’t overcrowd your fridge or pantry. Good air circulation prevents moisture buildup and helps maintain consistent temperatures.
- Inspect and Remove: Before storing, remove any bruised, moldy, or overly ripe pieces. One bad apple (or berry) can indeed spoil the bunch.
- Don’t Store Everything in the Fridge: Not all produce belongs in the refrigerator. Some items thrive at room temperature until ripe, while others prefer a cool, dark pantry.
Expert Tips for Storing Specific Produce Types
Now, let’s get into the nitty-gritty of how to store your favorite fruits and vegetables to maximize their freshness and flavor.
Lettuce: The Crispy Green Hero
Lettuce, with its delicate leaves, is often one of the first items to succumb to spoilage. The key to keeping it crisp is managing moisture. Here’s how to keep different forms of lettuce fresher for weeks:
- Plastic Tubs (Pre-washed Greens): If you purchase large plastic tubs of mixed greens or spinach, the best life-changing hack is simple: slip a sheet or two of paper towel on top of the greens inside the tub. Then, flip the entire tub upside down and store it in your refrigerator. The paper towel acts as a moisture magnet, absorbing any condensation that forms, which is the primary culprit behind slimy lettuce. Swap out the paper towel every few days as it becomes damp. This method can easily extend the life of your greens by an extra week or more.
- Full Heads of Lettuce: For whole heads of romaine, iceberg, or butter lettuce, the best strategy is to leave them intact until you’re ready to use them. The outer leaves provide a natural protective barrier. Once you cut into a head, store any unused portions in an airtight container (like a Stasher bag or Tupperware) lined with a few layers of dry paper towels. This creates a similar moisture-absorbing environment, keeping the cut edges fresh and crisp.
- Bags of Lettuce: Pre-cut bags of lettuce are arguably the most challenging to keep fresh due to the increased surface area exposed to air and trapped moisture. My advice here is to use them as quickly as possible. If you anticipate not finishing a bag before it turns, don’t let it go to waste! Stick it in the freezer. Frozen lettuce is perfect for adding to smoothies, blending into soups, or even sautéing into stir-fries, where a crisp texture isn’t paramount.
Berries: Delicate Gems of Freshness
Berries are notoriously fragile and prone to mold. While washing them immediately upon arrival might seem hygienic, it actually shortens their lifespan. The critical steps for berry preservation are gentle cleaning and meticulous drying.
- The Vinegar Bath Method (Optional but Recommended): For an extra layer of protection against mold, consider giving your berries a quick vinegar bath. Mix one part white vinegar with three parts water in a large bowl. Gently submerge your berries for about 30 seconds, then drain them. The vinegar helps kill mold spores without leaving a noticeable taste once rinsed.
- Thorough Drying is Key: After any washing (whether a vinegar bath or plain water), it’s crucial to dry your berries completely. Spread them out in a single layer on a clean kitchen towel or paper towels and allow them to air dry for at least 30 minutes, or gently pat them dry. Any lingering moisture will invite mold.
- Paper Towel Storage: Once thoroughly dry, line an airtight container or the original berry container with a folded sheet of paper towel. Place the berries in a single layer if possible, then top with another folded sheet of paper towel. Store them upside down in the refrigerator. Just like with lettuce, the paper towel will absorb excess moisture. Change the paper towel every few days if it becomes damp to maintain optimal freshness. This method can significantly extend the life of strawberries, blueberries, raspberries, and blackberries.
Avocados: Mastering the Ripeness Game
Avocados are all about timing. They arrive hard, ripen quickly, and then turn brown even faster. Understanding their ripening process is essential for optimal enjoyment.
- Ripen at Room Temperature: Unripe avocados should always be left on the counter at room temperature until they reach your desired level of softness. To speed up ripening, place them in a brown paper bag with an apple or banana, as these fruits release ethylene gas.
- Refrigerate Once Ripe: Once your avocados are perfectly ripe (they yield to gentle pressure), transfer them to the refrigerator. This slows down the ripening process considerably, extending their peak freshness by another 5-7 days.
- Storing Cut Avocados: If you’ve only used half an avocado, preserving the other half from browning is a common challenge. The pit and the skin act as natural barriers against oxidation. Store the remaining half with the pit intact, ideally covered with its original shell if possible. Then, place it in an airtight container or a Stasher bag in the fridge. Limiting air exposure is the main goal. A thin layer of olive oil or a squeeze of lemon juice on the exposed flesh can also help create a barrier. Have you seen my avocado cutting hack? It might change how you approach this!
- Other Similar Fruits: The same “ripen at room temperature, then refrigerate” rule applies to other climacteric fruits like tomatoes, melons (whole), kiwi, mangoes, plums, peaches, and pears. Bring them home, let them soften and develop flavor on the counter, then move them to the fridge to pause the ripening process and extend their usability.
Onions & Potatoes: Dark, Cool, and Dry is Key
Onions and potatoes are pantry staples, but improper storage can lead to sprouting, softening, or rot. These root vegetables prefer environments that mimic their natural underground habitat.
- Pantry Power: For most purposes, onions and potatoes thrive in a cool, dark, and dry pantry, basement, or cupboard, rather than on the kitchen counter. Direct sunlight or warmth from appliances can cause them to sprout prematurely. Anywhere with good air circulation that maintains a consistent, cool temperature (ideally between 45-55°F or 7-13°C) works best.
- Keep Them Separate: Crucially, never store onions and potatoes together. Onions emit ethylene gas, which can cause potatoes to sprout faster, and potatoes release moisture, which can cause onions to spoil. Keep them in separate bins or areas of your pantry.
- Refrigeration for Longer Storage: If you’re buying onions or potatoes in bulk and need them to last for more than a few weeks, transferring them to the refrigerator can extend their life even further. However, note that refrigerating potatoes can convert their starch to sugar, slightly altering their taste and texture, making them sweeter or causing them to brown faster when cooked.
- Garlic and Shallots: These aromatic cousins should be stored similarly to onions – in a well-ventilated area that is cool and dark. Avoid storing them in plastic bags, as this traps moisture and encourages mold. A mesh bag or an open basket is ideal.
Herbs: Treat Them Like Flowers
Fresh herbs can elevate any dish, but they wilt quickly if not stored properly. The secret is to mimic how you’d keep a bouquet of flowers fresh.
- The “Flower Bouquet” Method: This is a game-changer for delicate, soft-stemmed herbs like parsley, cilantro, basil, and mint. Trim the very ends of the stems, much like you would cut flower stems. Place the herbs upright in a glass jar with about an inch of water at the bottom, ensuring only the stems are submerged. For extra freshness and to prevent dehydration, loosely cover the top of the jar and herbs with a large plastic bag (a produce bag works perfectly). Store this “herb bouquet” in the refrigerator (except for basil, which prefers room temperature and can turn black in the cold). Change the water every couple of days. Herbs stored this way can seriously last for weeks!
- Heartier Herbs: For woody-stemmed herbs like rosemary, thyme, or oregano, you can simply wrap them in a slightly damp paper towel, then place them in an airtight container or a Ziploc bag in the refrigerator.
- Freezing Herbs: If you have an abundance of herbs, freezing them is an excellent option. Chop them finely, place them in ice cube trays, cover with olive oil or water, and freeze. Once frozen, transfer the cubes to a freezer-safe bag. These herb cubes are perfect for adding flavor directly to soups, stews, or sauces.
Mushrooms: The Breathable Bag Trick
Mushrooms are like sponges; they absorb moisture easily, which makes them slimy and prone to spoilage. Their unique texture means they don’t do well in airtight plastic containers.
- The Brown Paper Bag Method: The best way to store fresh mushrooms is in a plain brown paper bag. The paper bag absorbs any excess moisture that the mushrooms release while also allowing them to breathe. This prevents them from becoming slimy, which often happens in plastic packaging where moisture gets trapped. Place the bag in the main compartment of your refrigerator. While they’ll last longer than you might expect, aim to use them within 5-7 days for optimal freshness and texture.
- Avoid Washing Until Use: Do not wash mushrooms until you are ready to cook them. Any added moisture will accelerate their spoilage. If they have dirt, gently brush it off with a dry cloth or mushroom brush.
Carrots: Crunchy Goodness, Waterlogged for Success
Carrots are sturdy, but they can quickly lose their crispness and become limp due to dehydration. How you store them depends on whether they are whole or baby carrots.
- Baby Carrots: Store baby carrots in their original bag, as they often come with a small amount of water or moisture to keep them hydrated. They will generally stay good for a week or two.
- Whole Carrots: If you buy whole carrots with their leafy tops, remove the green tops immediately before storing. The greens draw moisture from the roots, causing the carrots to soften faster. Whole carrots can last a few days in the fridge crisper drawer, but they will start to soften pretty quickly.
- The Water Bath for Whole Carrots: To keep whole carrots incredibly crunchy and vibrant for weeks, cut them into smaller strips or sticks (or leave them whole, peeled). Place them in a large jar or an airtight container, and completely submerge them in cold water. Seal the container and store it in the refrigerator. Change the water every 1-2 days. This method rehydrates the carrots and keeps them incredibly crisp. This technique also works wonderfully for other root vegetables and crunchy items like celery sticks or radishes.
Conclusion: A Fresh Start to Less Waste
Adopting these simple yet powerful produce storage hacks will not only save you money by significantly reducing food waste, but it will also ensure you always have access to fresh, flavorful ingredients for your meals. No more guilt over forgotten vegetables or last-minute grocery dashes! By treating your produce with a little extra care and understanding its unique needs, you can enjoy delicious, healthy food for longer, making your kitchen more efficient and your grocery budget stretch further. Start implementing these tips today and embark on your journey to a fresher, more sustainable kitchen!