
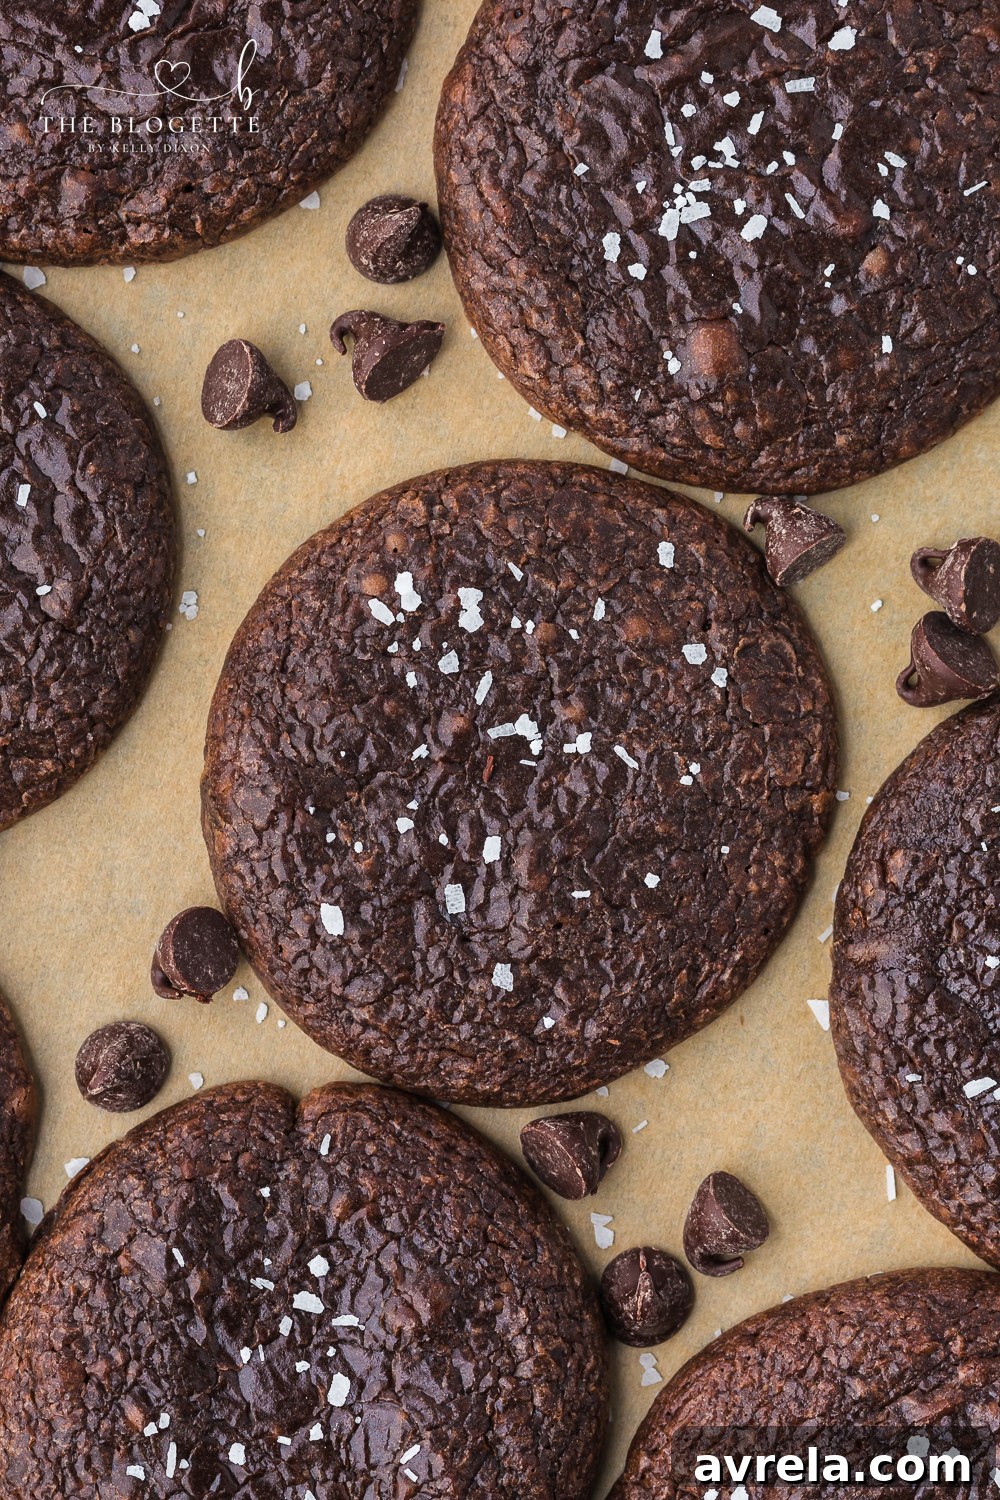
Fudgy Chocolate Brownie Cookies: The Best of Both Worlds
There’s a reason why everyone loves a good brownie – that irresistible fudgy texture, intense chocolate flavor, and melt-in-your-mouth goodness. Now, imagine taking all those beloved qualities and transforming them into a perfectly portable, chewy cookie. That’s exactly what you get with these incredible Chocolate Brownie Cookies. They combine the rich, decadent flavor of brownies with the soft, chewy texture of cookies, creating an indulgent treat that truly offers the best of both worlds. Each bite delivers an intense wave of chocolate, featuring a delightfully crisp edge that gives way to a gloriously gooey, fudgy center. These cookies aren’t just a dessert; they’re an experience, perfect for any chocolate lover seeking a truly decadent delight. They pair beautifully with a cold glass of milk, a warm cup of coffee, or simply enjoyed on their own as a luxurious pick-me-up.
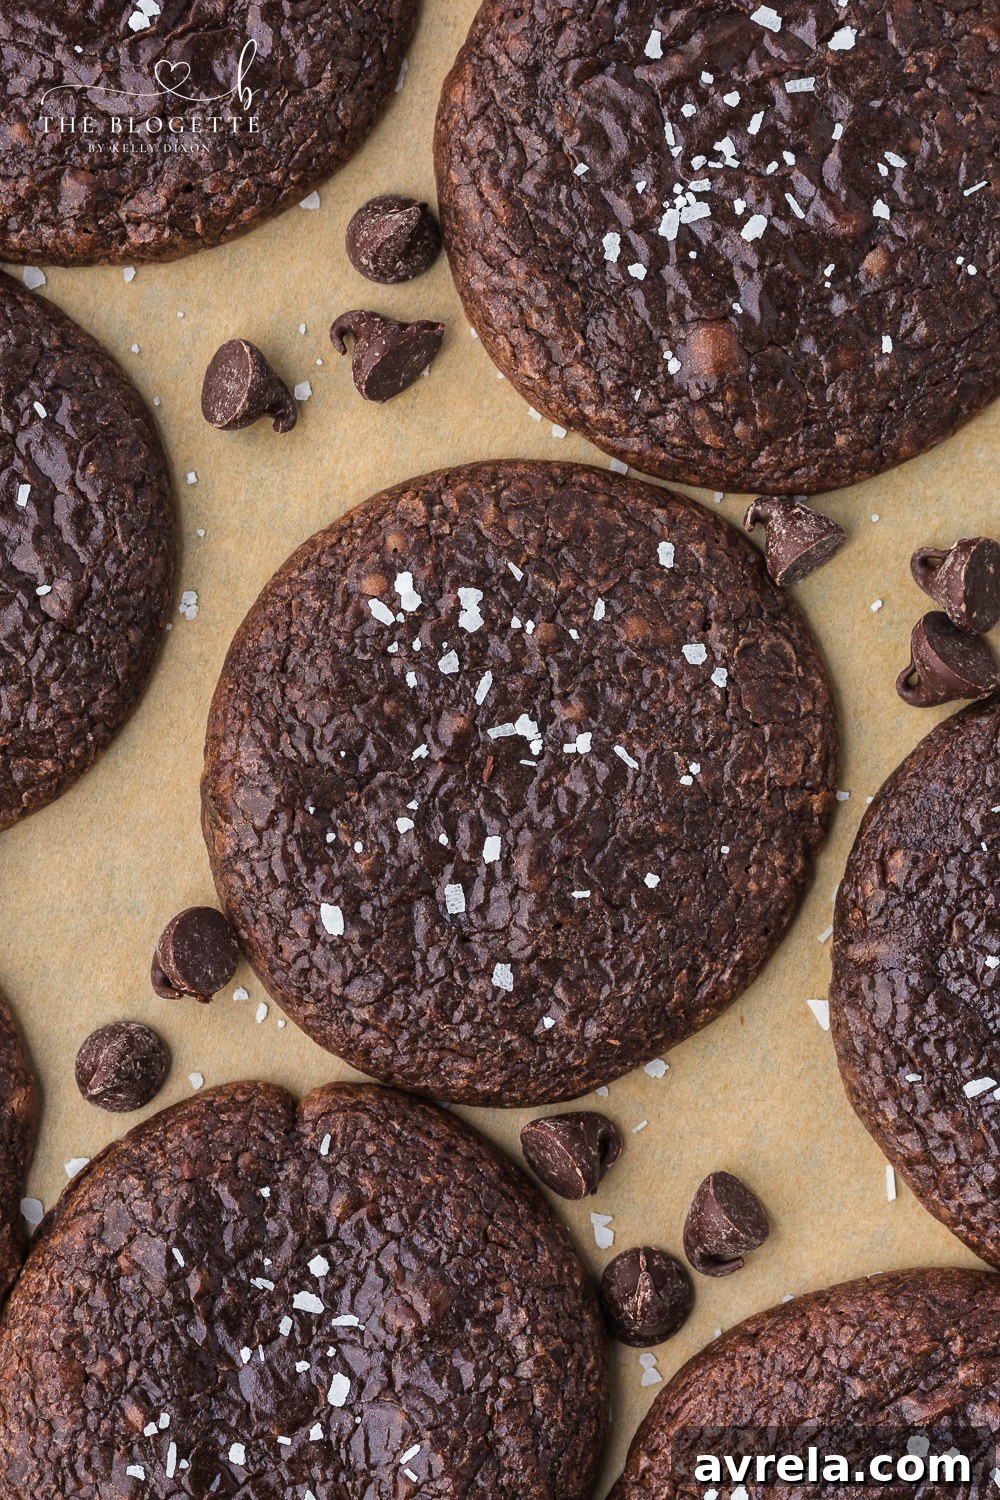
Why You’ll Fall in Love with These Fudgy Brownie Cookies
If you’re searching for that ultimate chocolate fix, these brownie cookies are about to become your new go-to recipe. They stand out from typical chocolate cookies for several compelling reasons:
- Unrivaled Chocolate Intensity: We don’t just use cocoa powder; we use a combination of dark chocolate and cocoa powder to create a deeply rich, complex chocolate flavor that truly satisfies.
- Perfect Fudgy & Chewy Texture: Unlike some cookies that can be dry or cakey, these deliver on the promise of fudginess, reminiscent of a gooey brownie, combined with the pleasant chew of a well-made cookie. The secret lies in the precise ratio of sugars and fats.
- Effortlessly Elegant Crackly Tops: Achieving that signature crackled top is easier than you think with this recipe, adding to their visual appeal and signaling the delightful texture within.
- Simple to Master: Despite their gourmet taste and appearance, this recipe is straightforward and accessible for bakers of all skill levels. With a few key techniques, you’ll be whipping up professional-looking cookies in no time.
- Versatile for Customization: These cookies are a fantastic base for all your favorite mix-ins, from nuts to various candies, allowing you to personalize each batch to your liking.
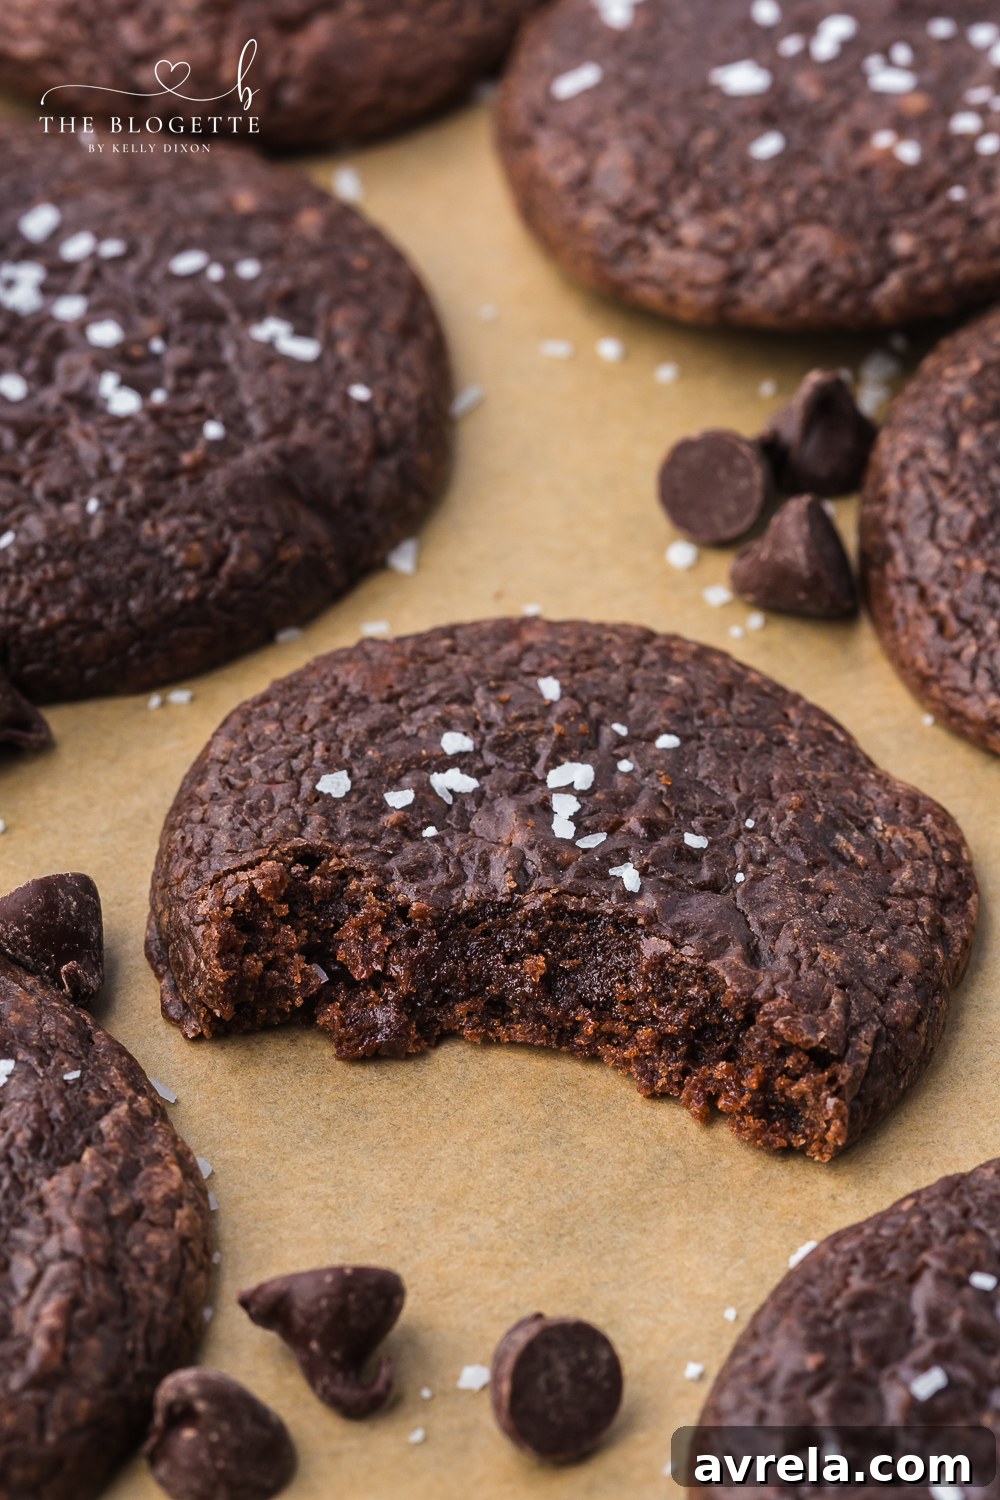
Achieving Perfection: Essential Tips & Techniques for Your Brownie Cookies
Crafting the perfect brownie cookie is all about understanding a few key principles. These tips will help ensure your cookies turn out exceptionally fudgy, chewy, and utterly delicious every single time:
- Quality Chocolate Matters: The star of this show is chocolate, so don’t skimp on quality. Using a good brand of dark chocolate (60-70% cocoa) for melting will drastically improve the depth of flavor. High-quality chocolate chips or chunks will also melt better and provide superior texture.
- Room Temperature Eggs: This is a non-negotiable step. Cold eggs can cause the melted chocolate to seize and create a lumpy batter. Room temperature eggs, on the other hand, emulsify beautifully with the sugar and fat, leading to a smooth, airy mixture that contributes to the cookies’ fudgy texture and crackly tops. Plan ahead and take them out of the fridge an hour before baking, or quickly warm them in a bowl of warm water for 5-10 minutes.
- Don’t Overmix the Flour: Once you add the dry ingredients to the wet, mix only until just combined. Overmixing develops the gluten in the flour, which can lead to tough, dry cookies instead of the desired soft and fudgy texture. A rubber spatula is your best friend for this gentle folding step.
- The Power of Brown Sugar: The combination of granulated and dark brown sugar is crucial. Granulated sugar aids in creating that crisp, crackly exterior, while dark brown sugar (with its higher molasses content) is responsible for the incredibly moist, fudgy interior. Using dark brown sugar offers a richer flavor and superior chewiness compared to light brown sugar.
- Proper Baking Time is Key: Brownie cookies are best when slightly underbaked. They might look a little soft in the center when you pull them out of the oven, but they will continue to set as they cool on the hot baking sheet. Overbaking is the quickest way to turn a fudgy cookie into a dry, cakey one. Look for set edges and crackly tops.
- Chill Your Dough: While not explicitly in the original instructions, chilling the dough for at least 30 minutes (or even an hour) helps prevent the cookies from spreading too much during baking, ensuring they retain their thick, fudgy profile. It also allows the flavors to meld beautifully.
Ingredients for Irresistible Chocolate Brownie Cookies
To make these heavenly brownie cookies, you’ll need a selection of basic pantry staples and, of course, plenty of chocolate. Each ingredient plays a vital role in achieving that perfect fudgy-chewy balance and intense chocolate flavor. Here’s a detailed look at what goes into them and why each component is crucial:
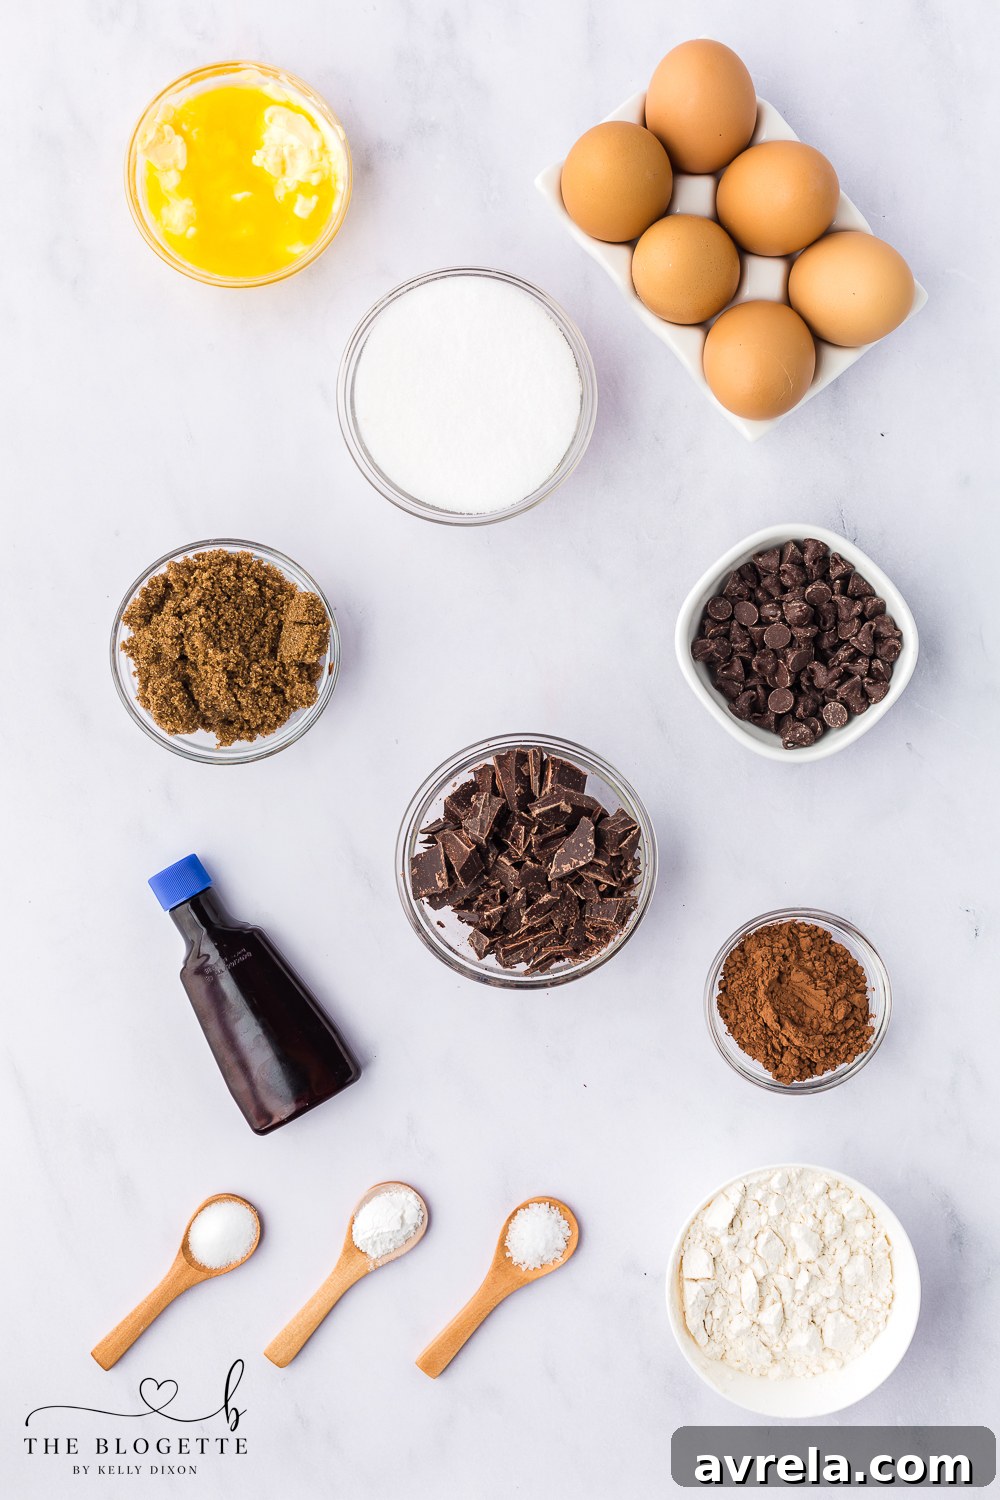
- Dark Chocolate: The very foundation of our intense chocolate flavor. Opt for a high-quality dark chocolate (around 60-70% cocoa solids) in chopped form for optimal melting and the richest taste.
- Salted Butter: This adds a luxurious richness and contributes significantly to the cookies’ desirable chewy texture. If you only have unsalted butter, simply add an extra pinch (about ¼ teaspoon) of salt to your dry ingredients.
- Vanilla Extract: A crucial flavor enhancer that complements and deepens the chocolate notes. For an adventurous twist, you could experiment with almond extract, but be aware it’s much stronger; reduce the amount to just ½ teaspoon if you choose this alternative.
- Granulated Sugar & Dark Brown Sugar: The magic happens with this sugar duo! Granulated sugar provides that slightly crisp edge and contributes to the signature crackly top, while dark brown sugar, with its higher molasses content, is essential for the moist, deeply fudgy center and adds a subtle caramel undertone. Using light brown sugar will result in a less fudgy cookie, so stick to dark for optimal results.
- Large Eggs (Room Temperature): This ingredient is paramount. It’s absolutely vital that your eggs are at room temperature. If they are cold, the melted chocolate will seize and clump, preventing a smooth, cohesive batter. Room temperature eggs blend seamlessly, creating a beautifully emulsified and airy mixture.
- All-Purpose Flour: The primary structural component of our cookies. For best results and to prevent dense cookies, measure your flour accurately by spooning it into the measuring cup and then leveling it off.
- Cocoa Powder: This provides an extra layer of chocolate intensity. Use unsweetened cocoa powder to control the sweetness and achieve a truly deep chocolate flavor.
- Baking Powder: Our leavening agent. It provides a slight lift, helping the cookies puff up just enough to create that delightful crackly surface without making them overly cake-like.
- Salt: A seemingly small addition that makes a huge difference. Salt balances the sweetness, enhances all the other flavors, and truly makes the chocolate sing. Do not omit it!
- Semi-Sweet Chocolate Chips: These melt into delightful pockets of gooey chocolate throughout your cookies. Feel free to substitute with milk chocolate chips for a sweeter profile, or for a more rustic texture, chop a good quality chocolate bar into irregular chunks.
- Coarse Sea Salt (Optional): A sprinkle of coarse sea salt on top of the warm cookies after baking is a game-changer. It provides a beautiful contrast to the sweetness and elevates the entire flavor experience, making these cookies feel truly gourmet.
Personalize Your Brownie Cookies: Optional Mix-Ins & Creative Variations
Just like their brownie cousins, these chocolate brownie cookies are thick and fudgy, making them the perfect canvas for a variety of delicious mix-ins. Don’t be afraid to get creative and customize your batch to suit your cravings or any special occasion!
- Holiday Minty Chocolate: For a festive twist, crush candy canes or peppermints and sprinkle them generously on top of the warm cookies immediately after they come out of the oven. This adds a delightful crunch, a vibrant pop of color, and a refreshing minty chocolate flavor that’s perfect for the holiday season.
- Nutty Indulgence: Enhance the texture and add a savory note by folding in ½ cup of your favorite chopped nuts. Walnuts and pecans are classic choices, but almonds or hazelnuts would also be fantastic. For an even deeper flavor, lightly toast the nuts in a dry pan before adding them to the dough.
- Extra Chocolate & Candy Bliss: Elevate the chocolate experience or add a fun burst of different flavors and textures with bite-sized candies. Consider folding in Reese’s Pieces, colorful M&Ms, miniature Hershey’s Kisses, creamy butterscotch chips, or chopped peanut butter cups. The possibilities are endless!
- White Chocolate Chunks: For a beautiful visual contrast and a slightly different sweetness, stir in white chocolate chunks or chips. They pair wonderfully with the dark chocolate base.
- Espresso Powder: A teaspoon of instant espresso powder (not coffee grounds!) can dramatically deepen and intensify the chocolate flavor without adding a noticeable coffee taste. It’s a secret ingredient many professional bakers use.
- Dried Fruits: For a touch of sophistication and chewiness, consider adding dried cherries, cranberries, or even finely chopped dried apricots. A little orange zest can also brighten the flavors beautifully.
- Coconut Flakes: Toasted coconut flakes can add a lovely tropical crunch and nutty flavor dimension.
Baking Bliss: Step-by-Step Instructions for Your Chocolate Brownie Cookies
Follow these detailed steps carefully, and you’ll be rewarded with perfectly fudgy, chewy, and intensely chocolatey brownie cookies that will impress everyone. Precision in baking leads to perfection!
- Prepare Your Baking Station: Start by preheating your oven to 350°F (175°C). Line a 12×16 inch baking sheet with parchment paper. This crucial step prevents the cookies from sticking and makes for incredibly easy cleanup.
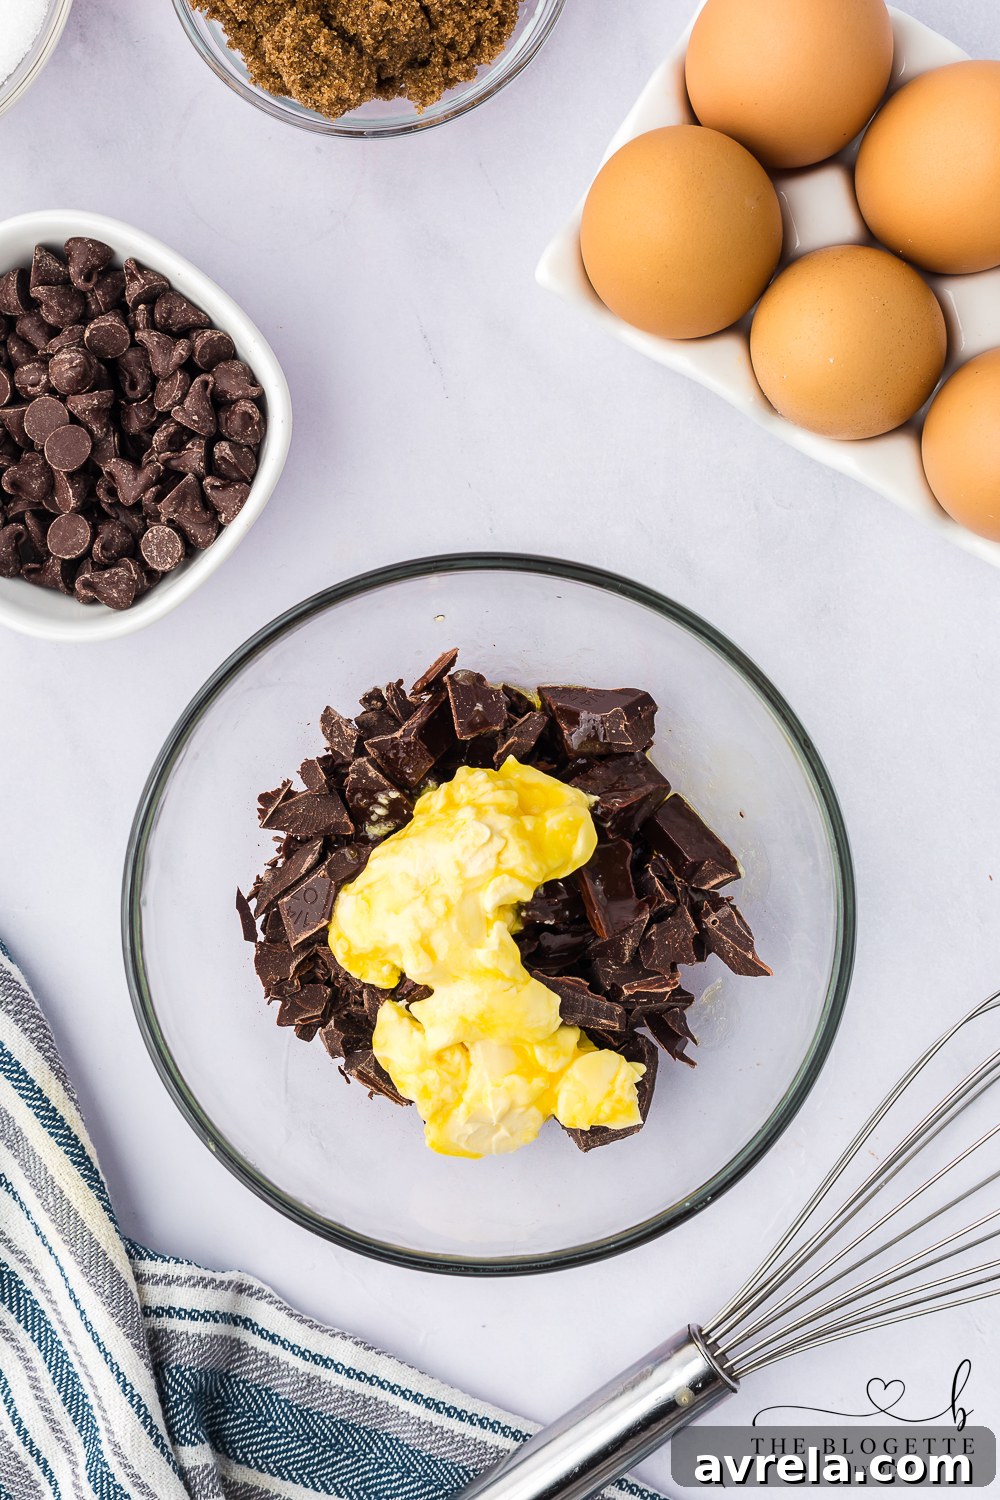
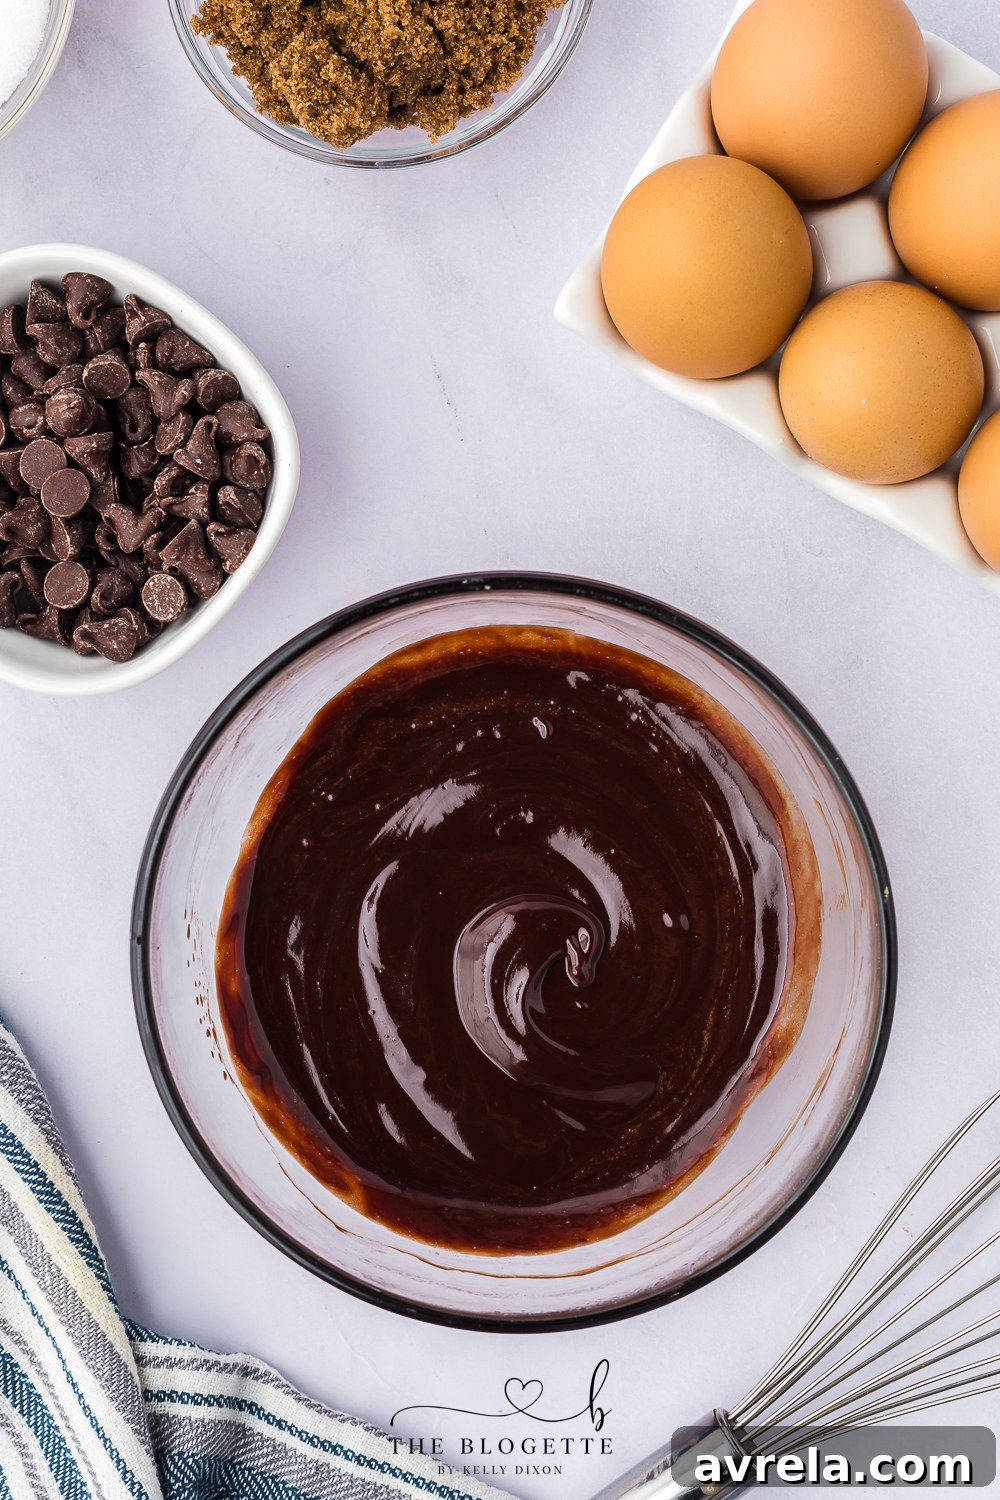
- Melt Chocolate and Butter: In a heatproof bowl, combine the chopped dark chocolate and salted butter. Place this bowl over a pot of simmering water (ensure the bottom of the bowl does not touch the water – you’re using steam to melt, not direct heat). Stir continuously with a spoon or rubber spatula until the chocolate and butter are fully melted and smoothly incorporated into each other. Remove the bowl from the heat, stir in the vanilla extract, and set aside to cool slightly while you prepare the other ingredients.
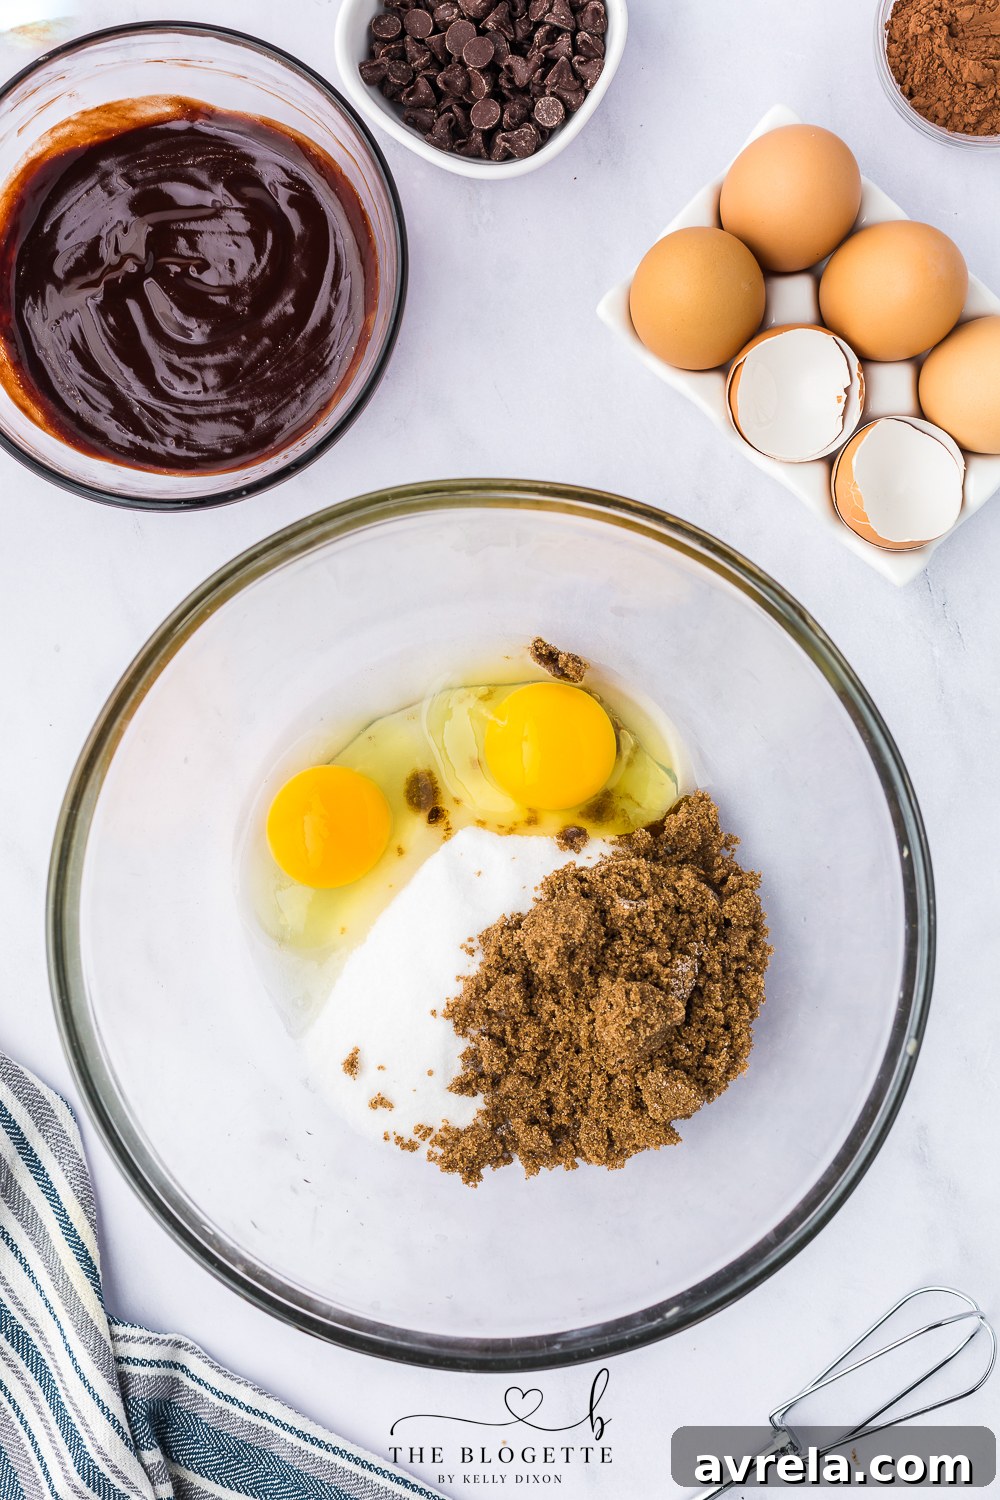
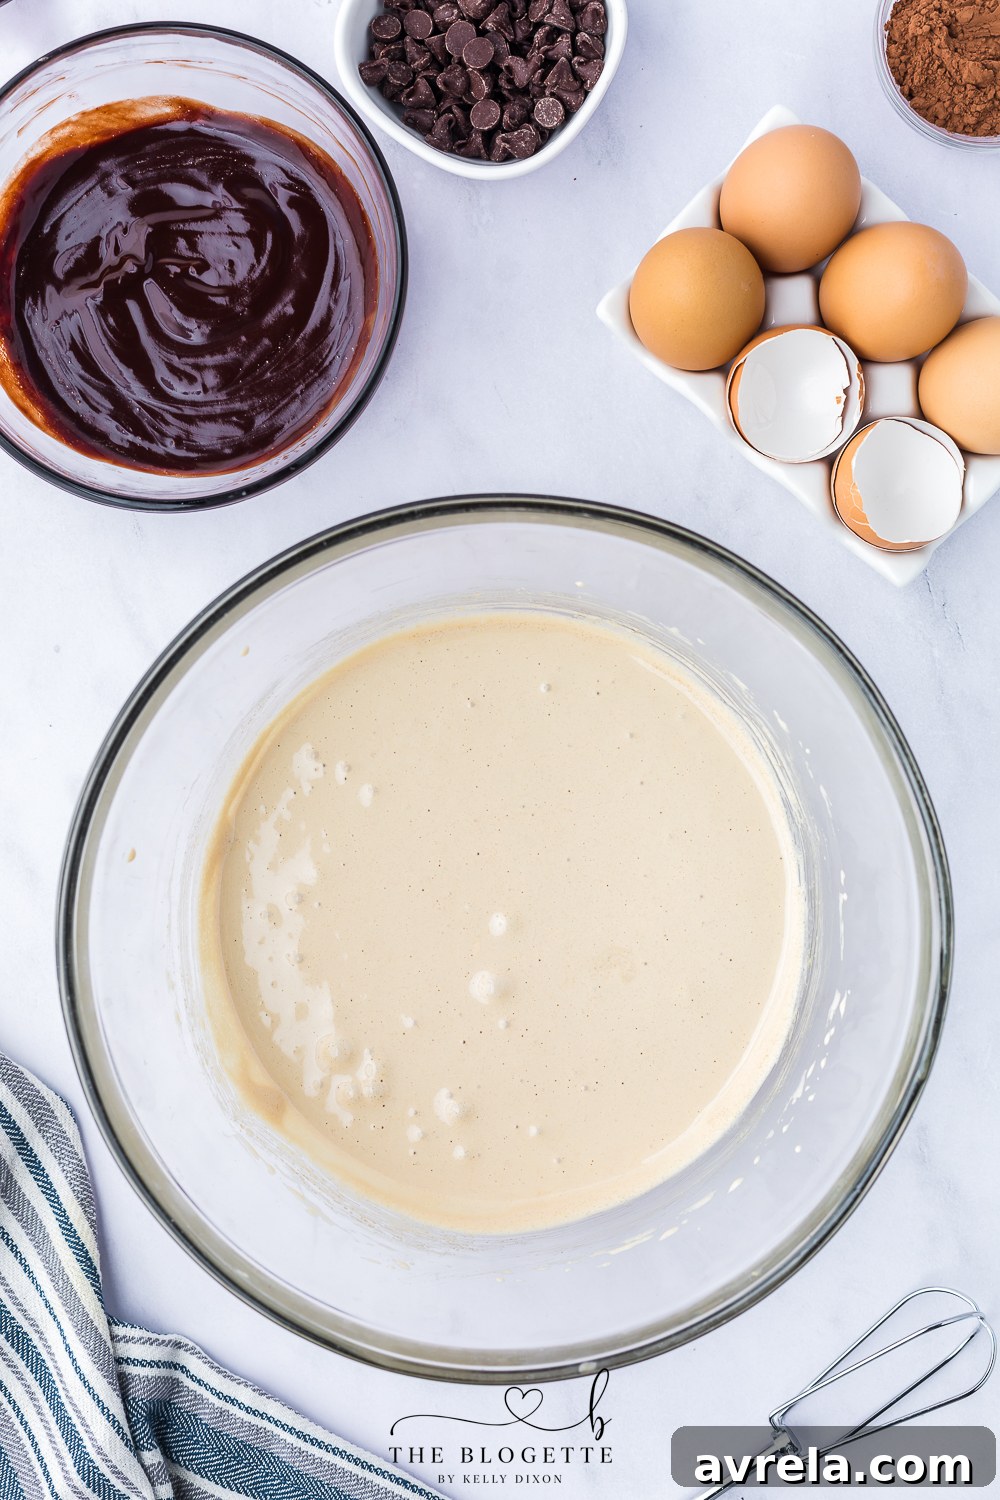
- Whip Eggs and Sugars: In a separate medium-sized mixing bowl, combine the granulated sugar, dark brown sugar, and room temperature large eggs. Using an electric hand mixer on high speed, beat this mixture for about 2-3 minutes. Continue mixing until the mixture becomes noticeably pale in color, thick, and fluffy. This aeration process is key to the cookie’s texture and the beautiful crackly tops.
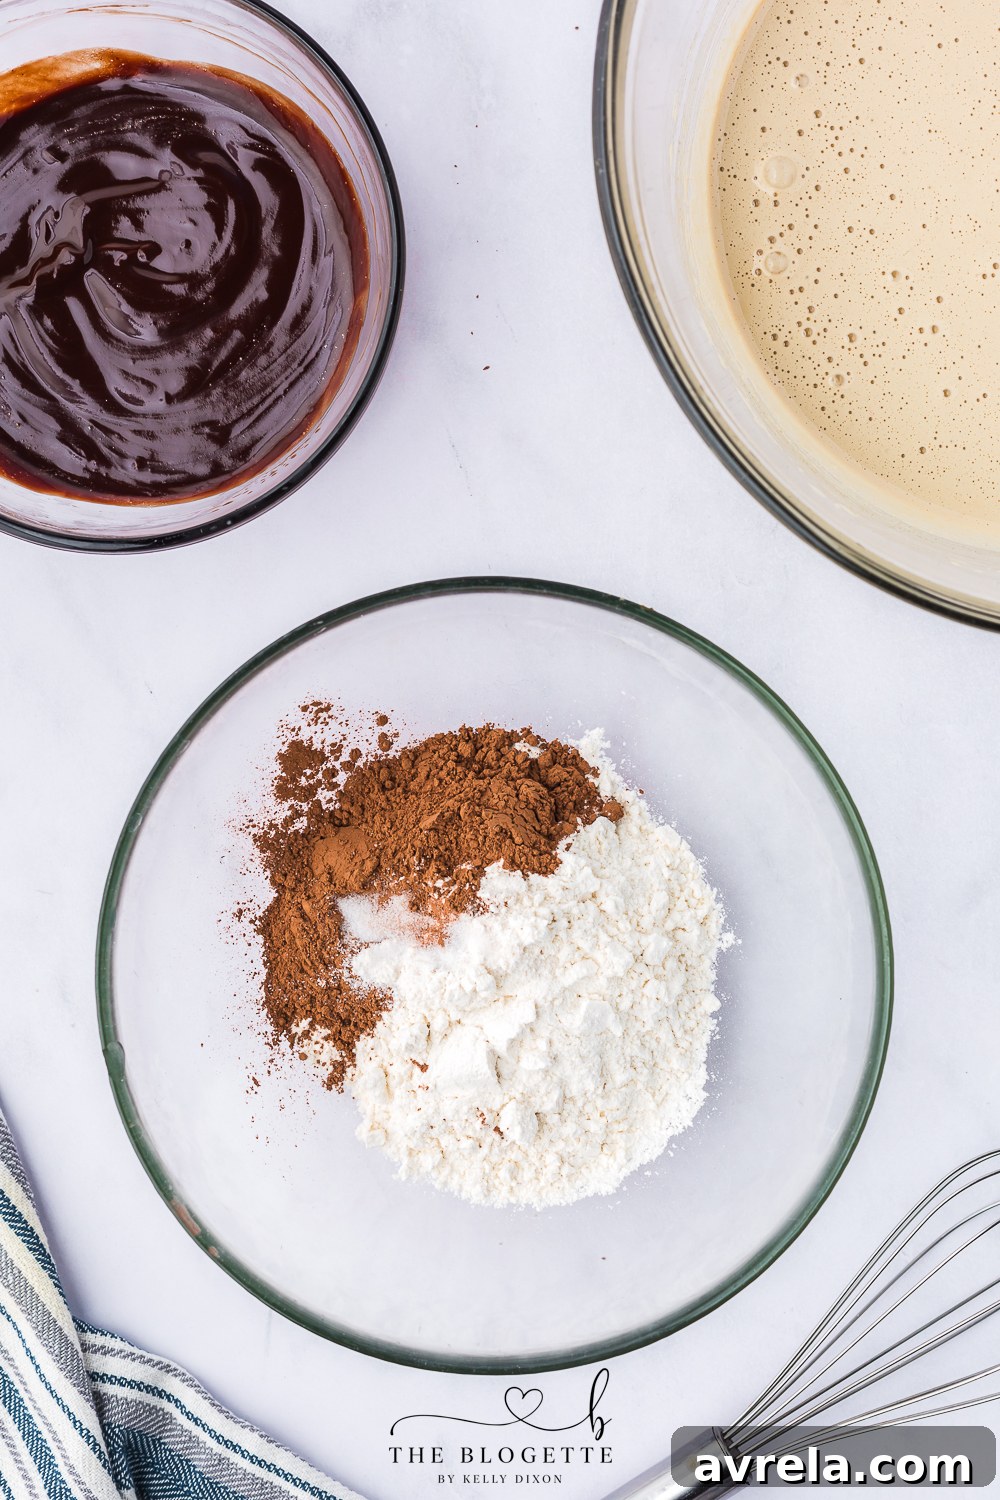
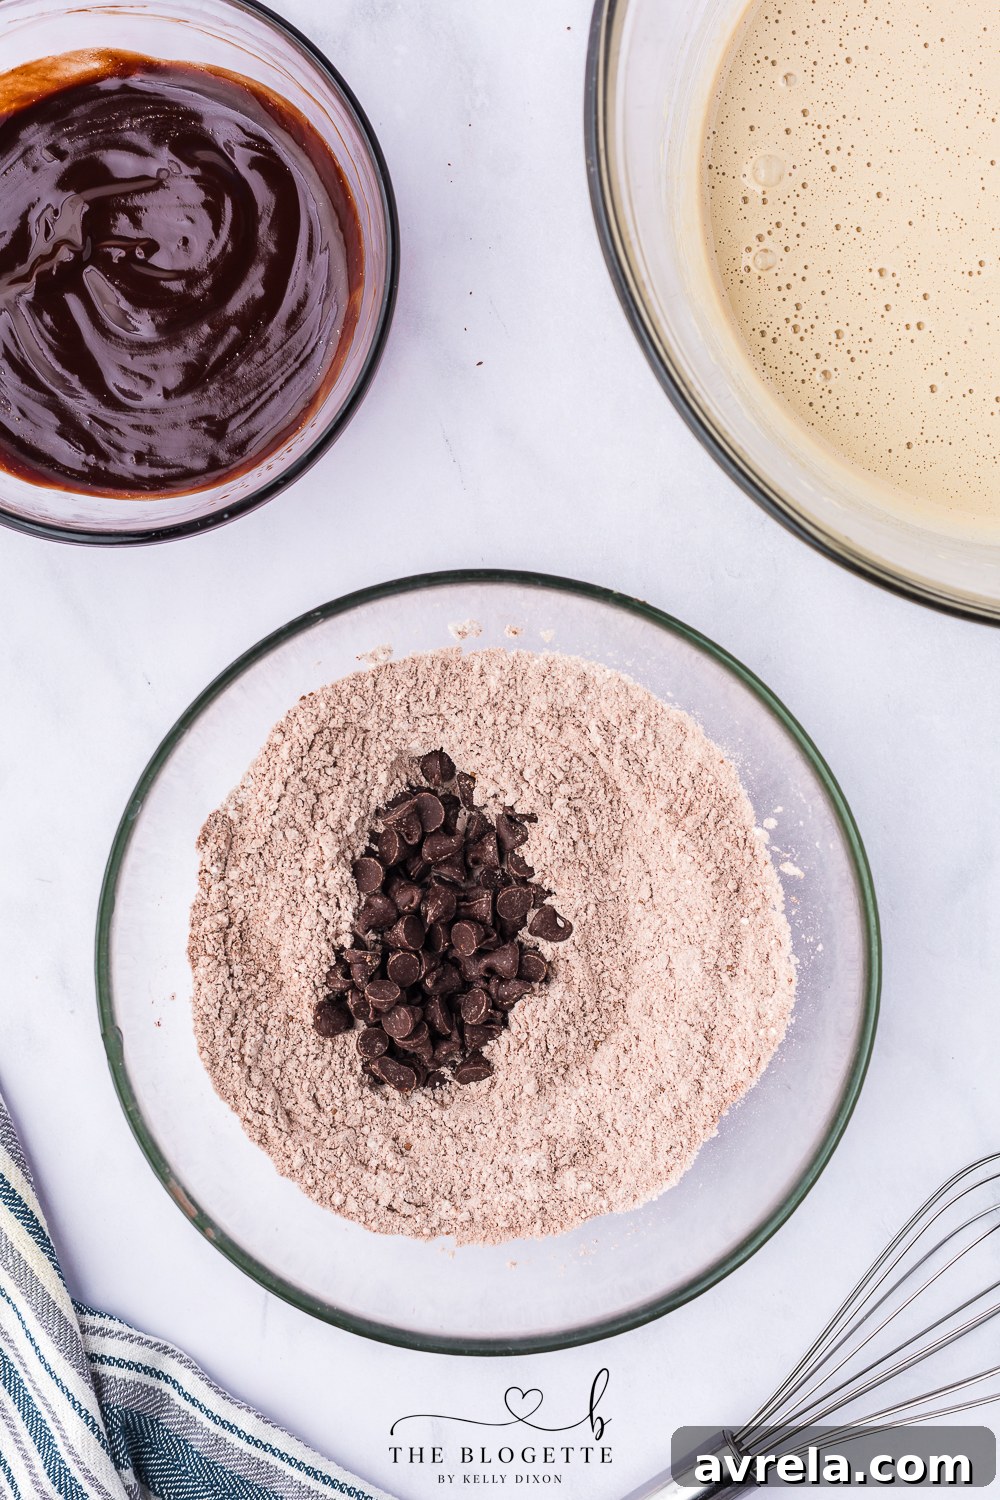
- Combine Dry Ingredients: In another large bowl, sift together the all-purpose flour, cocoa powder, baking powder, and salt. Sifting helps ensure there are no lumps and that these dry ingredients are thoroughly and evenly mixed. Once sifted, gently stir in the semi-sweet chocolate chips, ensuring they are well distributed.
- Incorporate the Chocolate and Eggs: Using a rubber spatula, carefully and gently fold the slightly cooled melted chocolate mixture into the whipped egg and sugar mixture. Stir just enough to combine everything, being careful not to deflate the airiness you worked hard to build in the egg mixture.
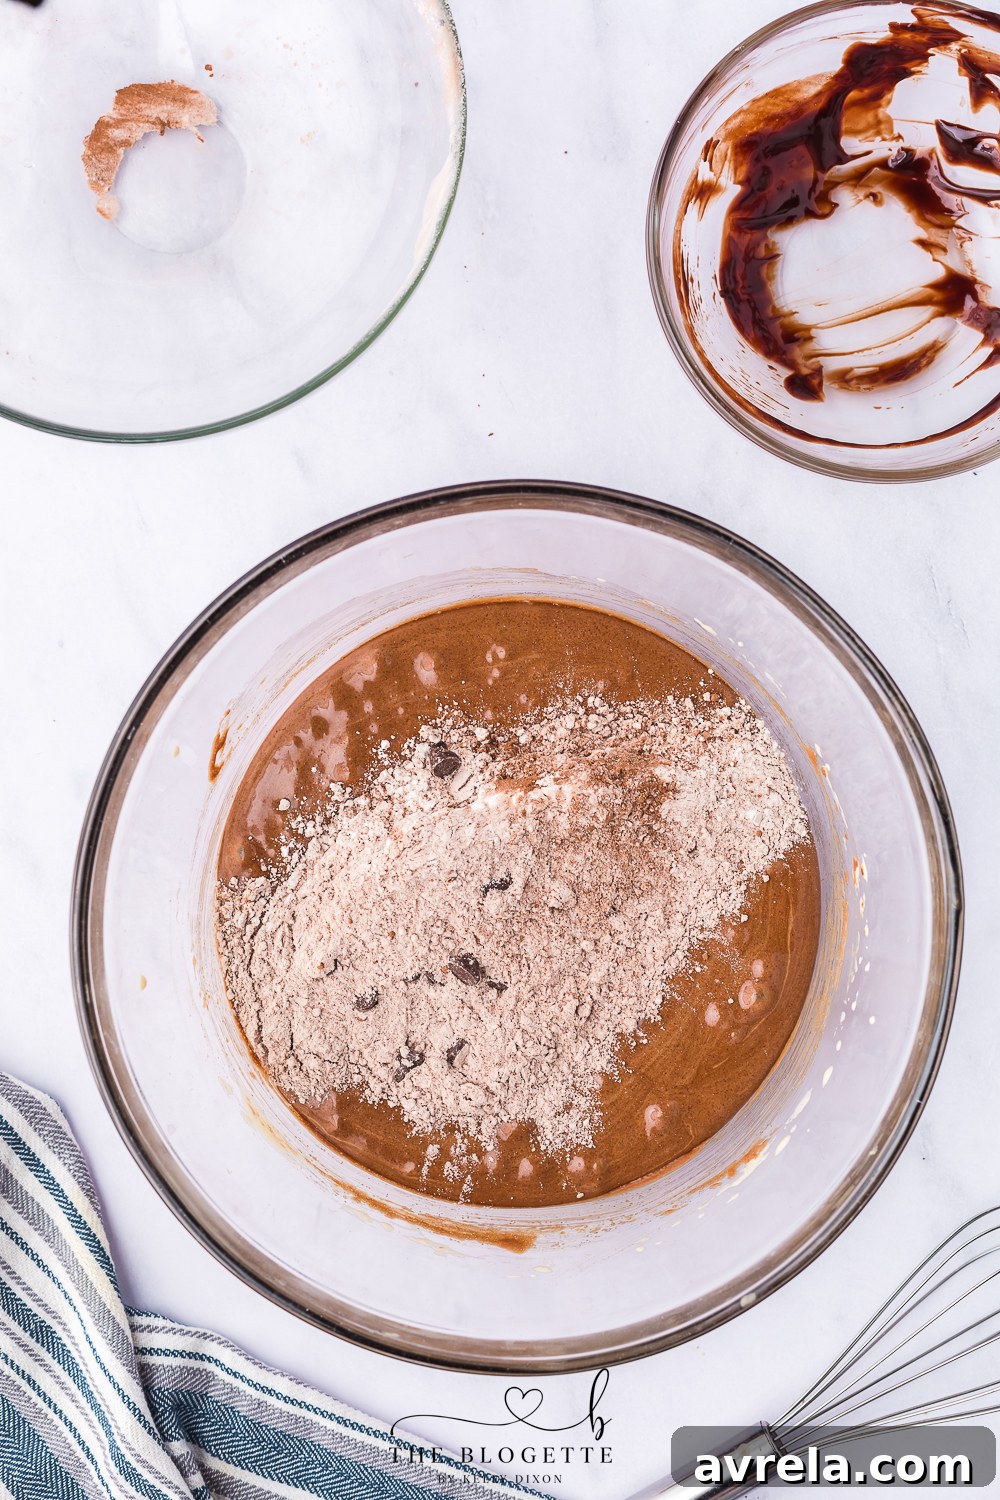
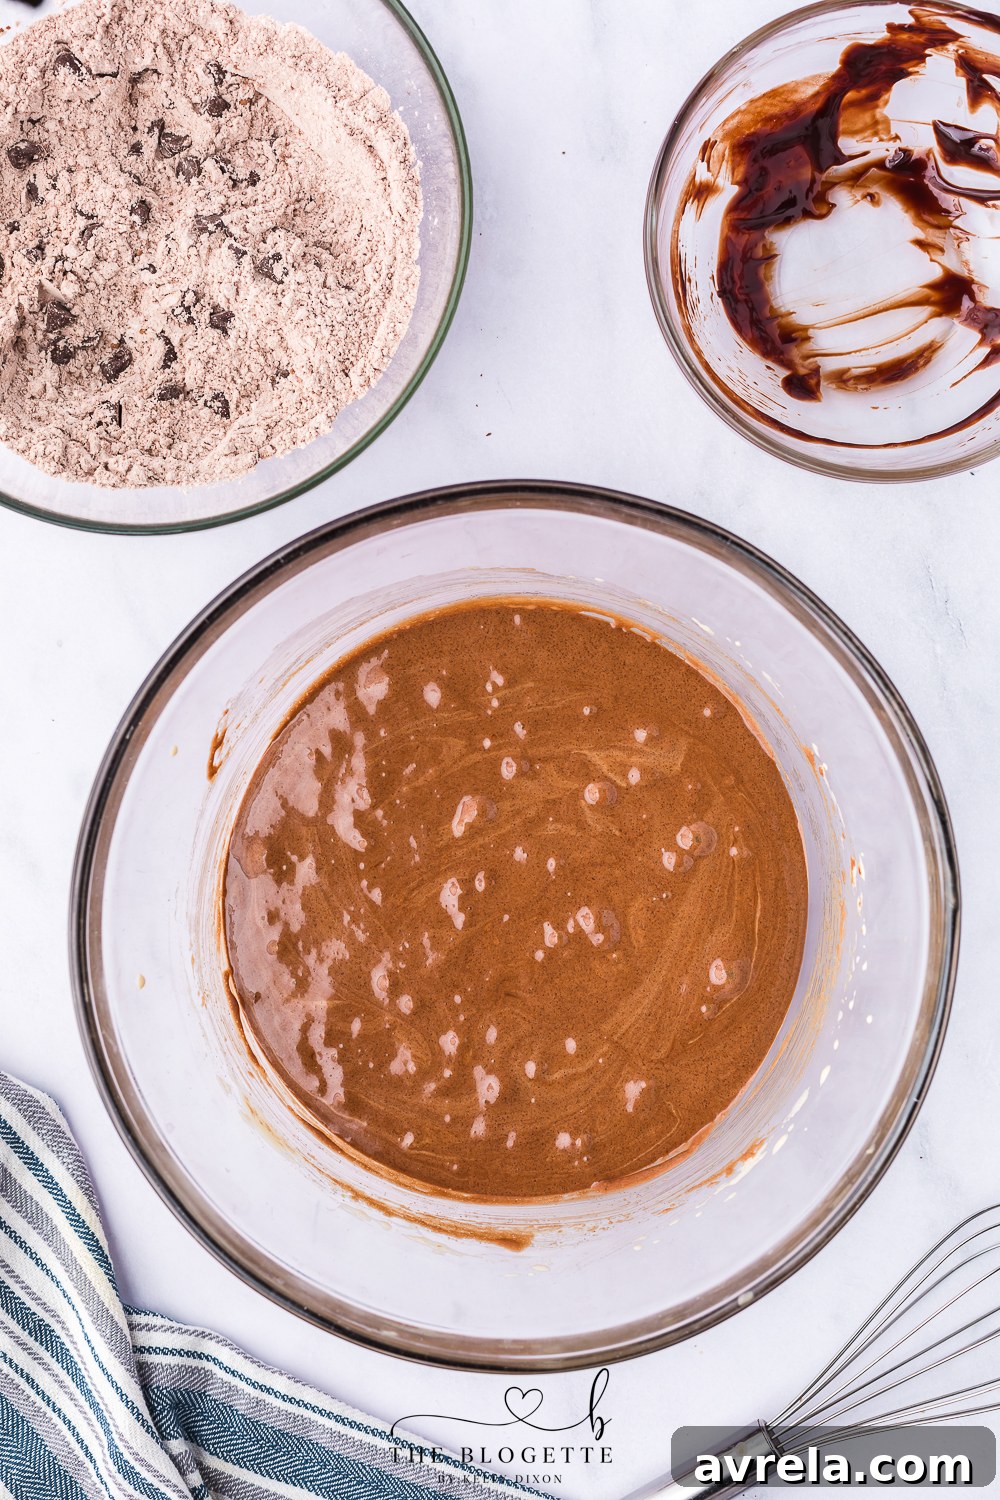
- Fold in Dry Ingredients: Now, carefully fold the combined dry ingredients into the wet mixture using your rubber spatula. Mix only until just combined and no streaks of flour are visible. It’s crucial not to overmix at this stage, as overworking the dough can lead to a tougher cookie texture.
- Chill the Dough (Optional but Recommended): For best results and to ensure your cookies don’t spread too much, cover the bowl with plastic wrap and chill the dough in the refrigerator for at least 30 minutes. This allows the flavors to deepen and the dough to firm up.
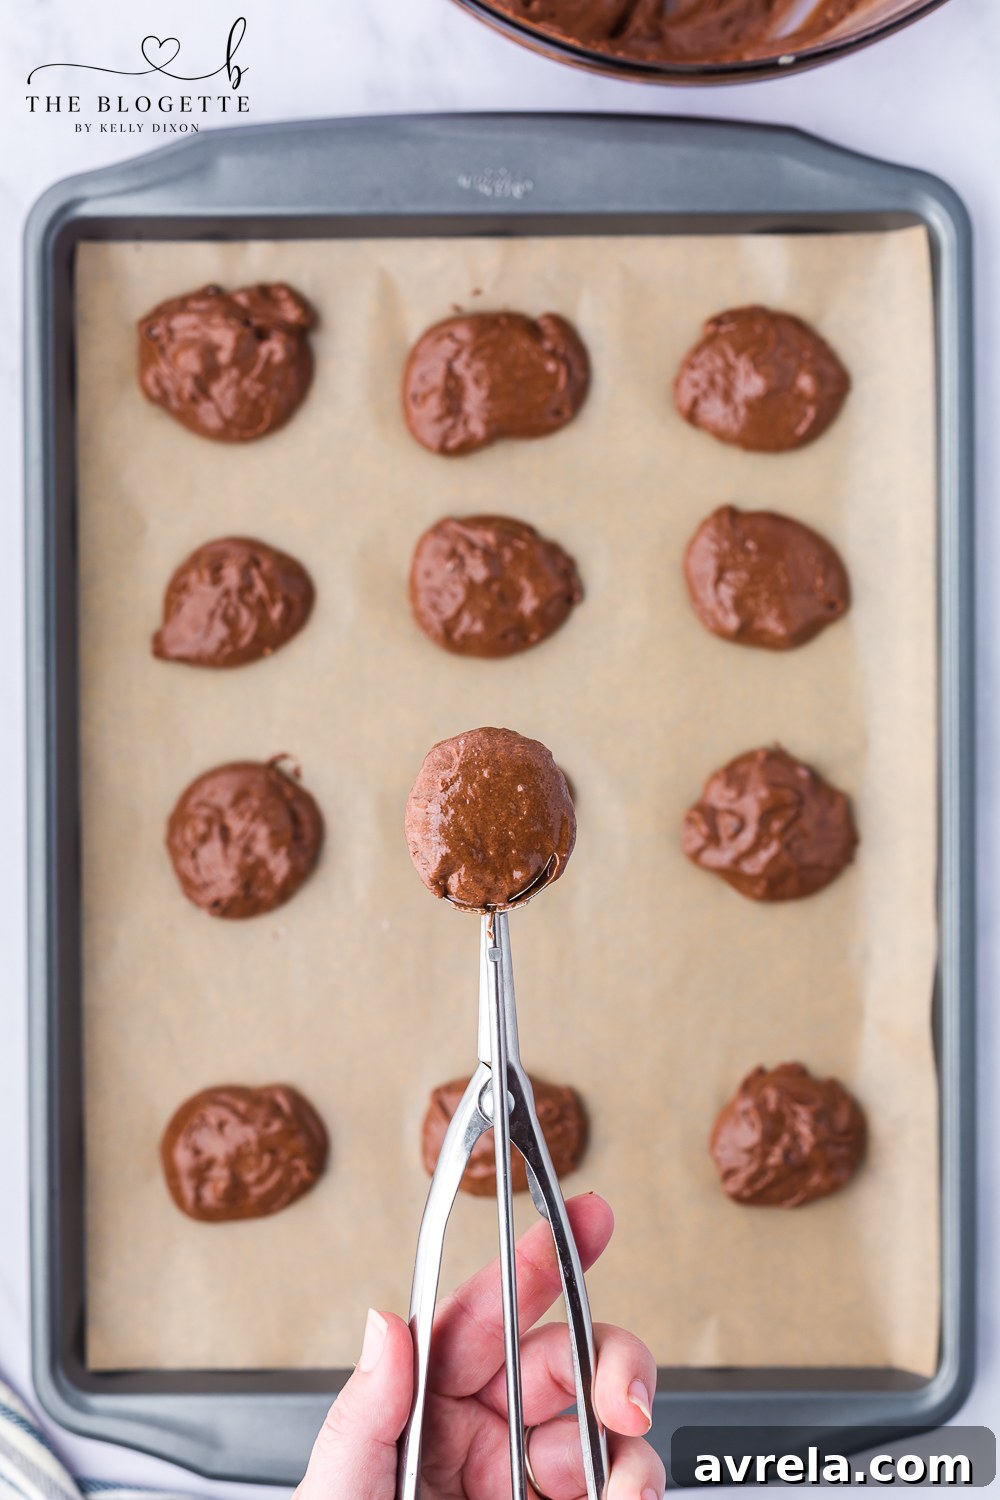
- Portion and Bake: Scoop tablespoons of the cookie dough onto your prepared baking tray, leaving approximately 2 inches of space between each cookie to allow for proper spreading.
- Bake to Perfection: Bake for 12-14 minutes. The cookies are ready when the edges are set and firm, and the tops are beautifully crackly, but the centers still look slightly soft and fudgy. Remember, slightly underbaked is key for maximum fudginess!
- Cool and Finish: Immediately upon removing the baking sheet from the oven, sprinkle with coarse sea salt, if desired. Allow the cookies to cool on the baking sheet for at least 10 minutes. This is a critical step, as it allows the cookies to set properly and prevents them from falling apart when you move them. After 10 minutes, transfer them carefully to a wire rack to cool completely. Enjoy!
Troubleshooting: Common Brownie Cookie Problems & How to Fix Them
Even seasoned bakers can encounter a hiccup or two. Here’s a guide to common issues you might face when making brownie cookies and how to easily remedy them:
- Cookies Spreading Too Much:
- Causes: Your butter might have been too warm when melted, the dough wasn’t chilled, or your oven temperature is too low.
- Solutions: Ensure the melted chocolate and butter mixture has cooled slightly before adding it to the eggs. Always chill your dough for at least 30 minutes (or longer) before baking. Double-check your oven temperature with an oven thermometer and adjust if necessary.
- Cookies Are Too Cakey or Dry:
- Causes: The most common culprit is overbaking. Overmixing the flour can also contribute to a tough texture.
- Solutions: Brownie cookies are best when slightly underbaked for that gooey, fudgy center. Keep a close eye on them during the last few minutes of baking. Remember to mix the dry ingredients into the wet only until just combined.
- Cookies Aren’t Fudgy Enough:
- Causes: Potentially overbaked, incorrect sugar type (e.g., light brown sugar instead of dark), or cold eggs affecting emulsion.
- Solutions: Stick to the baking times; aim for slightly soft centers. Ensure you use dark brown sugar for maximum moisture and fudginess. Always use room temperature eggs to achieve a smooth, well-emulsified batter.
- Chocolate Seizes When Adding Eggs:
- Causes: Your melted chocolate mixture was too hot, or your eggs were too cold.
- Solutions: Allow the melted chocolate and butter mixture to cool for a few minutes before incorporating it into the egg mixture. And, as reiterated, always use room temperature eggs.
- Cookies Are Too Flat:
- Causes: Butter too warm, not enough flour, or oven too hot (which makes them spread quickly before setting).
- Solutions: Chill the dough thoroughly. Measure flour accurately. Use an oven thermometer to ensure your oven is calibrated correctly.
Storage and Freezing: Enjoying Your Brownie Cookies Longer
These delicious chocolate brownie cookies are undeniably best when enjoyed fresh, still slightly warm from the oven. However, they also store exceptionally well, making them a fantastic treat to prepare ahead or savor over several days. Here’s how to keep your cookies at their absolute prime:
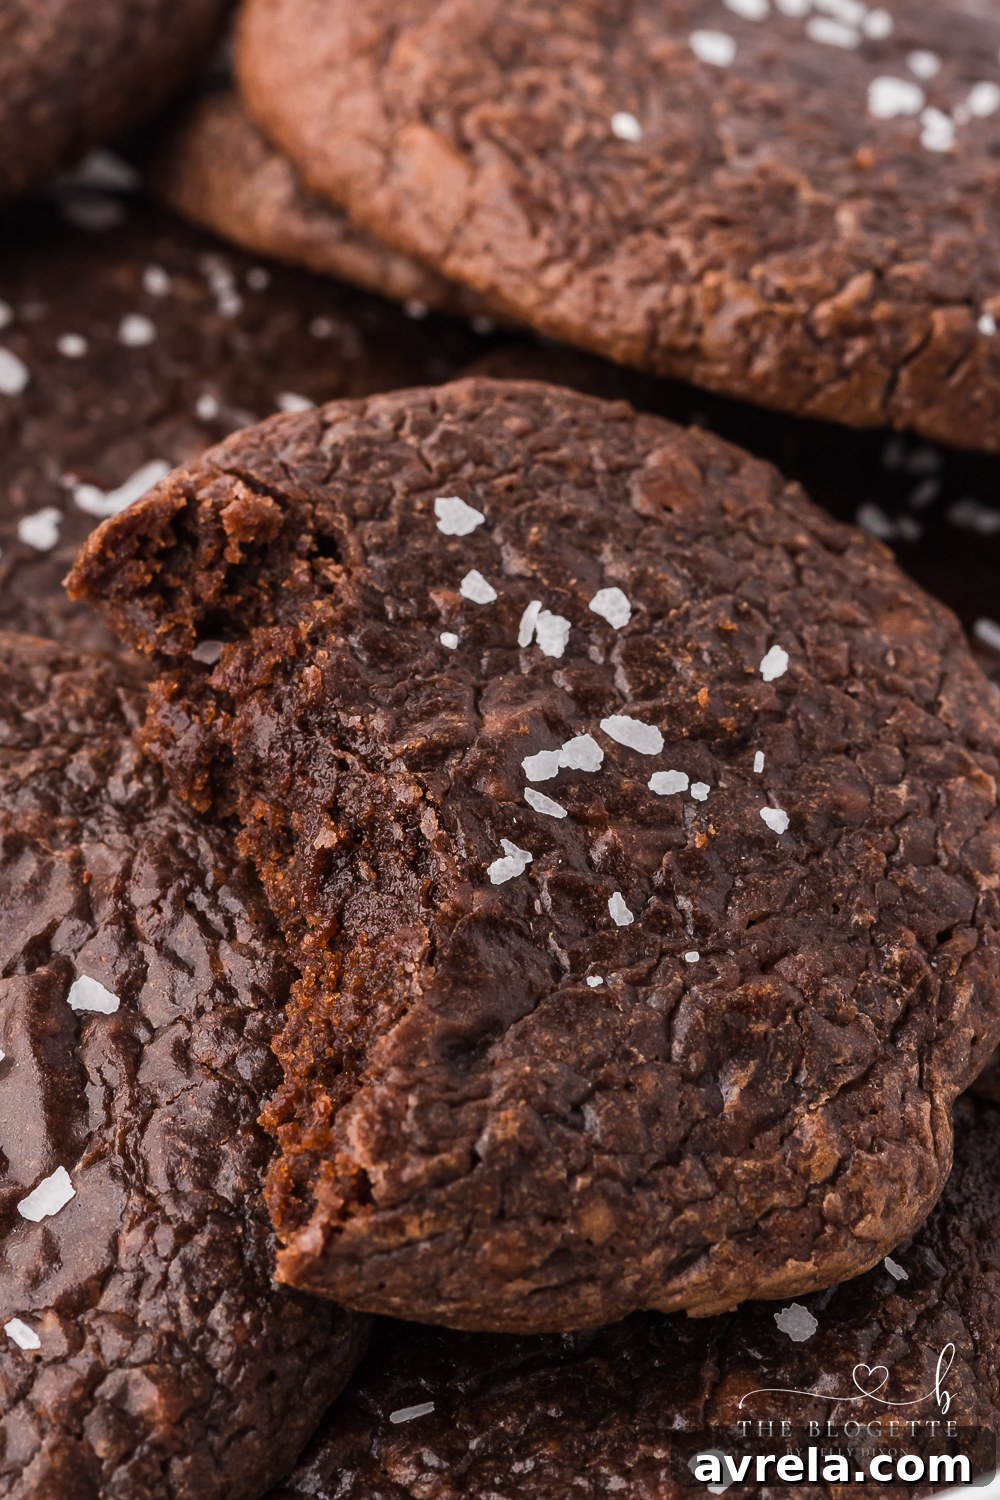
- Countertop Storage: Once your chocolate brownie cookies have completely cooled to room temperature, transfer them to an airtight container or a resealable plastic bag. Stored this way, they will retain their soft, chewy texture and intense flavor for 3 to 5 days on your kitchen counter. For optimal freshness, you can place a slice of bread in the container with the cookies; the bread will absorb moisture, keeping the cookies softer.
- Freezing Baked Cookies: For longer preservation, these cookies freeze beautifully! Once fully cooled, arrange them in a single layer on a baking sheet and place them in the freezer until they are solid (this usually takes about 1-2 hours). Once frozen solid, transfer the cookies to a freezer-safe airtight container or a heavy-duty freezer bag. Be sure to remove as much air as possible from the bag to prevent freezer burn. They can be frozen for up to 3 months. To enjoy, simply thaw them at room temperature for a few hours. For a warm, fresh-baked experience, you can also pop a thawed cookie into the microwave for 10-15 seconds.
- Freezing Dough: You can also prepare the cookie dough ahead of time and freeze it for future baking. Scoop the dough into individual portions (as you would for baking) onto a parchment-lined baking sheet. Freeze these dough balls until firm. Once solid, transfer the frozen dough balls to a freezer-safe bag or container and store for up to 3 months. When you’re ready to bake, simply place the frozen dough balls directly onto a prepared baking sheet and bake for a few extra minutes (typically 15-18 minutes total), or until they are set and crackly on top. This is a fantastic way to have fresh cookies on demand!
More Cookie Recipes You’ll Love
Coffee Cake Cookies
Cream Cheese Chocolate Chip Cookies
Chocolate Chip Cookies
Nutella Stuffed Chocolate Chip Cookies
The Ultimate Chocolate Brownie Cookie Recipe
Fudgy Chocolate Brownie Cookies
These Chocolate Brownie Cookies perfectly blend the rich, fudgy essence of brownies with the irresistible soft, chewy texture of cookies, creating an intensely chocolatey delight that’s easy to make and hard to resist.
Prep Time: 15 minutes
Cook Time: 12-14 minutes
Cool Time: 10 minutes
Total Time: Approximately 39 minutes
Print Recipe
Equipment
- 12×16 inch baking sheet
- Parchment paper (or baking spray/oil for greasing)
- Heatproof bowl (suitable for a double boiler or microwave)
- Medium pot (for simmering water if using double boiler)
- Spoon
- Mixing bowls (one medium, two large)
- Electric hand mixer
- Rubber spatula
- Measuring cups and spoons
Ingredients
- 1¼ cups dark chocolate, chopped
- ¼ cup salted butter, melted
- 2 teaspoons vanilla extract (or ½ teaspoon almond extract for a variation)
- ¾ cup granulated sugar
- ½ cup dark brown sugar
- 2 large eggs, room temperature
- ¾ cup plain (all-purpose) flour
- 2 Tablespoons cocoa powder, unsweetened
- 1 teaspoon baking powder
- ¼ teaspoon salt
- ½ cup semi-sweet chocolate chips (can substitute with milk chocolate chips or chopped chocolate bar)
- 2 Tablespoons coarse sea salt (optional, for sprinkling on top)
Instructions
- Preheat Oven & Prep Tray: Preheat your oven to 350°F (175°C) and line a 12×16 inch baking sheet with parchment paper. This will prevent sticking and allow for easy removal.
- Melt Chocolate & Butter: In a heatproof bowl, combine the chopped dark chocolate and salted butter. Place this bowl over a pot of simmering water (ensure the bottom of the bowl does not touch the water). Stir until the chocolate and butter are fully melted and smoothly incorporated. Remove from heat, stir in the vanilla extract, and set aside to cool slightly.
- Whip Eggs & Sugars: In a separate medium bowl, use an electric hand mixer on high speed to beat the granulated sugar, dark brown sugar, and room temperature eggs for 2-3 minutes, until the mixture is pale, thick, and fluffy. This step is crucial for the crackly tops and fudgy texture.
- Combine Dry Ingredients: In a large bowl, sift together the all-purpose flour, cocoa powder, baking powder, and salt to ensure no lumps. Gently stir in the semi-sweet chocolate chips to coat them.
- Incorporate Wet Mixtures: Using a rubber spatula, gently fold the slightly cooled melted chocolate mixture into the whipped egg and sugar mixture. Stir just until combined, being careful not to deflate the air.
- Fold in Dry Ingredients: Carefully fold the dry ingredients into the wet mixture with a rubber spatula. Mix only until just combined; avoid overmixing, as this can lead to tough cookies.
- Chill Dough (Recommended): For optimal texture and to prevent excessive spreading, cover the dough and chill in the refrigerator for at least 30 minutes.
- Scoop & Bake: Scoop tablespoons of batter onto the prepared baking tray, spacing them about 2 inches apart. Bake for 12-14 minutes, or until the edges are set and the tops are crackly, with centers still looking slightly soft. Do not overbake!
- Cool & Finish: Remove from the oven and immediately sprinkle with coarse sea salt, if desired. Allow the cookies to cool on the baking sheet for 10 minutes before transferring them to a wire rack to cool completely. This cooling period is vital for their structure and fudgy consistency.
Notes
Can I make this ahead of time and freeze it?
Yes, absolutely! These chocolate brownie cookies are perfectly suited for making ahead and freezing. Once baked, allow the cookies to cool completely. Then, transfer them to an airtight container or a freezer-safe bag and freeze for up to 3 months. When you’re ready to enjoy, simply thaw them at room temperature. For a delightful, just-baked experience, you can warm them briefly in the microwave.
Storage Instructions:
If you have leftover chocolate brownie cookies, store them in an airtight container or a resealable plastic bag at room temperature. They will maintain their delicious chewy texture and flavor for 3-5 days. For longer storage, you can transfer them to the freezer, following the instructions above.