

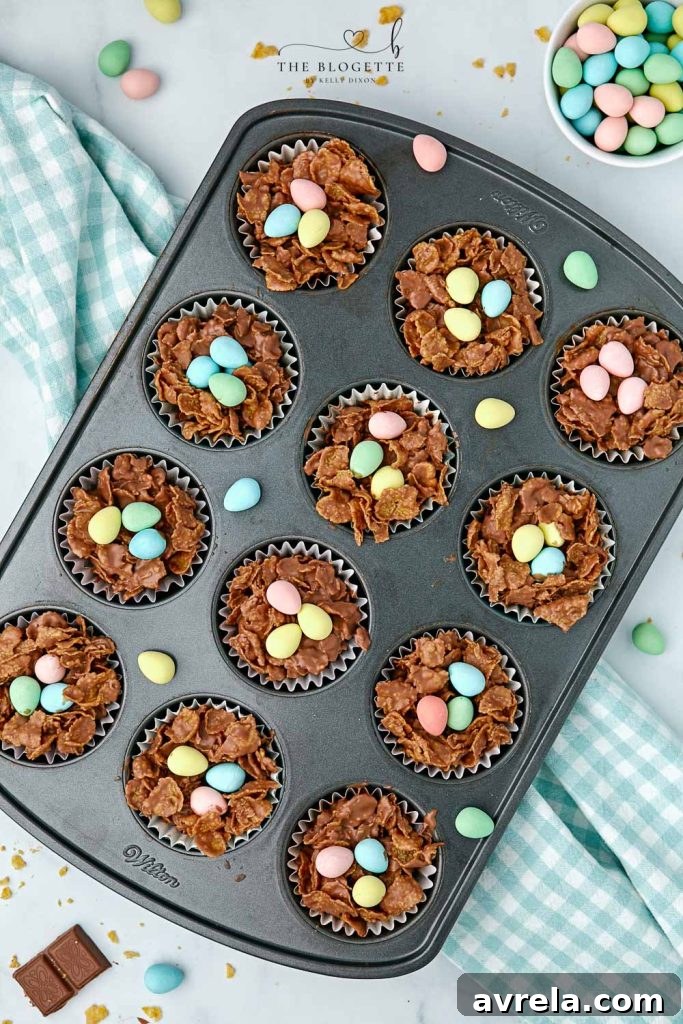
Embrace the sweet spirit of spring with these delightful Chocolate Egg Nests! This effortless, no-bake Easter dessert is a charming activity for families and a treat that will bring smiles to everyone’s faces. Crafted with crispy cornflakes coated in rich chocolate, then lovingly shaped into adorable bird nests and filled with vibrant mini eggs, they are the quintessential festive confection for your Easter celebration.

Easy No-Bake Chocolate Egg Nests: Your Go-To Easter Treat
The magic behind these irresistible Chocolate Egg Nests lies in their simplicity and the thoughtful inclusion of coconut oil. Adding a touch of coconut oil to your melted chocolate isn’t just a trick; it’s a game-changer. It transforms the chocolate into a smoother, more velvety concoction that effortlessly coats every single cornflake. This subtle addition also enhances the sweetness and, remarkably, helps the chocolate set quicker. This means your delicious nests will be firm and ready for little hands to enjoy in under an hour, making them ideal for last-minute Easter preparations or spontaneous spring gatherings.
Easter is a time for renewal, joy, and, of course, delicious treats! While many festive desserts require elaborate baking or complex techniques, these Chocolate Egg Nests stand out as a beacon of ease and fun. They perfectly capture the whimsical essence of the season, resembling tiny bird nests brimming with colorful “eggs,” making them a visually stunning addition to any Easter table. Beyond their charming appearance, their no-bake nature makes them incredibly accessible for home cooks of all skill levels, especially for those looking to involve children in the kitchen. Imagine the delight on their faces as they help create these edible works of art!
Pin this now to save it for later
Pin It Now
Essential Ingredients for Your Easter Nests
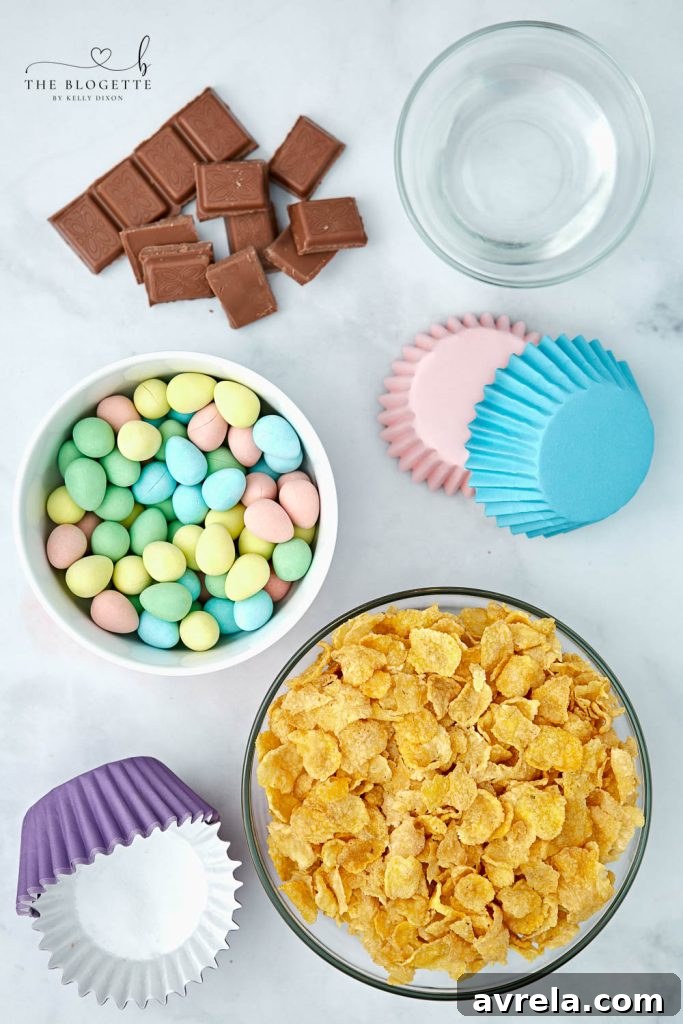
Creating these adorable nests requires just a handful of readily available ingredients. The beauty lies in their simplicity, allowing the natural flavors to shine through and making the recipe approachable for everyone. Here’s what you’ll need, along with a few tips on selection:
- Cornflake Cereal: While the recipe calls for “generic cornflake cereal,” feel free to use your favorite brand. The key is to have crisp, unbroken flakes to provide that satisfying crunch and textural contrast against the smooth chocolate. Look for varieties with minimal added sugar, as the chocolate will provide plenty of sweetness.
- Chocolate Bars: The choice of chocolate can significantly impact the final taste. Milk chocolate offers a classic, creamy sweetness that most children adore, making it a popular choice. For a slightly more sophisticated flavor, you could opt for semi-sweet chocolate, which provides a richer, less intensely sweet profile. Even dark chocolate can be used for an adult-friendly version, offering a deeper, more robust cocoa flavor. High-quality chocolate chips or baking bars will melt more smoothly than cheaper alternatives.
- Coconut Oil: This ingredient is crucial for achieving the perfect texture. It helps the chocolate melt more smoothly, prevents it from seizing, and gives it a lovely sheen once set. It also adds a subtle hint of tropical flavor and helps the nests solidify quickly. Unrefined coconut oil will impart a more noticeable coconut flavor, while refined coconut oil is more neutral.
- Mini Candy Eggs: These are the stars of the show! Mini candy eggs, jelly beans, or even mini Cadbury eggs are perfect for filling your nests. Their vibrant colors instantly evoke the spirit of Easter and add an extra layer of sweetness and fun. You can mix and match different types and colors to create a truly festive display.
Step-by-Step Instructions: Crafting Your Easter Masterpiece
Creating these chocolate egg nests is a straightforward process, but following these detailed steps will ensure perfect results every time. Take your time, especially during the chocolate melting and mixing stages, to achieve that professional touch.
Step 1: Prepare Your Melting Setup and Work Area
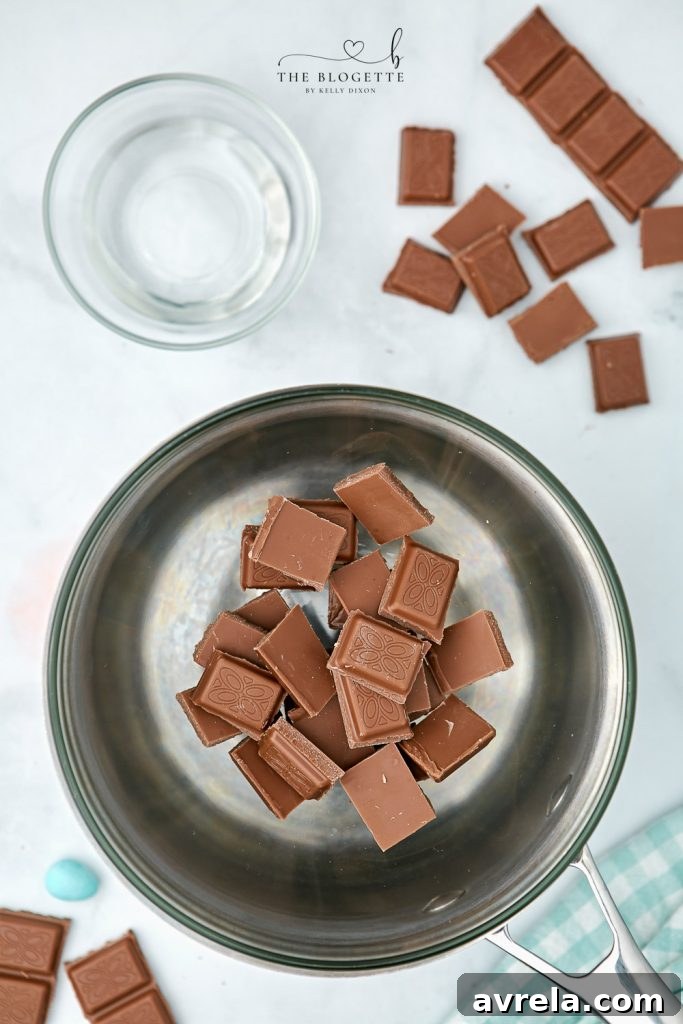
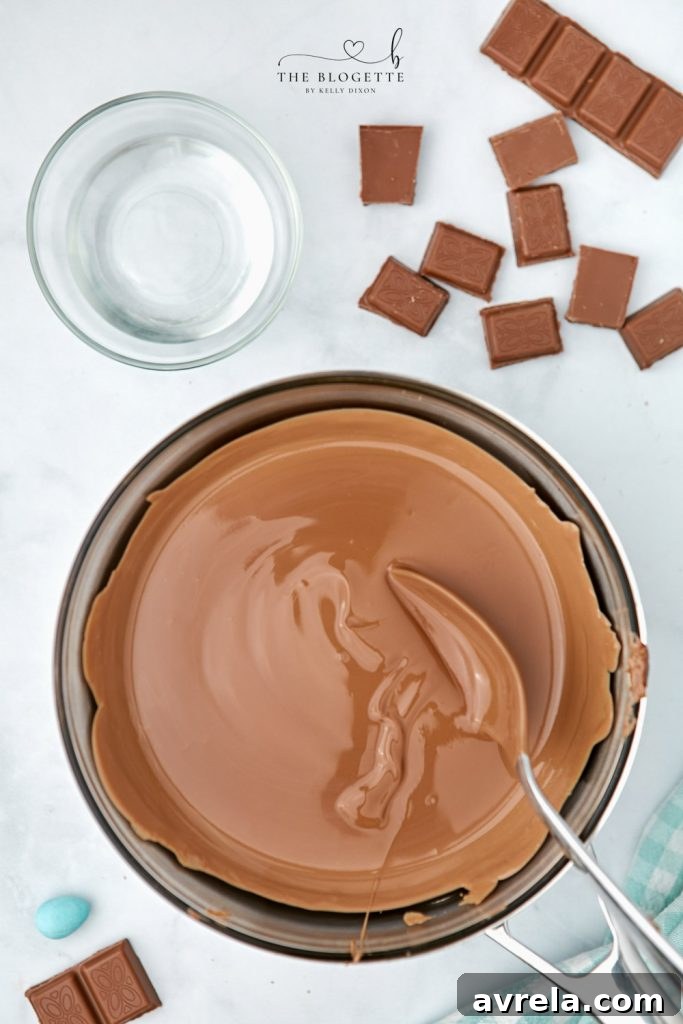
The first crucial step is to prepare your chocolate melting station. A double boiler is the preferred method for melting chocolate as it provides gentle, indirect heat, preventing the chocolate from burning or seizing. To set one up, half-fill a small saucepan with boiling water. Break your chosen chocolate bars into small, uniform pieces and place them in a heat-safe glass bowl. Position this bowl on top of the saucepan, ensuring the bottom of the bowl barely touches, or is just above, the simmering water, but doesn’t sit directly in it. This setup allows the steam from the boiling water to gently and evenly melt the chocolate. Be cautious not to overfill the saucepan with water, as any splashes into the chocolate can cause it to seize. Allow the chocolate to sit for about 5 minutes without stirring. During this time, the edges will begin to soften. Just before the chocolate is fully melted and while there are still some solid pieces, add the coconut oil. This allows it to melt seamlessly with the chocolate. Stir gently until the mixture is completely smooth and glossy. If you prefer a quicker alternative to the double boiler, mini Dove chocolates are known to melt exceptionally well in the microwave, offering a convenient shortcut.
Step 2: Alternate Melting Method – The Microwave
For those seeking an even faster route, melting chocolate in the microwave is a viable option, especially for smaller quantities or if you’re using high-quality chocolate chips designed for melting. Place your broken chocolate pieces or chips into a microwave-safe bowl. Microwave on medium power (around 50-70%) for 20-second intervals. After each interval, remove the bowl and stir the chocolate thoroughly. Even if the chocolate doesn’t appear fully melted, stirring helps to distribute the heat and prevent scorching. Continue this process, stirring after every 20 seconds, until the chocolate is smooth and melted. Once melted, stir in the coconut oil until fully incorporated and the mixture is silky smooth. This method is quick, but requires careful attention to avoid overheating the chocolate, which can lead to a grainy texture.
Step 3: Combine Chocolate and Cereal
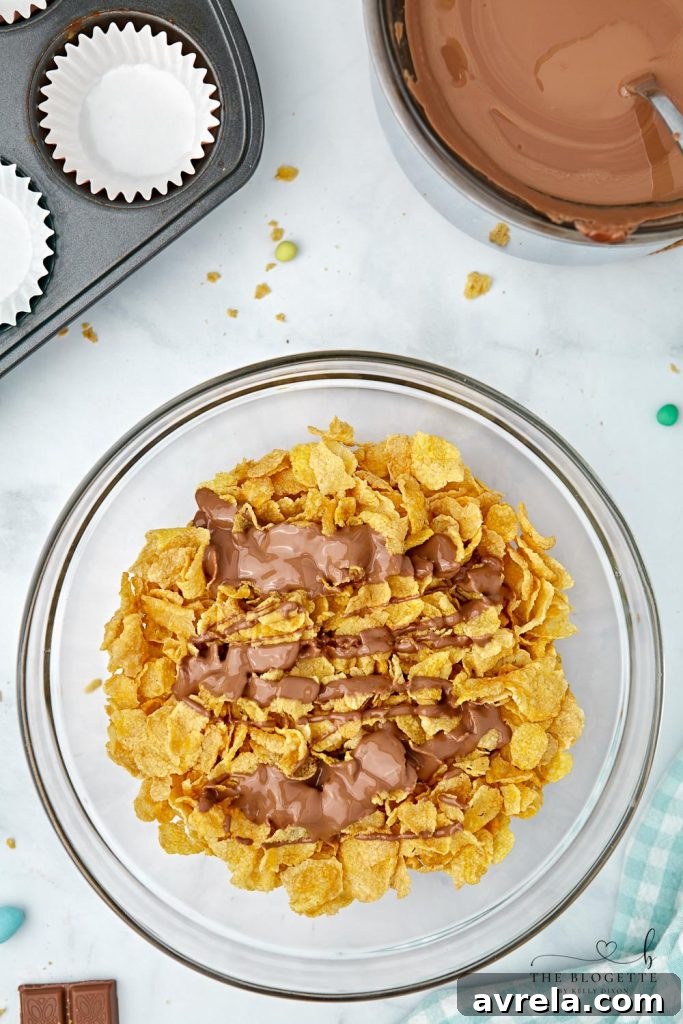
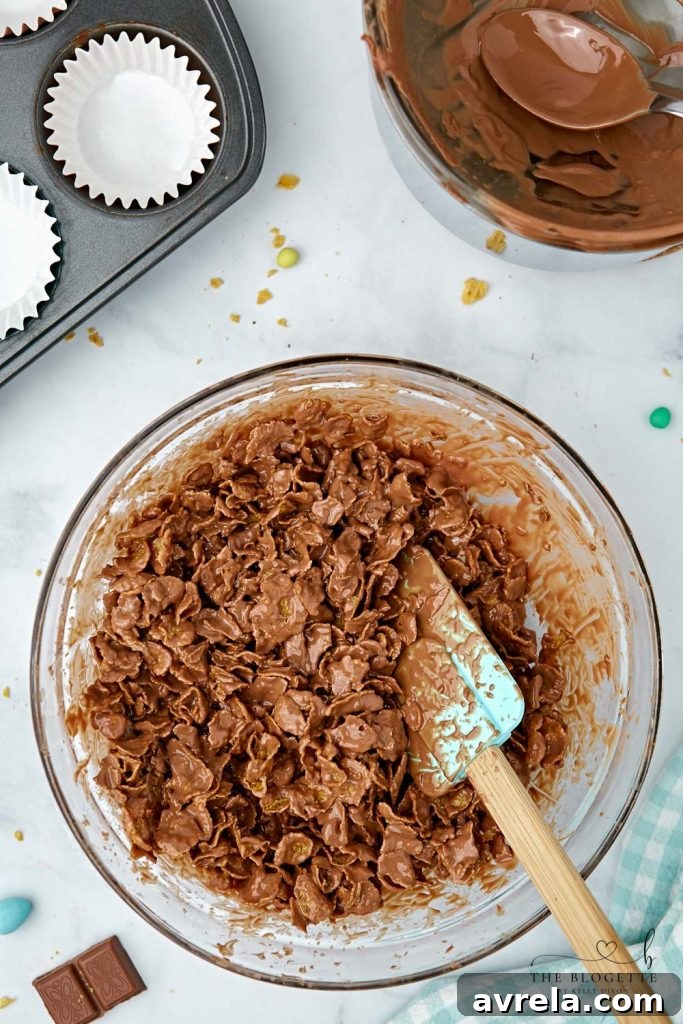
Once your chocolate and coconut oil mixture is perfectly melted and smooth, it’s time to introduce the cornflakes. Pour the warm, melted chocolate directly over the generic cornflake cereal in a large mixing bowl. The key here is gentle handling. Stir the mixture with a spoon or a spatula until the cornflakes are thoroughly coated in chocolate. It’s crucial not to stir too rigorously or vigorously, as cornflakes are delicate and can break apart easily. We want to maintain their crisp texture and flaky shape to form sturdy, appealing nests. A gentle folding motion is best, ensuring every flake gets a delicious chocolatey hug without being crushed. This careful mixing ensures your nests will have the ideal balance of crunch and chocolatey goodness.
Step 4: Form the Nests
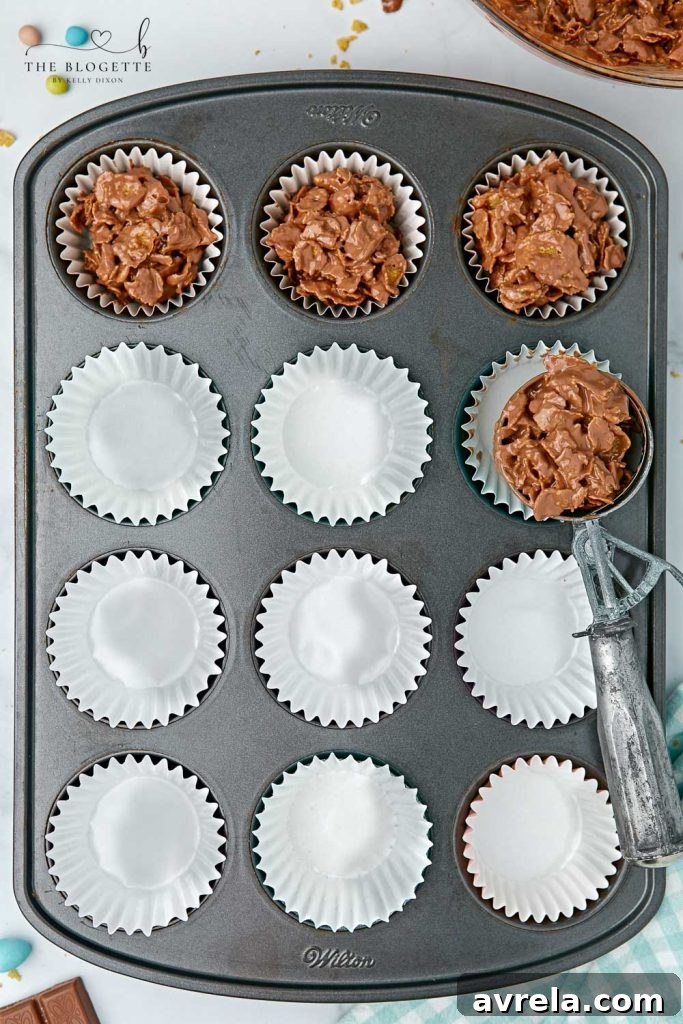
To give your chocolate cornflake mixture that quintessential nest shape, you’ll need a 12-muffin pan and cupcake liners. Line each cavity of the muffin pan with a paper cupcake liner. These liners not only help in shaping the nests but also make for easy removal and serving. Using a spoon, carefully scoop the chocolate cornflake mixture into each cupcake liner. Gently press the mixture down and up the sides of the liner to create a small indentation or ‘nest’ in the center. Don’t worry about perfection; the rustic charm of a bird’s nest is part of their appeal. Aim for about 2-3 tablespoons of mixture per liner, adjusting for the desired size of your nests. Ensure there’s a good hollow in the middle to hold those precious mini eggs.
Step 5: Decorate and Chill
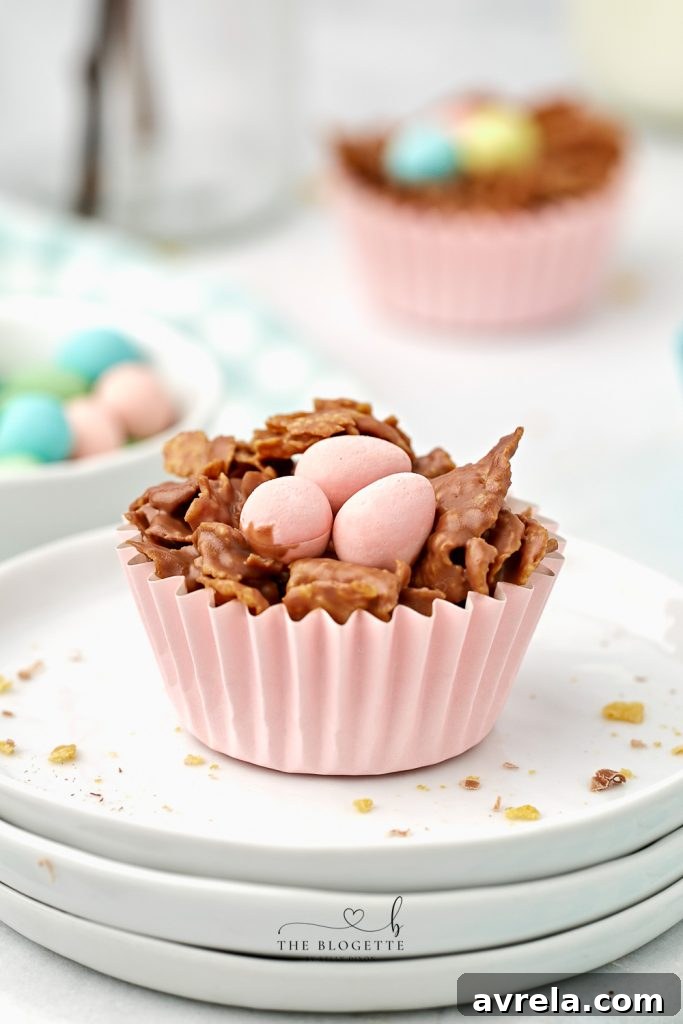
This is where the nests truly come to life! Once your chocolate cornflake mixture is nestled in the cupcake liners, it’s time to add the mini Easter eggs. Carefully place 2-3 mini candy eggs into the hollow of each nest. You can choose a single color scheme or mix a variety of colors for a more festive look. Once all your nests are adorned with their colorful eggs, place the entire muffin tin into the refrigerator. Chilling is essential for the chocolate to set properly, ensuring the nests hold their shape and have that satisfying snap when bitten into. Leave them in the fridge for at least 30 minutes to an hour, or until the chocolate is completely firm and the nest structure is stable. Once set, they are ready to be served and enjoyed!
Sign up to receive this recipe and other delightful treats straight to your inbox! Don’t miss out on our latest culinary inspirations.
Tips for Perfect Chocolate Egg Nests Every Time
- Quality Chocolate Matters: Using good quality chocolate will result in a better-tasting and smoother coating. Compound chocolate (often labeled “baking chocolate” or “candy melts”) is easier to work with as it doesn’t require tempering, but real chocolate (couverture) provides superior flavor.
- Don’t Overheat Chocolate: Whether using a double boiler or microwave, heat the chocolate slowly and gently. Overheated chocolate can seize (become thick and clumpy) or burn, rendering it unusable.
- Gentle Mixing: As mentioned, cornflakes are fragile. Stir with a light hand to keep them intact, ensuring your nests have a good structure.
- Consistency Check: If your chocolate mixture seems too thick, you can add a tiny bit more coconut oil (¼ teaspoon at a time) to achieve a more pourable consistency. If it seems too thin, let it cool for a minute or two to thicken slightly before mixing with the cereal.
- Shaping is Key: Use the back of a spoon to create a distinct hollow in the center of each nest. This makes them look more authentic and provides a cozy spot for the mini eggs.
- Patience with Chilling: Don’t rush the chilling process. The nests need sufficient time in the refrigerator to become firm. If removed too early, they may crumble.
Creative Variations and Customization Ideas
Variations
While cornflakes are classic, feel free to experiment with other cereals for different textures and flavors. You can substitute cornflake cereal for rice crispies, chow mein noodles, or even shredded wheat! Each alternative offers a unique crunch and character. Please note that this recipe has been specifically tested for cornflakes; you may need to adjust the quantity of the substituted cereal slightly to achieve the desired coating consistency, as some cereals absorb chocolate differently.
Beyond just the cereal, the possibilities for customizing your chocolate egg nests are endless:
- Different Chocolates: Mix white chocolate with food coloring for pastel nests, or use dark chocolate for a more sophisticated treat. You could even drizzle different colored chocolates over the set nests for an artistic touch.
- Alternative Fillings: Instead of traditional mini eggs, consider filling your nests with small jelly beans, chocolate-covered almonds, mini marshmallows, or even homemade caramel eggs.
- Added Texture: Fold in a handful of chopped nuts (like pecans or almonds), dried cranberries, or shredded coconut along with the cereal for extra flavor and texture.
- Sprinkle Fun: Before the chocolate fully sets, sprinkle some festive edible glitter or colorful spring sprinkles over the nests for an extra pop of color and sparkle.
- Flavor Extracts: Add a few drops of mint, orange, or almond extract to your melted chocolate for an extra layer of flavor complexity.
Storage and Make-Ahead Tips
These chocolate egg nests are not only delicious but also convenient for make-ahead preparations. Once fully set, they can be stored in an airtight container at room temperature for up to 5-7 days. If your kitchen is particularly warm, storing them in the refrigerator might be better to prevent the chocolate from softening, though allow them to come to room temperature for optimal enjoyment. You can make these a day or two in advance of your Easter celebration, freeing up your time for other preparations. They also make wonderful edible gifts for friends and family, packaged in small boxes or clear bags.
Frequently Asked Questions (FAQs)
Here are some common questions about making Chocolate Egg Nests:
- Can I use different types of chocolate? Yes! Milk, semi-sweet, dark, or even white chocolate can be used. Adjust sweetness to your preference.
- What if my chocolate seizes? If a few drops of water get into your melted chocolate, it can seize and become clumpy. You can sometimes rescue it by stirring in a teaspoon of vegetable oil or melted coconut oil until smooth, but it’s best to prevent it by being careful with steam.
- How do I prevent the cornflakes from becoming soggy? Ensure your chocolate isn’t too hot when mixing, and chill the nests promptly after forming. The coconut oil helps the chocolate set quickly, sealing in the crispness.
- Can I omit the coconut oil? While possible, coconut oil is highly recommended. It contributes to a smoother chocolate, easier coating, quicker setting time, and a nicer finish. Without it, the chocolate might be harder to work with and take longer to set.
- How long do these nests last? When stored in an airtight container, they typically last 5-7 days at room temperature or slightly longer in the refrigerator.
- Are these suitable for allergies? This recipe contains dairy (chocolate) and corn. Always check ingredient labels for specific allergens and make substitutions as necessary (e.g., dairy-free chocolate).
More Spring Recipes to Inspire You
Cloud Bread
Carrot Rice Krispie Treats
Whipped Lemonade
Lemon Loaf

Chocolate Egg Nests
30 minutes
1 hour 30 minutes
2 hours
12 nests
Equipment
-
12-muffin pan
-
Cupcake liners
-
Double boiler (or preferred way to melt chocolate)
-
Large mixing bowl
-
Spoon or spatula
Ingredients
- 4 cups generic cornflake cereal
- 2 chocolate bars (approximately 8 oz or 225g total), broken into pieces
- ½ tablespoon coconut oil
- Mini candy eggs, jelly beans, or mini Cadbury eggs for filling
Instructions
-
Line a 12-muffin pan with paper cupcake liners. Set aside.
-
Measure the 4 cups of cornflake cereal into a large mixing bowl, ensuring the flakes remain as intact as possible.
-
Melt the chocolate using a double boiler method (as described in the article above) or your preferred melting technique. Once nearly melted, add the coconut oil and stir until the chocolate-coconut oil mixture is completely smooth and glossy. Remove from heat immediately.
-
Pour the melted chocolate mixture over the cornflakes in the large bowl. Gently fold and stir with a spoon or spatula until all the cornflakes are thoroughly coated without being crushed.
-
Using a spoon, scoop the chocolate-coated cornflake mixture into each cupcake liner, pressing gently to form a nest shape with a hollow in the center. Immediately place 2-3 mini candy eggs into the center of each nest.
-
Place the muffin tin with the formed nests into the refrigerator for at least 30-60 minutes, or until the chocolate has completely set and the nests are firm enough to hold their shape. Serve chilled or at room temperature.
Notes
Half-fill a small saucepan with boiling water. Break the chocolate into small, uniform pieces and place them in a heat-safe glass bowl. Place the bowl on top of the saucepan, ensuring the bottom of the bowl barely touches the water or is just above the steam. Be careful not to overfill the saucepan, as water splashing into the chocolate can cause it to seize. Leave the chocolate for about 5 minutes, then stir gently until melted and smooth. Add the coconut oil before the chocolate is fully melted to ensure it incorporates seamlessly.
Can I melt the chocolate in the microwave?
Yes, you can! Place the broken chocolate pieces in a microwave-safe bowl. Microwave on medium power (50-70%) for 20-second intervals, stirring thoroughly after each interval. Continue until the chocolate is smooth and melted, then stir in the coconut oil. This method is faster but requires careful attention to avoid burning the chocolate.
Additional Info
These Chocolate Egg Nests are an absolute joy to make and share. Their festive appearance, coupled with their irresistible crunch and sweet chocolatey flavor, makes them a standout dessert for any Easter gathering. They’re proof that some of the most memorable treats are the simplest ones. Get the kids involved, embrace the fun, and create delicious memories this spring!
Conclusion: A Sweet and Simple Easter Tradition
These Chocolate Egg Nests are more than just a dessert; they’re an experience. They embody the freshness and joy of spring, the excitement of Easter, and the warmth of family time spent together in the kitchen. Their no-bake simplicity means less stress and more fun, making them an ideal project for budding young chefs and busy adults alike. From the satisfying crunch of the cornflakes to the rich, smooth chocolate and the playful pop of the mini eggs, every bite is a celebration. So, this Easter, gather your ingredients, call your loved ones, and create a batch of these charming, delicious nests. They are sure to become a cherished tradition in your home, bringing sweet smiles and lasting memories for years to come. Happy Easter and happy baking (or rather, no-baking)!