
Mastering the Pull-Up: Your Ultimate Guide to Building Unstoppable Upper Body Strength
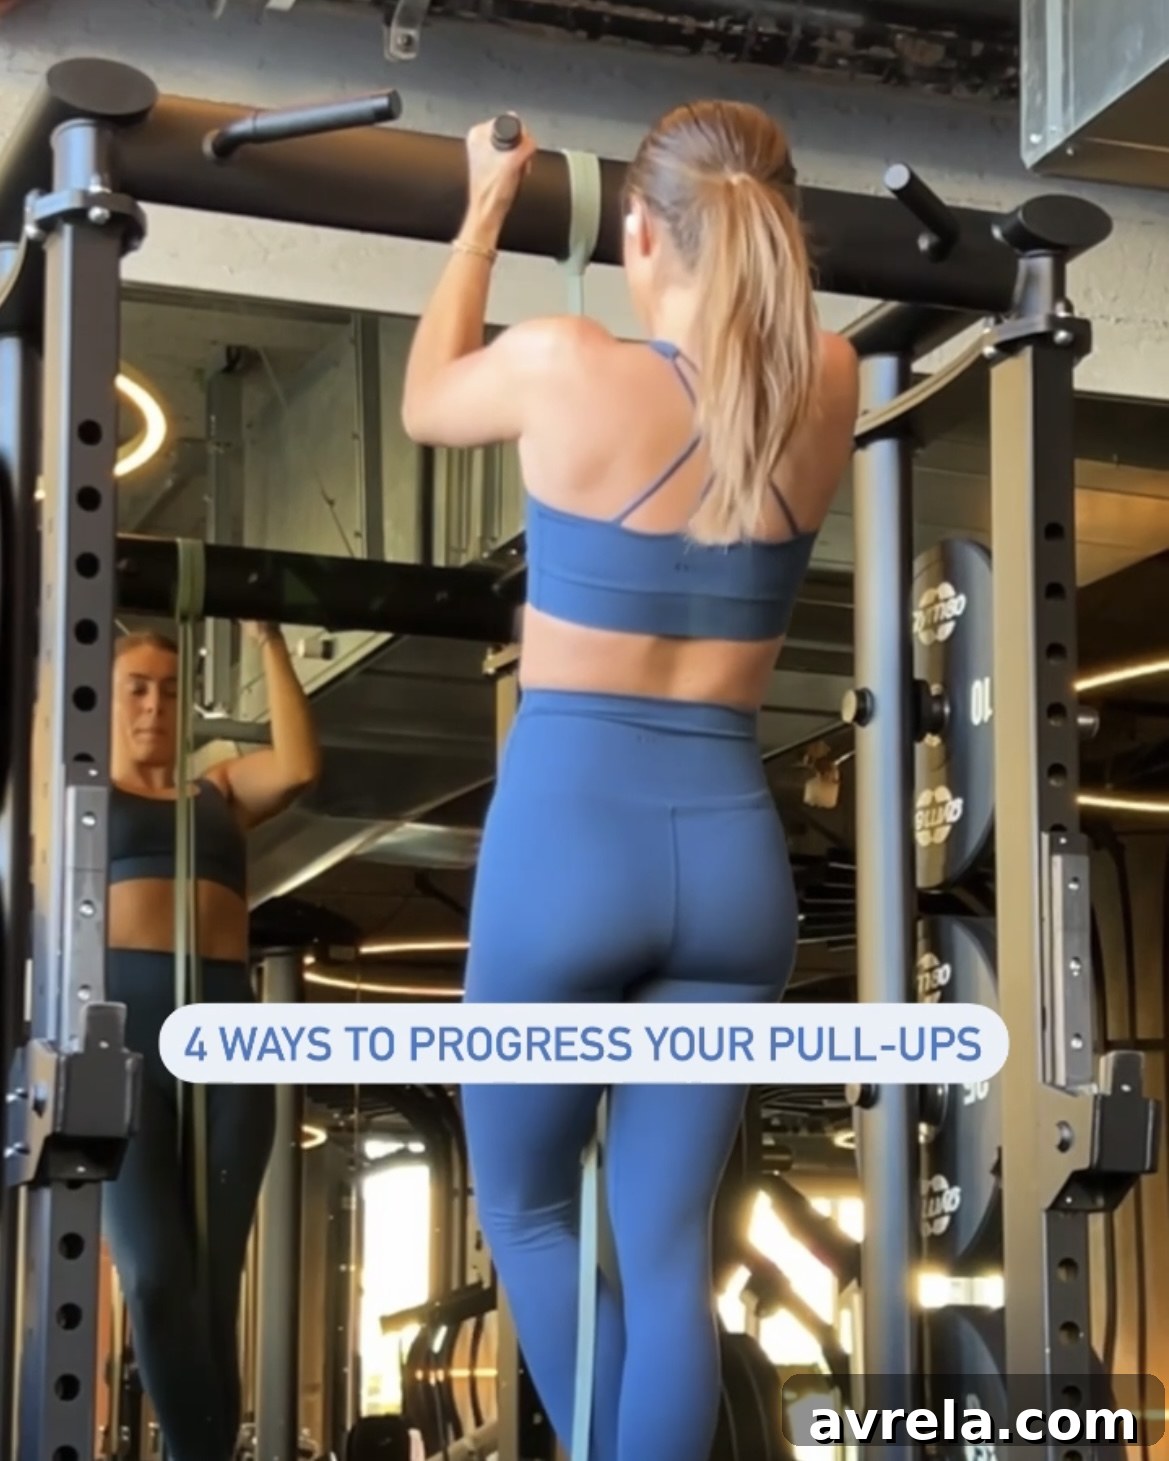
Embarking on the journey to master pull-ups is a formidable yet incredibly rewarding endeavor. For many, this path can be a long one, often spanning months of consistent effort and dedication to build the requisite strength and muscle memory. If you’ve just started or feel like your progress is slow in the initial weeks, please know that this is entirely normal. The key to success lies in persistent effort, strategic training, and a deep understanding of how to effectively build your upper body strength over time. This comprehensive guide will break down proven techniques to help you conquer your pull-up goals, transforming your aspiration into achievement. I’ve previously shared my top tips on Instagram, and here we’ll dive even deeper into each method. What has truly accelerated my own progress is incorporating assisted pull-ups using high-quality Rec Sweat Power Bands – I find the medium band provides excellent resistance for assistance, while the light band offers a perfect stepping stone once you’ve gained more strength.
The Pull-Up Journey: Embracing Patience and Persistence
The pull-up is often regarded as a benchmark of upper body strength, but achieving your first unassisted pull-up, or even multiple repetitions, is rarely an overnight success. It requires a sustained commitment to training, understanding your body’s mechanics, and celebrating small victories along the way. Think of it as a marathon, not a sprint. Many individuals become discouraged when they don’t see rapid progress, but consistency is far more important than intensity in the early stages. Each training session builds a little more strength, a little more endurance, and a little more confidence. Focus on proper form, progressive overload, and listen to your body to prevent setbacks. Remember, every master was once a beginner, and every incremental gain brings you closer to your ultimate goal.
Why Pull-Ups? Unlocking Your Full Upper Body Potential
Beyond being an impressive feat of strength, pull-ups offer a myriad of benefits that make them a cornerstone exercise in any comprehensive fitness routine. They are a compound movement, meaning they engage multiple muscle groups simultaneously, leading to greater strength gains and improved functional fitness. Primarily, pull-ups target the latissimus dorsi (lats) in your back, responsible for the width of your back, along with your biceps, shoulders, and forearm muscles. Developing strength in these areas not only enhances your physique but also improves your ability to perform daily activities, from lifting objects to maintaining good posture. Regular pull-up training can also boost grip strength, which is vital for many other exercises and activities. By incorporating pull-ups, you’re not just building muscle; you’re building a more capable, resilient body.
Essential Tools for Your Pull-Up Progression
While the pull-up itself requires minimal equipment—just a sturdy bar—certain tools can significantly aid your progression, especially in the initial stages. A good quality pull-up bar, either mounted on a wall or a doorway, is non-negotiable. However, the most impactful accessory for those working towards their first pull-up or increasing their reps are resistance bands. These versatile tools offer scalable assistance, allowing you to perform the full range of motion with reduced bodyweight. The Rec Sweat Power Bundle, which includes both light and medium resistance bands, is an excellent investment for varying levels of support. Additionally, a sturdy chair or a plyometric box can be invaluable for accessing the bar safely and performing certain assisted variations. Having these tools readily available will ensure you can consistently practice and build strength effectively.
Foundational Exercises to Build Your Pull-Up Strength
Before attempting full pull-ups, building a solid base of strength through targeted exercises is crucial. These foundational movements isolate key muscle groups and mimic the pull-up motion, preparing your body for the real deal. Integrating these exercises into your routine will accelerate your progress and build confidence.
Banded Pull-downs: Activation and Strength
Banded pull-downs are an exceptional exercise for activating and strengthening the lats, the primary movers in a pull-up, especially for those who don’t yet have the strength for full bodyweight movements. They allow you to practice the pulling motion and understand the mind-muscle connection required. To perform banded pull-downs effectively, begin by securely wrapping a power band (start with a lighter resistance like medium to ensure proper form) around a pull-up bar or any sturdy overhead anchor. Loop it around itself to ensure it is firmly in place. Grasp the band with both hands, about shoulder-width apart, and move to a kneeling position directly beneath the band. Keeping your core engaged and back straight, pull the band down towards your chest, driving your elbows towards your sides. Focus on squeezing your shoulder blades together at the bottom of the movement. Slowly and with control, release your arms back to the starting position, allowing the band to gently pull them long. This controlled ascent is just as important as the pull. As you gain strength, you can increase the difficulty by transitioning to a medium or even a heavier power band, or by performing the exercise from a standing position. This exercise is also a fantastic modification if you find yourself without a pull-up bar, as it can be performed with the band anchored to a doorframe or other secure point. The key is to feel the activation in your lats, not just your arms. Aim for 3-4 sets of 10-15 controlled repetitions.
Negative Pull-ups: Mastering the Descent for Rapid Strength Gains
One of the most effective strategies for increasing both strength and muscle memory for pull-ups is through “negatives,” which focus exclusively on the eccentric (lowering) phase of the movement. During the eccentric phase, your muscles are lengthening under tension, which has been shown to build strength faster than the concentric (pulling up) phase. By mastering the descent, you prepare your body for the full pull-up motion. There are a couple of excellent ways to integrate negatives into your training:
- Adjusted Bar Negatives: For this method, set a pull-up bar to approximately chest height when you are seated directly beneath it. Reach up and grip the bar with your hands about shoulder-width apart, palms facing away. As you initiate the “pull-up,” allow your hips and glutes to lift off the ground, essentially helping you get to the top position. Keep your heels on the ground for stability. Once you reach the top (chin over the bar), engage your upper-back muscles and begin to lower yourself down as slowly and as controlled as possible. Aim for a 3-5 second descent, resisting gravity every inch of the way. Focus intensely on the muscle contraction in your lats and biceps. Once you reach the bottom, reset and repeat.
- Chair/Box Assisted Negatives: This variation is similar but allows you to use a standard pull-up bar. Place a sturdy chair, bench, or plyometric box slightly off-center beneath the bar. Step onto the chair or box to place yourself at the top of a pull-up position, with your chin already above the bar. Ensure your grip is secure, typically slightly wider than shoulder-width, palms away. Hold this top position for a brief moment to engage your muscles, then slowly lower your body down with maximum control. Just like the adjusted bar method, aim for a slow, deliberate descent over 3-5 seconds. Once your arms are fully extended, step back onto the chair or box to reset for the next repetition. The goal is to perform each negative with perfect form and maximum tension throughout the entire lowering phase. Aim for 3-4 sets of 3-5 negatives, focusing on the quality of each descent over quantity.
Negatives are physically demanding, so ensure you give your muscles adequate rest between sets and training sessions.
Assisted Pull-ups: Bridging the Gap to Unassisted Strength
Assisted pull-ups are a crucial step in your journey, allowing you to practice the full range of motion while gradually reducing the amount of assistance as your strength increases. Power bands are the most versatile tool for this, offering scalable support.
Jump-Assisted Pull-ups: Building Momentum and Confidence
Jump-assisted pull-ups are an excellent way to initiate the movement and gradually transition into controlling the full exercise. They combine an initial burst of momentum with an emphasis on the negative phase, effectively building both concentric and eccentric strength. Using the light and medium power bands from the Power Bundle, you can systematically progress. I highly recommend starting with the medium power band for greater support, as it allows you to focus more on form. Begin by securely wrapping the chosen band around the pull-up bar, looping it to hold it firmly in place. Position a sturdy chair or box directly beneath the bar to help you reach the bar and step into the band. Loop the bottom of the band around one foot. From this elevated position, use your free foot to lightly push off the box, propelling yourself upwards to the top of the pull-up, with your chin clearing the bar. At the top, hold this engaged position briefly. Then, initiate a slow, controlled descent, resisting the upward pull of the band. Your goal here is to prolong the negative phase, similar to negative pull-ups, maximizing time under tension. Once your arms are fully extended, reset by stepping back onto the chair/box and repeating the jump and slow lower. As you become more proficient and your strength improves, switch to the light power band to reduce the assistance, making the movement more challenging and preparing you for unassisted pull-ups. Aim for 3-4 sets of 6-8 repetitions, prioritizing the controlled descent.
Strict Assisted Pull-ups: Refining Form with Resistance Bands
Once you’ve gained confidence and strength through jump-assisted pull-ups and negatives, it’s time to transition to strict assisted pull-ups. The term ‘strict’ here means performing the exercise without any jumping or momentum, relying purely on your controlled strength and the assistance of the resistance band. This method is critical for refining your technique and building the precise muscle activation required for unassisted pull-ups. To begin, securely loop a power band (start with a medium or even heavy band if needed, then progress to lighter ones) around the pull-up bar. Step into the bottom loop of the band with one foot, allowing it to provide upward assistance. Grip the bar with an overhand grip, slightly wider than shoulder-width. Start from a dead hang, ensuring your shoulders are pulled away from your ears, and your core, glutes, and thighs are engaged, pulling towards your body’s centerline to prevent swinging. Initiate the pull-up by engaging the muscles of your upper back—think about pulling your shoulder blades down and back. Drive your elbows downwards towards your hips, keeping them tucked in rather than flared out. Your chest should be drawn towards the bar, and your chin should clear it at the top. Avoid any compensatory movements like kipping or arching your back. The movement should be smooth, controlled, and fluid throughout both the ascent and descent. Slowly lower yourself back to the dead hang position, maintaining tension in your muscles. This controlled range of motion is paramount for building true strength. As your strength progresses, gradually move to a lighter resistance band (thinner band) to reduce the assistance, challenging your muscles further until you can perform unassisted pull-ups. Aim for 3-4 sets of 4-6 strict, controlled repetitions.
Common Pull-Up Mistakes and How to Avoid Them
Avoiding common errors can significantly accelerate your pull-up progress and prevent injury. Be mindful of these pitfalls:
- Not Going Full Range of Motion: Failing to fully extend your arms at the bottom or not getting your chin completely over the bar at the top limits muscle activation and strength development. Ensure a full, controlled range.
- Excessive Kipping: While kipping has its place in certain fitness methodologies, for building raw pull-up strength, it bypasses the muscles you’re trying to develop. Focus on strict form first.
- Neglecting the Negative Phase: As discussed, the lowering phase is a powerful strength builder. Don’t just drop from the top; control your descent.
- Improper Grip: A grip that’s too wide or too narrow, or one where your thumbs aren’t wrapped around the bar, can reduce effectiveness and increase injury risk. Aim for a slightly wider than shoulder-width grip, palms facing away, with thumbs wrapped.
- Lack of Core Engagement: A weak core leads to swinging and an inability to maintain a stable body position, making the pull-up harder and less effective. Keep your abs and glutes tight throughout the movement.
Training Frequency and Recovery for Optimal Progress
Consistency is key, but so is adequate recovery. For pull-up training, aiming for 2-3 sessions per week, with at least 48 hours of rest in between, is a good starting point. This allows your muscles to repair and grow stronger. Incorporate your pull-up specific exercises at the beginning of your upper body workouts when you are freshest. On off days, focus on complementary exercises that build overall strength or allow for active recovery. Don’t forget the importance of nutrition and hydration; your muscles need fuel to recover and perform.
Staying Motivated: Celebrate Every Step of Your Progress
The pull-up journey can test your patience, but remember to celebrate every small victory. Whether it’s adding one more rep to your negatives, transitioning to a lighter resistance band, or simply feeling stronger on the bar, acknowledge your progress. Keep a training log to track your reps, sets, and the bands you use; seeing tangible evidence of your improvement can be a huge motivator. Surround yourself with a supportive fitness community, and don’t be afraid to ask for advice or share your successes. Your dedication will pay off.
Your Journey to Stronger Pull-Ups Starts Now
Mastering the pull-up is an empowering achievement that signifies true upper body strength and dedication. By diligently applying the techniques outlined in this guide—from foundational banded pull-downs and strength-building negatives to progressive assisted pull-ups—you are well on your way to conquering this challenging exercise. Remember the importance of patience, consistency, and proper form over speed. Equip yourself with the right tools, like the versatile Rec Sweat Power Bands, and commit to the process. Your journey to stronger, more confident pull-ups is within reach. Start implementing these tips today, and watch your strength transform. Happy pulling!