

Irresistibly Delicious Kitchen Sink Christmas Cookies: A Festive Sweet & Salty Delight!
Prepare to be amazed by these Kitchen Sink Christmas Cookies – the ultimate holiday treat that perfectly balances sweet and salty, chewy and crunchy, and everything in between! Packed with vibrant M&M’s, rich chocolate chips, salty pretzels, fluffy marshmallows, and even crisp potato chips, these cookies truly have “everything but the kitchen sink.” They’re not only a joy to eat but also incredibly fun to make, making them a fantastic activity to get the whole family involved in during the festive season. Embrace the spirit of holiday baking with a recipe that’s as versatile as it is delicious!
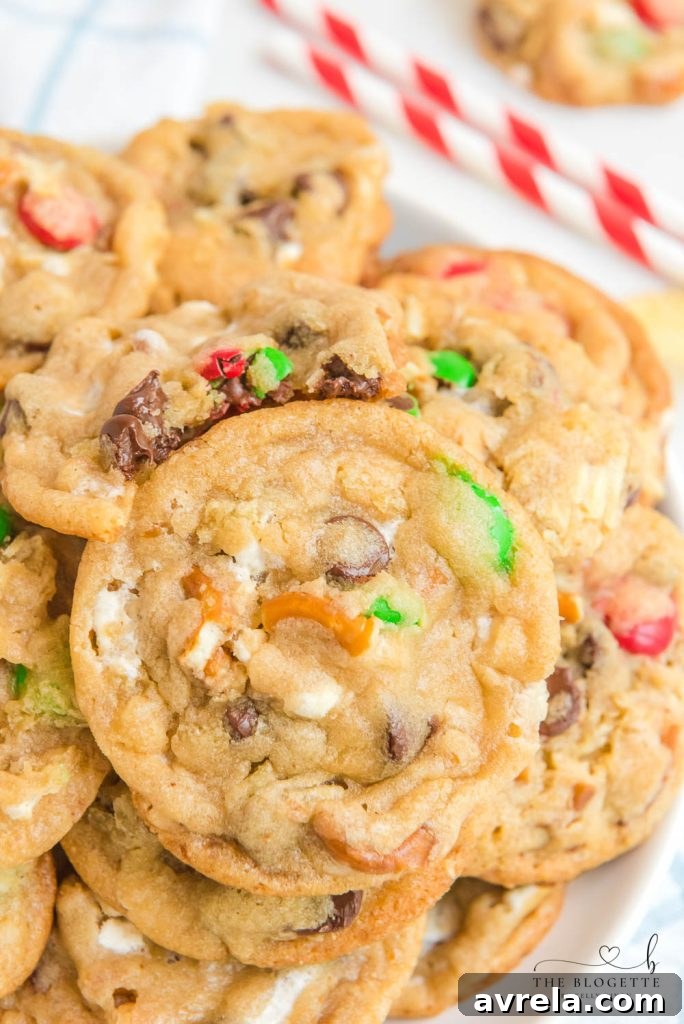
The Magic Behind Kitchen Sink Christmas Cookies
These cookies are celebrated for their incredible versatility and adaptability. While our specific recipe offers a perfect blend of flavors and textures, the beauty of “kitchen sink” cookies lies in their customizability. The core idea is to utilize whatever delightful bits and pieces you have lingering in your pantry – from leftover candy to nearly-empty snack bags. This approach not only minimizes waste but also encourages creativity in the kitchen. The masterful combination of sweet and salty elements creates an explosion of flavor that will undoubtedly hit the spot, captivating everyone with each bite. It’s a culinary adventure where every cookie is a unique masterpiece!
Pin this recipe now to save it for later and make your holiday baking even easier!
Pin It Now
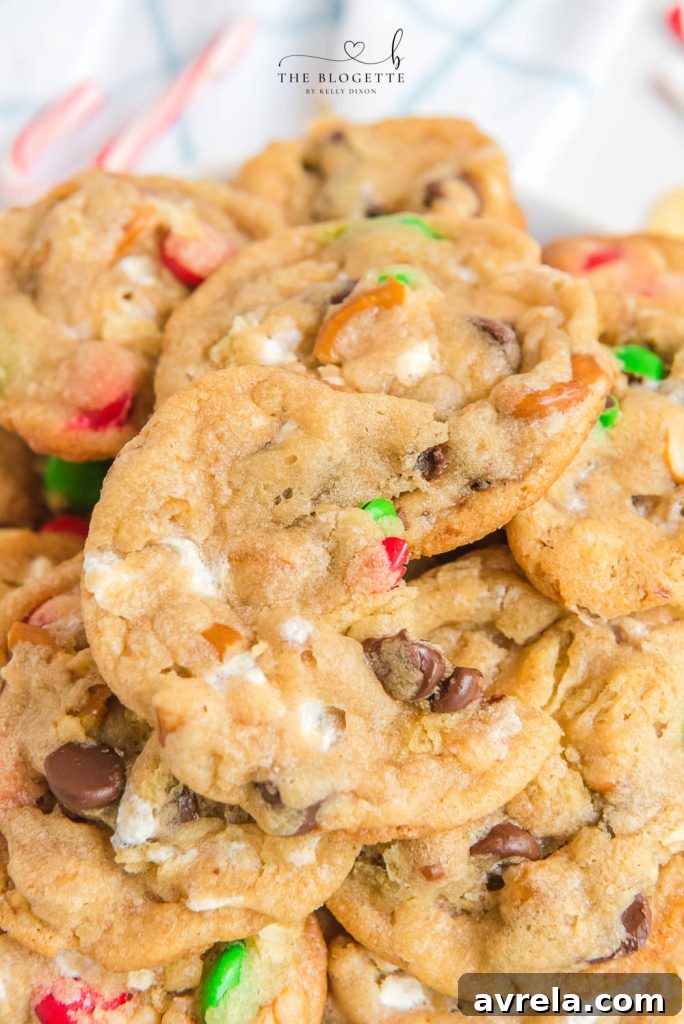
One of the most intriguing additions to these cookies is the potato chips, and trust us, their flavor is anything but overpowering. Instead, they contribute a delightful crisp texture and a subtle, irresistible saltiness that perfectly complements the sweetness of the chocolate and M&M’s. If you find yourself falling in love with these extraordinary cookies and can’t bear to stop making them once Christmas has passed, don’t worry! Simply swap out the festive red and green M&M’s for year-round colors or other mix-ins, and you’ll have a treat that’s perfect for any occasion.
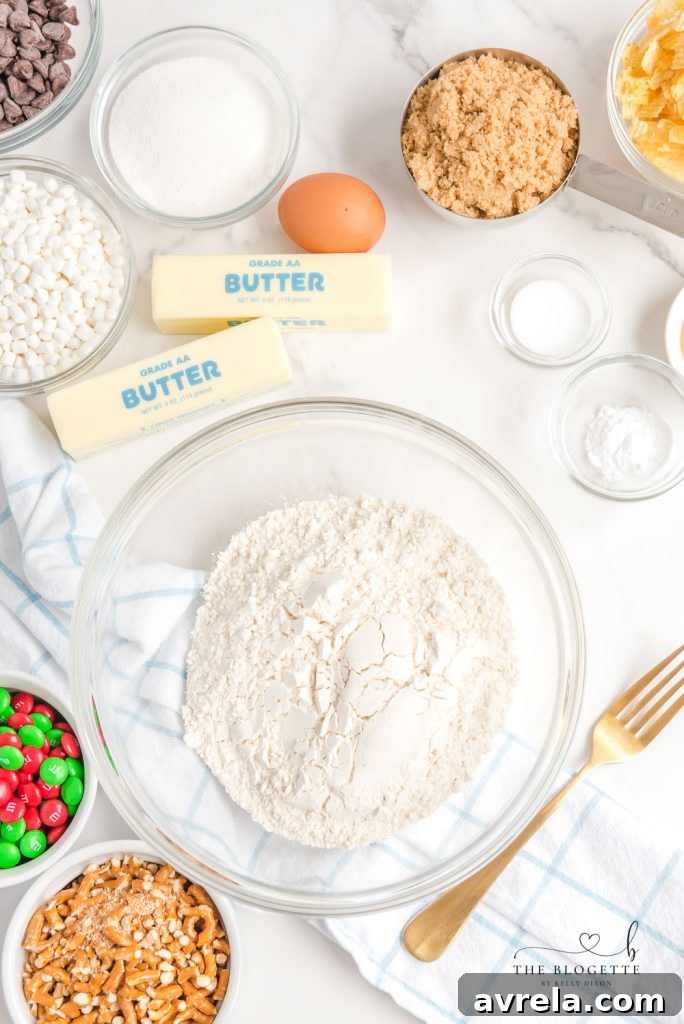
Essential Ingredients for Your Kitchen Sink Masterpiece
Crafting these extraordinary cookies requires a blend of classic baking staples and exciting additions. Here’s a breakdown of what you’ll need to create the perfect balance of flavors and textures:
- All-purpose flour: The foundation of our chewy cookie dough.
- Baking soda: Essential for that perfect lift and tender crumb.
- Salt: A crucial ingredient that enhances all other flavors, especially the sweet ones.
- Unsalted butter: Softened to room temperature for smooth creaming, allowing you to control the salt content.
- Brown sugar (packed): Adds moisture, chewiness, and a rich, molasses-like depth.
- Granulated sugar: Contributes to the crisp edges and overall sweetness.
- Egg: Acts as a binder, giving the cookies structure and richness.
- Vanilla extract: A classic flavor enhancer that brightens the entire cookie.
- Semi-sweet chocolate chips: For those pockets of melty, rich chocolate goodness.
- Red & green holiday M&M’s: Bringing festive cheer and a delightful candy crunch.
- Crushed pretzels: Introducing a fantastic salty crunch and unique texture.
- Mallow bits (not mini marshmallows): These small, concentrated marshmallow pieces melt beautifully into gooey pockets without making the cookies soggy.
- Crushed potato chips: The secret ingredient for an unexpected salty kick and an irresistible crispy texture.
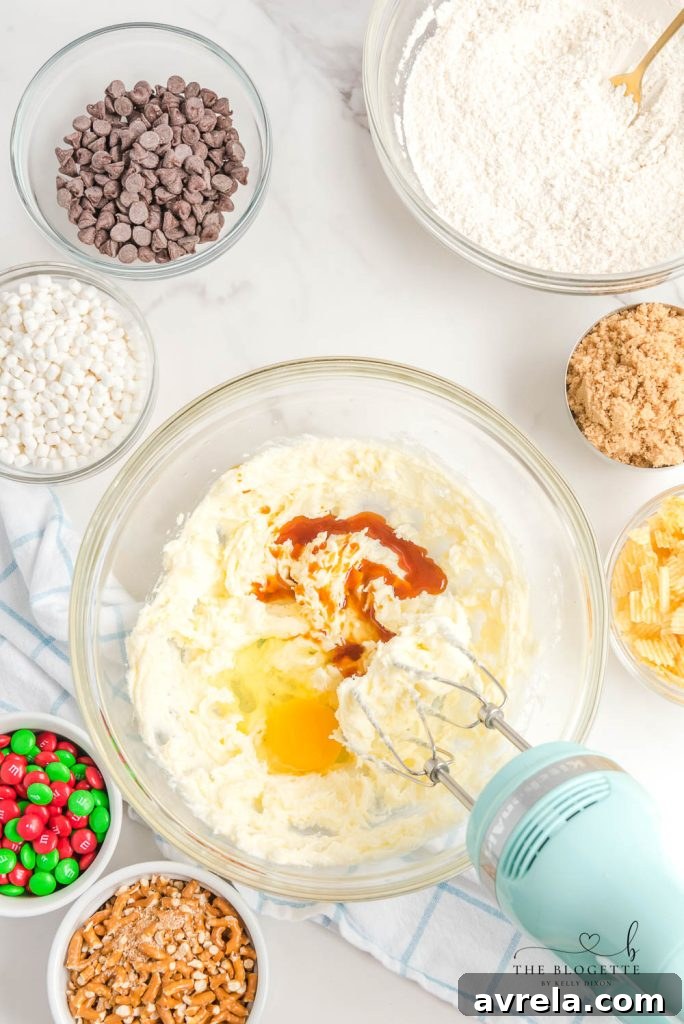
Step-by-Step Guide to Baking Perfect Holiday Kitchen Sink Cookies
Follow these simple steps to create a batch of the most exciting and flavorful Christmas cookies you’ve ever baked. This recipe is designed to be straightforward, ensuring delicious results even for novice bakers.
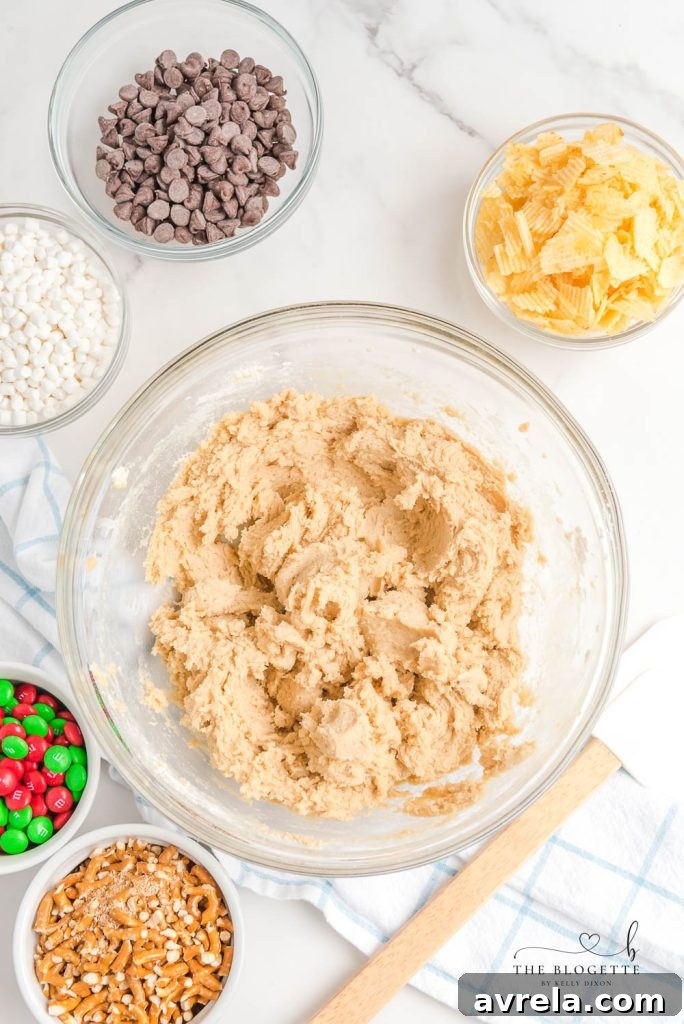
First, in a medium bowl, whisk together your dry ingredients: the all-purpose flour, baking soda, and a pinch of salt. Ensure they are thoroughly combined before setting this mixture aside. In a separate, larger mixing bowl, cream together the softened unsalted butter and both types of sugar (brown and granulated) using an electric mixer. Beat them until the mixture becomes light, fluffy, and perfectly smooth. This step is crucial for achieving that wonderfully tender cookie texture. Next, incorporate the egg and vanilla extract into the creamed mixture, continuing to mix until everything is well combined and glossy.
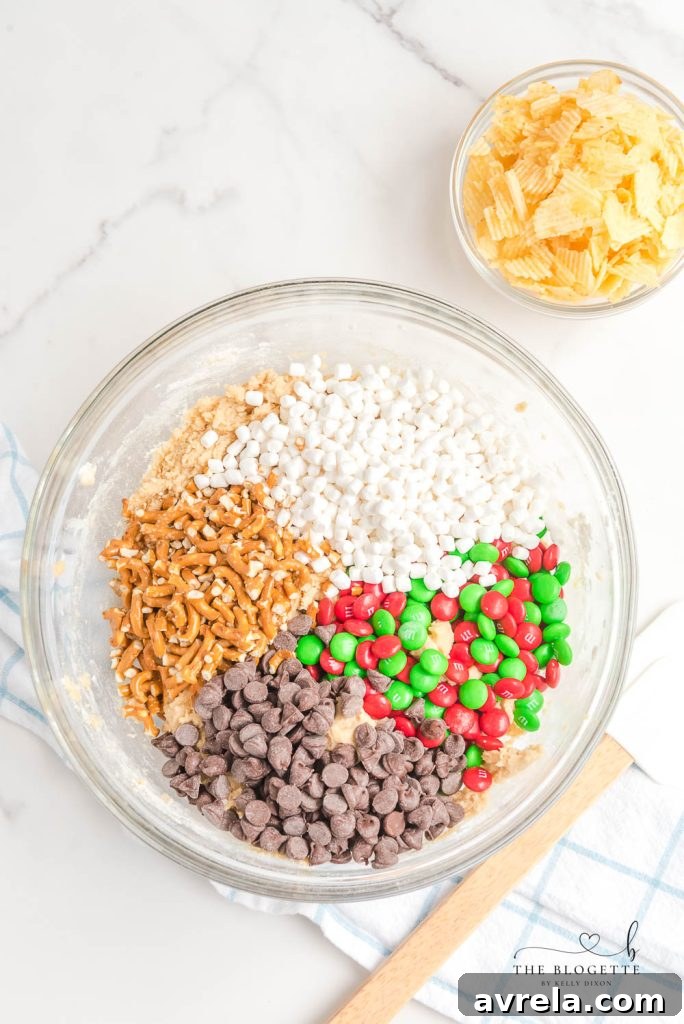
Now, gradually add the reserved flour mixture to the wet ingredients. Mix until just combined and a cohesive dough forms. Be careful not to overmix, as this can lead to tough cookies. Once the dough is ready, it’s time for the fun part: folding in the mix-ins! Gently incorporate the semi-sweet chocolate chips, festive M&M’s, crunchy pretzels, and delightful mallow bits. We highly recommend using a spatula and folding these ingredients in by hand instead of an electric mixer to prevent overmixing and ensure they are evenly distributed without being crushed. Finally, add the crushed potato chips, mixing them in lightly so they maintain some of their crispness and spread throughout the dough.
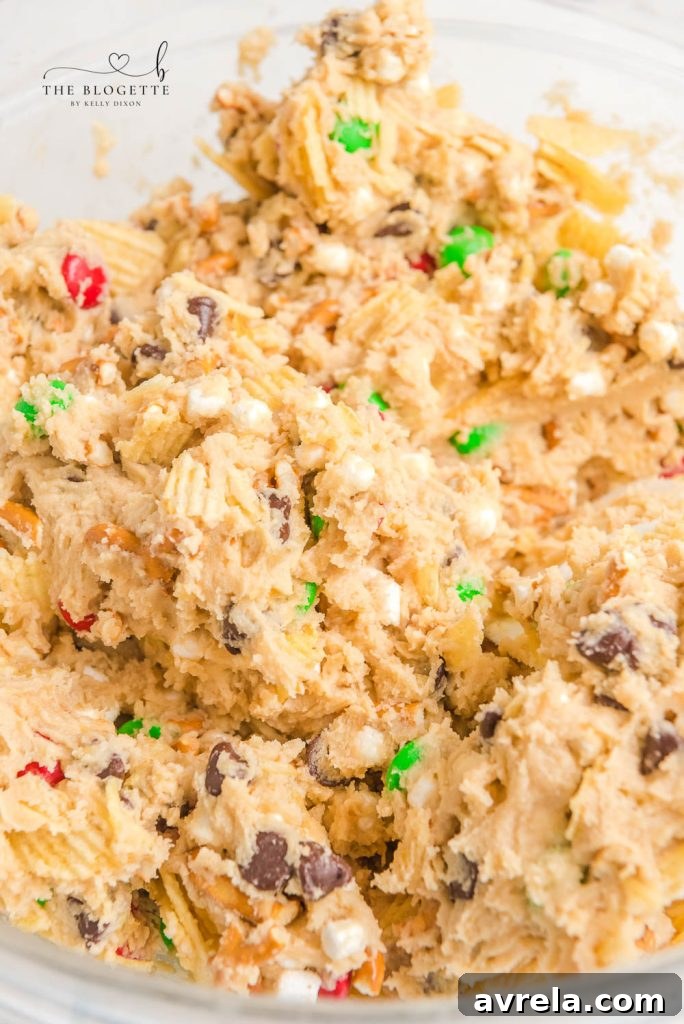
Once all your delicious additions are folded in, cover the bowl with plastic wrap and chill the dough in the refrigerator for 1-2 hours. This chilling period is essential; it helps the flavors meld, prevents the cookies from spreading too much during baking, and results in a chewier, more flavorful cookie. While your dough is chilling, preheat your oven to 350°F (175°C) and line your baking sheets with parchment paper for easy cleanup and consistent baking.

Using a 1-inch cookie scoop, portion the chilled dough from the bowl. Roll each scoop gently between the palms of your hands to form an even, round ball. Place these dough balls about 2 inches apart on your prepared baking sheets, typically fitting 12 cookies per sheet. Bake the cookies in your preheated oven for approximately 10-12 minutes, or until the edges are golden brown and the centers are still slightly soft. Once baked, allow them to cool on the baking sheet for 1-2 minutes before carefully transferring them to a wire rack to cool completely. Store these magnificent cookies in an airtight container at room temperature to maintain their freshness. And don’t forget to save a few extra for Santa – he absolutely adores kitchen sink cookies!
Want to save this recipe?
Get it emailed to you directly! Enter your email below to receive the full recipe card.
(Email sign-up form content would appear here in a live website.)
Subscribe for Recipes

Unleashing Your Creativity: Endless Mix-In Options!
Customize Your Cookies with These Mix-In Ideas:
The beauty of Kitchen Sink Cookies is their infinite possibilities. Don’t limit yourself to the suggested ingredients! Feel free to experiment with any of these delicious additions, or come up with your own:
- Christmas sprinkles: For an extra festive look and a touch of added sweetness.
- Butterscotch chips: Add a creamy, caramel-like flavor.
- Shredded coconut: Offers a chewy texture and tropical note.
- Rolled oats: For a heartier, chewier, and slightly healthier twist.
- Peanut butter chips: Perfect for peanut butter lovers, adding a nutty richness.
- White chocolate chips: A milder chocolate flavor that complements other mix-ins beautifully.
- Caramel bits: Creates pockets of gooey, buttery caramel in every bite.
- Toffee bits: Provides a delightful crunch and a rich, buttery, burnt sugar flavor.
- Chopped nuts (pecans, walnuts): For added crunch and earthy notes.
- Dried cranberries or cherries: A tart burst of fruitiness to balance the sweetness.
- Mini chocolate candies (like chopped candy bars): Use up any leftover holiday candy!
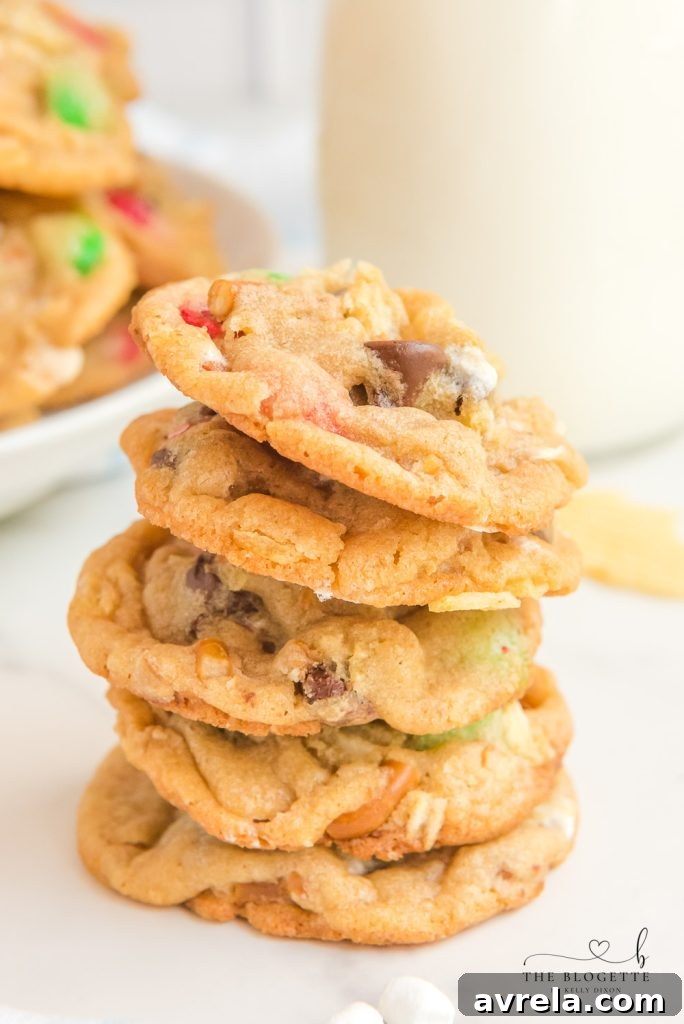
Why You’ll Fall in Love with These Cookies
These aren’t just any Christmas cookies; they’re an experience! Here’s why Kitchen Sink Christmas Cookies are destined to become a beloved part of your holiday tradition:
- Festive Christmas Colors: The vibrant red and green M&M’s instantly evoke the holiday spirit, making them perfect for parties, gift-giving, or simply enjoying by the fireplace.
- Sweet, Soft, and Easy-to-Mix Dough: The base dough is incredibly forgiving and simple to prepare, ensuring a tender and flavorful cookie every time. Even beginner bakers will find success with this recipe!
- An Overload of Sweet and Salty Tastes: This dynamic flavor profile is truly addictive. The rich sweetness of chocolate and sugar perfectly contrasts with the savory crunch of pretzels and potato chips, creating a taste sensation you won’t be able to get enough of.
- Remarkable Chewy, Gooey, and Crunchy Texture: From the chewy cookie base to the gooey melted chocolate and marshmallows, and the satisfying crunch of pretzels and potato chips, every bite offers a delightful textural adventure.
- Perfect for Customization: As the name suggests, these cookies invite improvisation. Use up pantry staples or get creative with new additions.
- Fun for All Ages: Kids especially love helping to crush ingredients and mix in the colorful candies, making the baking process a memorable holiday activity.

Tips for Perfect Kitchen Sink Cookies Every Time
- Don’t Overmix the Dough: Once the flour mixture is added, mix only until just combined. Overmixing can develop the gluten, leading to tougher cookies.
- Chill the Dough: This step is non-negotiable! Chilling solidifies the butter, preventing the cookies from spreading too much and resulting in a chewier texture and richer flavor.
- Room Temperature Ingredients: Ensure your butter and egg are at room temperature. This allows them to cream together properly, creating a smooth, emulsified batter that traps air for a lighter cookie.
- Use Parchment Paper: Always line your baking sheets. It prevents sticking, promotes even baking, and makes cleanup a breeze.
- Don’t Overbake: Cookies continue to cook slightly on the hot baking sheet after coming out of the oven. Remove them when the edges are set and golden but the centers still look a little soft.
- Even Scooping: Use a cookie scoop to ensure all your cookies are the same size. This guarantees even baking and a beautiful, consistent batch.
- Crush Mix-Ins Appropriately: For pretzels and potato chips, crush them into varying sizes – some finer crumbs, some larger chunks – to add diverse textures.
Storage and Freezing Instructions
These delightful cookies are best enjoyed fresh, but they also store beautifully. Store baked Kitchen Sink Christmas Cookies in an airtight container at room temperature for up to 5-7 days. For longer storage, you can freeze the baked cookies for up to 3 months. Thaw them at room temperature or gently warm them in the microwave for a few seconds for that freshly baked feel. You can also freeze the unbaked dough balls; simply arrange them on a baking sheet, freeze until solid, then transfer to a freezer-safe bag. When ready to bake, pop them directly from the freezer into a preheated oven, adding a few extra minutes to the baking time.
Frequently Asked Questions About Kitchen Sink Christmas Cookies
Here are answers to some common questions you might have about making these incredible holiday cookies:
Q: Can I use regular mini marshmallows instead of mallow bits?
A: While mallow bits are recommended for their ability to melt without making the cookies too moist, you can use regular mini marshmallows. Be aware they might spread a bit more and release more moisture, potentially altering the texture slightly.
Q: What if I don’t have all the specified mix-ins?
A: No problem at all! The beauty of “kitchen sink” cookies is their flexibility. Use what you have! As long as you maintain a similar total volume of mix-ins (around 3-4 cups), you can substitute freely with other chocolate candies, nuts, dried fruits, or other crunchy snacks.
Q: Can I make these cookies ahead of time?
A: Absolutely! The dough can be prepared and chilled in the refrigerator for up to 2-3 days before baking. You can also freeze the raw cookie dough balls (as described above) for up to 3 months.
Q: Is the potato chip flavor too strong?
A: Not at all! The potato chips add a subtle saltiness and a fantastic crunch that balances the sweetness of the other ingredients. Their flavor blends in, providing an unexpected and delicious element rather than overpowering the cookie.
Q: Can I make these cookies without the Christmas theme?
A: Definitely! Simply swap the red and green M&M’s for standard colored M&M’s or other chocolate candies suitable for any time of year. These cookies are delicious year-round!
More Festive Christmas Recipes to Enjoy
Lofthouse Christmas Cookies
Sugar Cookie Cocktail
Dark Chocolate Peppermint Cookies
M&M Christmas Tree Cookies

Print Recipe
Kitchen Sink Christmas Cookies
15 minutes
12 minutes
2 hours
2 hours 30 minutes
48 cookies
Equipment
- Parchment Paper
- Baking sheets
- Mixing bowls (medium and large)
- Electric mixer (handheld or stand mixer)
- Cooling rack
- 1-inch cookie scoop
Ingredients
- 2½ cups all-purpose flour
- 1 teaspoon baking soda
- Pinch of salt
- 2 sticks (1 cup) unsalted butter, softened at room temperature
- 1 cup light brown sugar, packed
- ½ cup granulated sugar
- 1 large egg
- 2 teaspoons vanilla extract
- ¾ cup semi-sweet chocolate chips
- ¾ cup red & green M&M’s
- ¾ cup crushed pretzels
- ¾ cup mallow bits
- 1 cup crushed potato chips
Instructions
- In a large mixing bowl, combine flour, baking soda, and salt. Mix well and set aside.
- In a separate large mixing bowl, cream together the softened butter and both sugars until smooth and fluffy using an electric mixer.
- Add in the egg and vanilla extract, continuing to mix until well combined and glossy.
- Gradually add the flour mixture to the wet ingredients. Mix until just combined and a cohesive dough forms. Avoid overmixing.
- Fold in the chocolate chips, M&M’s, crushed pretzels, and mallow bits. Mix gently with a spatula until all the additions are evenly distributed throughout the dough.
- Lastly, add the crushed potato chips and mix lightly to spread them throughout the dough without crushing them too finely.
- Cover the bowl with plastic wrap and place the dough inside the refrigerator to chill for 1-2 hours.
- While the dough is chilling, preheat your oven to 350° F (175°C) and prepare a large cookie sheet by lining it with parchment paper.
- Using a 1-inch cookie scoop, scoop dough from the bowl. Roll each scoop gently between the palms of your hands to create an even and round ball. Repeat until the dough is gone, placing about 12 cookies per sheet.
- Bake for 10-12 minutes, or until the edges are lightly golden and the centers are still soft.
- When done, allow the cookies to cool on the pan for 1-2 minutes before carefully transferring them to a wire rack to cool completely.
Additional Info
For best results, always measure your flour by weight or use the spoon-and-level method to ensure accuracy. The chilling time is crucial for preventing the cookies from spreading too thin and enhancing their chewiness and flavor profile.