

Indulge in the bright, zesty flavor of our easy Lemon Loaf, a meticulously crafted recipe designed to rival, and even surpass, your favorite Starbucks treat! Using simple, readily available ingredients, you can whip up this wonderfully soft, moist lemon cake, crowned with a luscious, creamy lemon glaze, in just about an hour. Prepare to impress your taste buds and loved ones with a homemade delight that truly stands out!

The Ultimate Homemade Lemon Loaf
If you’ve ever savored a slice of Starbucks’ Lemon Loaf, you know the pure joy it brings. That perfect balance of intense lemon flavor, combined with an incredibly moist, dense, yet wonderfully rich texture, is truly captivating. Our easy lemon cake recipe aims to recreate that magic, delivering a loaf that is not only perfectly moist but also boasts an irresistible fluffiness. For any dessert enthusiast who adores the vibrant taste of lemon, this recipe is an absolute must-try! It’s versatile enough to grace any occasion, from a casual coffee break to an elegant brunch.
Pin this now to save it for later
Pin It Now

Why You’ll Fall in Love with This Lemon Loaf
There are countless reasons why this homemade lemon loaf will become a staple in your baking repertoire. Beyond being a delightful Starbucks copycat, this recipe stands on its own merits. Its unparalleled moisture comes from a thoughtful combination of butter, eggs, and sour cream, ensuring every bite is tender and flavorful. The use of both lemon zest and fresh lemon juice, alongside a touch of lemon extract, guarantees a robust and authentic lemon punch that’s both refreshing and satisfying. The cake’s rich, dense texture strikes the perfect balance, making it substantial without being heavy. Plus, the creamy lemon glaze adds an extra layer of sweetness and tang, creating a truly irresistible finish. It’s an easy-to-follow recipe perfect for bakers of all skill levels, promising professional-level results from your very own kitchen.
Key Ingredients for the Perfect Lemon Loaf
Creating this spectacular lemon loaf begins with selecting high-quality ingredients. Each component plays a crucial role in achieving the desired texture, moisture, and vibrant lemon flavor.
- All-purpose flour: The foundational dry ingredient, providing structure to the loaf. Measure it correctly by spooning it into a measuring cup and leveling it off.
- Baking powder: Acts as a leavening agent, helping the loaf rise to a fluffy, tender consistency.
- Salt: A pinch of salt enhances all the other flavors, particularly the sweetness and tartness of the lemon.
- Unsalted Butter (at room temperature): Essential for a tender crumb and rich flavor. Ensure it’s softened, but not melted, for proper creaming with sugar.
- Granulated sugar: Provides sweetness and helps create a light and airy texture when creamed with butter.
- Large eggs: Bind the ingredients together, add moisture, and contribute to the loaf’s rich structure. Use room temperature eggs for better emulsification.
- Sour cream: The secret weapon for an incredibly moist and tender loaf. Its acidity also reacts with the baking powder, boosting the rise.
- Lemon zest: The zest contains the essential oils of the lemon, providing the most intense and aromatic lemon flavor. Don’t skip this! Use a fine grater or microplane for best results.
- Fresh lemon juice: Adds bright, tangy notes and helps activate the baking powder. Always opt for freshly squeezed juice over bottled for superior flavor.
- Lemon extract: A concentrated burst of lemon flavor that ensures the loaf’s lemon essence shines through even after baking. Make sure to use extract, not lemon oil, as they have different properties.
- Nonstick spray (or parchment paper): For preparing your loaf pan to ensure easy release of your beautifully baked loaf.
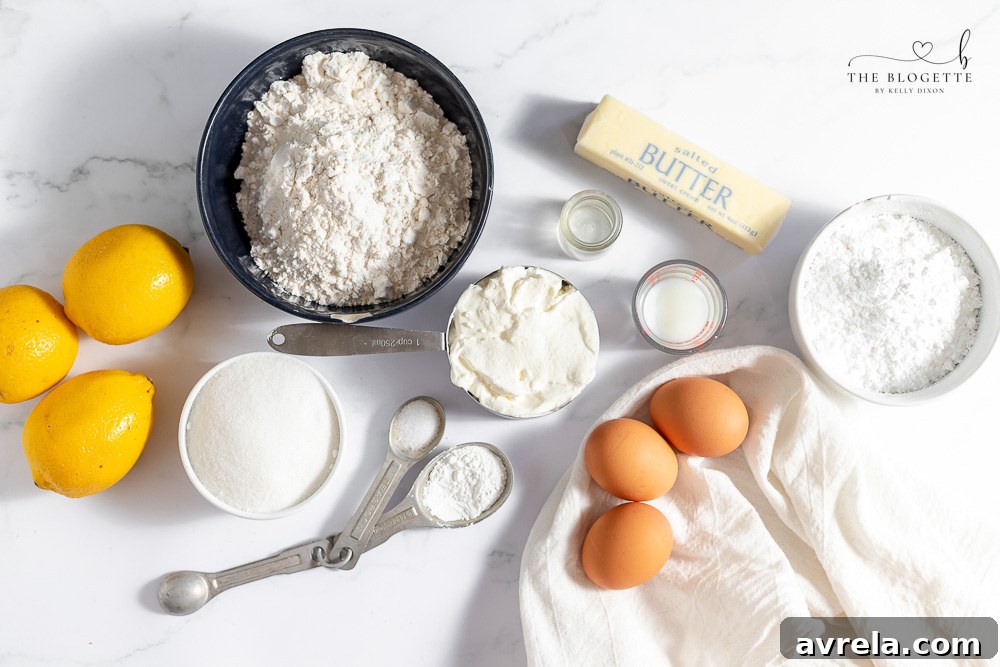
Essential Supplies for Baking Your Lemon Loaf
Having the right tools on hand makes the baking process smooth and enjoyable. Here’s what you’ll need:
- Loaf pan (4×8 inch or 5×9 inch): The size will affect baking time and loaf height. A 9×5 inch pan is standard for most quick breads.
- 2 mixing bowls: One for dry ingredients, one for wet, simplifying the mixing process.
- Electric mixer or stand mixer: Essential for creaming butter and sugar until light and fluffy, and for thoroughly combining ingredients.
- Spatula: For scraping down the sides of the bowl and folding in ingredients.
- Spoon: For general mixing and spreading the glaze.
- Grater (or microplane): To get that aromatic lemon zest.
- Toothpick: For testing the doneness of your loaf.
- Optional: Parchment paper: Lines the pan for extra easy removal and cleanup.
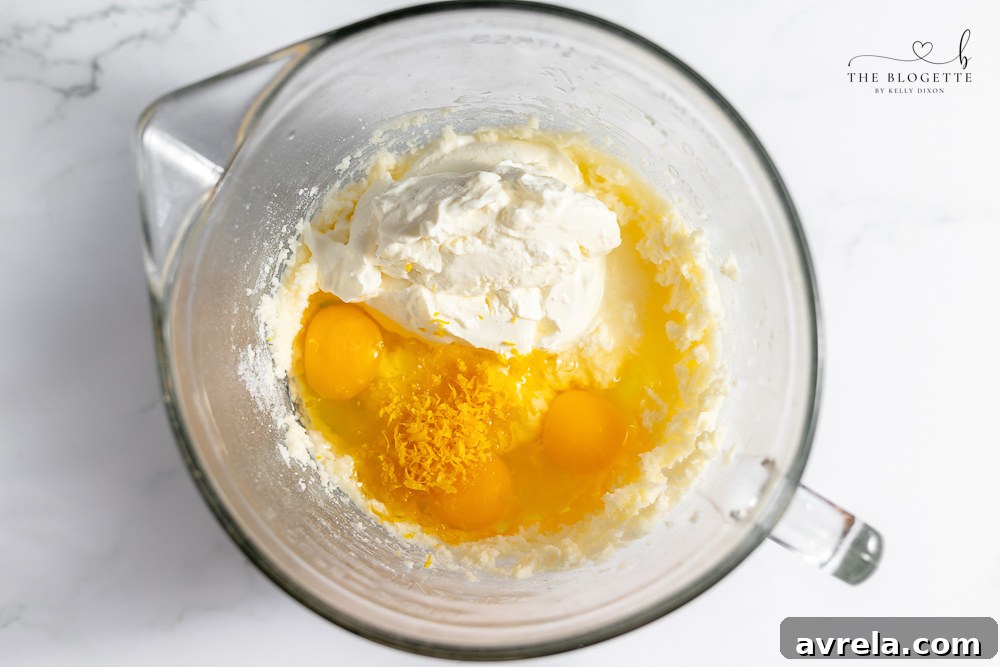
Crafting Your Delightful Lemon Loaf: Step-by-Step
Making this lemon loaf is a straightforward process, resulting in a bakery-quality treat. Follow these steps for the best results:
- Prepare the Dry Ingredients: In a large mixing bowl, whisk together the all-purpose flour, baking powder, and salt. Set this mixture aside. This ensures all leavening agents and flavor enhancers are evenly distributed.
- Cream Butter and Sugar: In a separate, medium mixing bowl, use an electric mixer (or stand mixer with paddle attachment) on medium speed to cream the softened butter and granulated sugar together. Beat until the mixture is light in color and fluffy in texture, typically 2-3 minutes. This step incorporates air, contributing to the loaf’s tender crumb.
- Incorporate Wet Ingredients: Gradually beat in the large eggs, one at a time, ensuring each is fully incorporated before adding the next. Then, mix in the sour cream, lemon zest, fresh lemon juice, and lemon extract. Continue mixing until everything is just combined. The mixture may look slightly curdled at this stage, which is completely normal.
- Combine Wet and Dry: Slowly add the reserved dry ingredients to the wet ingredients. Mix on low speed, or by hand with a spatula, just until the batter comes together and no streaks of dry flour remain. Be careful not to overmix, as this can lead to a tough loaf. A few lumps are acceptable.
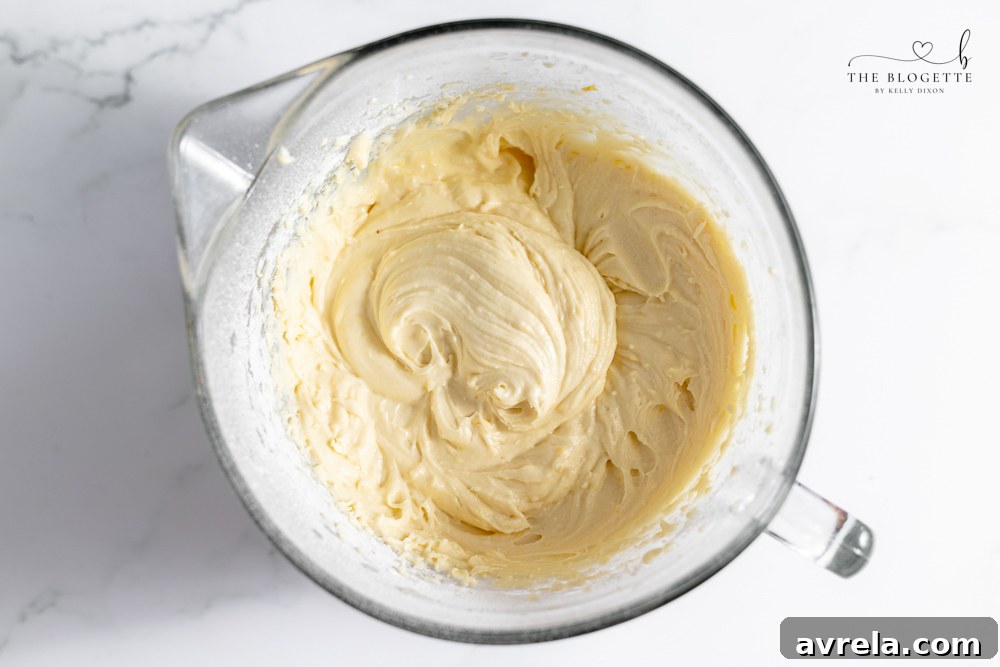
Once your batter is perfectly combined, it’s time for baking!
Pour the delicious batter into your prepared 4×8 or 5×9 inch loaf pan, which you’ve generously coated with non-stick spray or lined with parchment paper. Smooth the top with a spatula if needed. Bake in a preheated oven at 325 degrees Fahrenheit (160 degrees Celsius) for approximately 60 minutes. The exact baking time may vary depending on your oven and loaf pan size, so keep an eye on it. The loaf is done when a toothpick inserted into the center comes out clean or with a few moist crumbs attached. The aroma of this tender, freshly baked bread will fill your kitchen, promising a delightful treat.
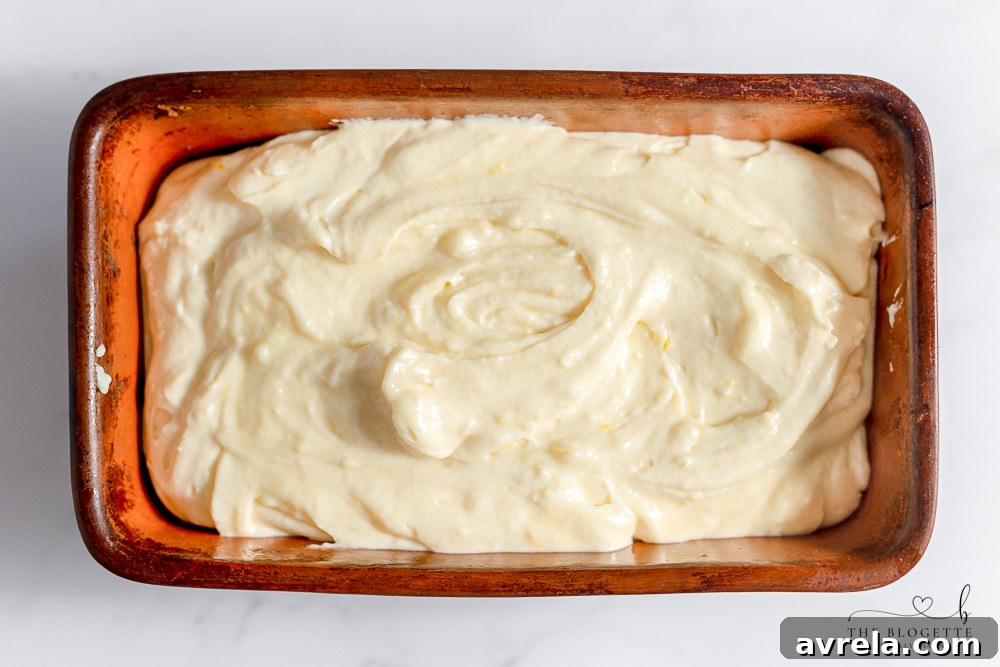
While your lemon cake is baking to golden perfection, it’s the ideal moment to prepare the star of the topping – the incredibly delicious lemon glaze!
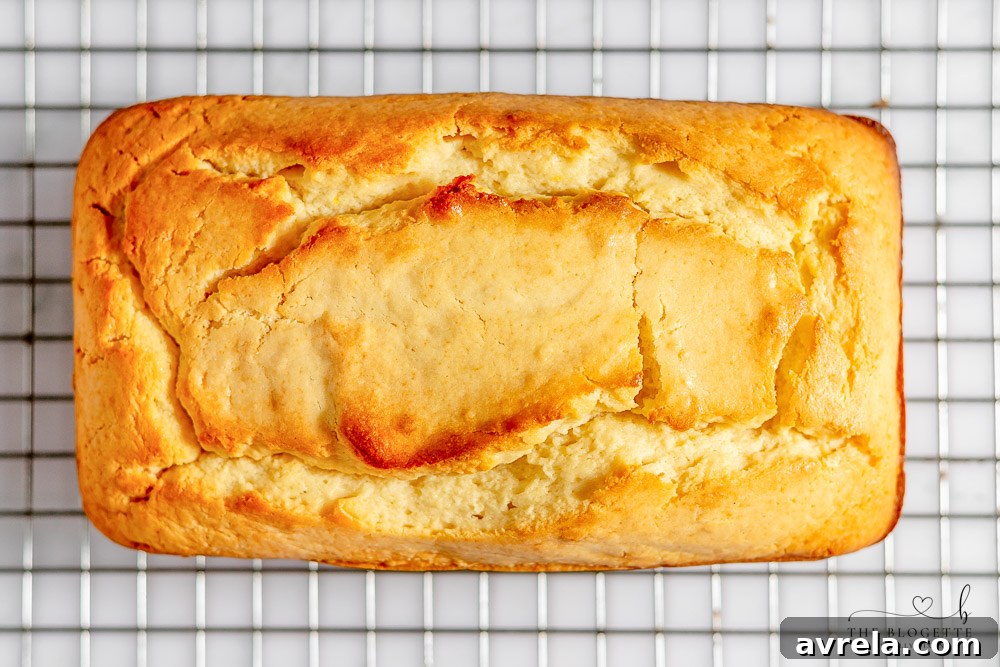
Ingredients for the Zesty Lemon Glaze
This simple yet impactful glaze requires only a few ingredients to achieve its smooth, tangy-sweet perfection.
- Powdered sugar (confectioners’ sugar): Provides the sweet base and fine texture for a silky smooth glaze.
- Fresh lemon juice: Adds essential tartness and vibrant lemon flavor, balancing the sweetness of the sugar.
- Milk: Helps achieve the ideal consistency for drizzling, making the glaze pourable without being too thin. Any milk type will work.
- Melted butter: Contributes to a richer, creamier mouthfeel and a subtle sheen.
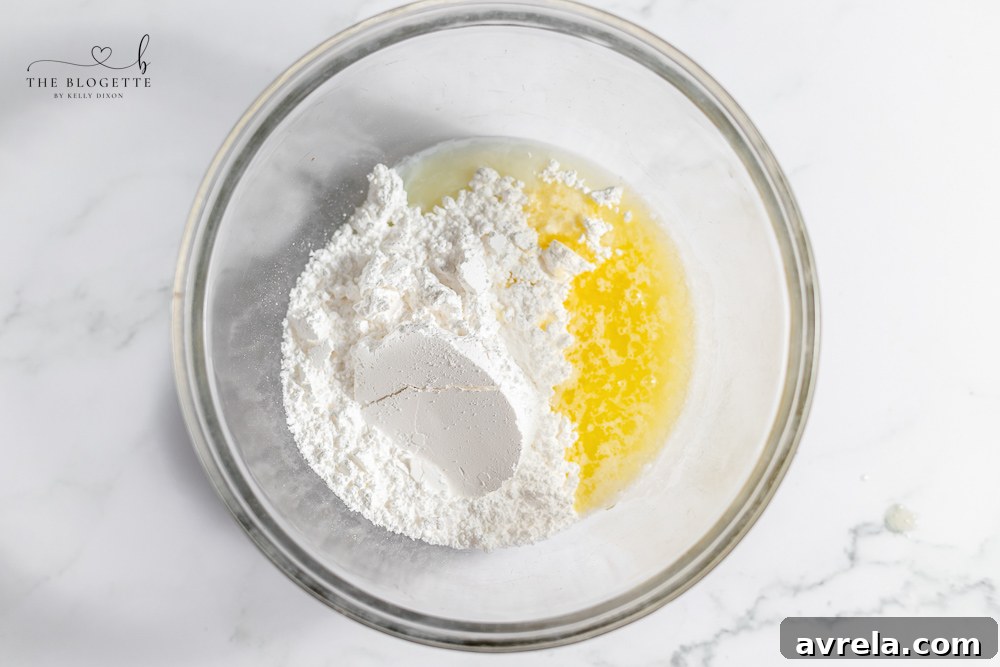
Whipping Up the Perfect Lemon Glaze
This lemon glaze recipe truly couldn’t be any easier. In a medium mixing bowl, simply whisk together the powdered sugar, fresh citrus juice (lemon, of course!), milk, and melted butter. Continue whisking until the mixture is completely smooth and free of any lumps. The beautiful, creamy texture forms in mere seconds, ready to elevate your lemon loaf.
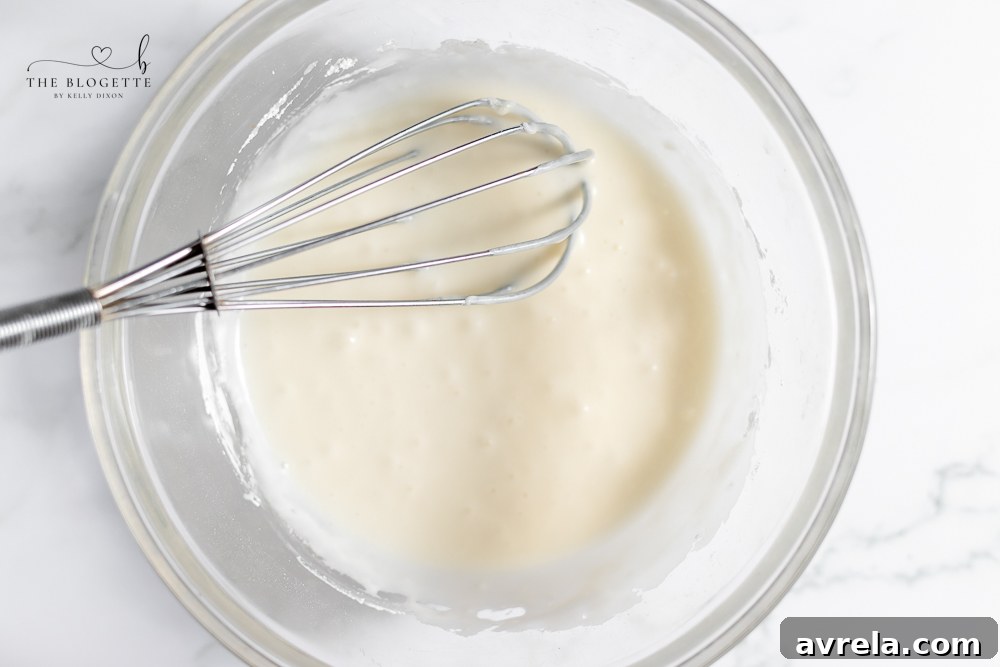
Cooling and Glazing Your Lemon Loaf
Once your lemon loaf is done baking and removed from the oven, allow it to rest in the pan for about 10 minutes. This allows the loaf to set and makes it easier to remove without breaking. After 10 minutes, carefully loosen the edges of the loaf from the pan using a butter knife or icing spatula. Then, gently invert the loaf onto a wire rack to cool completely. It’s crucial that the loaf is entirely cool before glazing; otherwise, the glaze will melt and absorb into the cake rather than forming a beautiful, opaque coating.
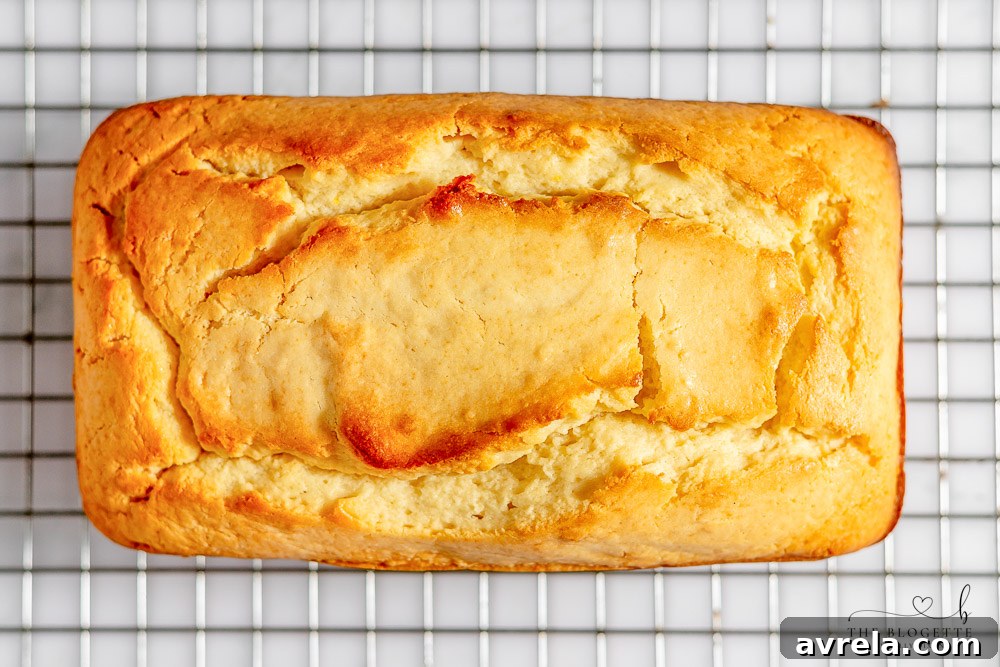
Once the lemon loaf has completely cooled, it’s time for the crowning glory! Drizzle the prepared lemon glaze evenly over the top of the loaf. You can use the back of a spoon to gently spread the glaze across the surface, allowing it to drip attractively down the sides. Let the glaze set for a few minutes before slicing and serving. With minimal prep time and effort, every moist crumb of this homemade delight will be loved! We highly recommend wrapping slices in plastic wrap to share with neighbors, coworkers, or as thoughtful hostess gifts – if you can bear to part with them!
Serving Suggestions for Your Lemon Loaf
This versatile lemon loaf is perfect on its own, but it truly shines when paired with certain accompaniments. We absolutely love enjoying a generous slice with a cold glass of milk, creating a comforting contrast to the bright lemon flavor. For a decadent dessert, serve it warm with a scoop of creamy vanilla ice cream or a dollop of freshly whipped cream. It also makes a fantastic addition to a brunch spread, alongside fresh berries and a steaming cup of coffee or tea. Consider it for afternoon tea, a light dessert, or even a special breakfast treat.

Proper Storage for Maximum Freshness
To keep this delectable lemon loaf fresh and moist, store it in an airtight container at room temperature for 4-5 days. We strongly advise against keeping it in the refrigerator, as the cold air tends to dry out cakes and quick breads much faster, diminishing their tender texture. If left out on the counter in a sealed container, it will maintain its deliciousness for nearly a week.

Freezing Your Lemon Loaf for Later Enjoyment
This lemon bread is remarkably freezer-friendly, making it an excellent option for meal prep or enjoying a homemade treat whenever a craving strikes. However, for best results, be sure to freeze the loaf *without* the glaze. Once the loaf has completely cooled, wrap it tightly in plastic wrap, then again in aluminum foil, and place it in a freezer-safe bag. It can be frozen for up to 6 months. When you’re ready to enjoy it, thaw the loaf at room temperature for several hours or overnight, and then prepare and drizzle with the fresh lemon glaze before serving. This method ensures the glaze remains vibrant and perfectly textured.

Tips for Baking Success
- Room Temperature Ingredients: Ensure your butter and eggs are at room temperature. This allows them to emulsify properly, creating a smoother batter and a more uniform texture in your finished loaf.
- Don’t Overmix: Overmixing the batter can develop the gluten in the flour too much, resulting in a tough, dry loaf. Mix just until the ingredients are combined.
- Measure Flour Correctly: For accurate results, use the spoon-and-level method. Spoon flour into your measuring cup and then level off the top with a straight edge. Don’t scoop directly from the bag.
- Proper Zesting: When zesting your lemon, only remove the bright yellow part of the peel. The white pith underneath is bitter and can affect the flavor of your loaf.
- Test for Doneness: Ovens can vary. Always rely on the toothpick test. If it comes out clean, your loaf is ready. Overbaking is the quickest way to a dry loaf.
- Cool Completely Before Glazing: Patience is key! If you glaze a warm loaf, the glaze will melt into the cake rather than creating a distinct, lovely layer on top.
More Easy Bread Recipes to Love
Amish Cinnamon Bread
Cheddar Quick Bread
Amish Zucchini Bread
Chocolate Banana Bread
Printable Lemon Loaf Recipe Card

Lemon Loaf
12 minutes
1 hour
1 hour 15 minutes
10 slices
Equipment
-
4×8 inch or 5×9 inch loaf pan
-
2 mixing bowls
-
Electric mixer or stand mixer
-
Spatula
-
Spoon
-
Grater
-
Toothpick
-
Non-stick spray or parchment paper
Ingredients
For the Lemon Loaf
- 1⅓ cup all-purpose flour
- 1¾ teaspoon baking powder
- ½ teaspoon salt
- ½ cup unsalted butter, softened
- ⅔ cup granulated sugar
- 3 large eggs
- 1 cup sour cream
- 1½ tablespoons lemon zest (from about one large lemon)
- 2 tablespoons fresh lemon juice
- 1 tablespoon lemon extract (not lemon oil)
For the Lemon Glaze
- 1 cup powdered sugar
- 1 tablespoon fresh lemon juice
- 1 tablespoon milk
- 1 tablespoon unsalted butter, melted
Instructions
-
Preheat your oven to 325ºF (160ºC). Lightly grease and flour your loaf pan, or line with parchment paper, allowing an overhang on the sides for easy removal.
-
In a large bowl, whisk together the flour, baking powder, and salt. Set aside.
-
In a separate medium bowl, using an electric mixer, cream the softened butter and granulated sugar together on medium speed until light and fluffy (about 2-3 minutes).
-
Beat in the eggs one at a time, ensuring each is incorporated. Then, mix in the sour cream, lemon zest, fresh lemon juice, and lemon extract until just combined.
-
Gradually add the flour mixture to the wet ingredients, mixing on low speed or by hand until just combined and no dry streaks remain. Be careful not to overmix.
-
Pour the batter into your prepared loaf pan and bake for approximately 60 minutes, or until a toothpick inserted into the center comes out clean.
-
Remove the loaf from the oven and let it rest in the pan for 10 minutes.
-
After 10 minutes, carefully loosen the edges of the loaf from the pan with a butter knife or icing knife. Invert the loaf onto a wire rack to cool completely.
-
While the loaf cools, prepare the glaze: In a small bowl, whisk together the powdered sugar, fresh lemon juice, milk, and melted butter until smooth.
-
Once the lemon loaf is completely cooled, drizzle the glaze evenly over the top, spreading with the back of a spoon if needed. Let the glaze set for a few minutes.
-
Slice and serve your delicious homemade lemon loaf!
Notes
This delicious lemon loaf can be stored in an airtight container for 4-5 days at room temperature. We do not recommend keeping it in the refrigerator as it will dry the cake out faster!
Freezing Instructions
To freeze, allow the loaf to cool completely (without glaze). Wrap tightly in plastic wrap, then aluminum foil, and store in a freezer-safe bag for up to 6 months. Thaw at room temperature before preparing and adding the fresh glaze.
Additional Info
We hope you cherish this homemade Lemon Loaf recipe as much as we do! It’s a truly rewarding baking experience that brings bright, refreshing flavors to any day. Enjoy every moist, zesty slice!