
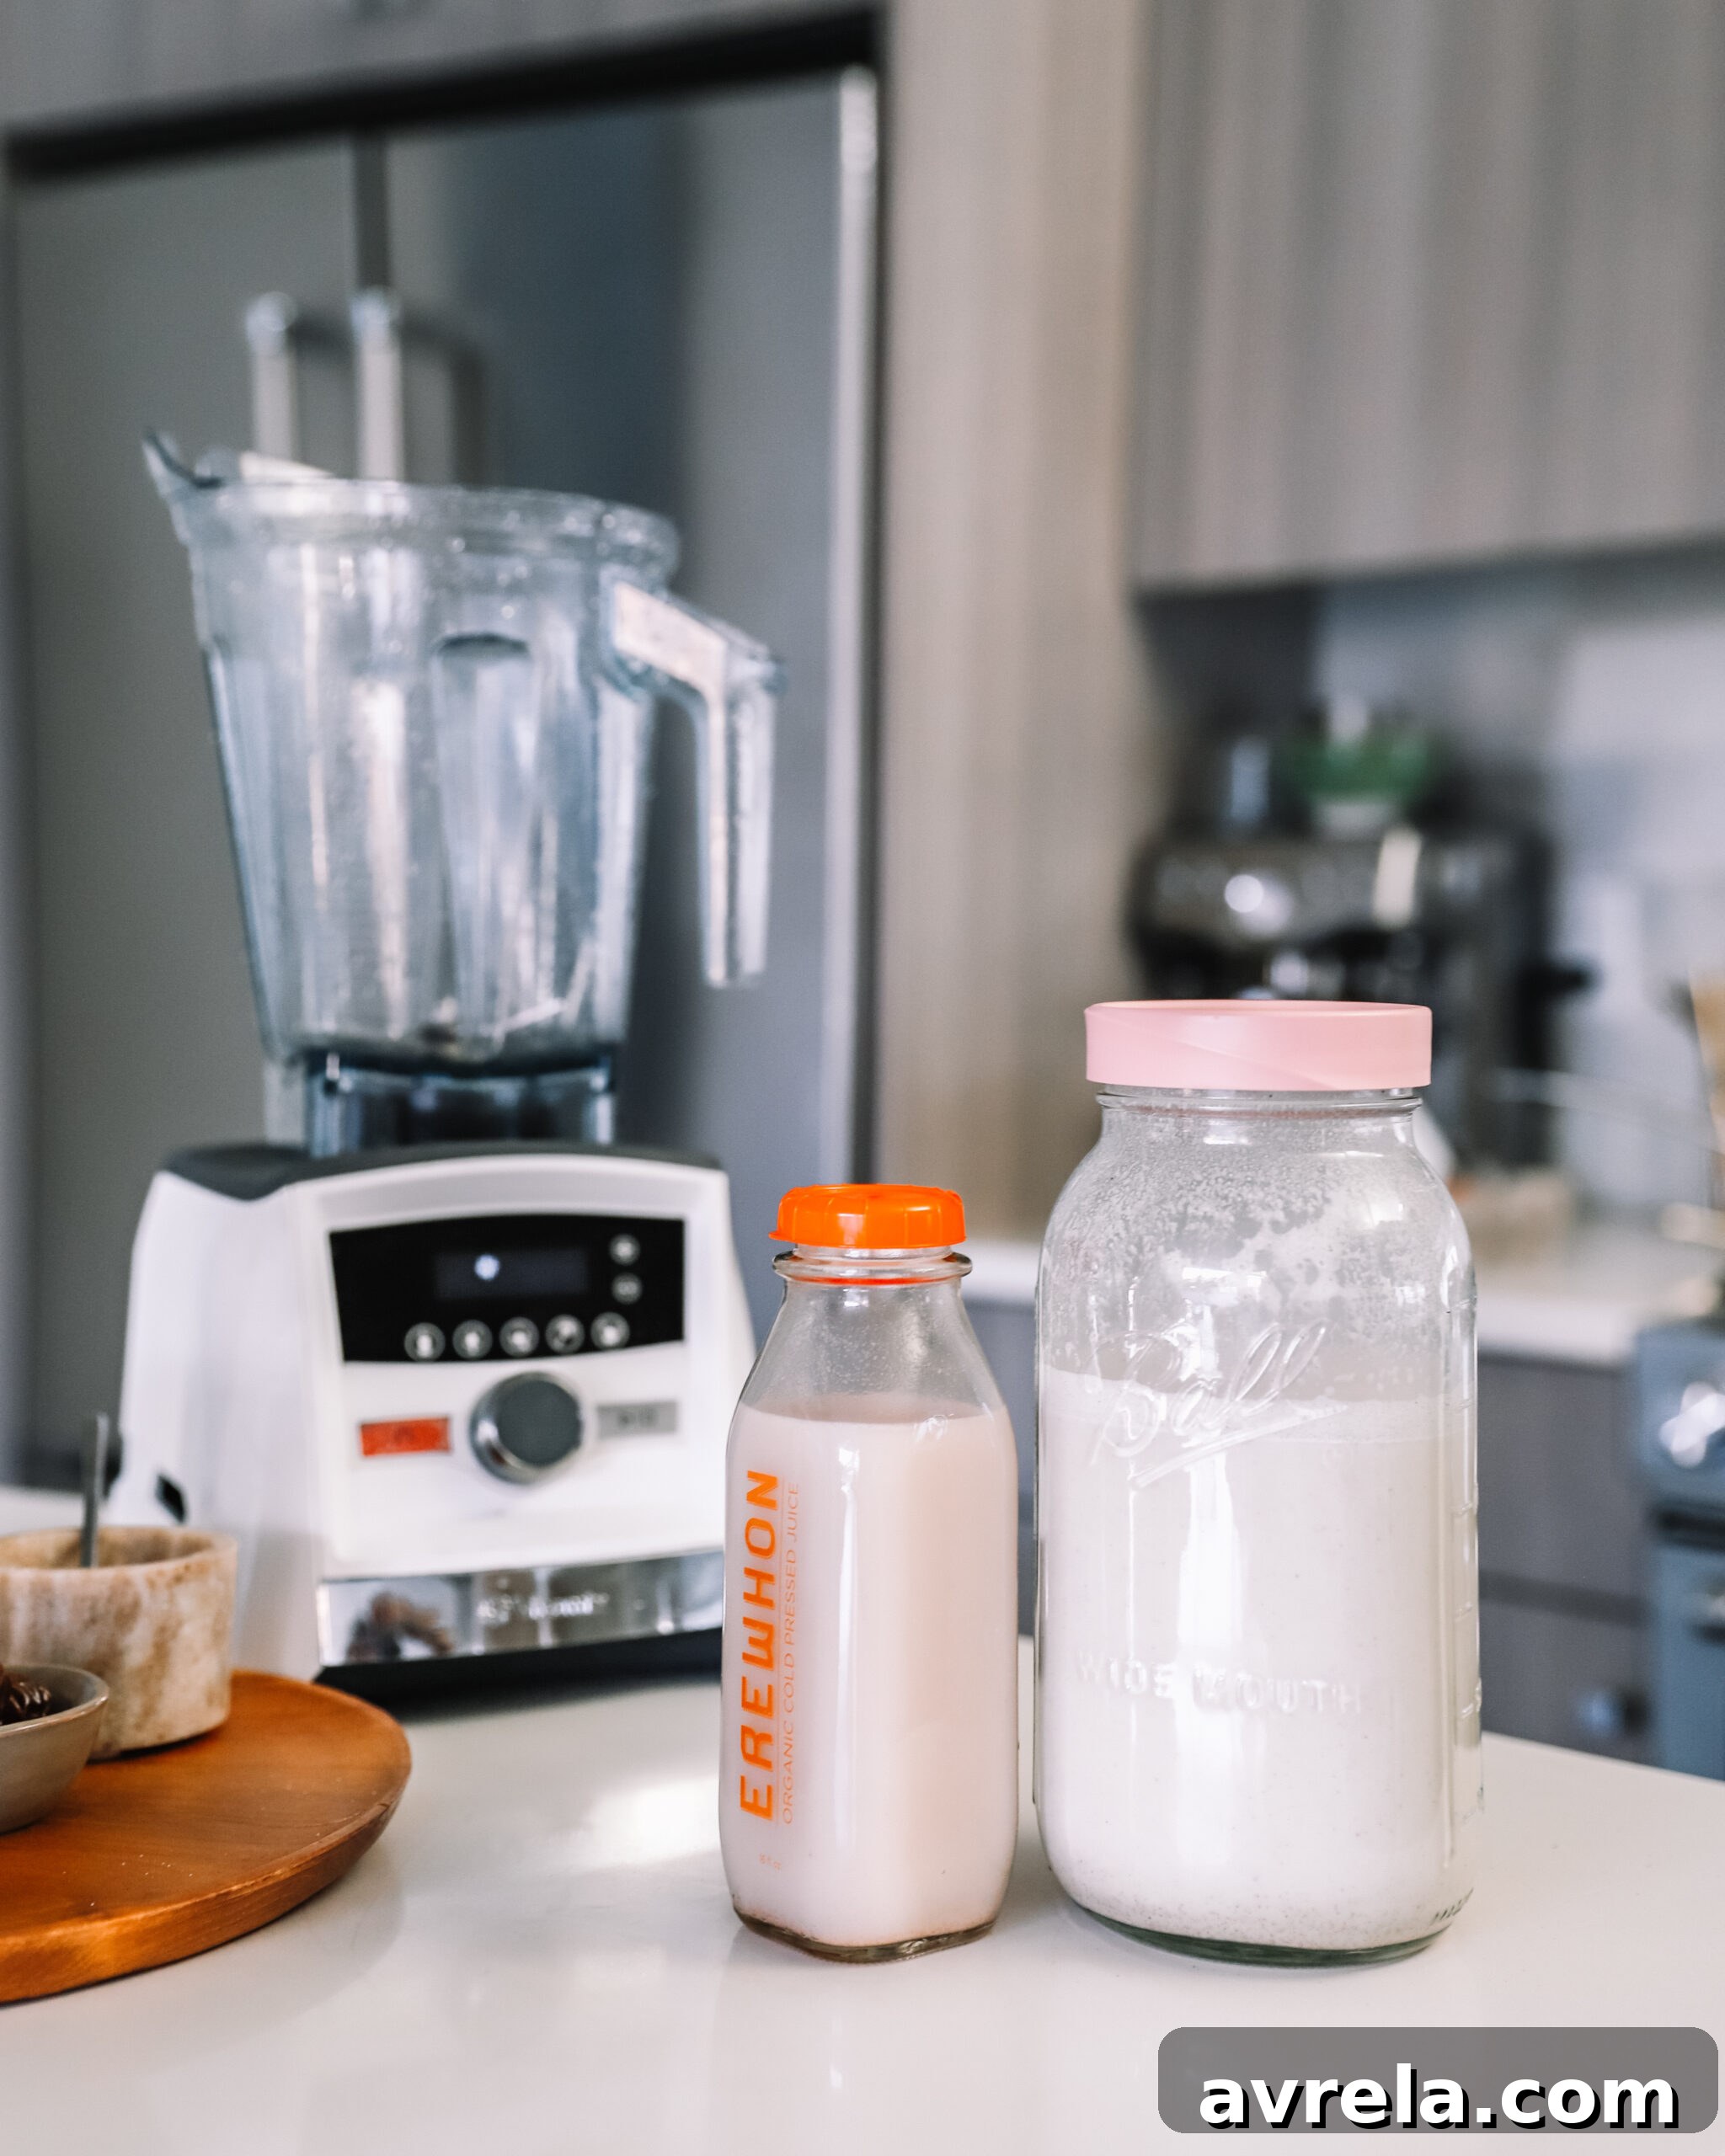
Way back in high school I made the switch to non-dairy milks and I’ve never looked back– I’m lactose-intolerant, and much rather prefer the taste and quality when it comes to alternative milks.
Mastering Homemade Non-Dairy Milks: Your Ultimate Guide to DIY Plant-Based Beverages
The journey to a healthier, more conscious lifestyle often begins with simple yet profound changes in our daily habits. For many, including myself, one of the most impactful shifts is embracing plant-based milks. As someone who navigates lactose intolerance, my initial switch during high school was born out of necessity, but it quickly evolved into a preference for the superior taste, texture, and quality that alternative milks offer. Gone are the days of relying solely on store-bought options, which, while convenient, often come with a list of unfamiliar additives, preservatives, and fillers.
Imagine being able to create fresh, pure, and delicious milk tailored exactly to your liking, right in your own kitchen. Making your own nut and seed milks at home isn’t just a culinary trend; it’s a transformative experience that empowers you with control over your ingredients, saves you money, and opens up a world of delightful flavors. From the rich creaminess of cashew milk to the festive spice of holiday coconut milk, the possibilities are endless and surprisingly simple. This comprehensive guide will walk you through the art of crafting your own plant-based milks, proving that going DIY is not only a game-changer but also a remarkably easy and rewarding endeavor.
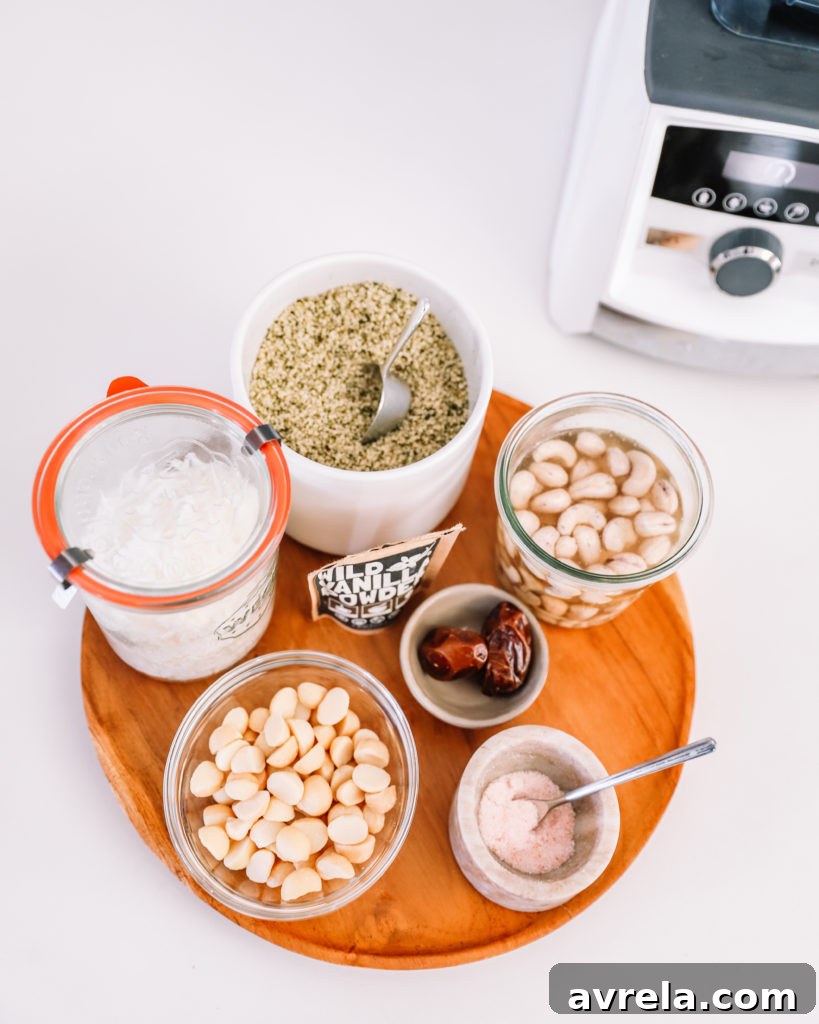
Why Go Homemade? The Unbeatable Benefits of Crafting Your Own Plant-Based Milks
If the idea of making your own plant-based milk seems daunting, let me assure you, it’s far simpler than you might think and incredibly rewarding. The advantages extend well beyond catering to dietary restrictions; they touch upon health, economy, and environmental consciousness:
- Significant Cost Savings: Commercial non-dairy milks can be surprisingly expensive, especially if you opt for organic or specialty blends. Nuts and seeds, when bought in bulk, are significantly more economical, allowing you to produce gallons of fresh milk for a fraction of the supermarket price. This makes a noticeable difference in your grocery budget over time.
- Unrivaled Freshness and Purity: When you blend your own milk, you dictate every ingredient. Say goodbye to synthetic thickeners, stabilizers like carrageenan, artificial flavors, and added sugars. You get a clean, wholesome product made from raw, natural ingredients, ensuring optimal taste and maximum nutritional benefits without any hidden nasties.
- Complete Customization to Your Taste: This is arguably the most exciting benefit. Do you prefer a thicker milk for your coffee or a lighter one for smoothies? Want it sweeter? More spiced? Less sweet? With homemade milk, you have absolute control. Experiment with the water-to-nut ratio, infuse with natural sweeteners like dates or maple syrup, or add a burst of flavor with vanilla, cinnamon, or cardamom. Each batch can be a unique reflection of your preferences.
- Ultimate Convenience: Forget those last-minute dashes to the store when you realize you’re out of milk. With a well-stocked pantry of nuts and seeds, you’re always just minutes away from a fresh batch. It’s incredibly practical for busy individuals and ensures you always have a healthy, dairy-free option on hand.
- Reduced Environmental Footprint: By making your own milk and reusing glass storage containers, you significantly cut down on tetra-pak waste from store-bought cartons. This small step contributes to a more sustainable and eco-friendly kitchen.
- Remarkably Simple Process: Despite what you might imagine, the process of making nut and seed milks is incredibly straightforward. Most recipes involve just soaking (for some varieties), blending, and occasionally straining. Precise measuring is often optional; I typically guesstimate with about a cup of nuts or seeds to 5-7 cups of filtered water, and the results are consistently fantastic.
Once prepared, your homemade plant-based milks will stay fresh and delicious for approximately 4-5 days when stored in an airtight container in the refrigerator. This shorter shelf life compared to commercial milks is a testament to their natural, preservative-free composition.
Essential Tools for Your Homemade Milk Journey
While the process of making your own plant-based milks is undeniably simple, having a few key pieces of kitchen equipment can significantly enhance your experience and the quality of your finished product:
- High-Powered Blender: This is arguably your most important tool. A robust blender, such as a Vitamix or similar, is crucial for achieving an exceptionally smooth, creamy texture. It efficiently breaks down nuts and seeds, minimizing pulp and maximizing extraction of flavor and nutrients.
- Fine-Mesh Nut Milk Bag: For milks that benefit from straining (like almond, coconut, or some mixed nut milks), a good quality nut milk bag is indispensable. It effectively separates the liquid from the pulp, ensuring a silky-smooth, sediment-free beverage.
- Airtight Glass Storage Jars: Mason jars, glass milk jugs, or other sealable glass containers are perfect for storing your homemade milks. Glass is non-reactive, easy to clean, and helps keep your milk fresh for longer in the refrigerator.
- Filtered Water: The quality of your water directly impacts the taste of your milk. Always use filtered water to ensure the purest and most delicious results.
Dive Into Dairy-Free Delights: Our Favorite Homemade Milk Recipes
Ready to unlock the secrets of exquisite homemade plant-based milks? Here are some of my personal go-to recipes, each offering a unique flavor profile and a wealth of uses, from your morning coffee to festive holiday treats.
1. Creamy Cashew Milk: The Unstrained Everyday Essential
Cashew milk is, without a doubt, our household favorite and the most frequently stocked milk in our fridge. Its incredible creaminess, subtle sweetness, and remarkable versatility make it a true staple. The best part? It typically requires no straining, setting it apart from many other nut milks and making it incredibly convenient for quick preparation.
Why Cashew Milk?
- Effortlessly Creamy Texture: Cashews, when properly blended, break down completely to create a luxuriously smooth, thick, and velvety texture. This makes it ideal for enriching coffee, crafting creamy lattes, thickening smoothies, and even serving as a base for dairy-free sauces and soups.
- No Straining Required: This is a huge time-saver! Due to their soft composition, cashews blend into a completely smooth liquid, leaving no gritty pulp behind.
- Mild and Neutral Flavor: Cashew milk possesses a delicate, slightly sweet flavor that doesn’t overpower other ingredients, making it an excellent, versatile base for a wide array of culinary applications.
Ingredients:
- 1 cup raw cashews (ensure they are truly raw, not roasted or salted, for best results)
- 5-7 cups filtered water (for blending, adjust ratio for desired thickness)
- Optional Flavorings (customize to your preference):
- ½ teaspoon vanilla bean powder or 1 teaspoon pure vanilla extract
- ¼ teaspoon sea salt (enhances overall flavor and sweetness)
- 1-2 Medjool dates (pitted) or 1-2 tablespoons pure maple syrup (for natural sweetness)
- ¼ teaspoon ground cinnamon or a small pinch of nutmeg
Instructions:
- Soak the Cashews: Place the raw cashews in a bowl and cover them generously with filtered water. Allow them to soak for a minimum of 4 hours at room temperature, or ideally, overnight in the refrigerator. Soaking is crucial as it softens the cashews, facilitating a perfectly smooth blend and aiding in digestibility.
- Drain and Rinse Thoroughly: Once soaked, drain the cashews completely and rinse them under cold, running water.
- Blend to Perfection: Transfer the rinsed cashews to your high-powered blender. Add 5-7 cups of fresh filtered water. Begin with 5 cups for a richer, thicker milk, and gradually add more if you prefer a lighter, thinner consistency. Incorporate any desired flavorings such as vanilla, sea salt, dates, or cinnamon at this stage.
- Process Until Creamy: Blend on the highest speed for 1-2 minutes. The mixture should transform into a completely smooth, thick, and frothy liquid with no visible cashew pieces.
- Store: Carefully pour your freshly made cashew milk into airtight glass jars. I find these (or these!) spacious jars to be ideal for refrigerator storage. It will remain fresh for up to 5 days. Remember to give it a good shake before each use, as natural separation can occur.
Versatile Uses for Cashew Milk:
This creamy cashew milk is truly multifaceted. Enjoy it in your morning coffee or tea, blend it into vibrant smoothies, pour it over your favorite cereal, or even use it as a luxurious dairy-free base for creamy pasta sauces, rich soups, and delectable desserts.
2. Hemp Milk: The Speedy & Nutrient-Rich Solution
Hemp milk is my absolute go-to when I need a plant-based milk in a flash, or when I’ve unexpectedly run out of other alternatives. It’s incredibly quick, taking literally about one minute to prepare, and boasts an impressive nutritional profile, making it a true kitchen hero.
Why Hemp Milk?
- Lightning-Fast Preparation: This is its superpower! Hemp milk requires no prior soaking and absolutely no straining, making it the fastest homemade milk you can whip up.
- Nutrient-Dense Powerhouse: Hulled hemp seeds are a fantastic source of omega-3 and omega-6 fatty acids in an optimal ratio, high-quality plant-based protein, and essential minerals like magnesium, iron, and zinc.
- Light and Clean Flavor: Hemp milk has a distinctly mild, slightly nutty, and earthy flavor that is less pronounced than some other plant milks. This makes it an excellent choice for beverages where you don’t want an overpowering taste, such as delicate matcha lattes or vibrant fruit smoothies.
Ingredients:
- 1-2 tablespoons hulled hemp seeds (also known as hemp hearts)
- 1-2 cups filtered water (adjust amount for desired thickness and intensity)
- Optional Flavorings:
- A few shakes of ground cinnamon
- A tiny pinch of sea salt (to enhance flavor)
- ½ teaspoon vanilla extract
- 1 pitted date or 1 teaspoon maple syrup (for a touch of sweetness)
Instructions:
- Combine and Blend: Simply toss the hulled hemp seeds, filtered water, and any desired flavorings (like a few shakes of cinnamon) into your high-powered blender.
- Process Briefly: Blend on high speed for a mere 30-45 seconds. The hemp seeds break down almost instantly into a smooth, ready-to-use milk.
- Serve Immediately or Store: Your fresh hemp milk is ready! Pour it directly into your smoothie, iced coffee, or famous Everyday Glow-To Smoothie. Any unused portion can be stored in an airtight container in the refrigerator for 3-4 days.
Ideal Uses for Hemp Milk:
Hemp milk truly shines in applications where speed and a mild flavor are key. It’s perfect for protein shakes, quick breakfast smoothies, and homemade iced matcha lattes. Its light texture also makes it a refreshing choice for cereal or a simple glass on its own.
3. Holiday Coconut Milk: A Festive & Flavorful Spin on Tradition
Prepare to delight your senses with this enchanting holiday coconut milk – a truly delicious, lighter, and more subtle alternative to traditional eggnog. Perfect for festive gatherings, cozy evenings by the fireplace, or simply to infuse your season with warmth and spice, this recipe is a cherished gem.
Why Holiday Coconut Milk?
- Authentic Festive Flavor: Infused with a harmonious blend of classic holiday spices, it captures the comforting essence of the season without the heaviness of dairy or eggs.
- Lighter Alternative: Offers all the festive cheer of eggnog but with a lighter texture and dairy-free profile, making it suitable for a wider range of guests and dietary preferences.
- Richly Aromatic and Satisfying: The combination of creamy coconut and warm spices creates an irresistible aroma and a wonderfully satisfying taste experience that embodies the holiday spirit.
Ingredients:
- 1 cup unsweetened shredded coconut or large coconut flakes
- 5-7 cups filtered water
- ¼ teaspoon ground cinnamon
- ¼ teaspoon ground nutmeg (a few shakes)
- ⅛ teaspoon ground allspice (a few shakes)
- ⅛ teaspoon ground cardamom (a few shakes)
- A tiny pinch of ground cloves (optional, to taste, as it can be strong)
- Pinch of sea salt
- ½ teaspoon vanilla bean powder or 1 teaspoon pure vanilla extract
- Optional Sweetness: 1 pitted Medjool date or 1-2 tablespoons pure maple syrup
Instructions:
- Combine All Ingredients: Add the shredded coconut (no soaking is needed for this recipe!), 5-7 cups of filtered water, ground cinnamon, nutmeg, allspice, cardamom, cloves (if using), sea salt, vanilla, and your preferred natural sweetener (if desired) to your high-powered blender.
- Blend Thoroughly: Blend on high speed for several minutes, typically 2-3 minutes. The goal is to fully combine the ingredients and break down the coconut as finely as possible, ensuring maximum flavor extraction.
- Prepare for Straining: Position your fine-mesh nut milk straining bag (click here for the reliable one I use) over a large mixing bowl or pitcher.
- Strain the Milk: Carefully pour the blended coconut mixture into the nut milk bag. Gather the top of the bag securely and, using clean hands, gently but firmly squeeze all the liquid out into the bowl below. Continue squeezing until no more liquid drips out, ensuring you extract every last drop of flavorful milk.
- Store & Savor: Transfer your freshly strained holiday coconut milk into a clean glass milk jug or mason jar. Store it in the refrigerator for up to 4-5 days. The leftover coconut pulp can be discarded, or, for the sustainably-minded, it can be dried and ground into coconut flour, added to granola, or used in other baked goods!
Delightful Serving Suggestions:
This holiday coconut milk is wonderfully versatile. Enjoy it chilled on its own as a festive beverage, warm it gently for a comforting evening drink, blend it into a delicious holiday-spiced smoothie, or use it as an exquisite dairy-free substitute for eggnog throughout the festive season. A sprinkle of cinnamon or a dash of fresh grated nutmeg on top adds a lovely finishing touch.
4. Macadamia + Sunflower Seed Milk: Creative Blends for Unique Flavors
This is where the true joy of homemade plant-based milks comes to life – through creativity and experimentation! Don’t shy away from mixing your favorite nuts and seeds to forge unique flavor profiles and delightful textures. This particular blend of macadamia nuts and sunflower seeds yields a wonderfully creamy, subtly nutty milk that is both nourishing and exquisitely delicious. I initially crafted this recipe after returning from Hawaii with an abundance of raw macadamia nuts, eager to utilize their rich potential.
Why This Distinct Blend?
- Rich, Buttery Flavor Profile: Macadamia nuts contribute a distinct, luxurious, and buttery taste that elevates the milk, while sunflower seeds add a pleasant, mild, and earthy undertone, creating a balanced and complex flavor.
- Enhanced Nutritional Value: Macadamias are celebrated for their healthy monounsaturated fats, which are beneficial for heart health. Sunflower seeds are nutritional powerhouses, rich in Vitamin E (a powerful antioxidant), magnesium, and selenium. This blend offers a synergistic boost of nutrients.
- Embrace Creative Freedom: This recipe serves as a perfect stepping stone to exploring beyond single-ingredient milks. It encourages you to think outside the box and discover a myriad of delicious possibilities by combining different nuts and seeds based on your preferences and what you have on hand.
Ingredients:
- ½ cup raw macadamia nuts
- ½ cup raw sunflower seeds
- 4-6 cups filtered water (for blending; adjust according to desired thickness)
- Optional Flavorings:
- Several shakes of ground cinnamon (approx. ¼ teaspoon)
- ¼ teaspoon vanilla bean powder or ½ teaspoon pure vanilla extract
- A small pinch of sea salt (to balance flavors)
- 1 pitted date or 1 tablespoon pure maple syrup (for a touch of natural sweetness)
Instructions:
- Soak Nuts and Seeds: Combine both the raw macadamia nuts and sunflower seeds in a bowl. Cover them completely with filtered water and let them soak for at least a few hours (2-4 hours is generally sufficient). Soaking not only helps to soften them for a smoother blend but also aids in improving their digestibility and nutrient absorption.
- Drain and Rinse: Once soaked, thoroughly drain the soaking water and give the nuts and seeds a quick rinse under cold water.
- Blend the Mixture: Transfer the rinsed macadamias and sunflower seeds to your high-powered blender. Add 4-6 cups of fresh filtered water. Remember, you have full control over the consistency: use less water (e.g., 4 cups) for a thicker, more concentrated, and intensely flavored milk, or more water (e.g., 6 cups) for a lighter consistency.
- Add Flavorings: Now is the time to incorporate your chosen seasonings. Add the cinnamon, vanilla bean powder or extract, sea salt, and any preferred natural sweetener to the blender.
- Process Until Smooth: Blend on high speed for 1-2 minutes, or until the mixture is thoroughly smooth and creamy. While this milk is often smooth enough without straining, you may opt to strain it through a nut milk bag if you desire an absolutely pulp-free and ultra-silky texture.
- Store: Pour the freshly blended macadamia and sunflower seed milk into an airtight glass container and store it in the refrigerator for 4-5 days. Always give it a good shake before each serving to reintegrate any natural separation.
Expert Tips for Blending Your Own Nut & Seed Milks:
- Mastering Consistency: Always remember that the amount of water you add directly affects the thickness and intensity of your milk. Don’t be afraid to experiment with the water-to-nut/seed ratio to find your ideal consistency for different uses.
- Flavor Personalization is Key: Beyond the suggested flavorings, feel free to get creative! Explore other spices like ground ginger, pumpkin pie spice, or even a touch of high-quality cocoa powder for a decadent chocolate milk. Citrus zest can also add a delightful brightness.
- Repurpose the Pulp: For milks that require straining, never discard the leftover pulp! Nut and seed pulps (especially from almonds and cashews) are packed with fiber and nutrients. They can be dehydrated to make nutrient-rich flour, added to smoothies, incorporated into energy bites, or even used as a base for veggie burgers.
Conclusion: Embrace the Joy and Simplicity of Homemade Dairy-Free Milks
Making your own non-dairy milks at home is far more than just a culinary task; it’s an empowering step towards cultivating a healthier, more sustainable, and incredibly delicious lifestyle. By choosing to craft your own plant-based beverages, you reclaim control over the purity of your ingredients, ensuring unparalleled freshness and the freedom to customize every single sip to your exact preferences. From the comforting familiarity of creamy cashew milk to the festive allure of richly spiced holiday coconut milk, these recipes unlock a vast world of plant-based possibilities that are both easy to achieve and wonderfully rewarding.
So, I wholeheartedly encourage you to gather your favorite nuts and seeds, dust off your blender, and embark on this delightful and rewarding journey. You’ll not only discover significant savings and contribute to reducing waste, but you’ll also find immense satisfaction in crafting wholesome, delicious, and perfectly personalized beverages right in the heart of your own kitchen. Here’s to fresh, homemade goodness and a healthier you!