
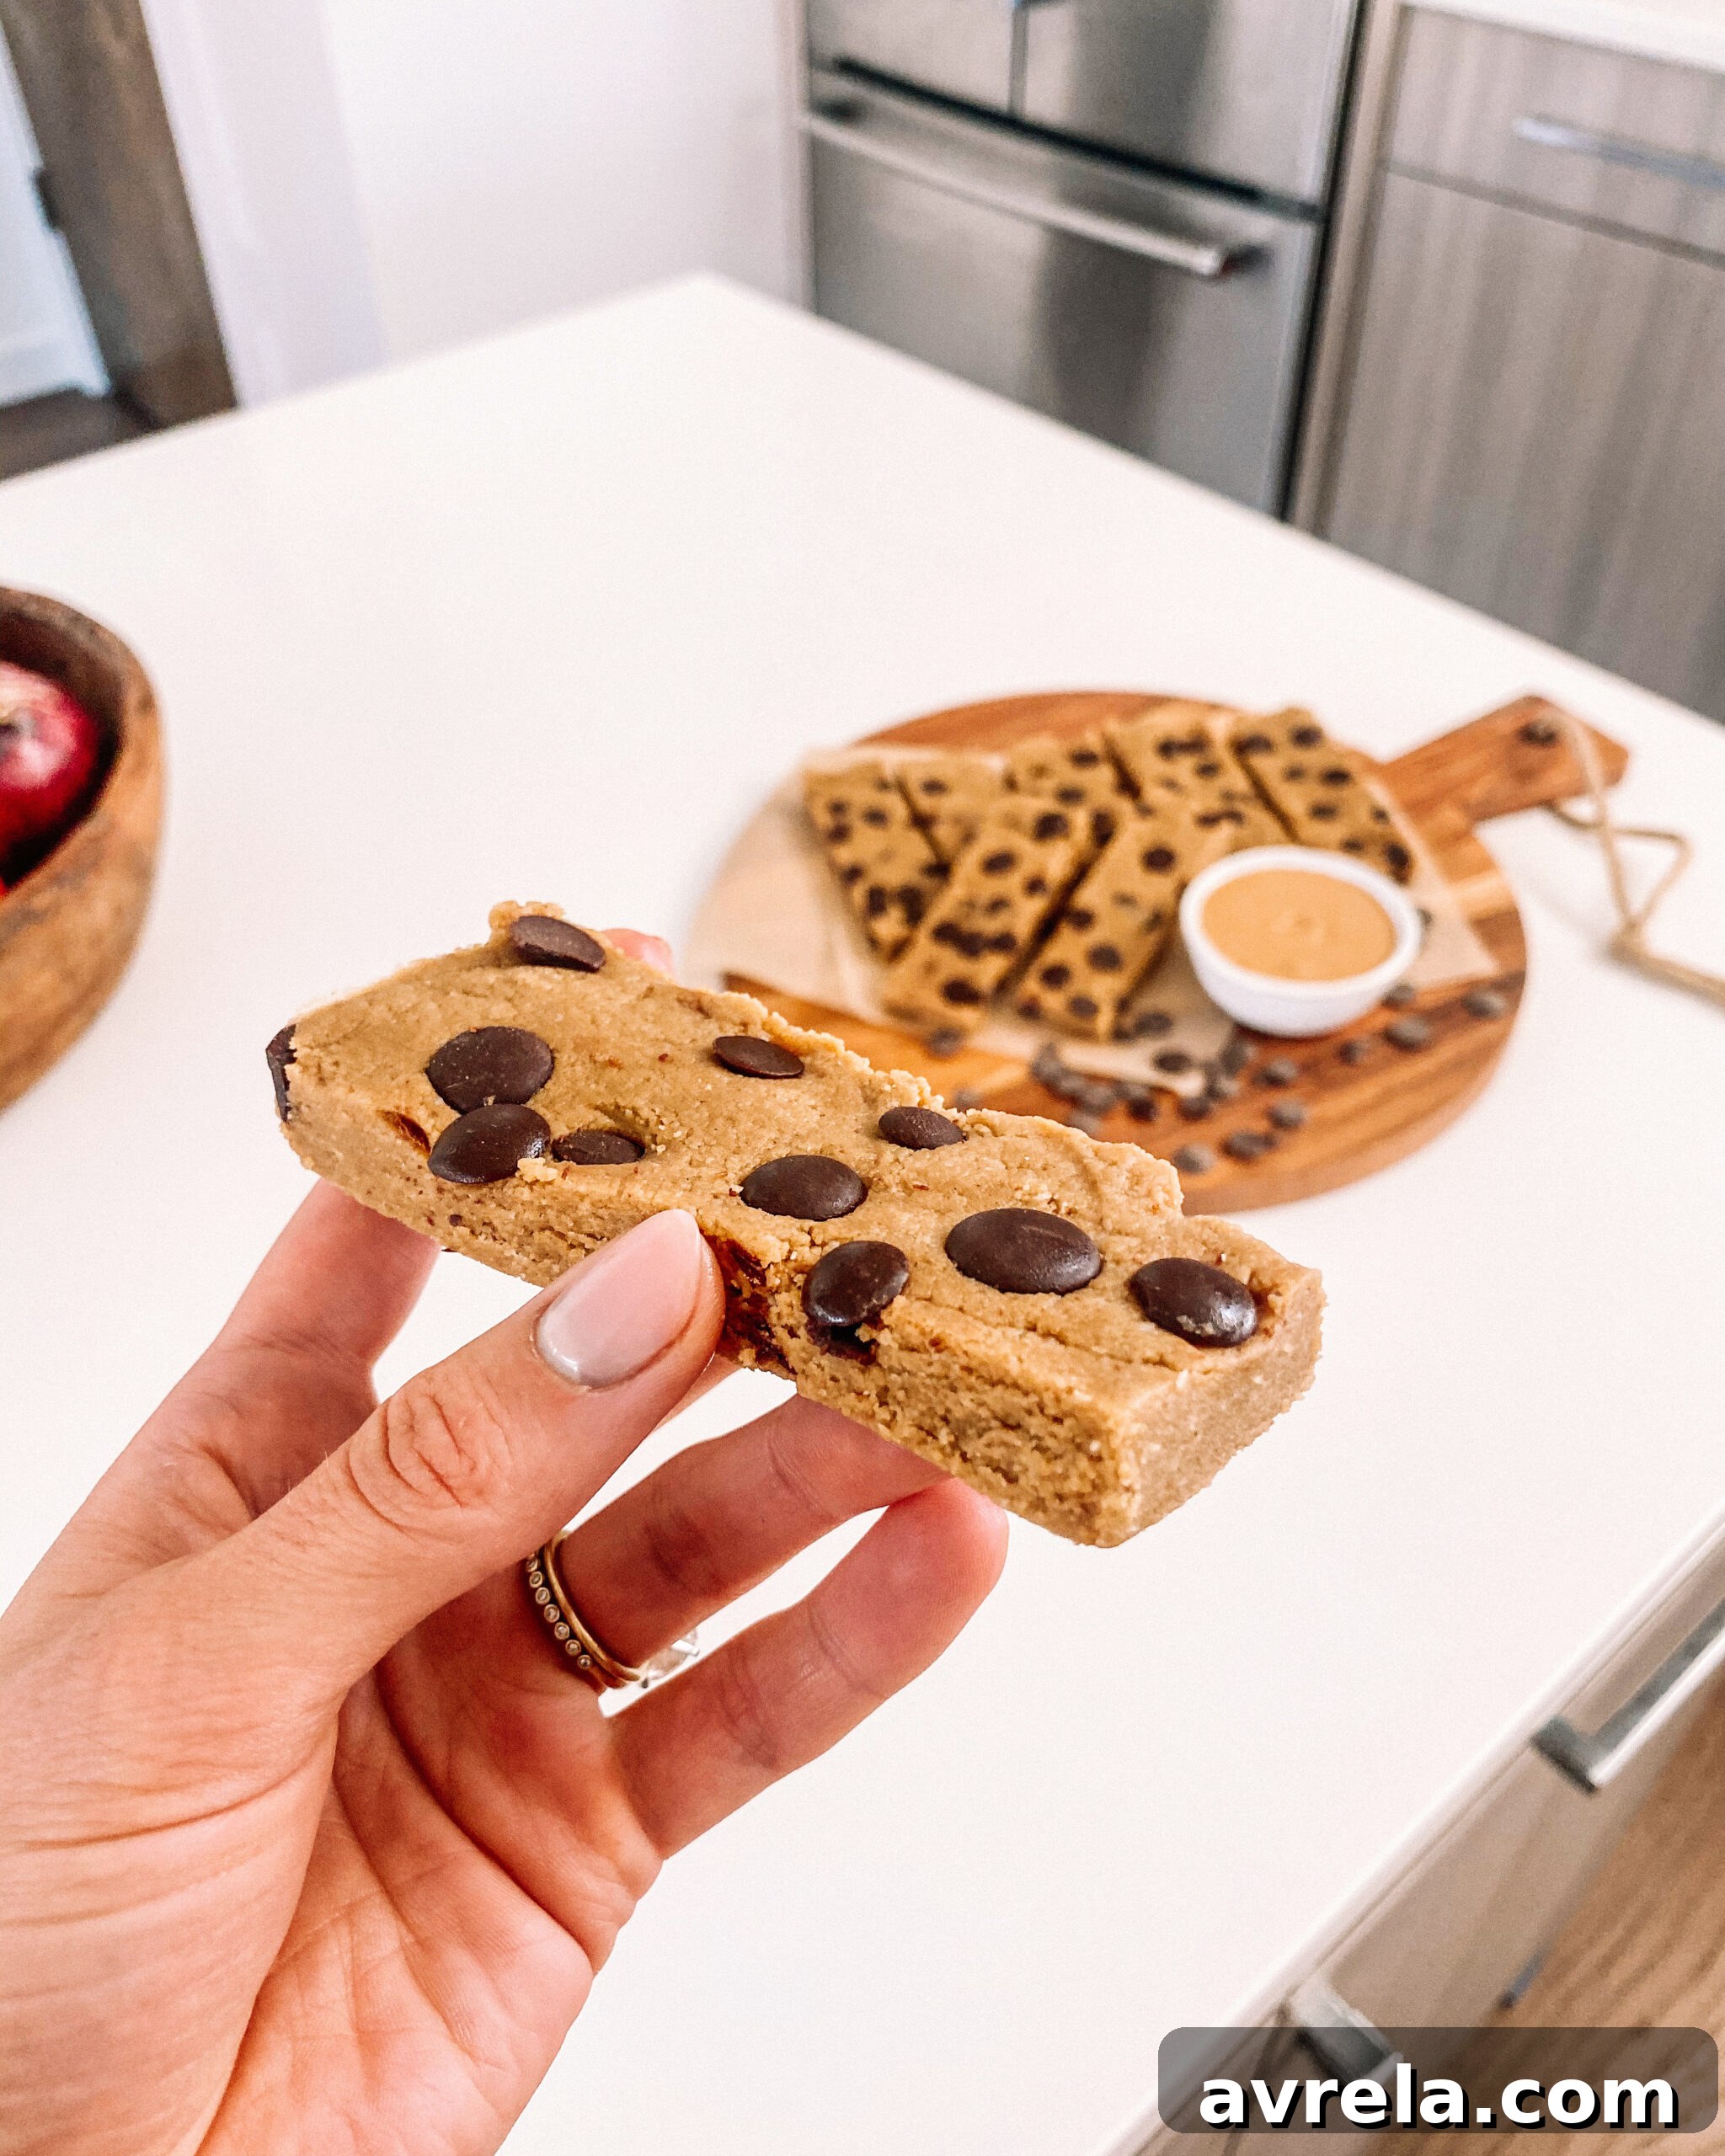
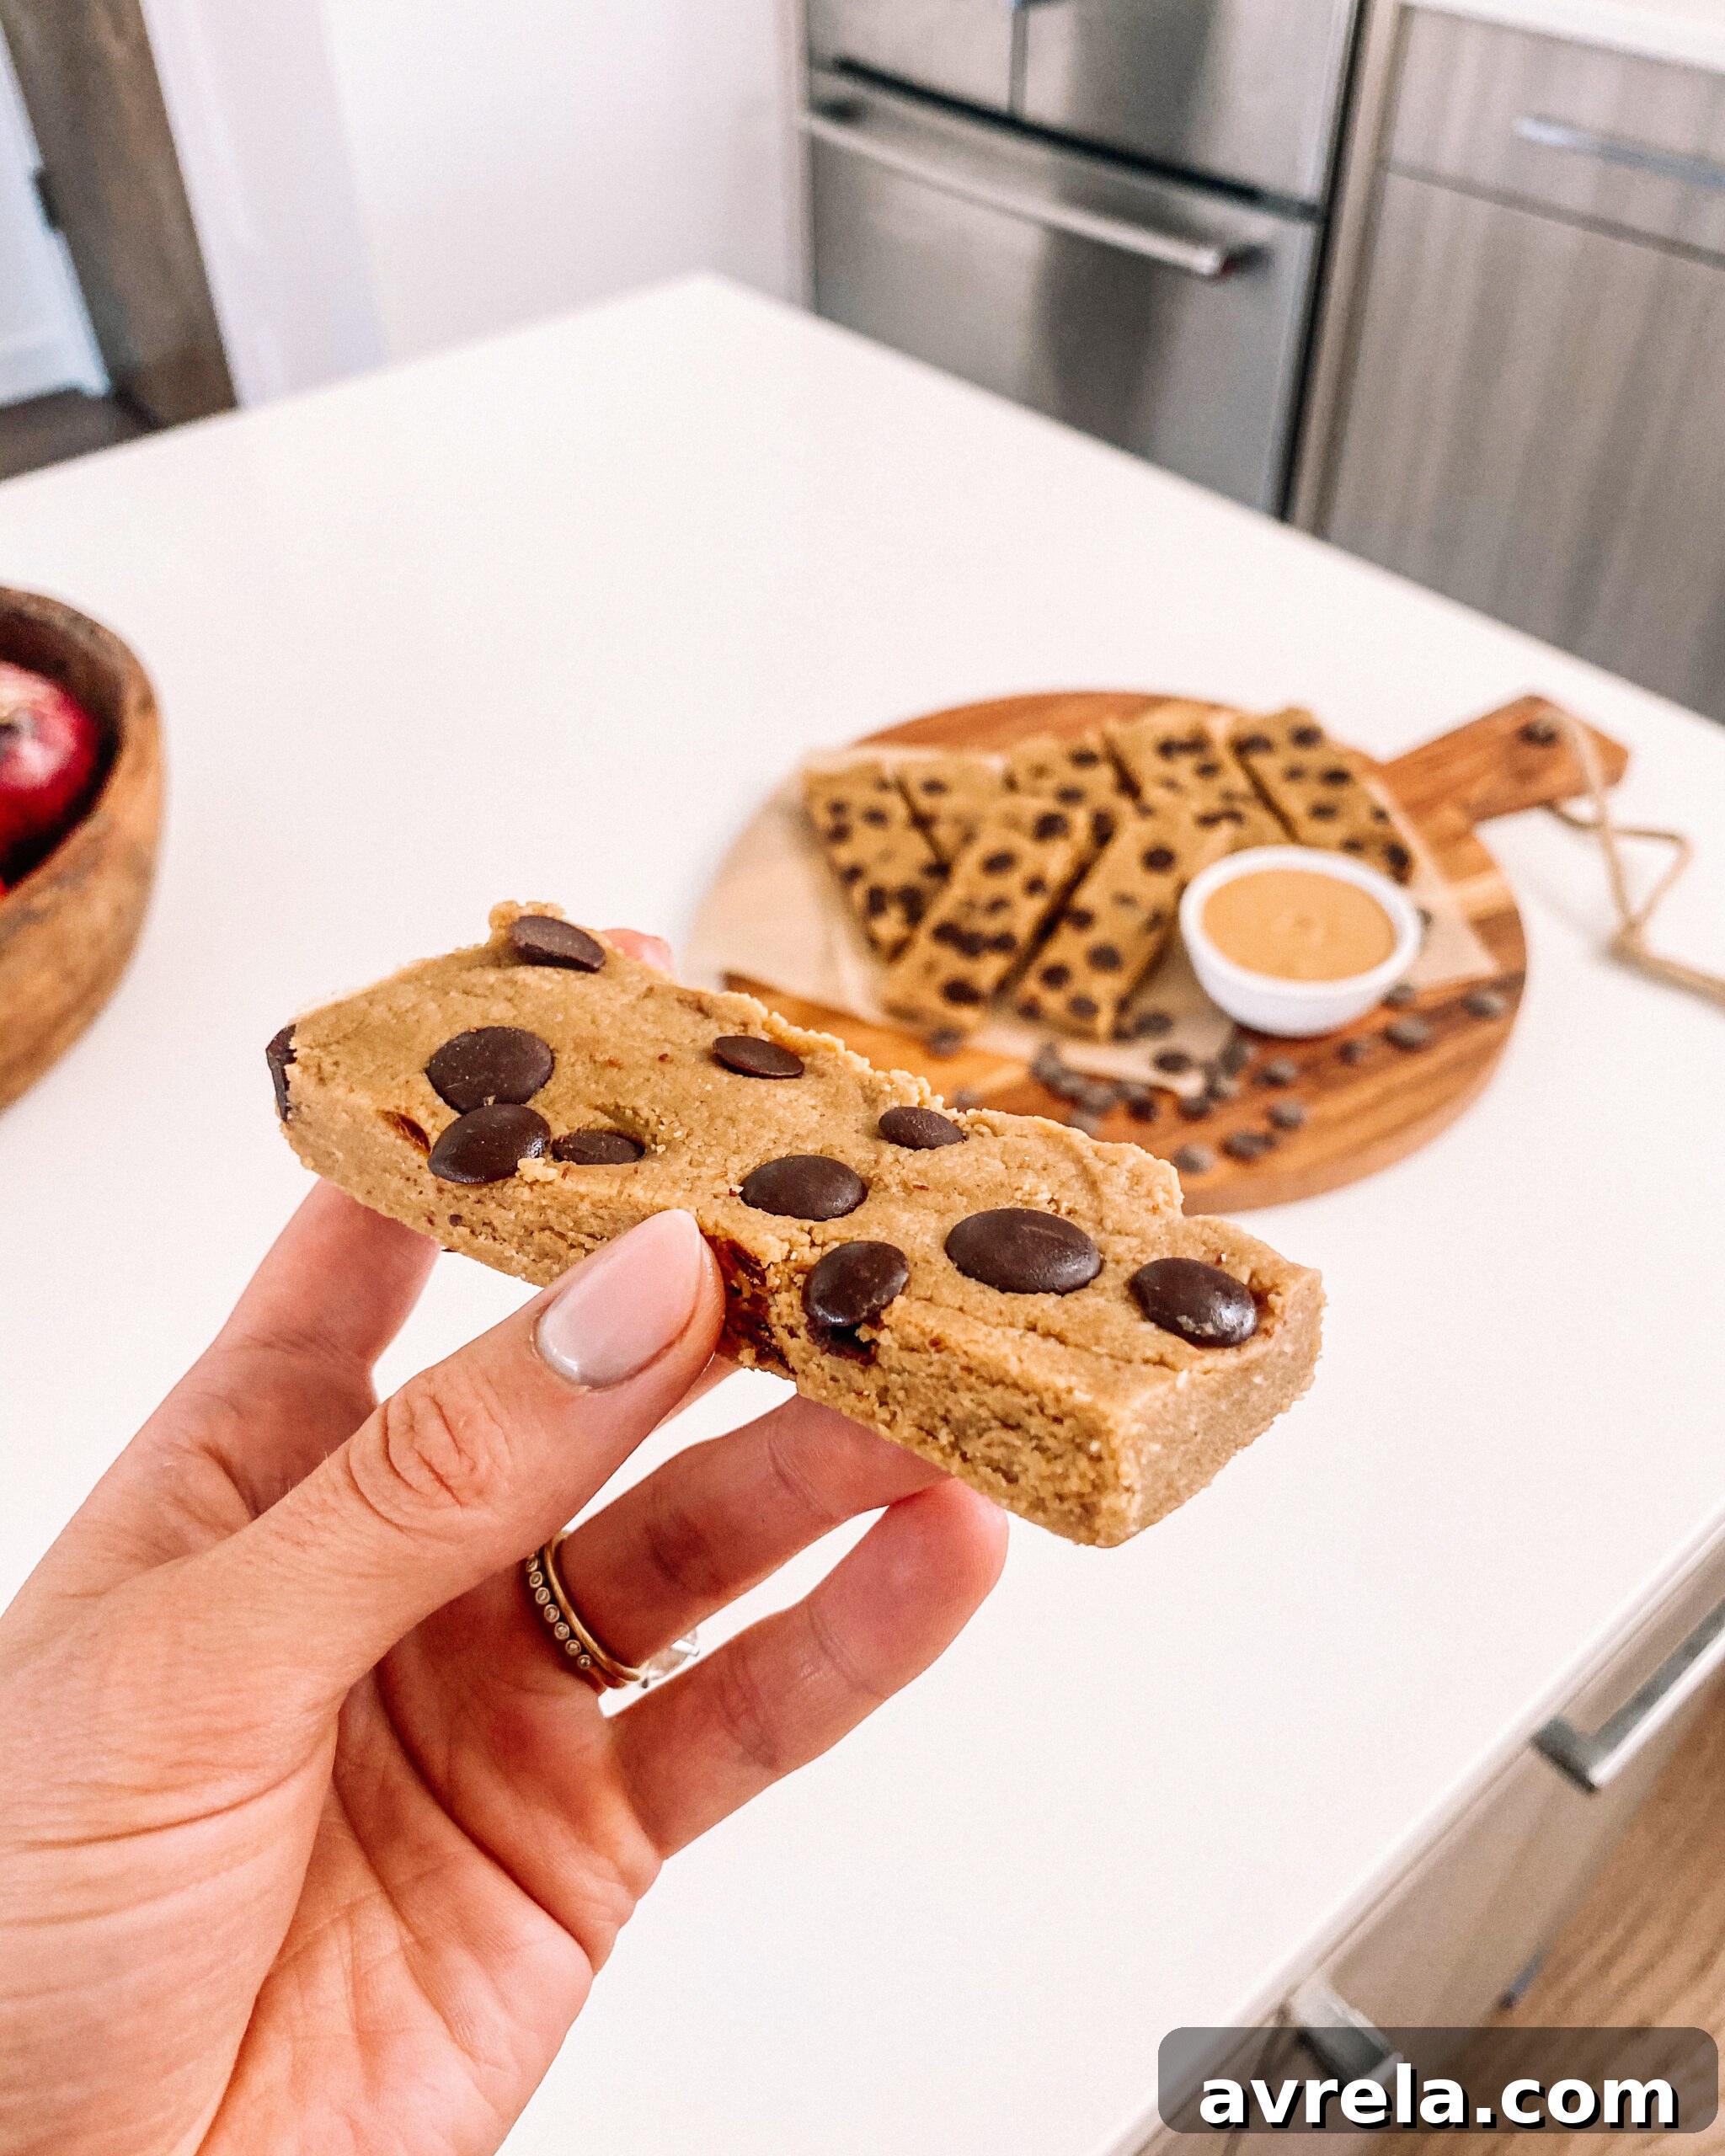
Irresistible No-Bake Peanut Butter Protein Bars: Your Ultimate Healthy Snack Guide
Fuel your day the delicious way with these homemade Peanut Butter Protein Bars! Perfect for a quick breakfast, an energizing pre-workout boost, or a satisfying afternoon snack, these bars are incredibly easy to make, packed with protein, and require no baking. Ditch the expensive store-bought options filled with unknown ingredients and embrace the goodness of wholesome, customizable nutrition right from your kitchen.
Rachael DeVaux
15 minutes
12
bars
Print Recipe
Why Choose Homemade Protein Bars?
In today’s fast-paced world, finding convenient, healthy snacks can be a challenge. While store shelves are stocked with countless protein bars, many are loaded with artificial sweeteners, unhealthy fats, and preservatives. Crafting your own protein bars ensures you have full control over the ingredients, making them a superior choice for your health and wallet. These no-bake peanut butter protein bars offer a perfect blend of protein, healthy fats, and natural sweetness, providing sustained energy without the sugar crash. They are ideal for busy individuals, athletes, or anyone looking for a wholesome treat.
Ingredients
Each ingredient plays a crucial role in the taste, texture, and nutritional value of these delicious protein bars. Here’s what you’ll need:
-
1.5
cups
almond flour
(Provides a gluten-free base and a delicate texture. Almond flour is also a good source of healthy fats and vitamin E.) -
1/2
cup
protein powder
(Vanilla or unflavored are best for this recipe. Choose your favorite type: whey for dairy, or pea/rice protein for a plant-based option. This is the core protein boost!) -
3/4
cup
creamy peanut butter
(Opt for natural, drippy peanut butter with minimal ingredients – just peanuts and maybe salt. This creates the classic flavor and helps bind the bars.) -
5
tbsp
honey
(A natural sweetener and vital binder for these no-bake bars. You can gently warm it to make it more pliable.) -
3
tbsp
unsweetened almond milk
(Adds moisture and helps achieve the perfect dough consistency. Other plant-based milks or regular dairy milk can also be used.) -
1/3
cup
chocolate chips
(Mini chocolate chips work best for even distribution. Dark chocolate chips are a great option for less sugar and added antioxidants.) -
pinch
sea salt
(Enhances all the flavors and balances the sweetness.)
Step-by-Step Instructions
Creating these delightful protein bars is incredibly simple. Just follow these easy steps for perfect results every time:
-
Begin by combining all the dry ingredients in a large mixing bowl. This includes the almond flour, protein powder, and sea salt. Whisk them together thoroughly to ensure the protein powder is evenly distributed and there are no lumps. Next, add the wet ingredients: the creamy peanut butter, warmed honey, and unsweetened almond milk. If your honey is thick, gently warm it in the microwave for 10-15 seconds or in a small saucepan over low heat until it’s pourable. Stir all ingredients together until a thick, uniform dough forms. Finally, gently fold in the chocolate chips, making sure they are well incorporated throughout the mixture.
-
Prepare an 8×8 inch baking dish or pan by lining it with parchment paper, leaving an overhang on the sides to easily lift the bars out later. This crucial step prevents sticking and makes removal much simpler. Carefully transfer the protein bar dough into the prepared pan. Using a silicone spatula or the back of a spoon, press the mixture down firmly and evenly into the pan. Ensure it’s tightly packed for solid bars. For an extra touch, sprinkle a few more chocolate chips on top and lightly press them into the surface. Place the pan in the freezer for at least 30 minutes to allow the bars to set completely. This chilling time is essential for achieving the firm, sliceable texture.
-
Once the bars are firm, remove the pan from the freezer. Use the parchment paper overhang to lift the entire slab of protein bar mixture out of the pan and place it on a cutting board. Using a sharp knife, carefully cut the slab into 12 even bars or squares, depending on your preference. Your delicious homemade peanut butter protein bars are now ready to enjoy! For optimal freshness and texture, store them in an airtight container in the refrigerator for up to 1-2 weeks. You can also freeze them for longer storage (up to 2 months) and thaw them as needed. Enjoy your healthy, satisfying snack!
Tips for Protein Bar Perfection
- Quality Ingredients Matter: Using good quality, natural peanut butter (without added sugars or oils) and a protein powder you genuinely enjoy will make a significant difference in the final taste and texture.
- Warm the Honey: A slightly warmed honey is much easier to mix, ensuring smooth incorporation into your dough without clumping.
- Don’t Skip the Chilling: The freezer time is critical for the bars to firm up properly. If you cut them too soon, they might be too soft and crumbly.
- Customize Your Crunch: Feel free to add chopped nuts, seeds (like chia or flax), or even shredded coconut for added texture and nutrients.
- Even Pressure: When pressing the mixture into the pan, make sure it’s packed very tightly and evenly across the entire surface. This prevents your bars from falling apart.
Creative Variations and Customizations
These peanut butter protein bars are a fantastic base for endless customization. Get creative and make them your own!
- Nut Butter Swap: Not a fan of peanut butter? Almond butter, cashew butter, or sunflower seed butter (for a nut-free option) can be used as alternatives. Just ensure they are the natural, drippy kind.
- Sweetener Alternatives: Maple syrup can be used instead of honey for a vegan option, or a sugar-free syrup if you’re watching your sugar intake, though this may alter the binding properties slightly.
- Flavor Boosters: Add a teaspoon of vanilla extract, a dash of cinnamon, or a tablespoon of unsweetened cocoa powder for different flavor profiles.
- Extra Texture: Mix in a quarter cup of chopped dried fruit (like cranberries or raisins), chopped walnuts or pecans, or a sprinkle of hemp seeds for added fiber and omega-3s.
- Toppings Galore: Before chilling, consider drizzling melted chocolate over the top, sprinkling with coarse sea salt, or pressing extra mini chocolate chips or chopped nuts onto the surface for visual appeal and added flavor.
The Nutritional Powerhouse in Every Bite
Beyond being incredibly tasty, these homemade protein bars offer a wealth of nutritional benefits:
- High Protein: Essential for muscle repair and growth, satiety, and sustained energy.
- Healthy Fats: From peanut butter and almond flour, these fats are crucial for brain function, hormone production, and keeping you full longer.
- Fiber-Rich: Almond flour and natural peanut butter contribute dietary fiber, aiding digestion and promoting gut health.
- Natural Sweetness: Honey provides natural energy without the refined sugars found in many commercial bars.
- Controlled Ingredients: By making them yourself, you avoid artificial additives, trans fats, and excessive sugars commonly found in store-bought options.
These bars are an excellent way to support your fitness goals, manage cravings, and enjoy a wholesome snack.
Frequently Asked Questions About Homemade Protein Bars
Q: Can I make these bars vegan?
A: Yes! Simply substitute the honey with an equal amount of maple syrup or agave nectar. Ensure your protein powder is plant-based (e.g., pea protein, rice protein) and your chocolate chips are dairy-free.
Q: How long do these protein bars last?
A: When stored in an airtight container in the refrigerator, these bars will stay fresh for up to 1 to 2 weeks. They can also be individually wrapped and frozen for up to 2 months.
Q: What kind of protein powder should I use?
A: Any protein powder you enjoy will work! Vanilla or unflavored protein powders are recommended to complement the peanut butter flavor. Whey, casein, pea, or rice protein powders are all suitable options.
Q: Can I use crunchy peanut butter?
A: While creamy, drippy peanut butter is recommended for the smoothest texture and best binding, you can certainly use crunchy peanut butter if you prefer an added texture. The bars might be slightly less uniform but equally delicious.
Q: Do I need to warm the honey?
A: Warming the honey slightly makes it less viscous and easier to mix with the other ingredients, leading to a smoother, more consistent dough. It’s not strictly necessary if your honey is already quite runny, but it certainly helps.