
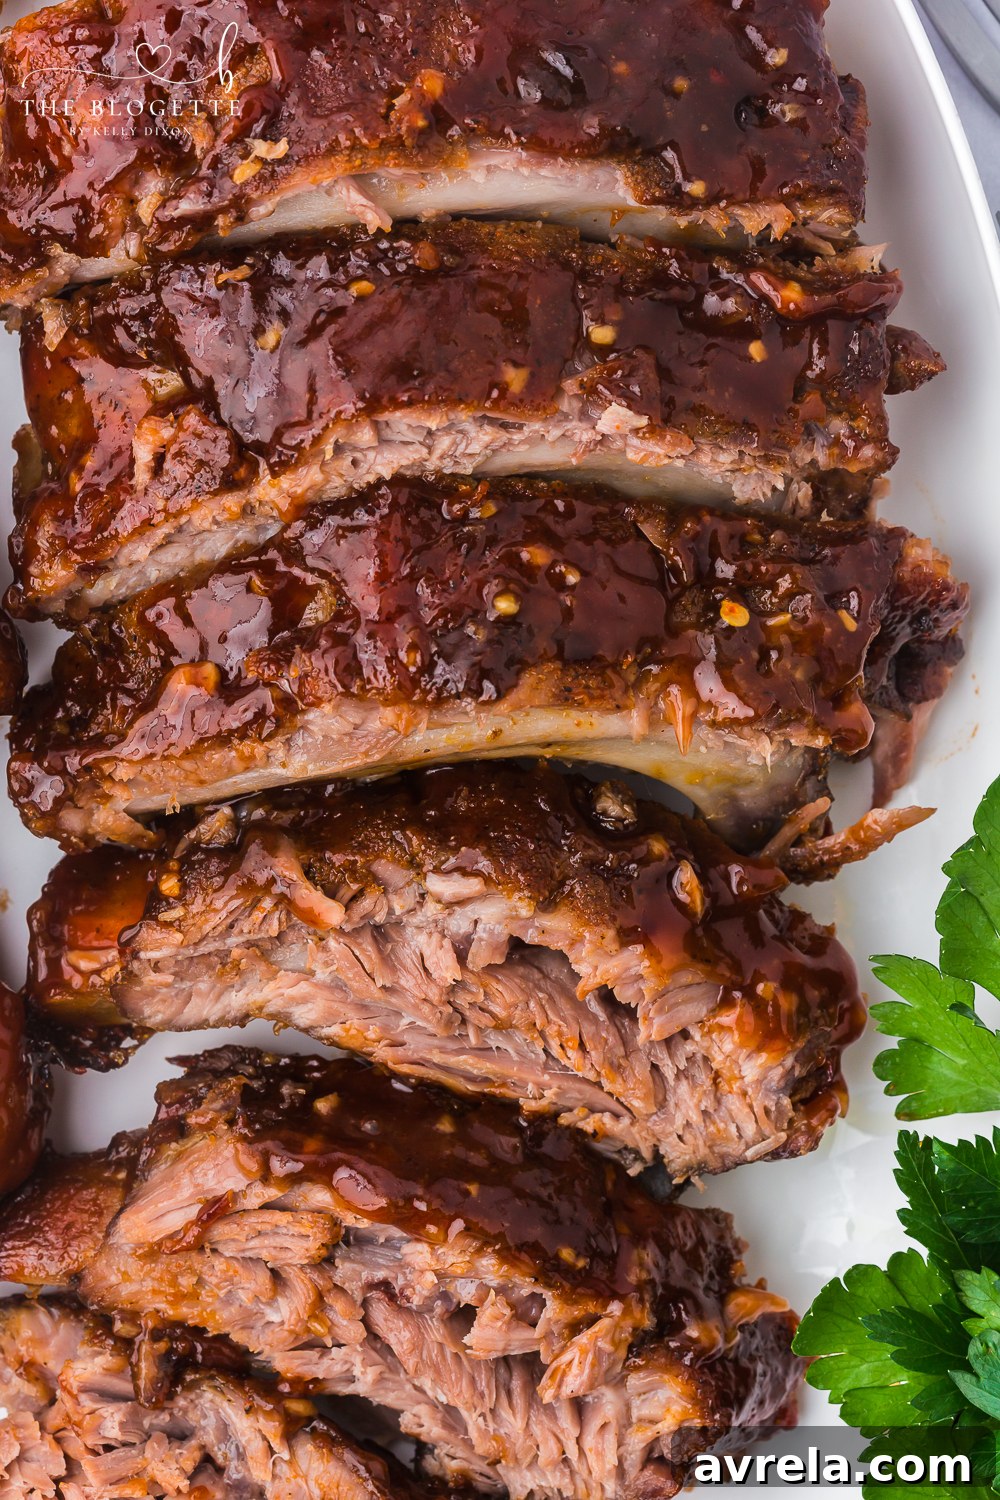
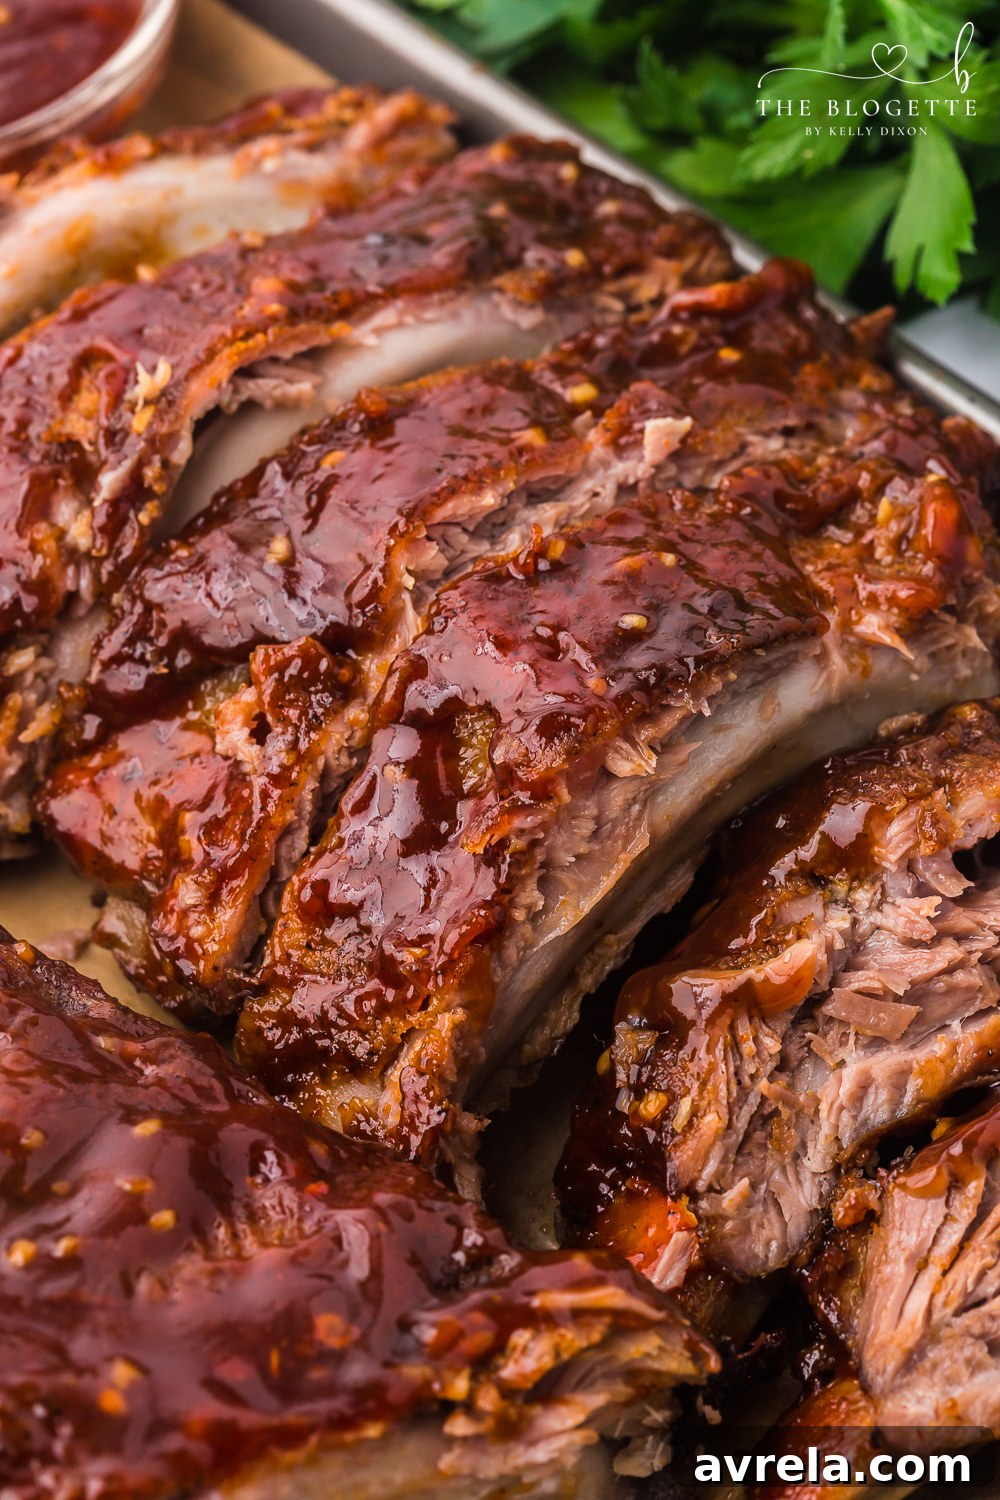
Welcome to the ultimate guide for creating incredibly tender, fall-off-the-bone Baked Ribs right in your oven! This recipe promises a plate of pure comfort, featuring succulent ribs generously coated in a bold, aromatic spice rub, slow-baked to perfection, and finished with a irresistible layer of savory, caramelized BBQ sauce. Forget the grill – these oven-baked beauties deliver all the smoky, sweet, and tangy flavors of a backyard barbecue with remarkable ease and consistent results. Prepare to impress your family and friends with a truly unforgettable meal that’s simple to make yet tastes like it came from your favorite smokehouse.
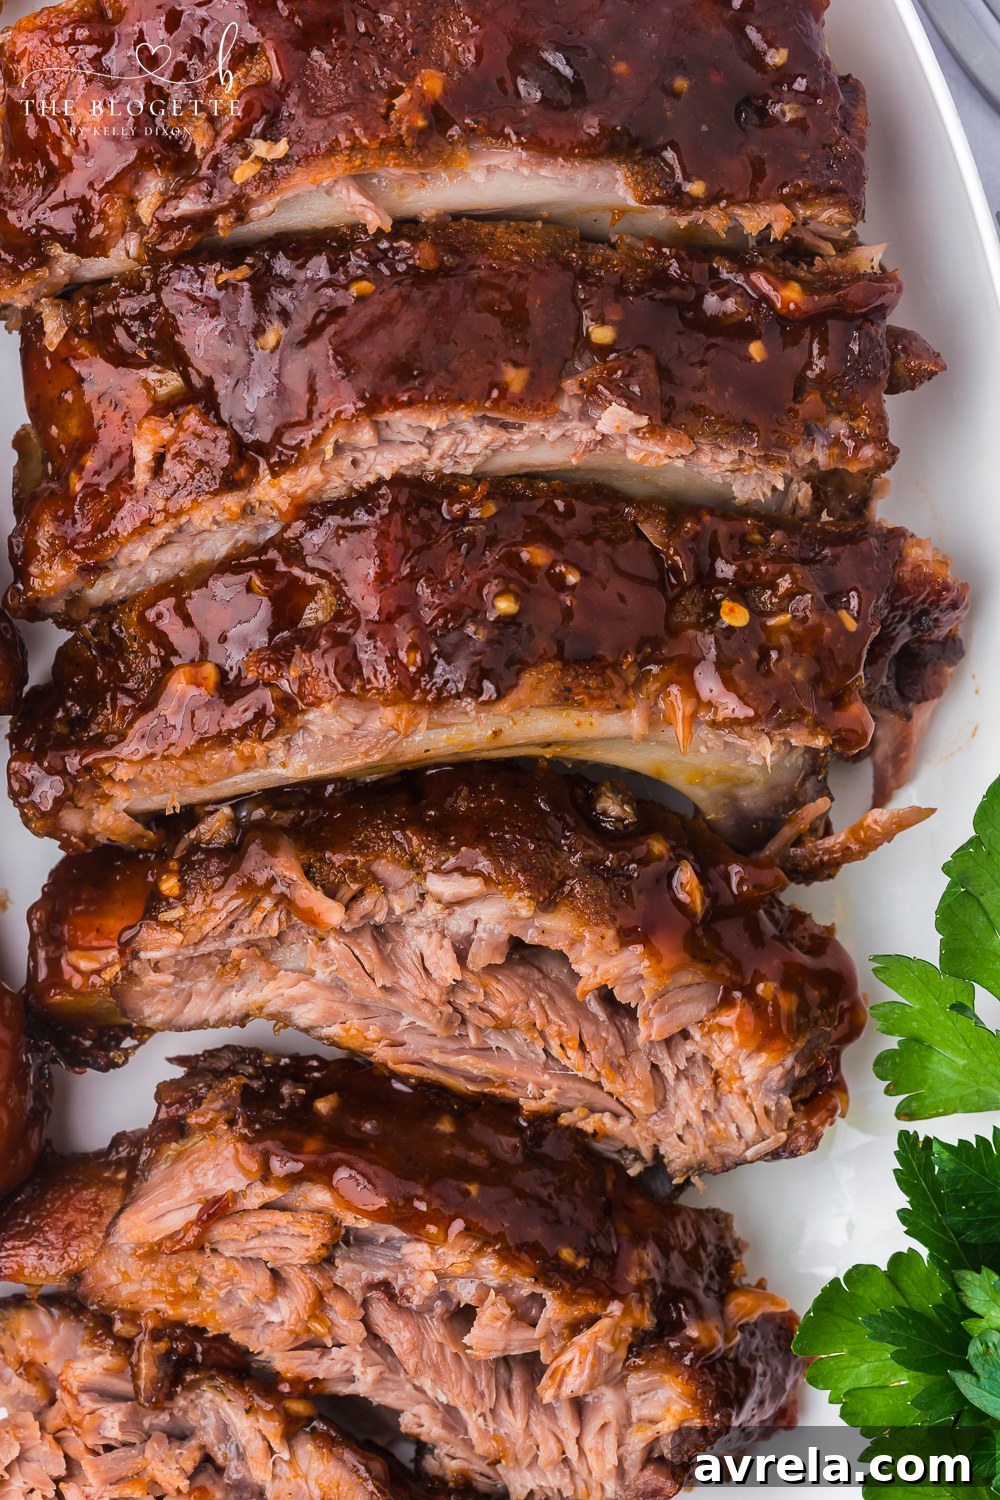
Irresistible Oven Baked Ribs: Your New Go-To Recipe for Fall-Off-The-Bone Perfection
Every bite of these oven-baked ribs is a symphony of flavor, bursting with smoky, savory, and subtly sweet notes. Whether you’re planning a cozy weekend feast, a casual family dinner, or simply craving that classic BBQ taste without the hassle of firing up a grill, this recipe is your answer. We’ll guide you through each step, from selecting the best ribs to achieving that perfect tender texture and a beautifully caramelized finish. Get ready to create a show-stopping dish that’s packed with goodness and guarantees clean plates all around.
Pin this now to save it for later
Pin It Now
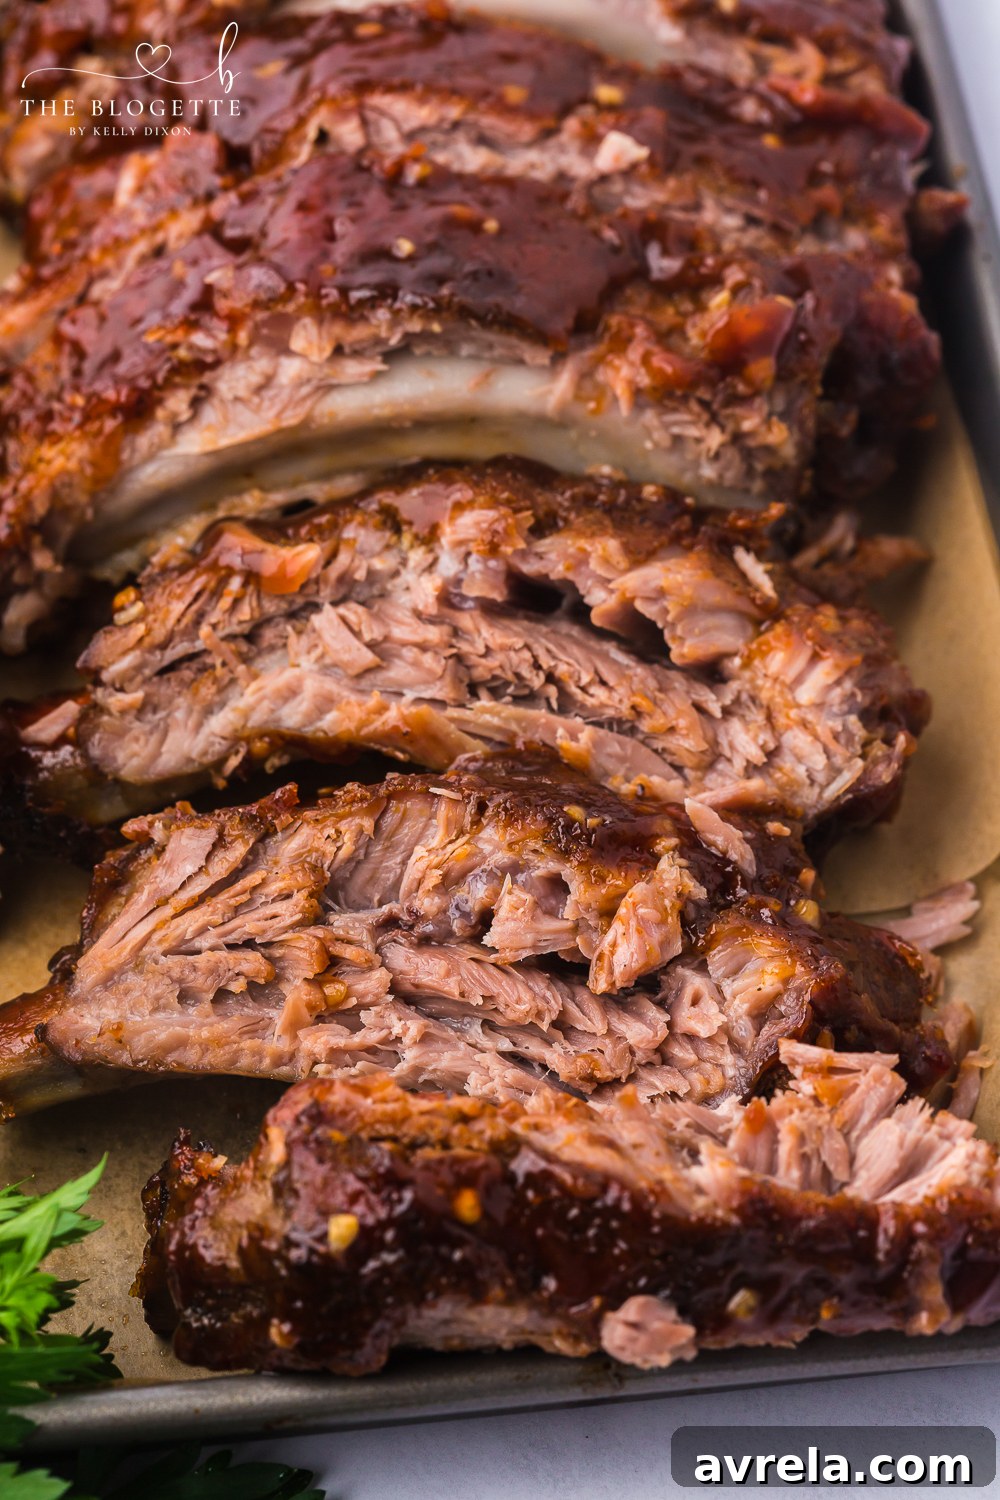
Why You’ll Love This Oven-Baked Ribs Recipe
There are countless reasons why baking ribs in the oven is not just convenient, but often superior to grilling for achieving that sought-after “fall-off-the-bone” tenderness. This method provides consistent, even heat, allowing the ribs to slow-cook to perfection without the risk of charring or drying out. It’s an ideal solution for any weather condition, making delicious ribs a year-round possibility. Plus, the hands-off baking time means you can focus on other aspects of your meal or simply relax while your oven does all the hard work. The end result is a rack of ribs so tender, the meat practically melts in your mouth, enveloped in a rich, flavorful crust.
Gather Your Ingredients for the Perfect Baked Ribs
Creating sensational baked ribs starts with a selection of quality ingredients. Our dry rub is crafted to build a deep, complex flavor profile, while the homemade-style BBQ sauce provides the perfect balance of sweet, smoky, and tangy notes. Here’s what you’ll need:
For the Ribs & Dry Rub:
- Baby Back Ribs (2-3 pounds): These ribs are known for their tenderness and lean meat. While baby back ribs are excellent, you can also use spare ribs for a meatier, fattier alternative.
- Garlic Salt: Provides a foundational savory flavor. If you’re mindful of sodium intake, opt for garlic powder and adjust salt separately.
- Onion Powder: Adds a sweet and pungent depth that complements the garlic.
- Smoked Paprika: Essential for that authentic smoky flavor without needing a smoker. For a milder, less smoky profile, regular or sweet paprika can be substituted.
- Black Pepper (cracked): Freshly cracked black pepper offers a superior aroma and spicy kick compared to pre-ground versions.
- Chili Powder: A blend of spices that adds a mild warmth and complex flavor to the rub.
- Cayenne Pepper: For those who love a bit of heat. Adjust the amount to your preference or omit it entirely if you prefer a milder taste.
- Olive Oil: Acts as a binder for the spice rub, helping it adhere to the ribs and promoting a beautiful crust. Any neutral-flavored oil like avocado, canola, or vegetable oil works equally well.
For the Flavorful BBQ Sauce:
- BBQ Sauce (2 cups): The choice of BBQ sauce is highly personal. A classic hickory, brown sugar, or even a spicy variety will work wonderfully. Feel free to use your favorite store-bought brand or a cherished homemade recipe.
- Minced Roasted Garlic (2 Tablespoons): Roasted garlic brings a mellow, sweet, and deeply aromatic flavor that elevates the sauce.
- Worcestershire Sauce (2 Tablespoons): Adds an umami richness and a tangy depth that balances the sweetness of the BBQ sauce.
- Honey (2 Tablespoons): Contributes natural sweetness and helps create that desirable caramelized glaze on the ribs. Maple syrup can be a good alternative if you prefer.
- Red Pepper Flakes (1 teaspoon): Introduces a subtle warmth and a gentle kick to the sauce, enhancing the overall flavor without overpowering.
Essential Equipment for Baking Ribs
- Small Paring Knife: Crucial for removing the silverskin membrane from the ribs.
- Paper Towels: Used for gripping and peeling off the silverskin effectively.
- 9×13 Baking Sheet or Larger: To accommodate the rack of ribs. A larger pan might be needed for bigger racks.
- Aluminum Foil or Parchment Paper: For lining the baking sheet and covering the ribs to ensure tender, moist cooking. If using foil directly, ensure it’s heavy-duty.
- Mixing Bowls: One for the spice rub and another for combining the BBQ sauce ingredients.
- Pastry Brush: Ideal for evenly coating the ribs with BBQ sauce. If you don’t have one, a spoon or spatula can also work to spread the sauce.
Step-by-Step Instructions: How to Make Perfect Baked Ribs
- Preheat Oven & Prepare Baking Sheet: Begin by preheating your oven to 350°F (175°C). Line a sturdy baking sheet with parchment paper or heavy-duty aluminum foil. This step is crucial for easy cleanup and preventing sticking.
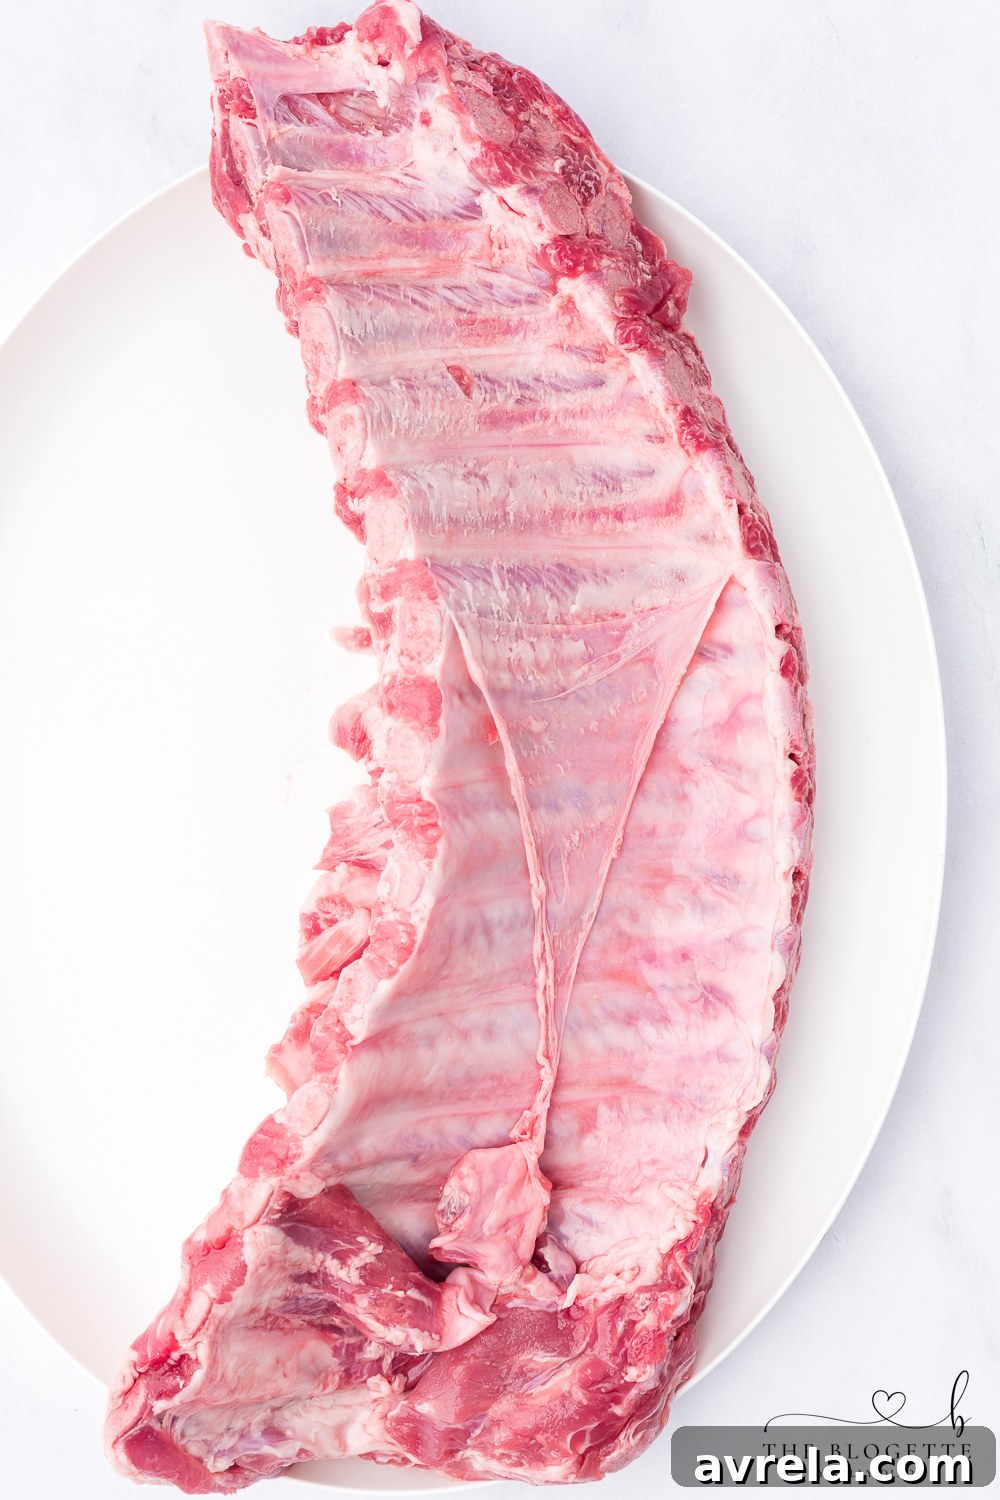
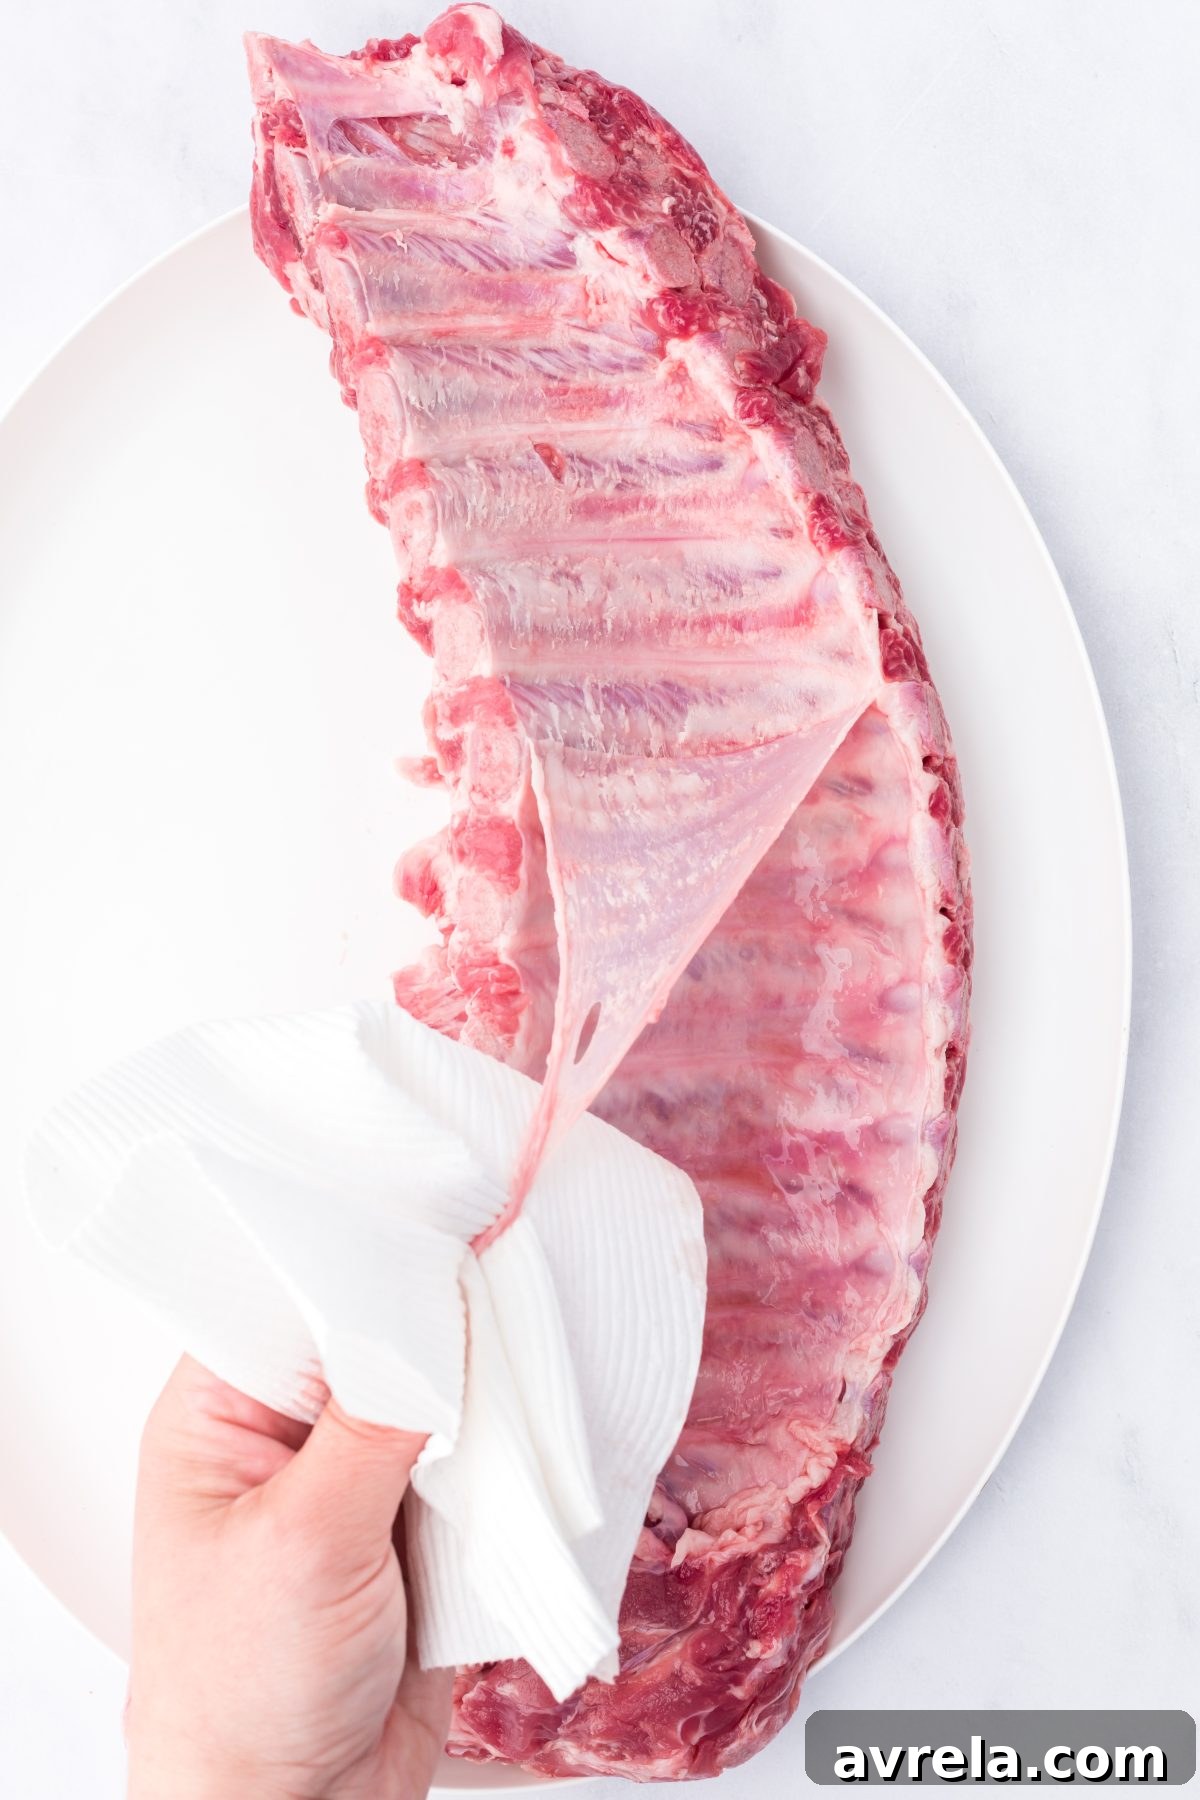
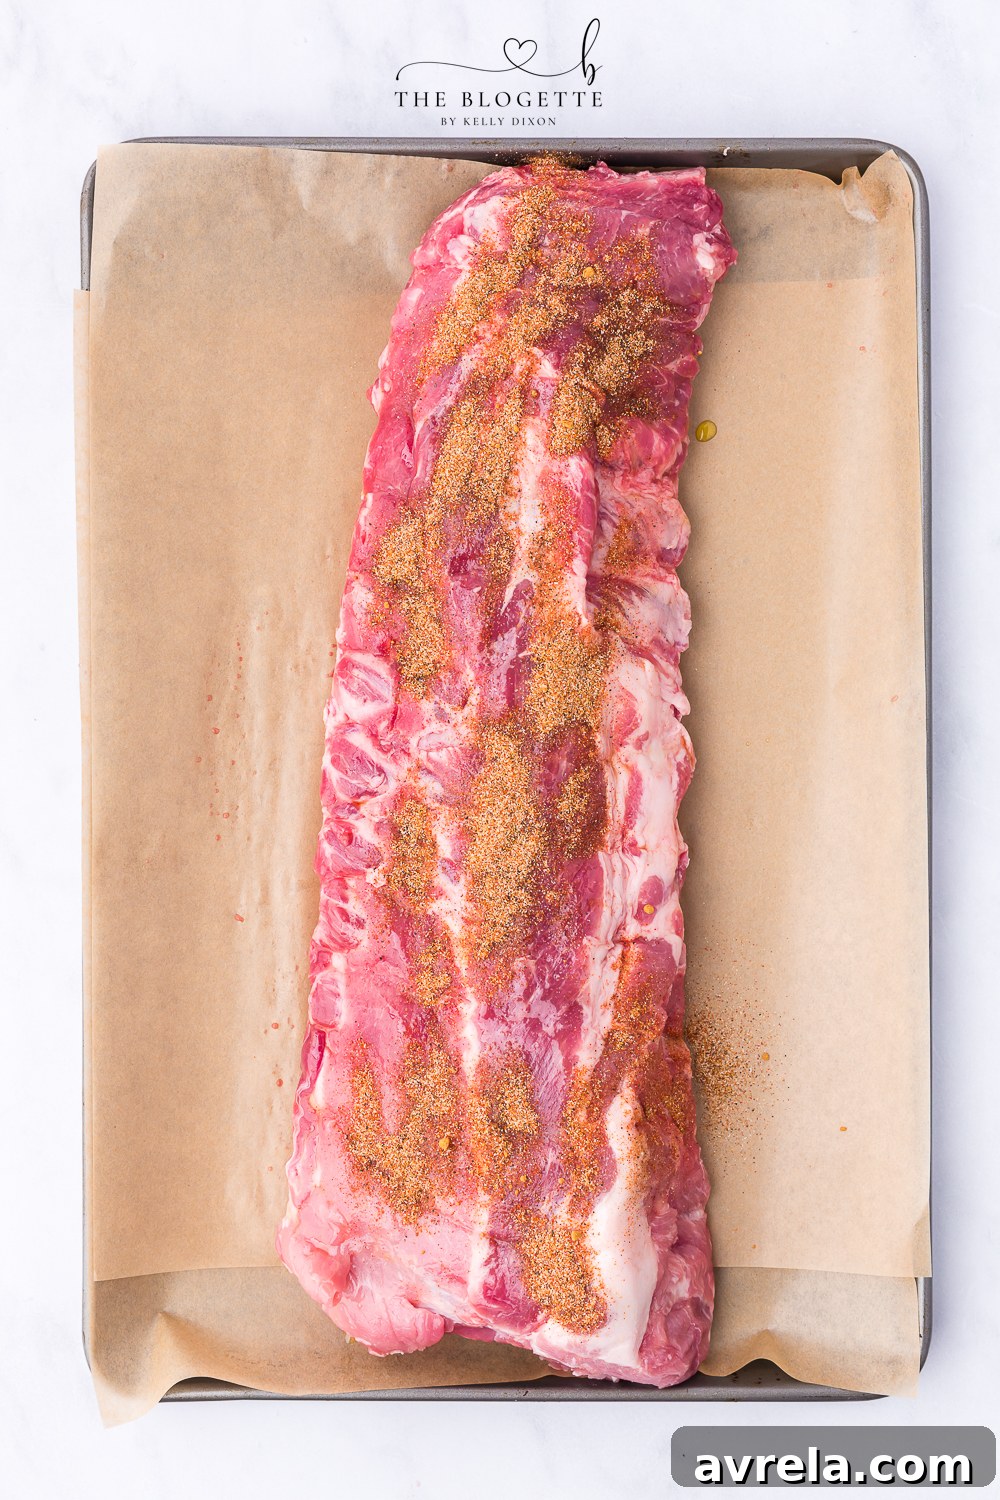
- Remove the Silverskin: This is a vital step for truly tender ribs. Using a small paring knife, gently pry up the thin, silvery membrane (silverskin) on the bone side of each rack of ribs. Once you’ve loosened a corner, use a paper towel to get a firm grip and slowly peel the entire membrane off the back of the ribs. This membrane, if left on, can make the ribs tough and prevent the seasonings from fully penetrating the meat. Place the prepared ribs on your lined baking sheet.
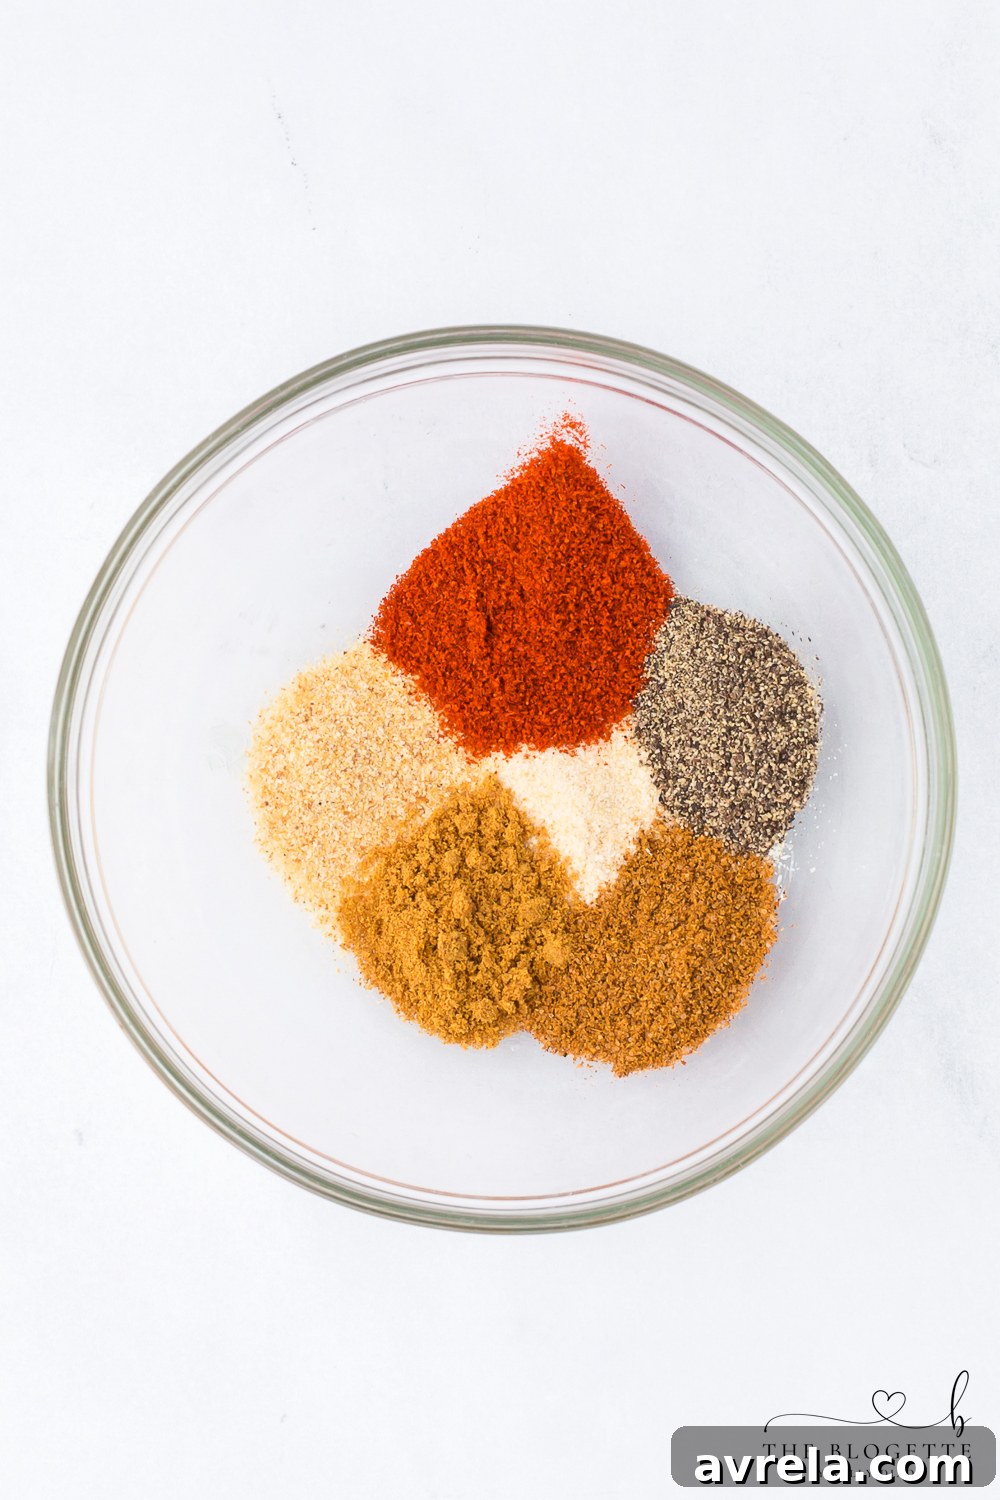
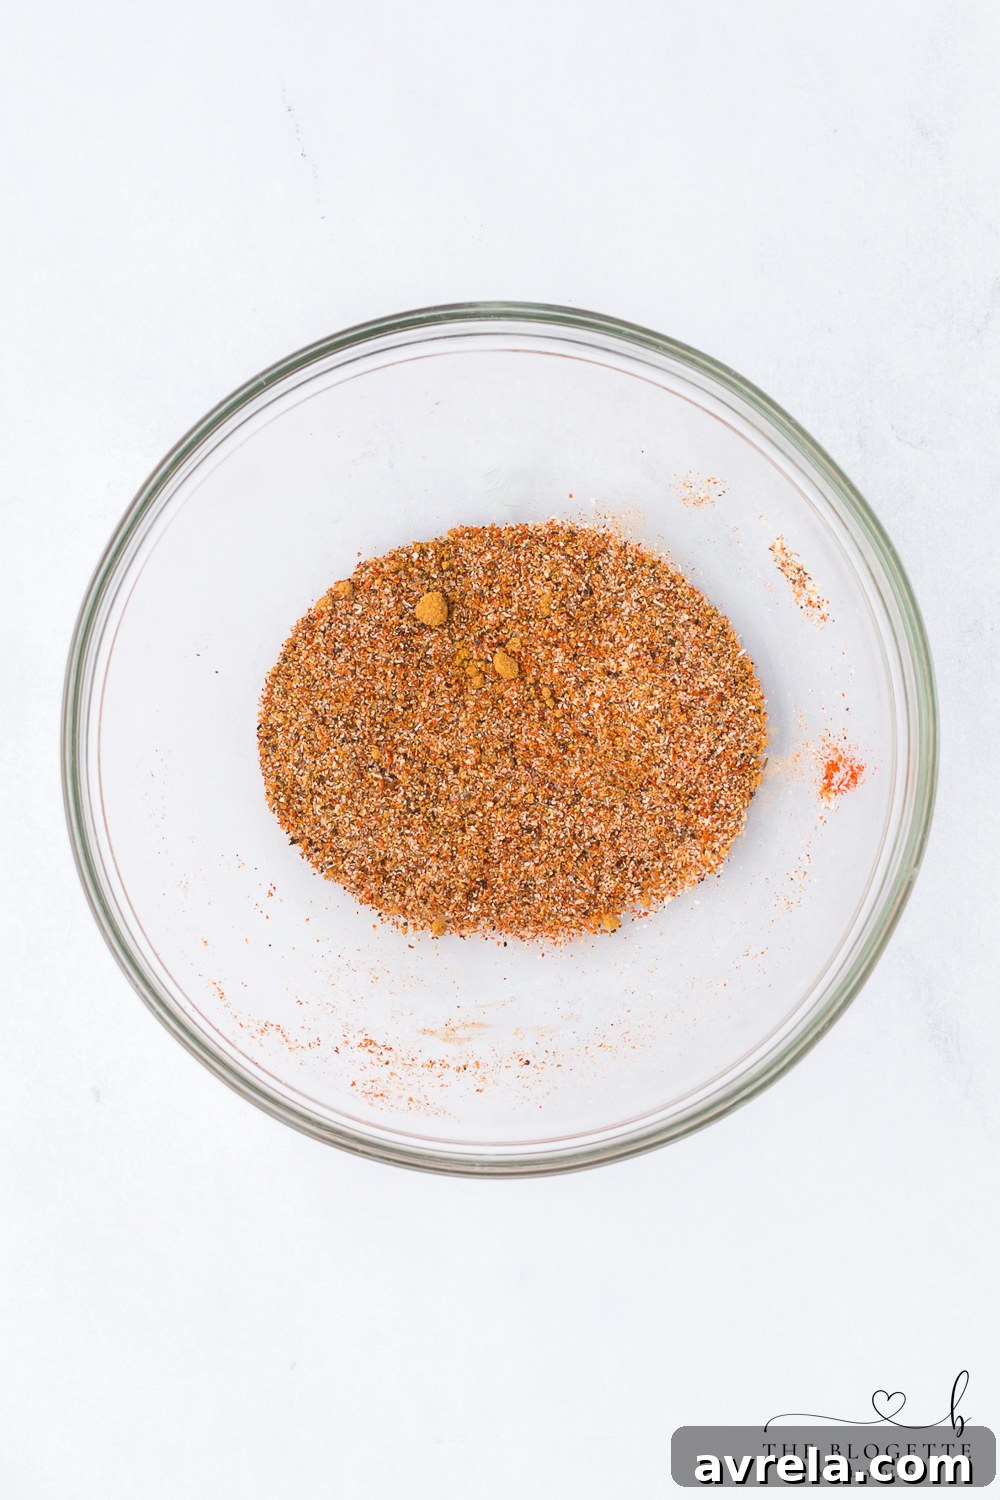
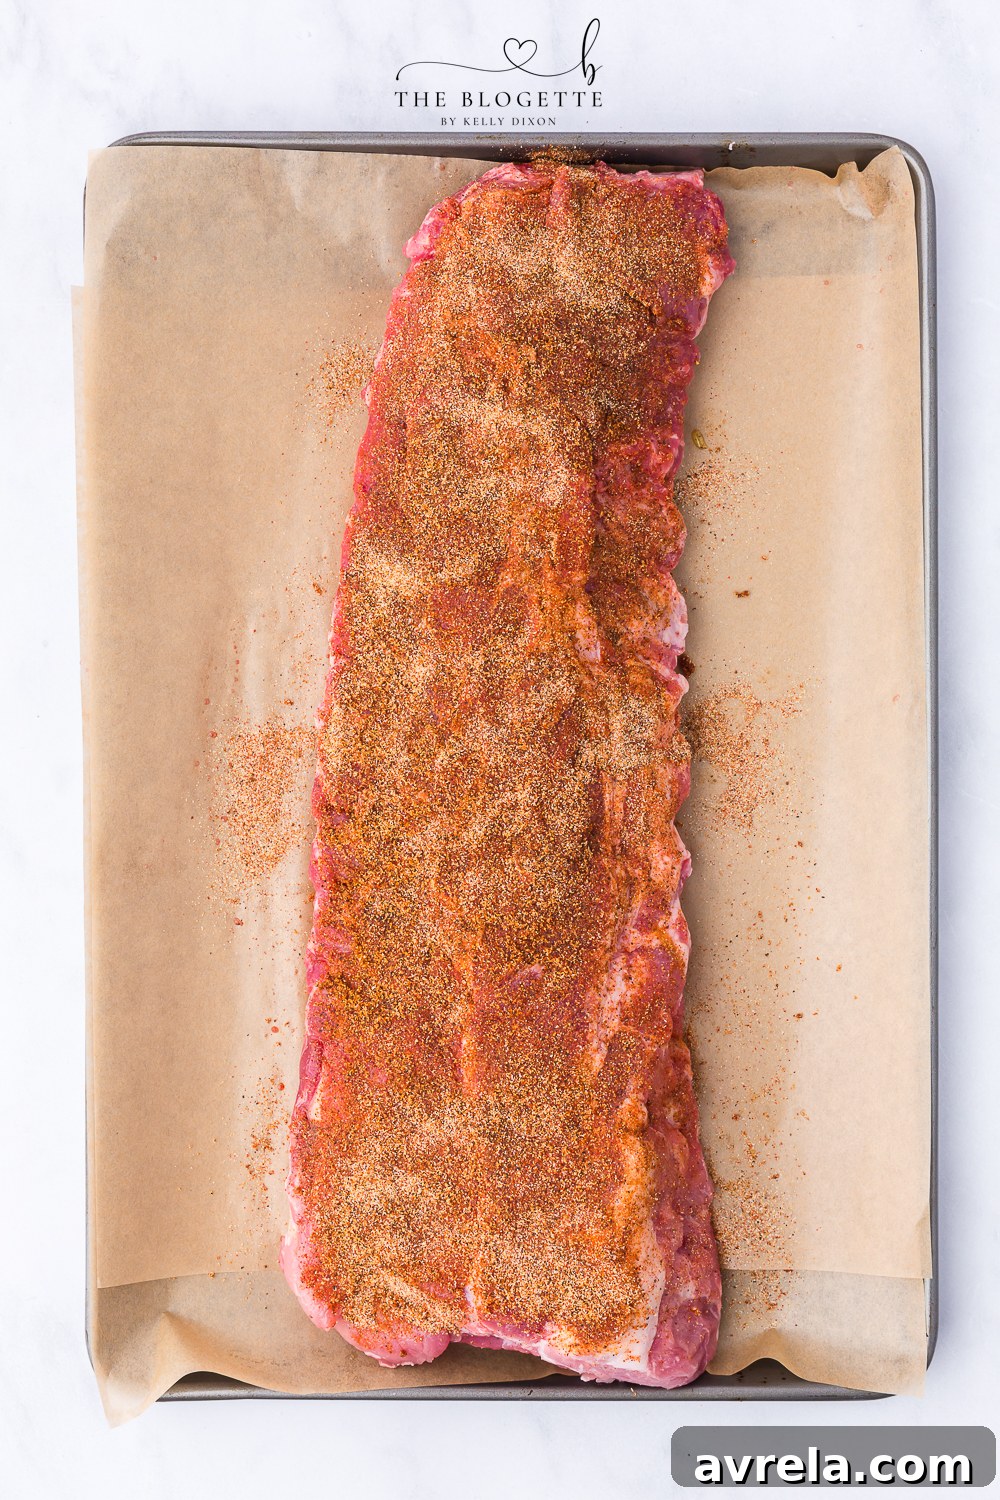
- Create Your Signature Spice Rub: In a small bowl, combine the garlic salt, onion powder, smoked paprika, black pepper, chili powder, and cayenne pepper (if using). Mix them thoroughly until well combined. This dry rub forms the foundation of the ribs’ flavor.
- Season the Ribs Liberally: Sprinkle the spice mixture evenly and generously over both sides of the ribs. Don’t be shy; a good coating ensures maximum flavor.
- Drizzle with Oil & Rub: Drizzle both sides of the seasoned ribs with olive oil. Using your hands, gently rub the spice mixture and oil into the meat, ensuring every crevice is coated. This helps the flavors meld and creates a beautiful crust.
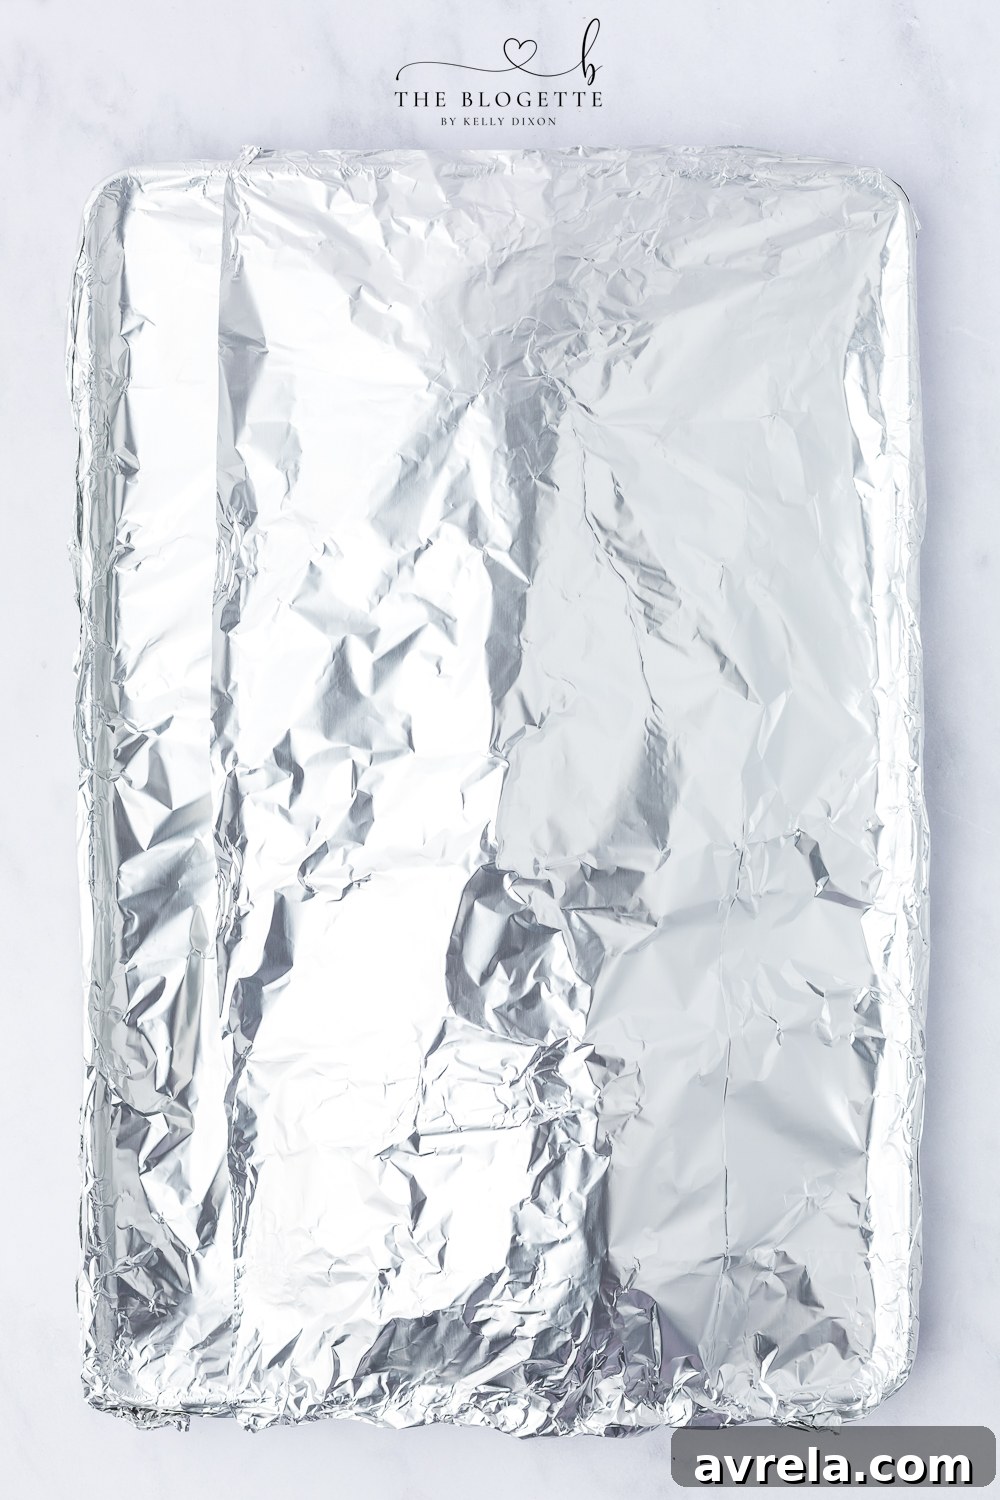
- Slow Bake for Tenderness: Tightly cover the baking sheet and ribs with aluminum foil. This creates a steamy environment that tenderizes the meat. Bake in the preheated oven for 2 hours. This long, slow cooking process is key to achieving that fall-off-the-bone texture.
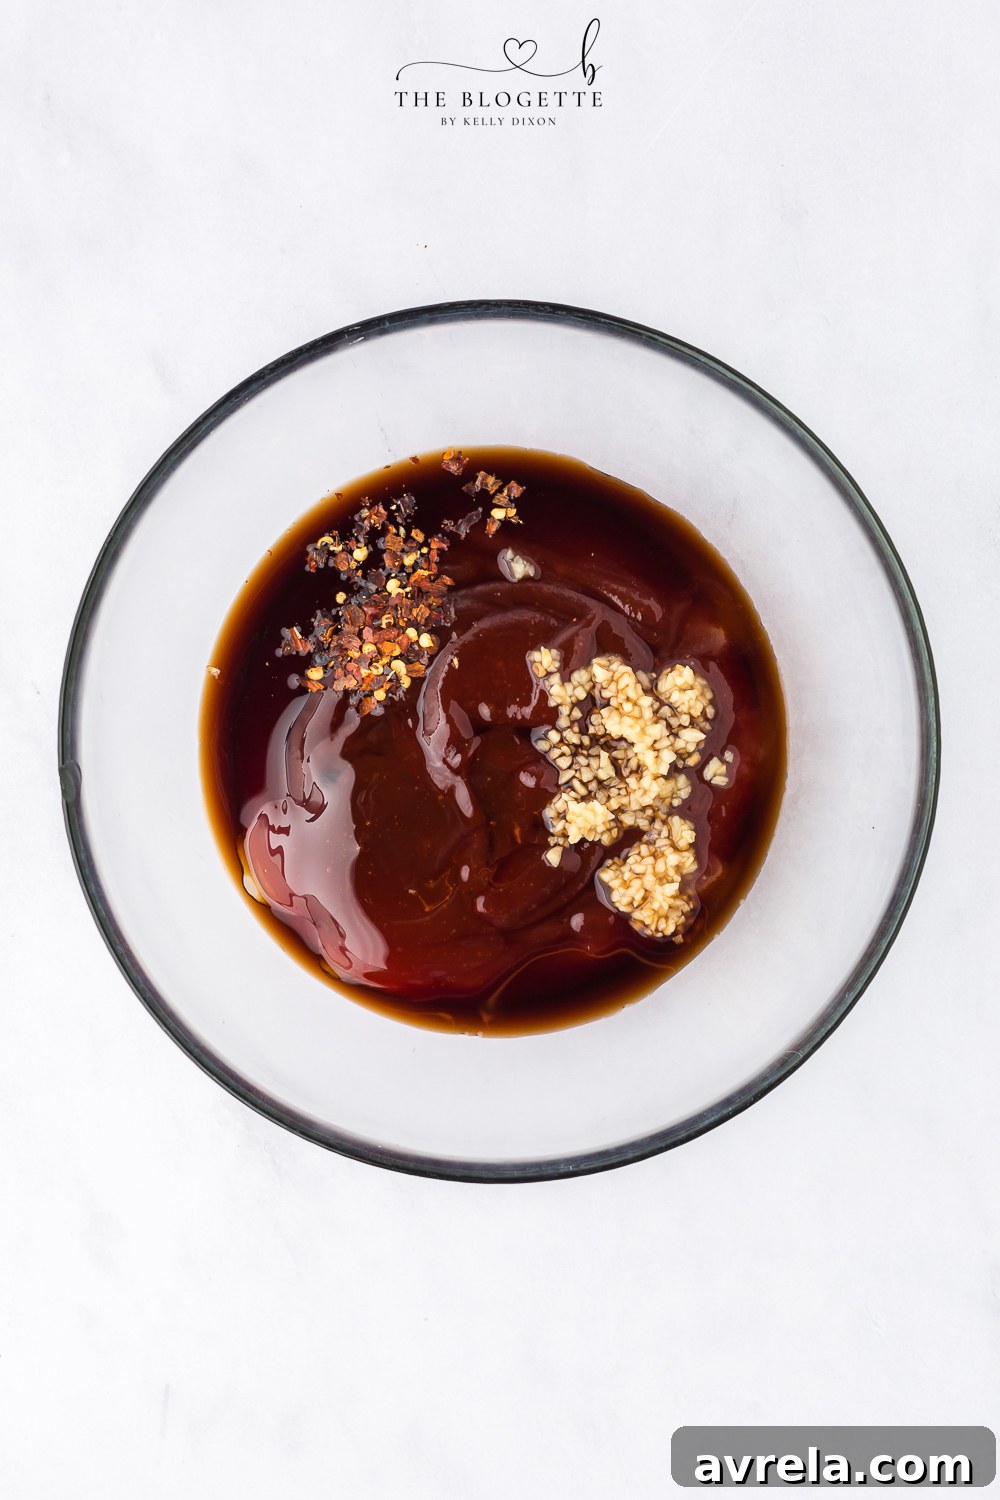
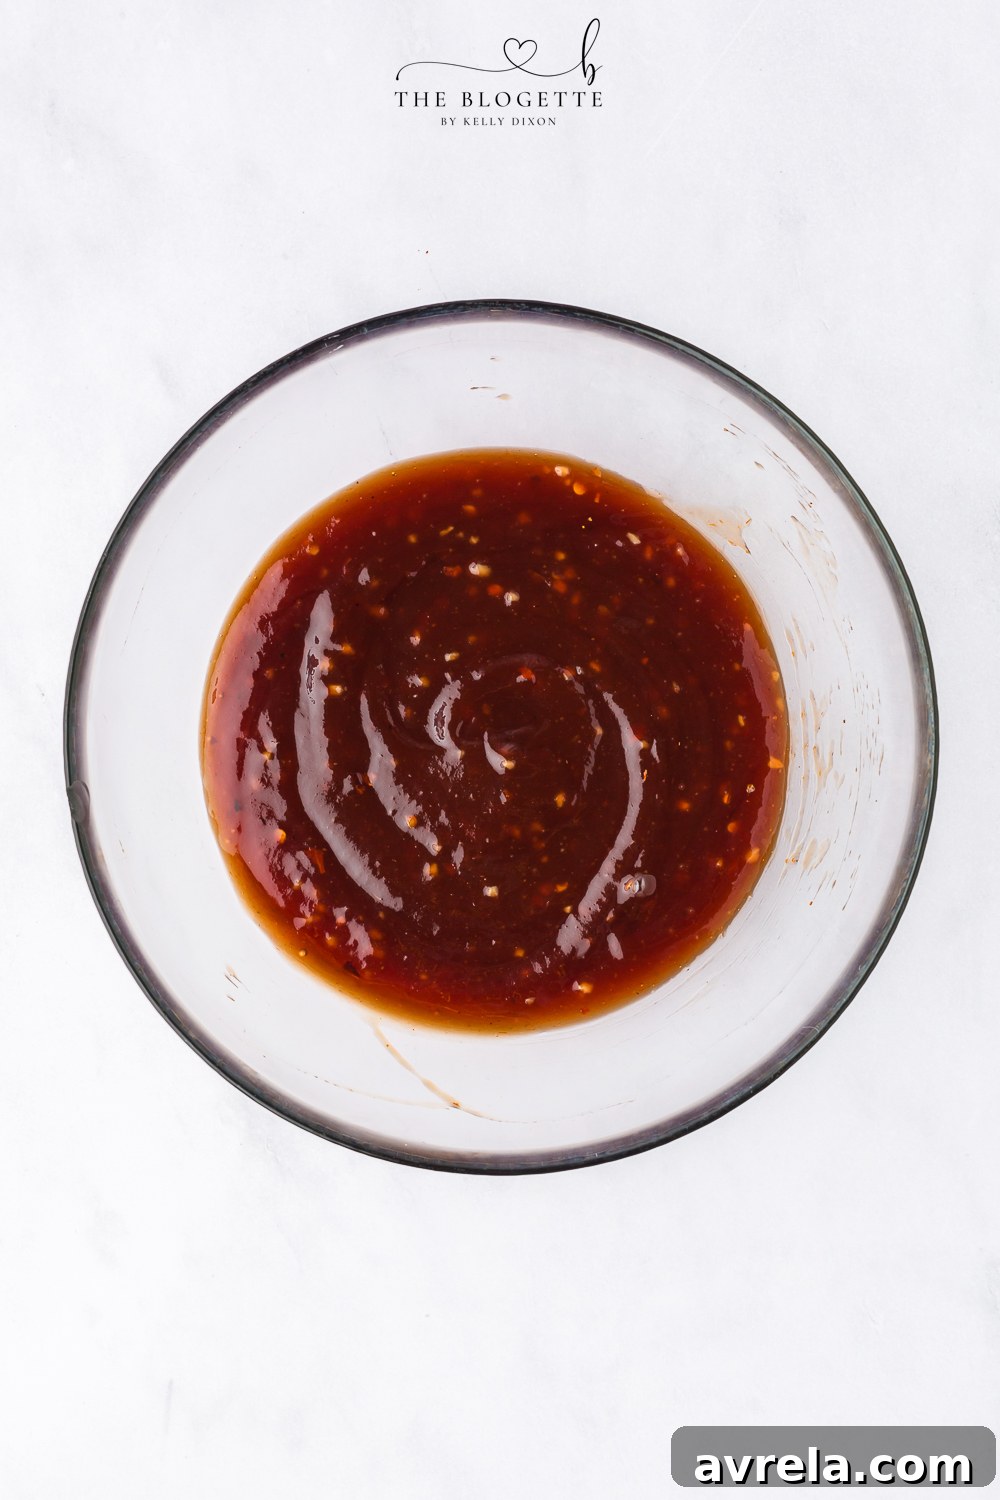
- Prepare Your Signature BBQ Sauce: While the ribs are baking, combine your chosen BBQ sauce, minced roasted garlic, Worcestershire sauce, honey, and red pepper flakes (if desired) in a separate bowl. Stir well to combine all the flavors. Set aside.
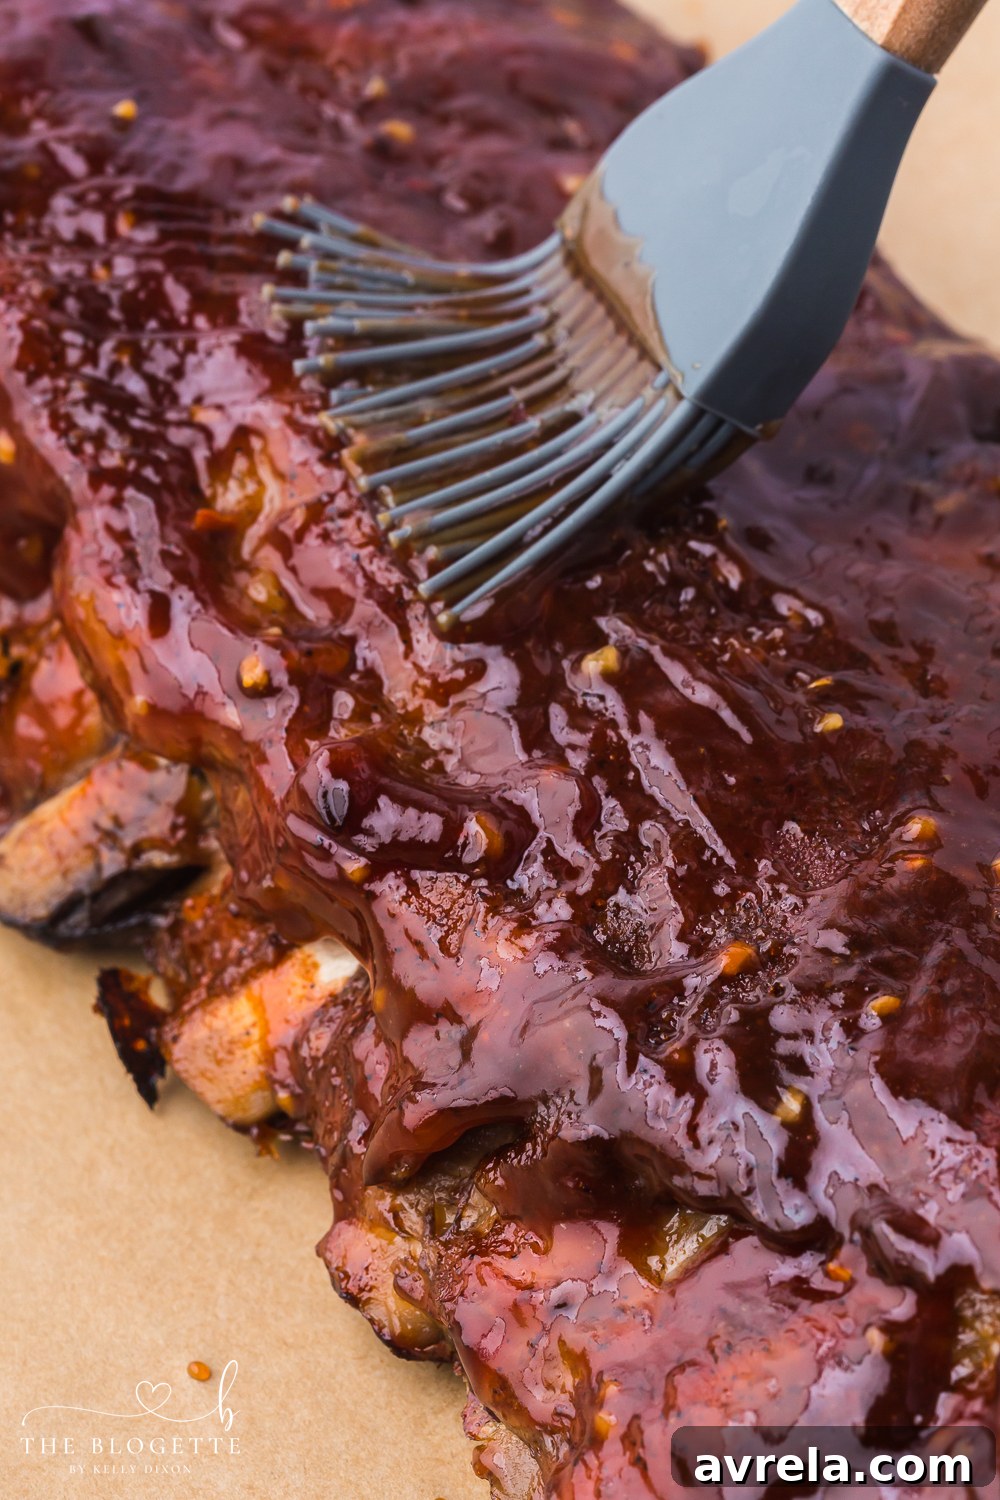
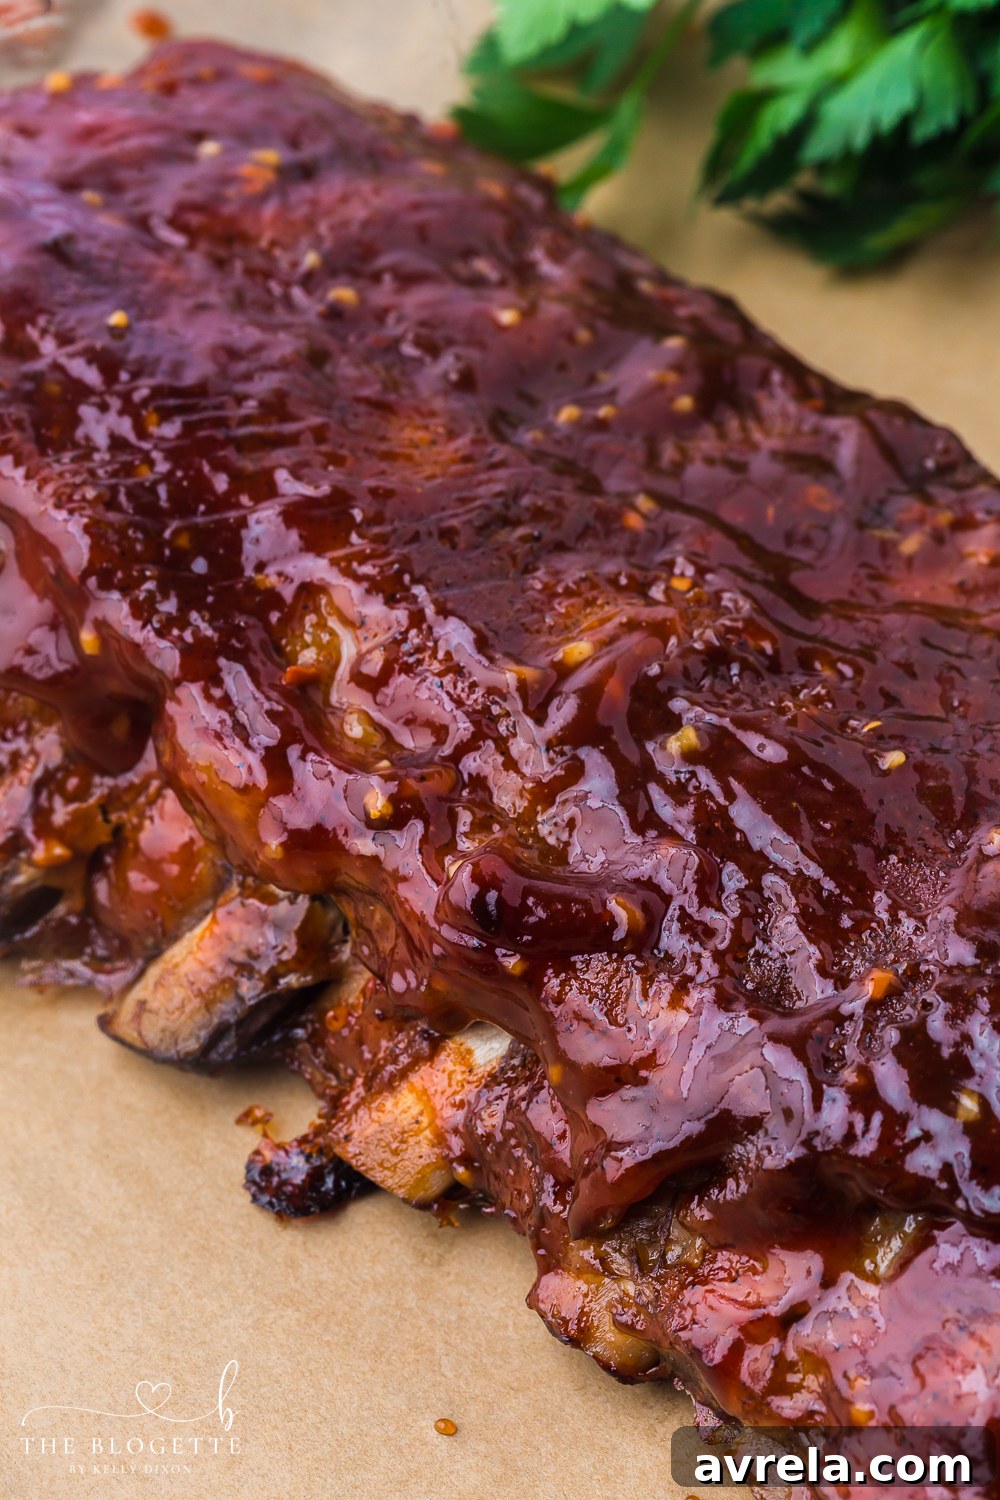
- Increase Oven Temperature & Apply Sauce: After 2 hours of baking, carefully remove the ribs from the oven. Increase the oven temperature to 450°F (230°C). Remove the foil from the ribs and generously brush them with your prepared BBQ sauce. Return the uncovered ribs to the oven and bake for another 10-15 minutes, allowing the sauce to caramelize and set.
- Optional Broiling for Char: For that extra smoky, slightly charred finish and deeply caramelized sauce, set your oven to broil on medium-high heat for the final 3-5 minutes of cooking. Keep a close eye on the ribs during this step, as the sugars in the sauce can burn quickly.
- Rest Before Serving: Once the ribs are beautifully browned and tender, remove them from the oven. Let them rest on the baking sheet for at least 10 minutes before slicing. This resting period allows the juices to redistribute throughout the meat, resulting in even more succulent ribs.
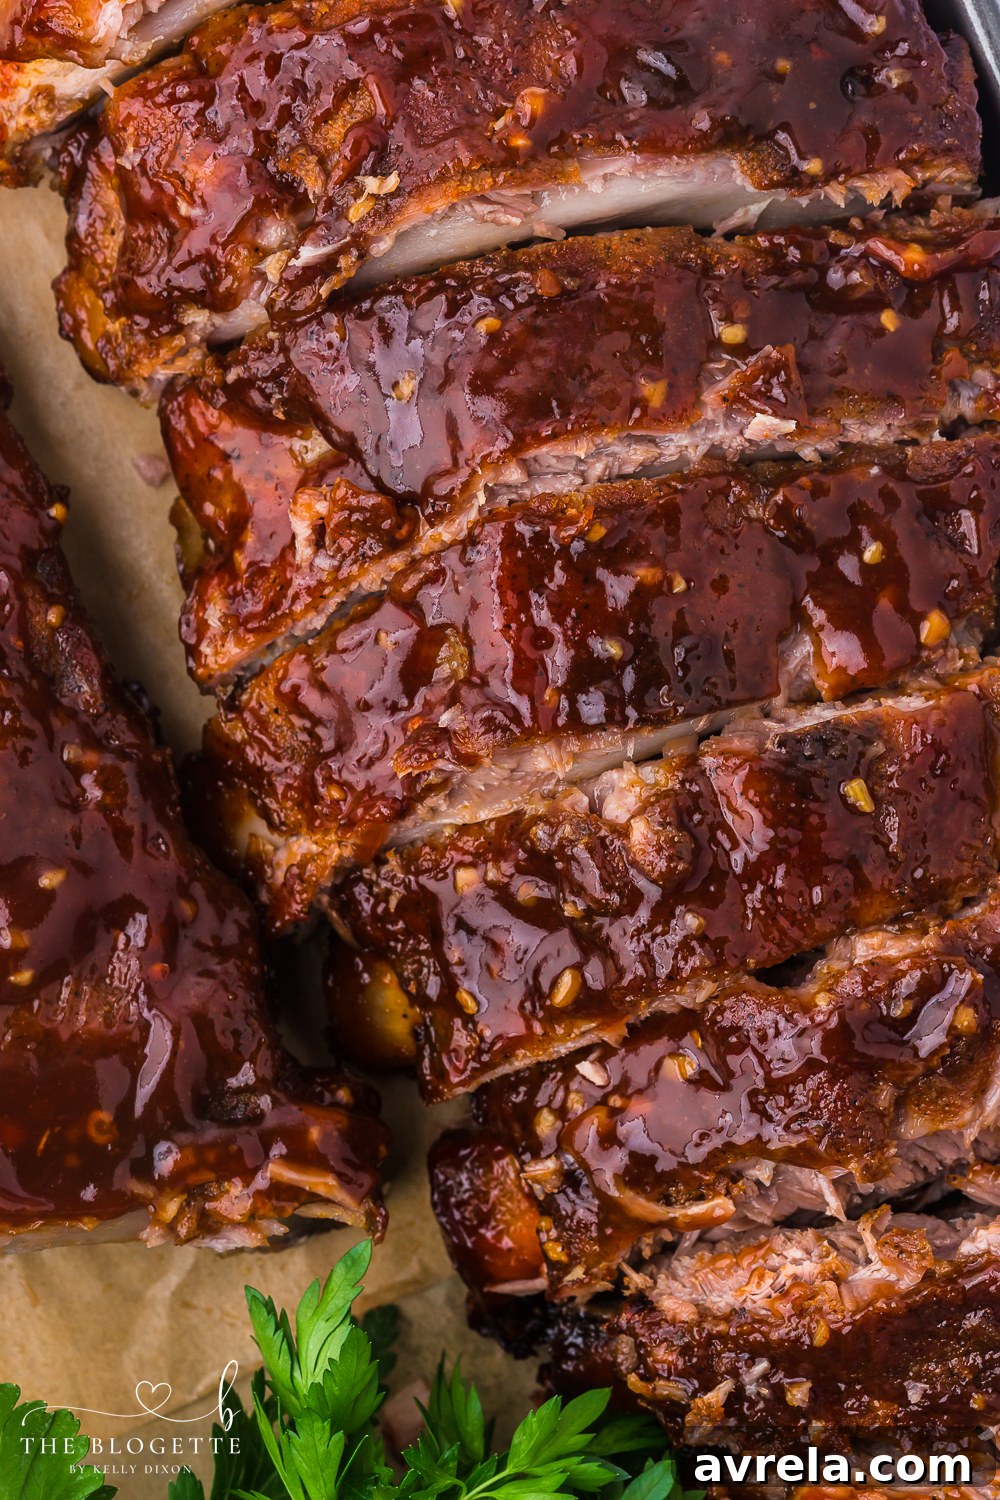
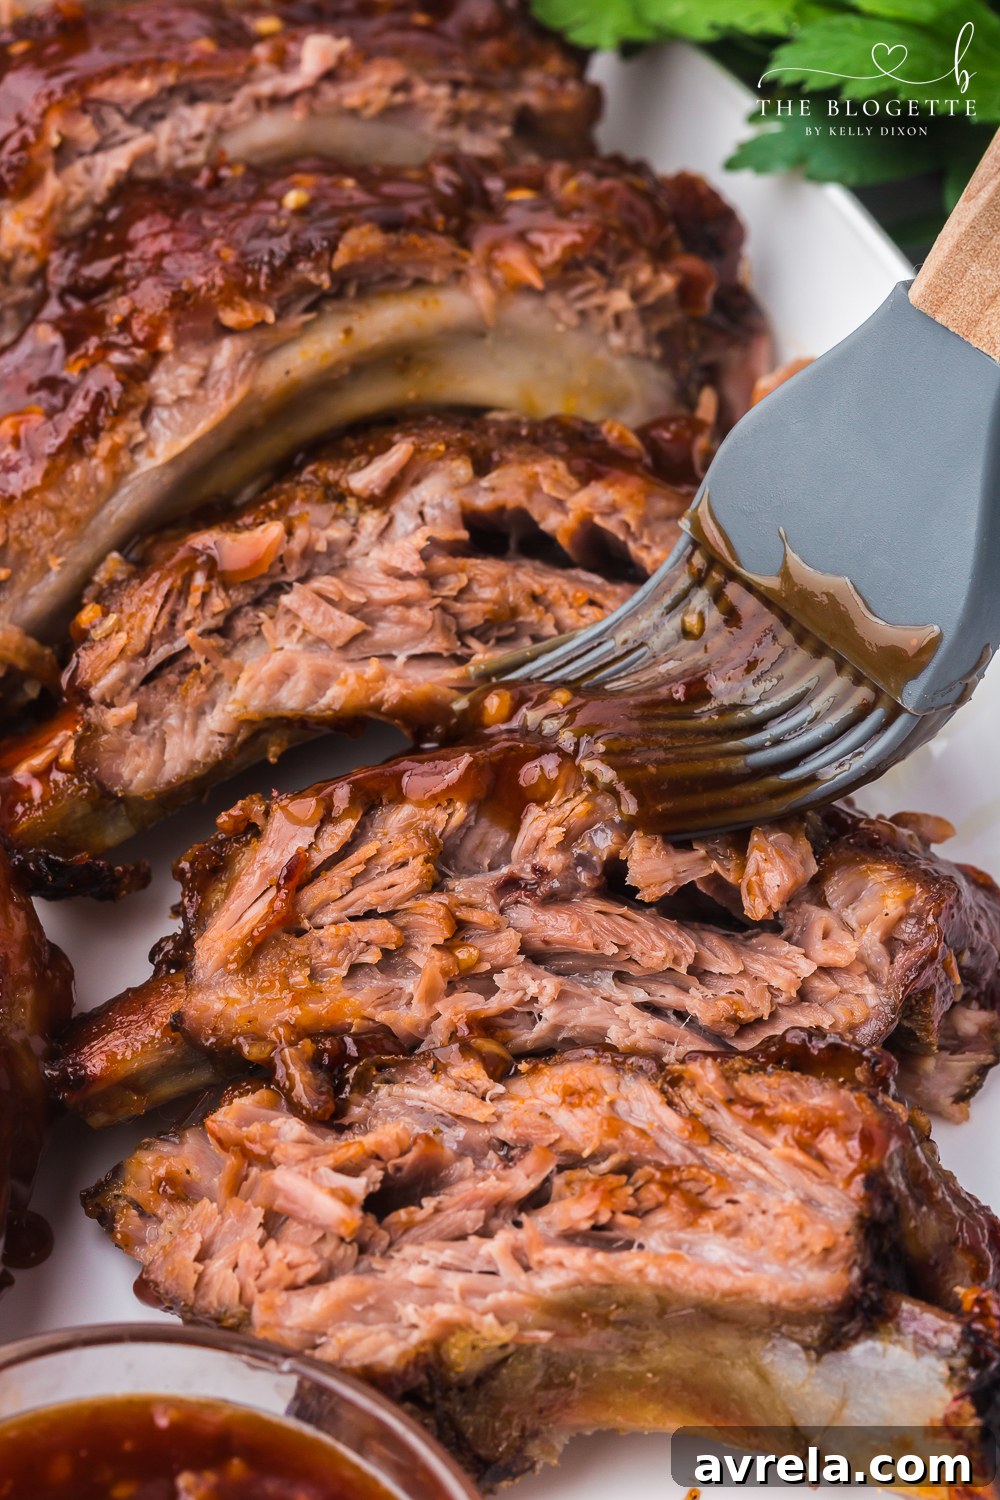
- Slice and Serve Warm: After resting, slice the ribs between the bones and serve them warm with your favorite side dishes. Enjoy!
Tips for Perfect Baked Ribs Every Time
- Don’t Skip the Silverskin Removal: This thin membrane on the underside of the ribs can prevent them from becoming truly tender and make them chewy. It’s a small step that makes a huge difference.
- Season Generously: The dry rub is where a lot of the flavor comes from. Don’t be afraid to apply a thick, even layer over all surfaces of the ribs.
- Seal Tightly for Baking: When covering the ribs with foil for the initial bake, ensure it’s tightly sealed. This traps steam and moisture, which is essential for tenderizing the meat.
- Quality BBQ Sauce Matters: While you can use any BBQ sauce, a good quality one will elevate the flavor of your ribs. Experiment with different brands and flavors to find your favorite.
- Monitor During Broiling: If you opt to broil, stay by the oven. The high heat can quickly burn the sugars in the BBQ sauce, so watch carefully for desired charring.
- Rest the Meat: Just like with steaks or roasts, allowing the ribs to rest after cooking is crucial. It redistributes the juices, ensuring every bite is moist and flavorful.
Want to save this recipe?
Get it emailed to you directly! Enter your email below.
Storage Tips for Leftover Ribs
If you’re lucky enough to have leftover baked ribs, proper storage will keep them delicious for days. Allow the ribs to cool completely at room temperature before transferring them to an airtight container or a resealable bag. Stored correctly, they will remain fresh for 3-4 days in the refrigerator. To reheat, you can use the oven or microwave. For oven reheating, place ribs on a foil-lined baking sheet and warm at 350°F (175°C) for 15-20 minutes, or until heated through. In the microwave, heat individual portions on a microwave-safe plate for 3-4 minutes at 50% power, turning occasionally, until warm.
Freezing Your Baked Ribs for Later
Can I make this ahead of time and freeze it?
Absolutely! This baked ribs recipe freezes exceptionally well, making it an excellent option for meal prepping or having a delicious dinner ready on busy weeknights. Cook the ribs as directed, then allow them to cool completely. Once cooled, you can slice them into individual ribs or smaller portions that fit conveniently into freezer-safe bags or airtight containers. Label and date the containers, then freeze your ribs for up to 3 months. When you’re ready to enjoy them, thaw completely in the refrigerator overnight before reheating. Reheating instructions are the same as for refrigerated leftovers.
Serving Suggestions: What to Pair with Your Baked Ribs
These flavorful baked ribs are versatile and pair wonderfully with a variety of classic barbecue sides. Here are some delicious ideas to complete your meal:
Classic Sides for Ribs
Cream Cheese Mashed Potatoes
Creamy, rich mashed potatoes are a perfect accompaniment, soaking up all the delicious rib juices.
Macaroni and Cheese
A comforting bowl of baked mac and cheese is always a crowd-pleaser and pairs wonderfully with BBQ flavors.
Garlic Parmesan Roasted Potatoes
Crispy on the outside, fluffy on the inside, these roasted potatoes are a simple yet satisfying choice.
Ranch Taco Pasta Salad
For a lighter, refreshing contrast, a creamy pasta salad or a crisp coleslaw would be ideal.
Grilled or Steamed Corn on the Cob
Sweet corn adds a delightful texture and natural sweetness to balance the rich ribs.
Garlic Green Beans
A simple side of fresh green beans sautéed with garlic provides a healthy, vibrant counterpoint.
Baked Ribs Recipe Card
Baked Ribs
15 minutes
2 hours 15 minutes
2 hours 30 minutes
5 servings
Equipment
- Small paring knife
- Paper towel
- 9×13 baking sheet
- Foil or parchment paper – If you don’t have parchment paper, you can brush your pan with oil.
- Mixing bowl
- Pastry brush – If you don’t have a pastry brush, you can just spoon the sauce onto the ribs.
Ingredients
For the Ribs:
- 2-3 pounds baby back pork ribs
- 2 teaspoons garlic salt
- 1 ½ teaspoons onion powder
- 1 ½ teaspoons smoked paprika
- 1 teaspoon black pepper cracked
- 1 teaspoon chili powder
- ½ teaspoon cayenne powder
- 3 tablespoons olive oil
For the Sauce:
- 2 cups BBQ sauce
- 2 Tablespoons minced roasted garlic
- 2 Tablespoons Worcestershire sauce
- 2 Tablespoons honey
- 1 teaspoon red pepper flakes
Instructions
- Prepare your oven and baking sheet. Preheat your oven to 350°F and line a baking sheet with parchment paper.
- Remove the Silverskin. Use a small paring knife to separate the silverskin on the underside of the ribs. Use a paper towel to grip the loosened silverskin and peel it completely off the bone side of the ribs. Place them on your prepared baking sheet.
- Make the spice mixture. In a bowl, combine the garlic salt, onion powder, smoked paprika, pepper, chili powder, and cayenne pepper, and sprinkle the seasoning mixture evenly over both sides of the ribs.
- Drizzle with oil. Drizzle both sides with oil and rub the seasoning into the meat. Cover the baking tray and ribs with foil and bake for 2 hours.
- Make the BBQ sauce. While the ribs cook, combine the BBQ sauce, minced roasted garlic, Worcestershire sauce, honey, and red pepper flakes.
- Increase the oven temperature. Remove the ribs from the oven and increase the oven temperature to 450°F.
- Brush with sauce. While you wait for the oven to come to temperature, remove the foil and brush with BBQ sauce before baking for another 10-15 minutes uncovered.
- Broil. For the final 3-5 minutes of cooking, set your oven to broil on medium-high heat to lightly char the meat and caramelize the sugars in the sauce. This step is optional and requires close monitoring to prevent burning.
- Rest and serve. Allow the meat to rest for 10 minutes before slicing so the juices have a chance to reabsorb into the meat. Slice and serve warm.
Notes
If you have leftover baked ribs, allow them to cool completely. Transfer them to an airtight container or resealable bag and store in the refrigerator for 3-4 days.
How can I reheat this dish?
Reheat your baked ribs in the oven or microwave for best results.
- Oven: Remove the ribs from the container and place them onto a foil-lined baking sheet. Cook at 350°F (175°C) for 15-20 minutes until warm throughout.
- Microwave: Place your baked ribs on a microwave-safe plate and heat them for 3-4 minutes on 50% power, or until heated through.
Can I make this ahead of time and freeze it?
Yes, this baked ribs recipe freezes and thaws well. Cook as directed and allow the ribs to cool completely. Slice them into individual ribs or smaller pieces to fit into a freezer bag. Label and date the bag, and freeze your ribs for up to 3 months. Thaw completely before reheating.
Baby Back Ribs vs. Spare Ribs:
You can use either for this recipe. Baby back ribs are cut from higher up on the pig’s rib cage, are generally smaller and leaner, and cook quickly to a very tender texture. Spare ribs come from the lower portion of the rib cage, are larger, meatier, and have more fat, which contributes to their rich flavor and tenderness when cooked low and slow. Both are excellent choices!
Additional Info
Enjoy these tender, flavorful oven-baked ribs as the centerpiece of your next meal. They are a testament to how simple ingredients and a straightforward baking method can create truly spectacular results.
Conclusion
These oven-baked ribs are more than just a meal; they’re an experience in comfort food perfection. With minimal effort and maximum flavor, you can achieve incredibly tender, juicy ribs coated in a sticky, sweet, and tangy BBQ glaze. This recipe proves that you don’t need a smoker or a grill to create memorable barbecue-style ribs that will have everyone asking for seconds. So go ahead, treat yourself and your loved ones to this delightful dish, and savor every single fall-off-the-bone bite!