
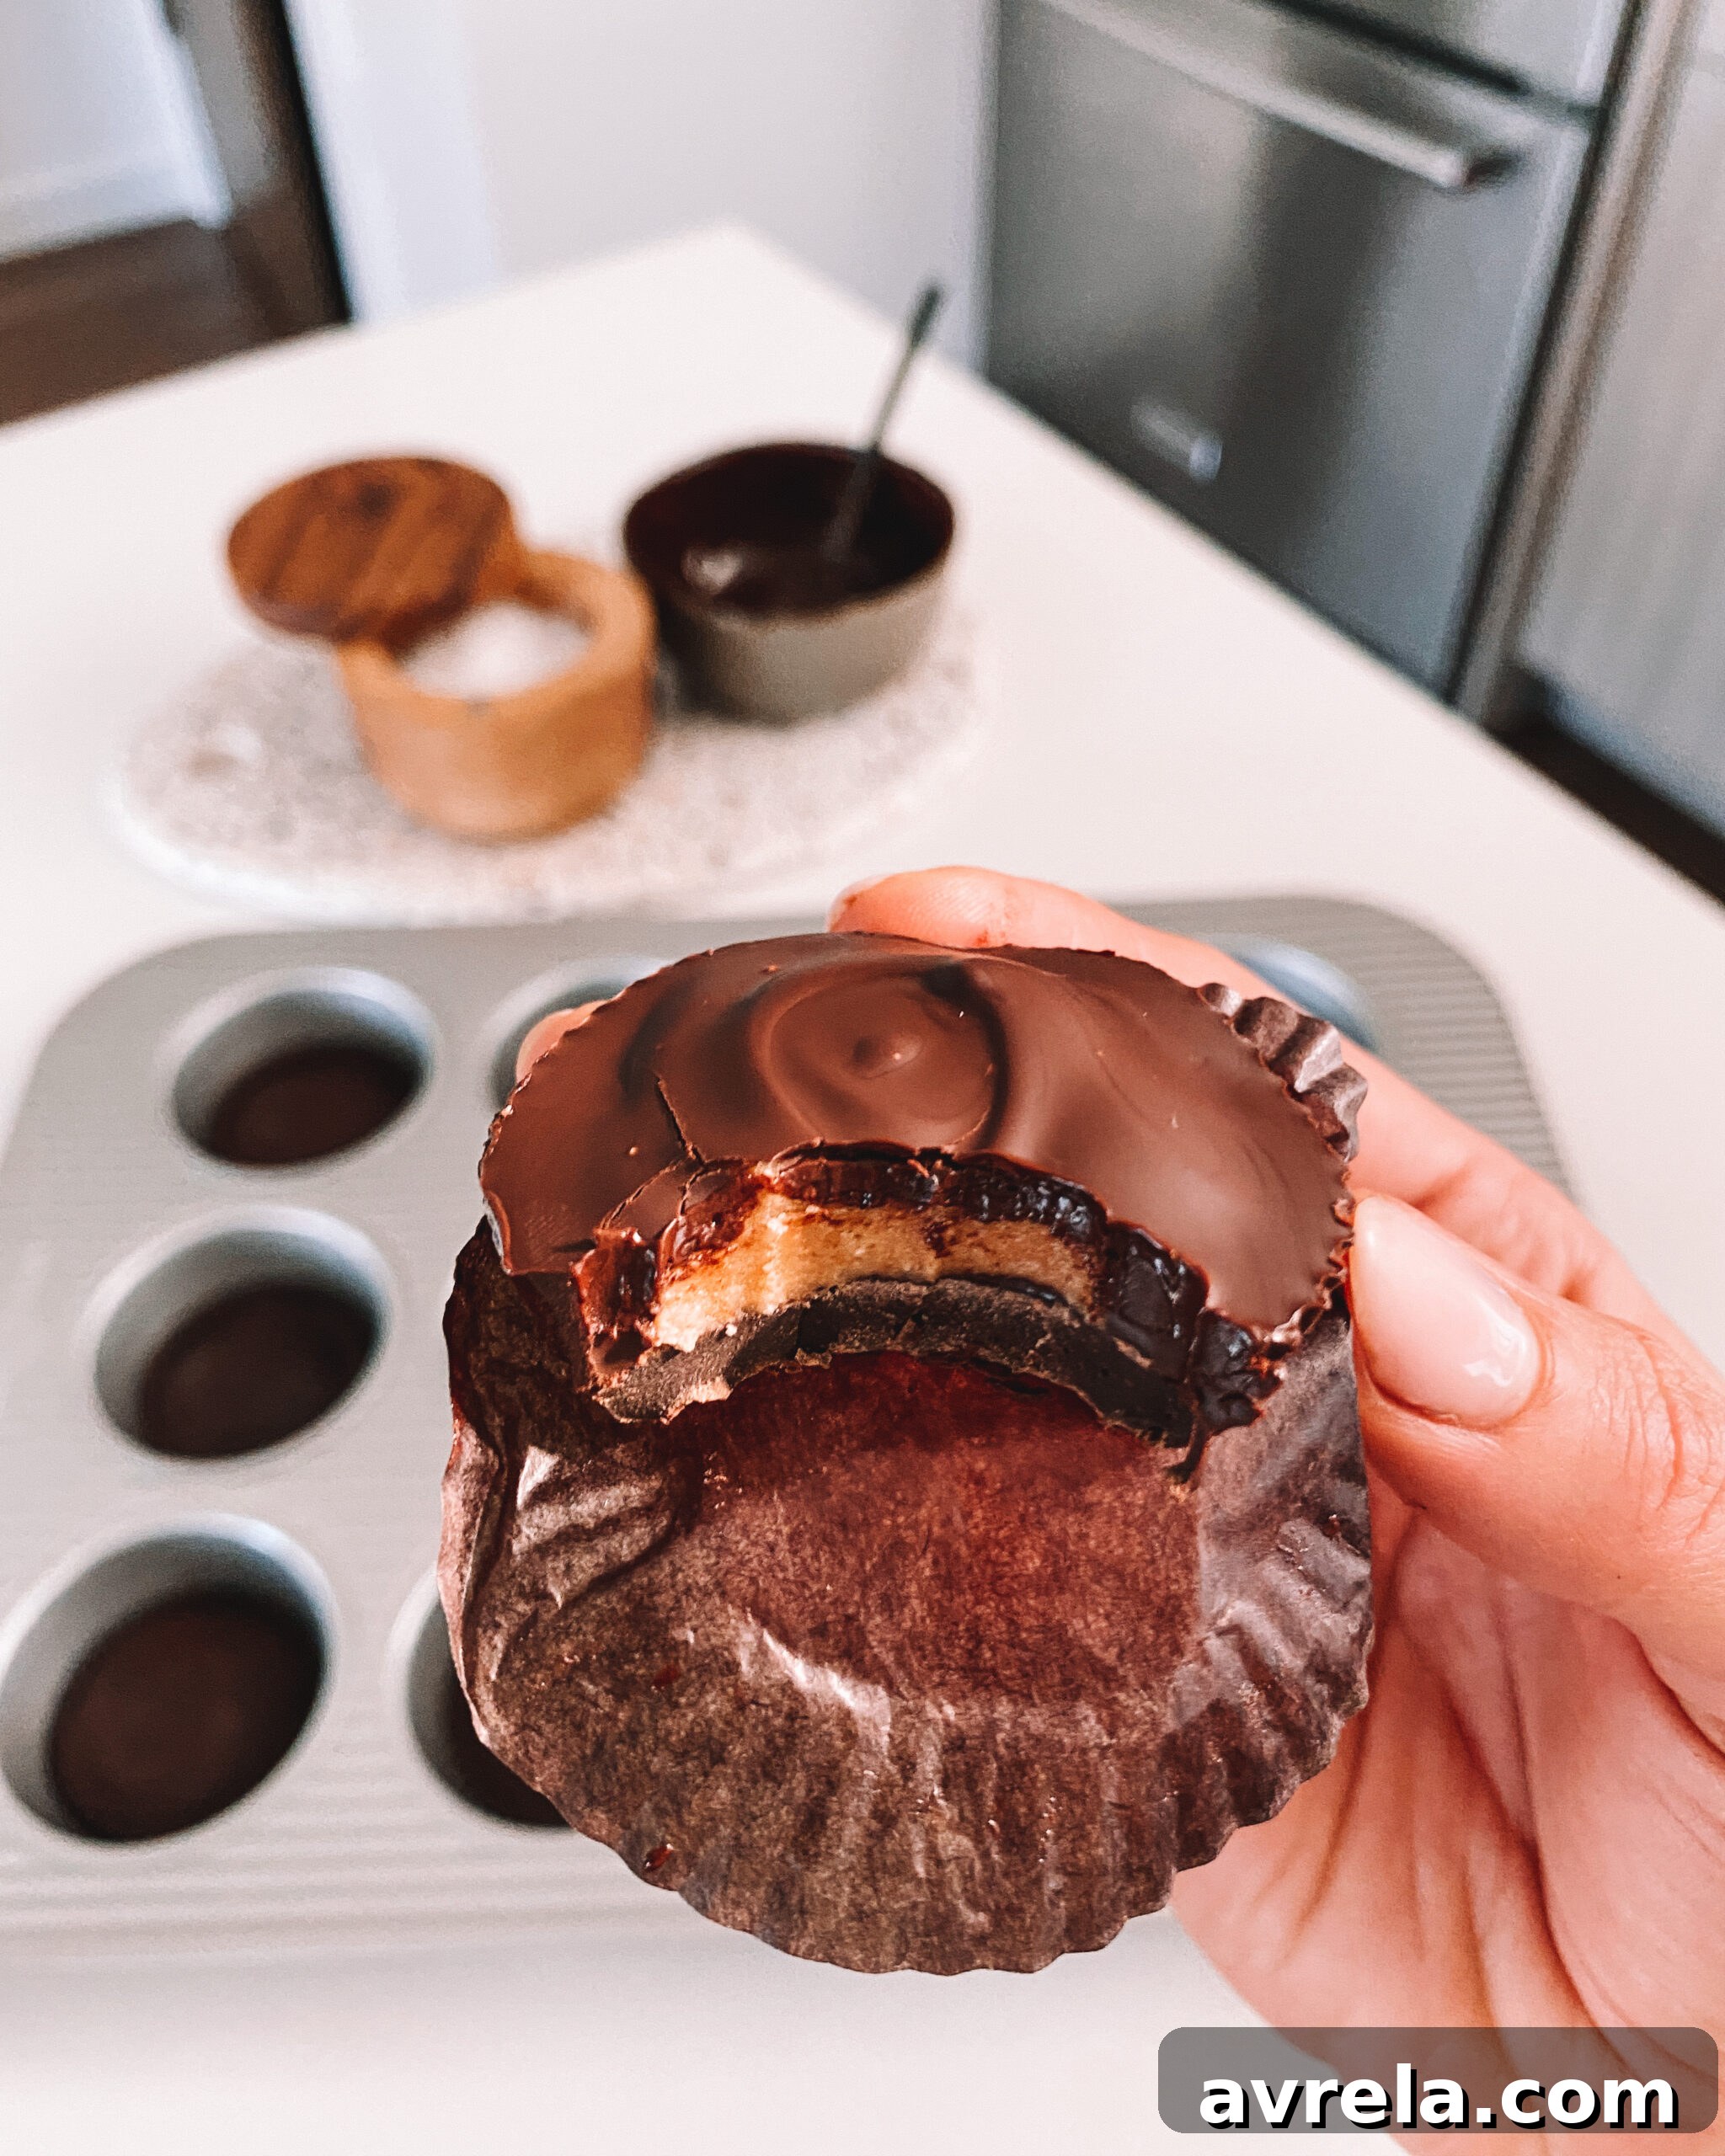
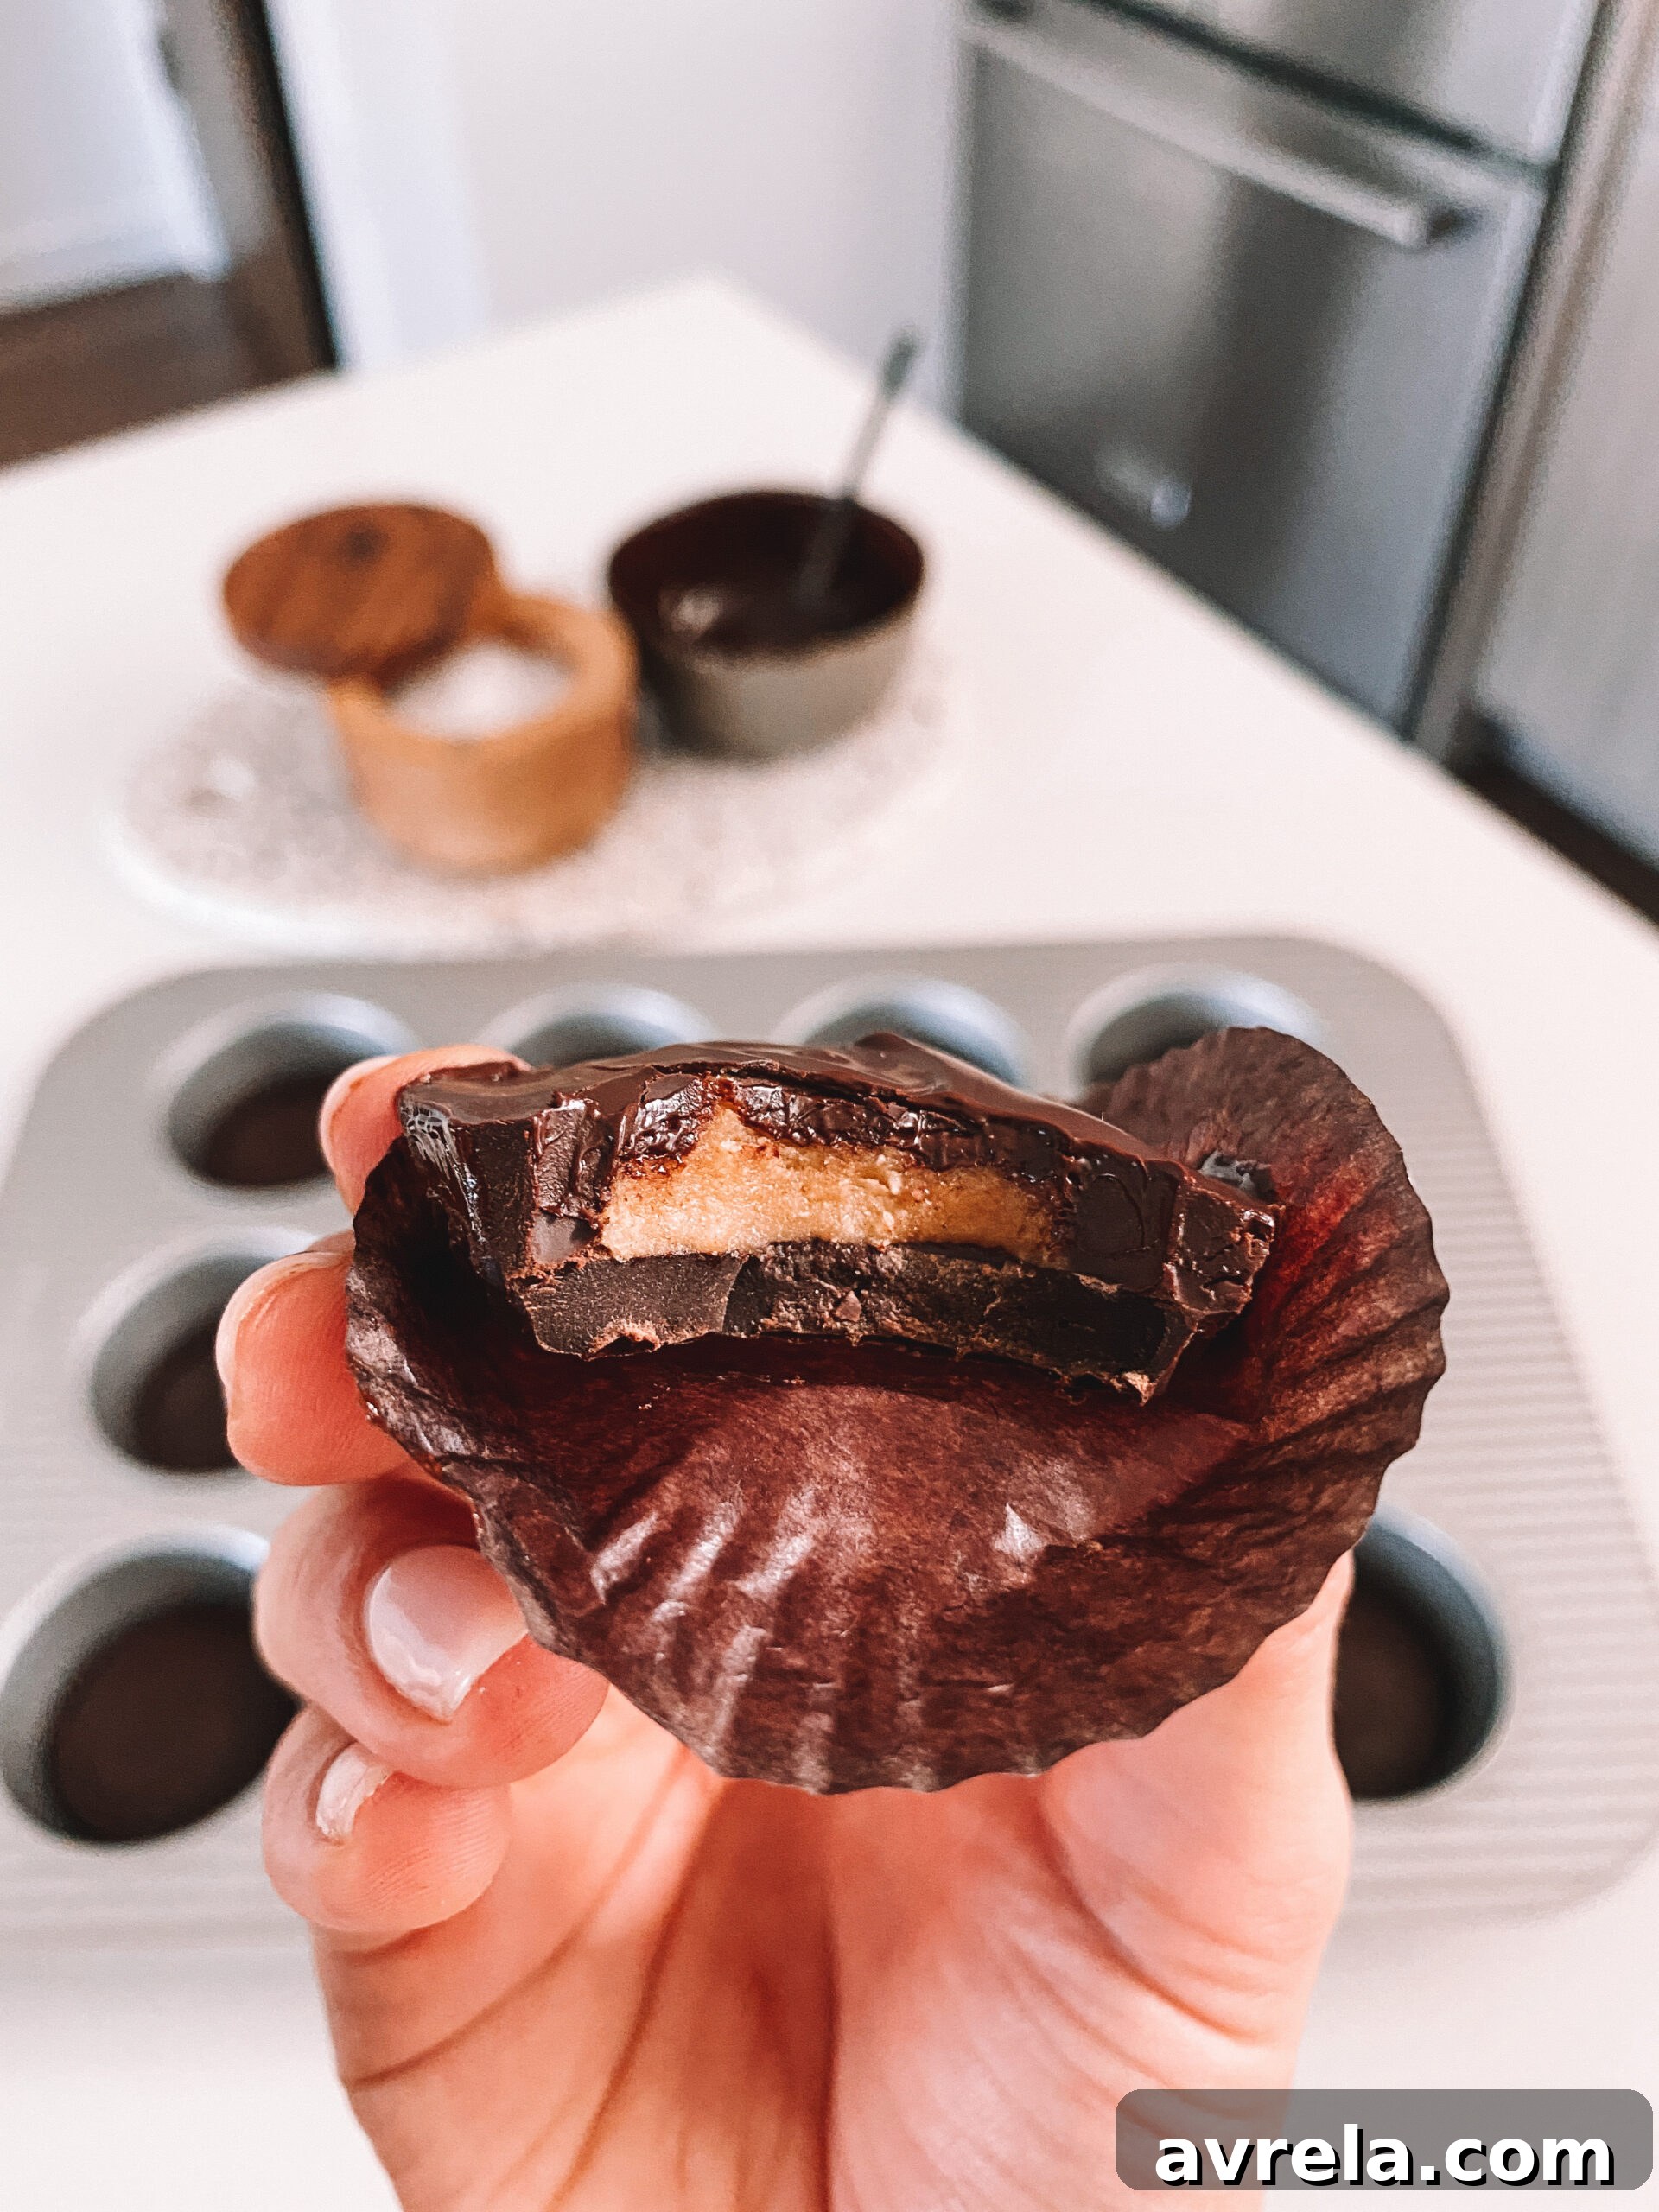
There are some treats that simply hold a special place in our hearts, and for many, that ultimate comfort candy is undoubtedly a Reese’s Peanut Butter Cup. That iconic combination of rich chocolate and creamy, slightly salty peanut butter is truly unrivaled. I’ve been utterly obsessed with crafting the perfect homemade version for years, continuously refining my recipe, and I can confidently say that this particular iteration of Copycat Reese’s Peanut Butter Cups is the absolute best. It’s incredibly simple to make, requires just a handful of wholesome, “better-for-you” ingredients, and delivers an authentic flavor that will make you question why you ever bought them from the store!
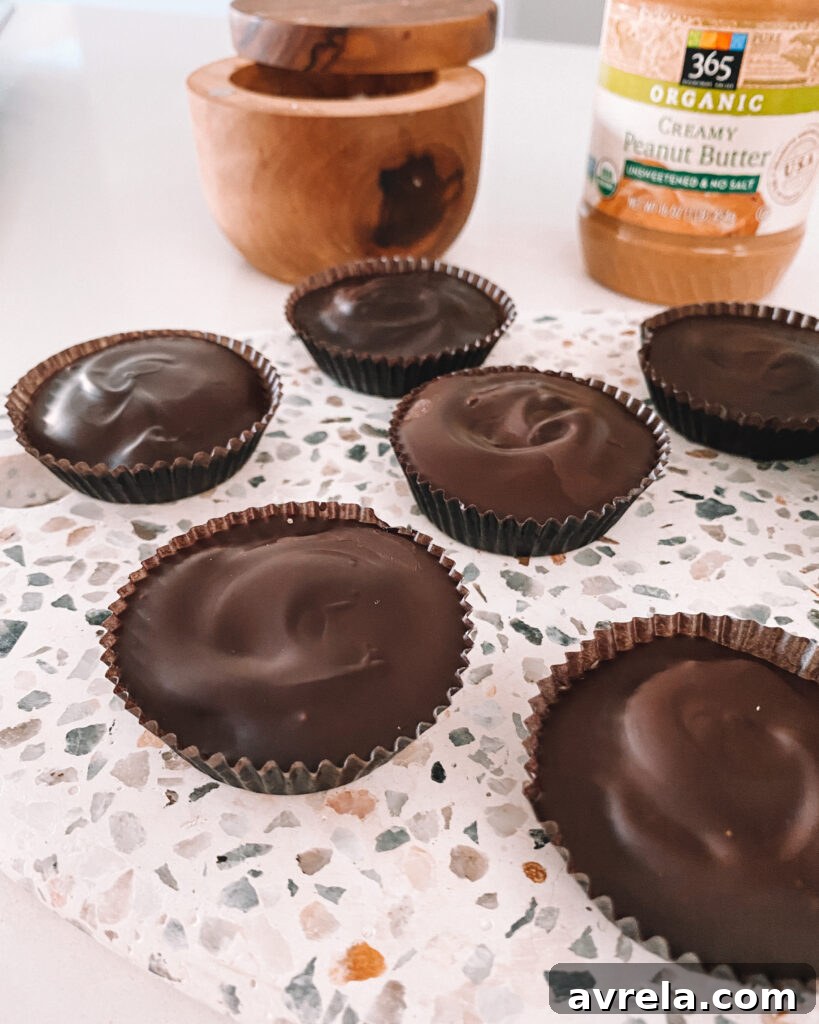
Once you experience the sheer joy of biting into one of these homemade delights, you’ll understand why you’ll want to always have a stash in your freezer. They are not just a treat; they’re an experience, a nostalgic journey back to childhood, but with the added satisfaction of knowing exactly what went into them. Trust me, these are more than just a copycat recipe; they’re an upgrade.
Why These Homemade Reese’s Peanut Butter Cups Are a Game Changer
What makes this recipe stand out from other homemade peanut butter cups? It’s the meticulous balance of simple, high-quality ingredients that come together to create a flavor and texture remarkably similar to the store-bought version, but with a significant health advantage. We’re ditching the artificial flavors, preservatives, and excessive sugars found in commercial candies in favor of natural, wholesome components. This means you get to indulge without the guilt, enjoying a decadent treat that actually nourishes your body.
Moreover, making your own treats gives you complete control. Want to use dark chocolate for a richer, less sweet profile? Go for it! Prefer a specific type of natural peanut butter? You’re in charge. This recipe is also naturally gluten-free and can easily be made dairy-free by selecting a plant-based chocolate. It’s a versatile foundation for your perfect personalized peanut butter cup experience.
The Magic of Simple, Wholesome Ingredients
The secret to these sensational peanut butter cups lies in selecting the right ingredients. It’s about quality over quantity, ensuring each component plays a crucial role in delivering that authentic taste and texture you crave:
- Creamy Salted Peanut Butter: This is the star of the show! Opt for a natural, creamy peanut butter with minimal ingredients – ideally just peanuts and sea salt. Brands like Whole Foods 365 or similar “one-to-two ingredient” peanut butters are perfect. The saltiness is key to balancing the sweetness and creating that classic Reese’s flavor contrast. Avoid peanut butters with added sugars, hydrogenated oils, or excessive stabilizers, as these can affect the texture and overall health profile of your cups.
- Maple Syrup (or Honey): We use a natural liquid sweetener to bind the peanut butter filling and add a touch of sweetness. Maple syrup provides a subtle, earthy sweetness, while honey offers a slightly different, more floral note. Both work beautifully, so choose your preference.
- Melted Coconut Oil: This ingredient is vital for both texture and stability. In the peanut butter filling, coconut oil helps to create a smooth, pliable dough that firms up beautifully when chilled. In the chocolate coating, it can contribute to a smoother melt and a snappier finish when hardened, though it’s primarily used in the filling here to achieve the desired consistency.
- Vanilla Extract: A touch of pure vanilla extract elevates the flavor profile of the peanut butter filling, adding a warm, aromatic depth that complements the chocolate perfectly. Don’t skip this!
- Collagen Peptides (Optional): For those looking to add a nutritional boost, collagen peptides are a fantastic, optional addition. They are flavorless, dissolve seamlessly into the peanut butter filling, and provide a good source of protein and amino acids. You won’t even notice they’re there, but your body will thank you.
- Coconut Flour (or Almond Flour): This is our binder for the peanut butter filling, giving it that firm, moldable consistency. Coconut flour is highly absorbent, so a little goes a long way. If you prefer, almond flour can be used as a substitute; just note the quantity difference (you’ll need roughly twice as much almond flour compared to coconut flour for similar results).
- Chocolate Bars or Chocolate Chips: The outer shell is just as important as the filling! You can use your favorite chocolate – dark, semi-sweet, or even milk chocolate chips or high-quality chocolate bars. The quantity provided is a good starting point, but you might need slightly more or less depending on the size of your liners and how thick you like your chocolate layers.
Getting Started: Essential Tools and Tips
To recreate these delectable treats, you’ll need a few basic kitchen tools and some insider tips:
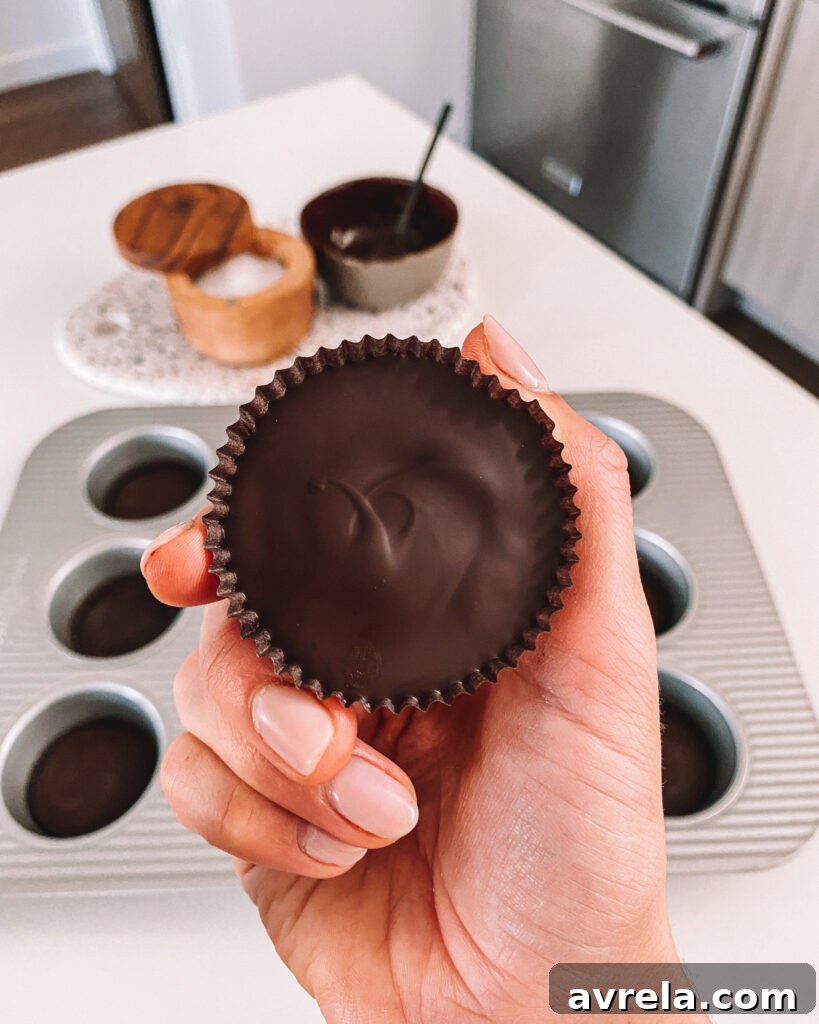
- Peanut Butter Cup Liners: I found these specific Reese’s-style fluted paper liners on Amazon, and they truly bring an extra layer of authenticity and nostalgia to the experience. They instantly transport me back to every Halloween growing up, stuffing as many of these iconic cups as possible into my pillowcase! If you can’t find them, standard mini cupcake liners work perfectly fine.
- Muffin Tin: This provides stability for your liners, ensuring your cups maintain their shape as they chill and harden.
- Melting Chocolate: You have a couple of options here. You can melt your chocolate in a small pot over the stove on low heat, stirring constantly to prevent burning, or use the microwave in 30-second intervals, stirring thoroughly after each interval until completely smooth. Be careful not to overheat the chocolate, as it can seize and become unusable.
For a visual guide to the process, click here for the Reel I made on Instagram! It’s a quick and helpful way to see each step come to life.
Beyond the Cups: Creative Ways to Enjoy the Peanut Butter Filling
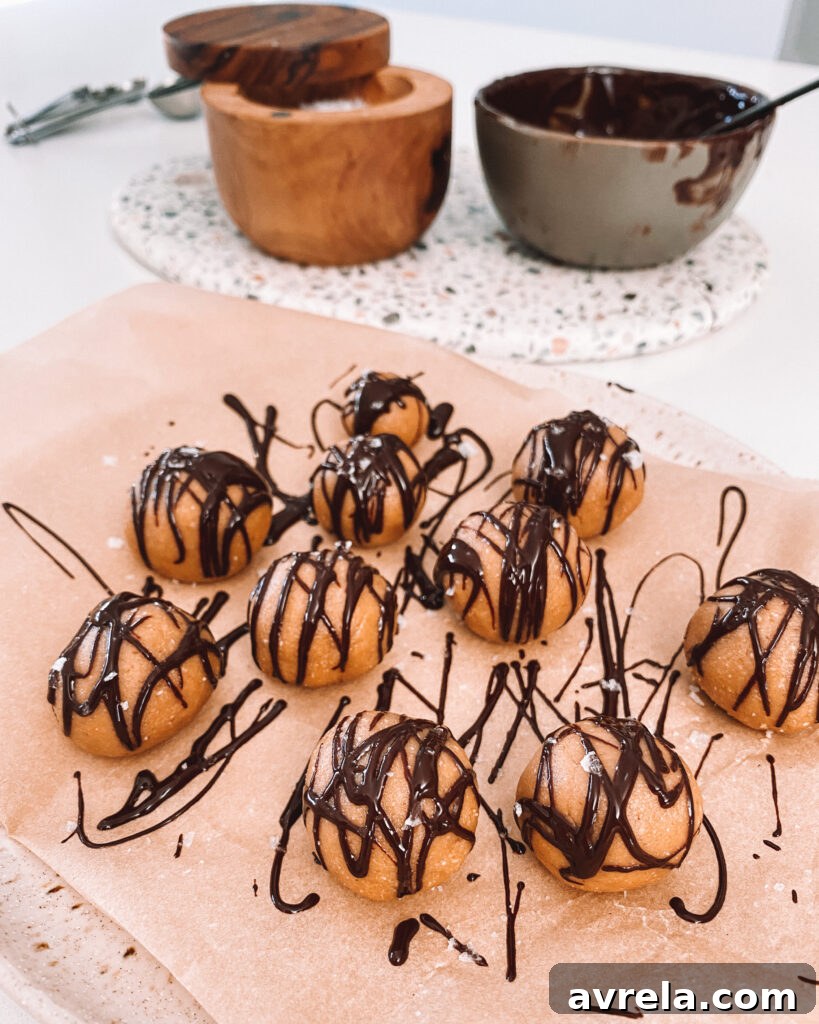
One of the delightful aspects of this recipe is the incredible peanut butter filling. It’s so good, you’ll be tempted to eat it all by the spoonful before it even makes it into the chocolate cups (consider yourself warned!). If you find yourself with any delicious leftovers of the peanut butter filling, don’t let them go to waste. They transform beautifully into decadent chocolate peanut butter truffles!
To make these irresistible truffles: simply roll the leftover dough into small, approximately 1/2-inch balls. Place these balls on a plate lined with parchment paper and pop them into the fridge for 10-15 minutes to firm up. Once chilled, you can drizzle them with a bit more melted chocolate or even fully dip them for a complete chocolate coating. A sprinkle of flakey sea salt over the top will enhance their flavor even further, adding a gourmet touch. These truffles, much like the cups, keep wonderfully in the freezer for extended periods, offering a fantastic alternative if you’re not in the mood for a full chocolate shell, or if you simply want a different kind of peanut butter-chocolate fix.
Pro Tips for Perfect Peanut Butter Cups Every Time
- Patience with Chilling: Don’t rush the hardening process for the chocolate layers. Allowing them to fully set in the freezer or fridge ensures clean layers and prevents the peanut butter from melting into the chocolate.
- Peanut Butter Consistency: If your natural peanut butter is very runny, you might need an extra tablespoon or two of coconut flour to achieve the perfect pliable dough. If it’s too thick, a tiny bit more melted coconut oil can help.
- Chocolate Quality: The better the quality of your chocolate, the better your final peanut butter cups will taste. Opt for brands you enjoy eating on their own.
- Even Layers: Try to make your chocolate and peanut butter layers as even as possible for a beautiful, uniform finish and consistent bite.
- Flakey Sea Salt: A sprinkle of flakey sea salt on top of the final chocolate layer (before it hardens completely) is a game-changer. It enhances the flavors and adds a professional touch.
- Storage: Always store your homemade peanut butter cups in an airtight container to prevent freezer burn and maintain their freshness.
Storing Your Delicious Creation
These homemade peanut butter cups are incredibly stable thanks to the coconut oil and chocolate. Once fully hardened, transfer them to an airtight container. They will keep beautifully in the refrigerator for up to several weeks, making them a fantastic make-ahead dessert or snack for meal prepping. For longer storage, you can keep them in the freezer for several months. Just remember to let them thaw for a few minutes before enjoying for the creamiest texture, or enjoy them straight from the freezer for a firmer, almost ice cream-like bite.
Irresistible Copycat Reese’s Peanut Butter Cups (Healthier Version)
Rachael DeVaux
45 minutes
12
-18 cups
Save
Saved
Pin
Ingredients
For the Creamy Peanut Butter Filling
-
1/2 cup creamy salted peanut butter, (Choose a natural peanut butter with only peanuts and sea salt for the best flavor and texture) -
2 tbsp maple syrup, (or use honey for a slightly different sweetness profile) -
2 tbsp melted coconut oil -
1 tsp vanilla extract -
3 tbsp collagen peptides, (optional, for added protein and nutrient boost; they integrate seamlessly into the filling) -
5-6 tbsp coconut flour, (start with 5 tbsp and add more if needed to reach desired consistency, or use 10 tbsp almond flour as an alternative)
For the Rich Chocolate Shell
-
3 chocolate bars or 2-2.5 cups chocolate chips, (Dark chocolate or milk chocolate chips work well; quantity may vary based on cup size and desired thickness)
Instructions
-
Prepare Your Liners: Begin by lining a standard muffin tin with Reese’s specific peanut butter cup liners or regular cupcake liners. This recipe yields approximately 12 to 18 cups, so ensure you have a sufficient number of liners ready for assembly.
-
Melt the Chocolate Base: Gently melt your chosen chocolate. You can do this in a small saucepan over very low heat, stirring constantly to prevent scorching, or in a microwave-safe bowl. If using the microwave, heat in short 30-second intervals, stirring thoroughly after each interval until the chocolate is completely smooth and liquid. Using a spoon or a small ladle, carefully transfer a layer of the melted chocolate into the bottom of each prepared liner, just enough to cover the base completely. Once all liners have their chocolate base, place the muffin tin into the freezer. This quick chill allows the chocolate to harden thoroughly, creating a solid foundation for the peanut butter layer and preventing the layers from mixing.
-
Create the Peanut Butter Filling: In a medium-sized mixing bowl, combine the creamy peanut butter, maple syrup (or honey), melted coconut oil, and vanilla extract. Whisk these ingredients together until they are thoroughly combined and the mixture is smooth. If you are incorporating collagen peptides, add them at this stage and stir vigorously until they are fully dissolved and the filling is uniform. Next, gradually add the coconut flour (or almond flour if substituting). Start with the lesser amount and add more as needed, stirring well until a thick, pliable “dough” forms. The consistency should be easy to handle and roll without being overly sticky.
-
Assemble the Peanut Butter Layer: Remove the muffin tin containing the hardened chocolate bases from the freezer. Take small portions of the prepared peanut butter filling, shaping them into approximately 1-inch thick balls. Gently press each ball between your palms to flatten it into a circular disc. Carefully place each peanut butter disc on top of the hardened chocolate layer in the liners. Ensure the peanut butter layer is thin enough not to extend beyond the top edge of the liner and leaves a small gap around the perimeter. This space is crucial for the final chocolate coating to flow into and create a perfect seal.
-
Add the Top Chocolate Layer: If your remaining melted chocolate has begun to harden, re-melt it until it’s smooth and pourable again. Pour the melted chocolate evenly over the peanut butter filling in each liner. Make sure it completely covers the peanut butter and fills any small gaps around the edges, creating a smooth and level top layer. If you have extra peanut butter filling, this is the perfect opportunity to make delightful chocolate peanut butter truffles! Once the top chocolate layer is applied to all cups, return the muffin tin to the refrigerator or freezer for another 5 to 10 minutes, or until the entire cup is firm and completely set.
-
Serve and Store: These homemade Reese’s Peanut Butter Cups are incredibly versatile in how they can be enjoyed. For a soft, creamy texture that melts in your mouth, allow them to fully defrost for a few minutes before eating. If you prefer a firmer, snappier bite, enjoy them slightly chilled. Store any leftover cups in an airtight container in the refrigerator for up to several weeks, or keep them in the freezer for even longer enjoyment (up to a few months). Prepare to be utterly amazed by this healthier, yet incredibly delicious, alternative to your favorite classic candy!