
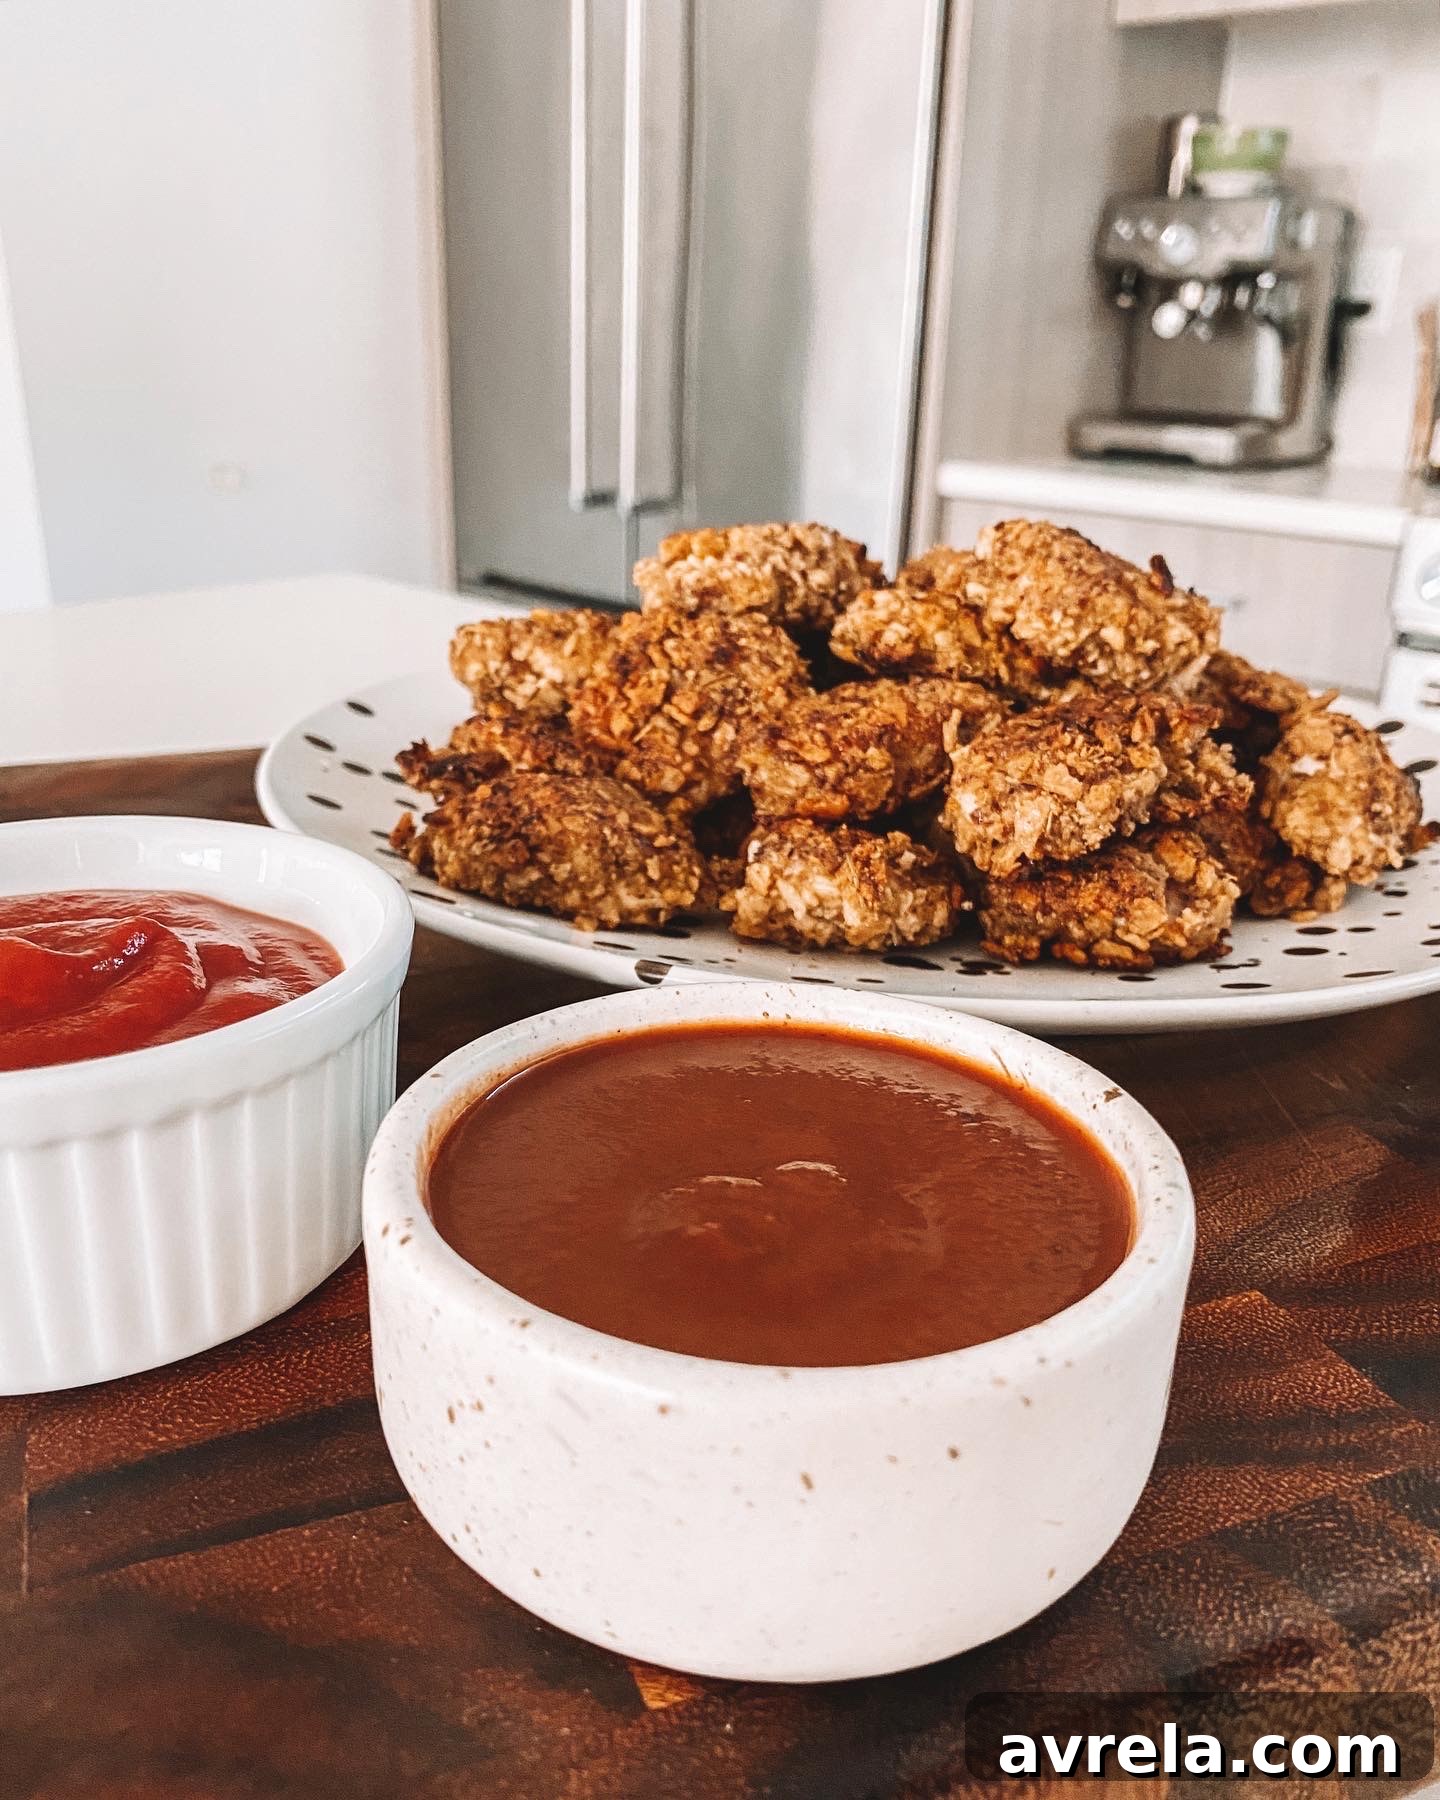
Crispy Chicken Nuggets: Your Ultimate Homemade Guide
Print Recipe
Craving that irresistible crunch and savory flavor of chicken nuggets? Look no further! This comprehensive guide will show you how to create the ultimate batch of crispy chicken nuggets right in your own kitchen. Forget the drive-thru; these homemade nuggets are not only incredibly delicious but also a healthier alternative, made with wholesome ingredients you can trust. Perfect for a family dinner, a party snack, or a fun meal prep option, these golden-brown bites are guaranteed to be a hit with both kids and adults alike.
Authored by Rachael DeVaux, this recipe focuses on simple steps and fresh components to deliver a superior taste and texture. From tenderizing the chicken to achieving that perfect flour-like cracker coating, we’ll walk you through every detail to ensure your homemade chicken nuggets come out perfectly crispy on the outside and wonderfully juicy on the inside, every single time. Get ready to transform your perception of this classic comfort food!
Why Choose Homemade Crispy Chicken Nuggets?
Opting for homemade chicken nuggets over store-bought or fast-food versions offers a multitude of benefits that extend beyond just taste. When you prepare your own healthy chicken nuggets, you have complete control over the ingredients, ensuring no artificial flavors, preservatives, or excessive sodium. You can select high-quality organic chicken, choose your favorite crackers for breading, and even sneak in extra nutrients like flaxseed for a fiber boost.
Beyond health, the flavor and texture of homemade nuggets are simply unmatched. The fresh breading mixture adheres beautifully to the chicken, creating an incredibly satisfying crunch with every bite. The juicy interior of properly cooked chicken contrasts perfectly with the crisp exterior. It’s a fantastic way to engage your family in cooking, turning mealtime into a fun, collaborative experience. Plus, making them at home often proves to be more cost-effective in the long run, offering more servings for your money. Embrace the joy of cooking and savor the superior quality of these easy chicken nuggets.
Ingredients You’ll Need for Perfection
Crafting these delectable crispy chicken nuggets begins with a selection of fresh, quality ingredients. Each component plays a crucial role in achieving that sought-after flavor and texture. Here’s a detailed look at what you’ll need:
- 3-4 large organic chicken breasts, meticulously trimmed of any excess fat, tenderized to an even thickness for uniform cooking, and then cut into small, bite-sized nugget pieces. Using organic chicken ensures higher quality and often better flavor.
- 3-4 cups of crackers. For the best results and a lighter, crispier breading, we highly recommend using a quality brand like Simple Mills crackers. They provide a delightful texture and subtle flavor that complements the chicken perfectly. You can also experiment with gluten-free crackers if preferred.
- 1/4 cup ground flaxseed. This is an optional but highly recommended addition. Ground flaxseed not only adds a wonderful boost of fiber and omega-3 fatty acids to your nuggets but also helps in achieving an even crispier coating. If you don’t have it on hand, the recipe will still work beautifully without it.
- 2 tsp dried rosemary. Rosemary brings an aromatic, earthy depth to the breading, elevating the flavor profile of the nuggets. Ensure it’s dried for optimal integration into the cracker mixture.
- Pink salt, to taste. Himalayan pink salt is favored for its trace minerals and pure flavor. Adjust the amount according to your preference to season both the chicken and the breading mixture effectively.
- 2 pasture-raised eggs. These eggs serve as the binder for your breading. Pasture-raised eggs often have richer yolks and superior nutritional profiles, contributing to a better egg wash.
- 1/4 cup avocado or coconut oil. For frying, a high-smoke-point oil is essential. Avocado oil is fantastic for its neutral flavor and health benefits, while coconut oil offers a subtle sweetness. Choose the one you prefer for a perfectly golden-brown finish.
Step-by-Step Instructions for Crispy Perfection
Follow these detailed steps to prepare your very own batch of irresistible homemade crispy chicken nuggets. Precision in each stage ensures maximum crispiness and flavor.
-
Prepare the Breading Mixture: Begin by combining your crackers, ground flaxseed (if using), and dried rosemary in a food processor or a high-powered blender. Pulse these ingredients until they reach a fine, flour-like consistency. This fine texture is key to a smooth and even coating. If you don’t have a food processor, a simple alternative is to place all ingredients in a large, sealable plastic bag and use the bottom of a heavy, flat object (like a rolling pin or a sturdy mug) to pound them down until fine.
-
Set Up Your Dredging Station: Pour the finely processed cracker mixture into a shallow, deep-dish bowl or a wide plate. In a separate deep-dish bowl, whisk your two pasture-raised eggs until the yolks and whites are fully combined and slightly frothy. Lightly season the egg wash with a pinch of pink salt.
-
Prepare the Chicken: Ensure your chicken breasts are thoroughly trimmed of any fat. To achieve uniform cooking and tenderness, place each chicken breast between two sheets of plastic wrap and pound them gently with a meat mallet or the flat side of a heavy pan until they are of even thickness (about 1/2 inch). Then, cut the chicken into small, nugget-sized pieces, roughly 1-inch squares.
-
Bread the Chicken: Create an assembly line: chicken pieces, then the egg wash, then the cracker breading mixture. Using tongs or a fork, dip each chicken piece into the whisked egg, ensuring it’s completely covered. Allow any excess egg to drip off briefly before transferring the chicken to the cracker mixture. Generously coat the entire piece with the breading, pressing gently to adhere. Transfer the breaded nuggets to a clean plate, making sure they are not touching each other to prevent sticking.
-
Heat the Oil: Once all your chicken pieces are breaded, heat your large skillet (preferably cast iron or heavy-bottomed) over medium heat. Add the avocado or coconut oil. Wait until the oil shimmers gently but doesn’t smoke, indicating it’s ready for frying. You can test it by dropping a tiny pinch of breading; it should sizzle immediately.
-
Cook the Nuggets: Carefully transfer the breaded chicken nuggets to the hot skillet, ensuring not to overcrowd the pan. Cook in batches if necessary. Let them cook for about 4-6 minutes per side, or until they turn a beautiful golden brown and are incredibly crispy. To ensure the center of the chicken is fully cooked through, you can reduce the heat slightly and cover the pan for the last couple of minutes. Always check the internal temperature; chicken should reach 165°F (74°C). Once cooked, transfer the nuggets to a wire rack set over a paper towel-lined baking sheet to drain any excess oil and maintain crispiness. Allow them to cool for a few minutes before serving to ensure they are set and safe to eat.
Expert Tips for the Perfect Crispy Nuggets
Achieving truly crispy chicken nuggets at home is an art, but with these pro tips, you’ll master it in no time:
- Even Thickness is Key: Pound your chicken breasts to a uniform thickness. This ensures every nugget cooks evenly and prevents some from being undercooked while others are dry.
- Chill for Adhesion: After breading, place your nuggets in the refrigerator for at least 15-30 minutes. This helps the breading adhere better to the chicken, preventing it from falling off during cooking and contributing to a crispier crust.
- Don’t Overcrowd the Pan: Frying too many nuggets at once lowers the oil temperature, leading to soggy rather than crispy results. Cook in batches, leaving enough space between each nugget.
- Maintain Oil Temperature: Keep your oil at a consistent medium heat. Too low, and the nuggets absorb too much oil; too high, and the coating burns before the chicken cooks through. A cooking thermometer can be helpful.
- Wire Rack for Draining: Never place cooked nuggets directly on paper towels. The steam gets trapped, making them soggy. Instead, transfer them to a wire rack set over paper towels to allow air circulation and keep them crispy.
- Air Fryer or Oven Option: For a less traditional but equally delicious method, consider air frying at 400°F (200°C) for 10-15 minutes, flipping halfway, or baking in the oven at 400°F (200°C) for 20-25 minutes, also flipping halfway. Adjust cooking times based on nugget size.
- Seasoning the Chicken: Don’t forget to season the raw chicken pieces with a little salt and pepper before breading for an extra layer of flavor.
Delicious Variations and Serving Suggestions
While these homemade chicken nuggets are fantastic on their own, don’t hesitate to get creative with variations and serving ideas:
- Spice It Up: Add a pinch of smoked paprika, garlic powder, onion powder, or a dash of cayenne pepper to your cracker mixture for an extra flavor kick.
- Herb Garden: Experiment with other dried herbs like thyme, oregano, or a mix of Italian herbs for different aromatic profiles.
- Cheese Please: For an irresistible twist, finely grate some Parmesan cheese into your cracker breading. It adds a salty, umami depth and an even crispier texture.
- Gluten-Free Alternative: Use your favorite certified gluten-free crackers to make this recipe accessible for everyone.
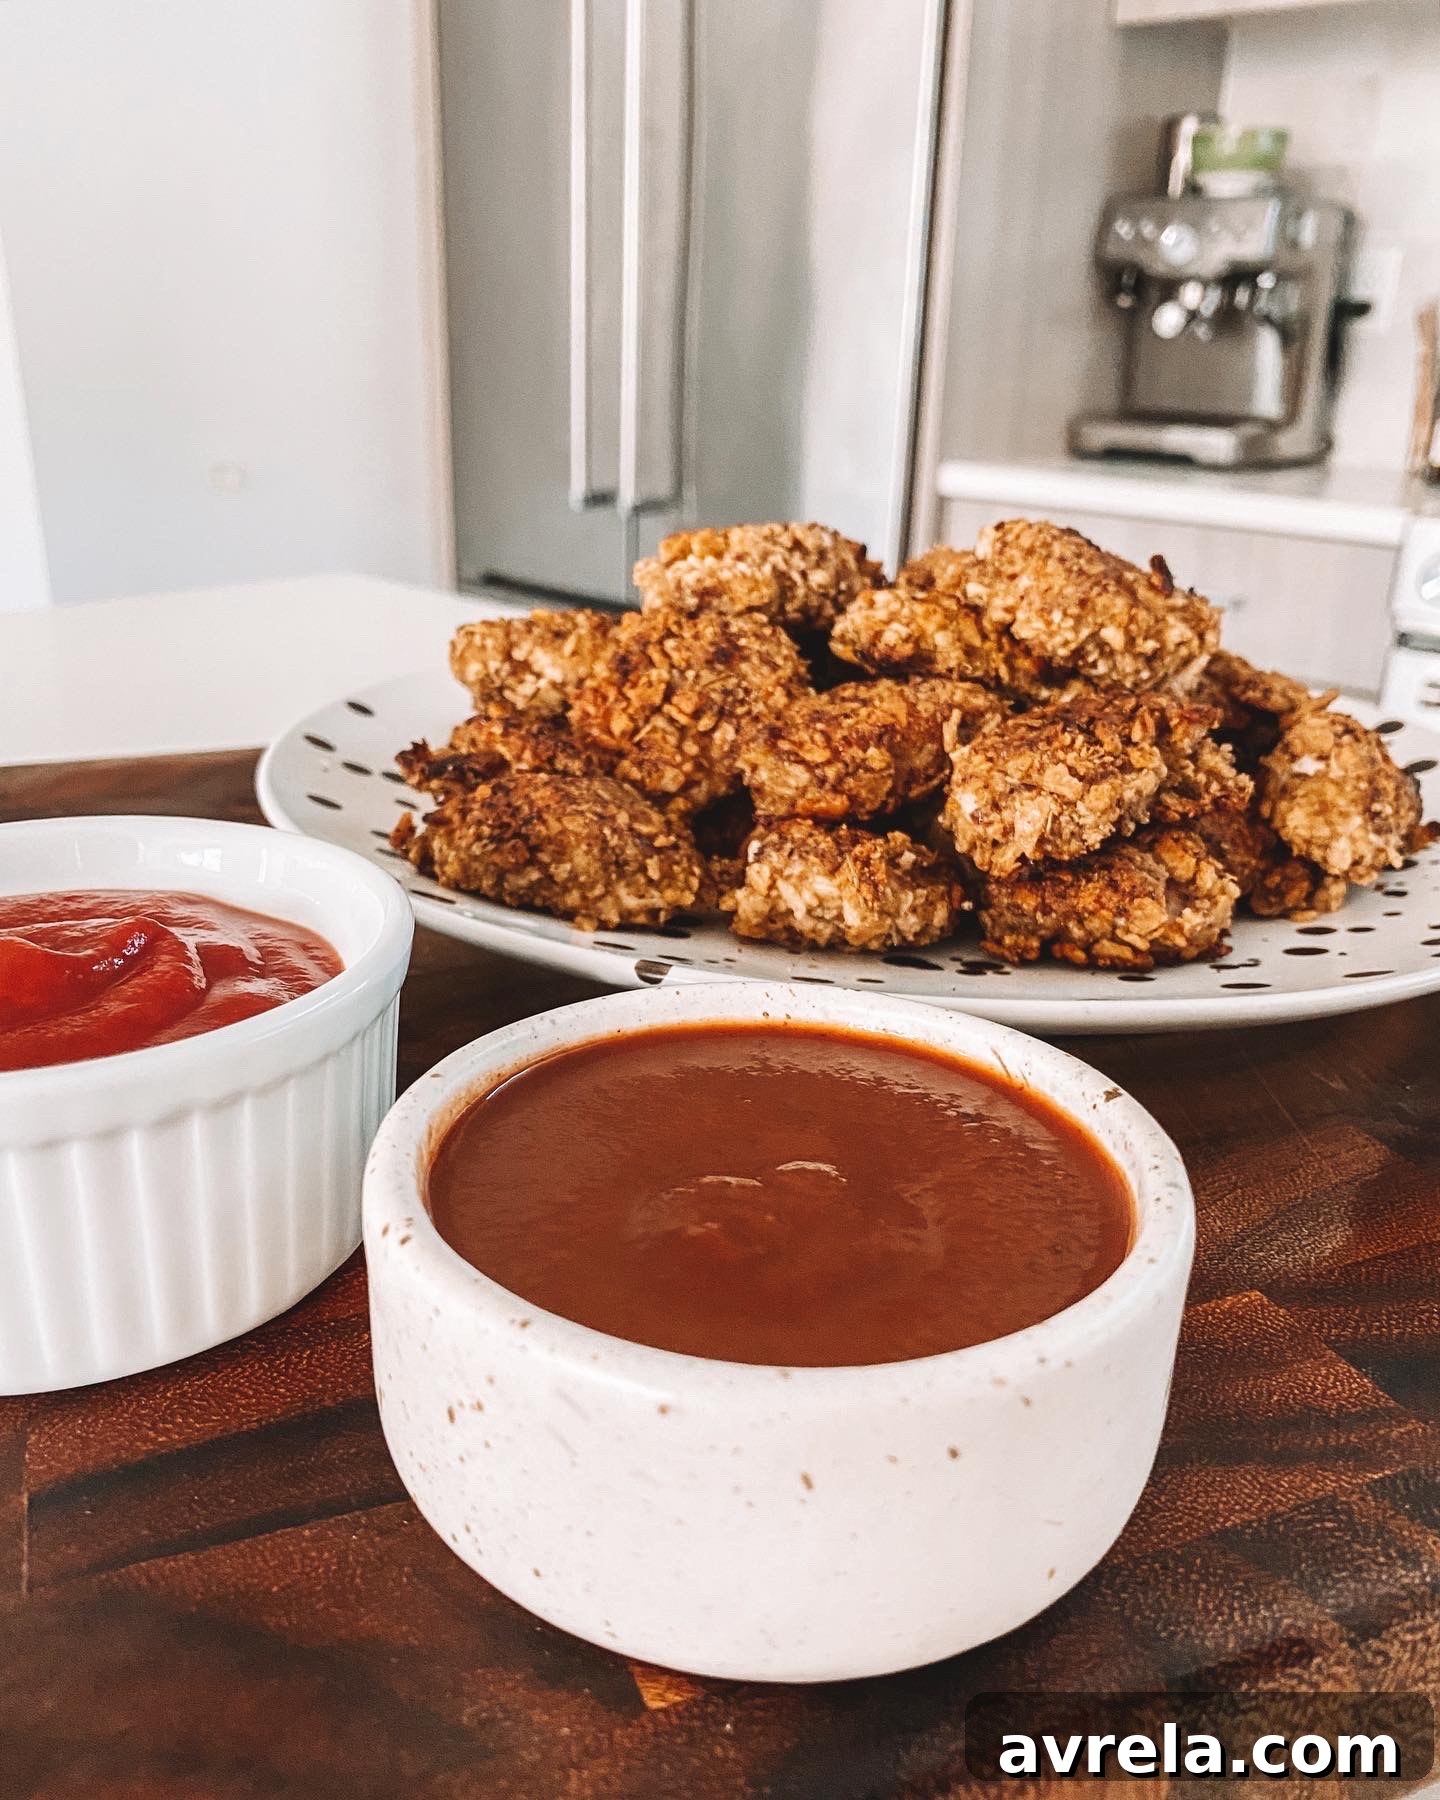
- Dipping Delight: Serve your crispy nuggets with a variety of classic and gourmet dipping sauces. Think homemade honey mustard, tangy BBQ sauce, classic ketchup, creamy ranch, or a sweet chili sauce.
- Complete the Meal: Pair these delicious nuggets with classic sides like crispy sweet potato fries, a fresh green salad, steamed broccoli, or a vibrant coleslaw for a balanced and satisfying meal. They also make a fantastic addition to lunchboxes!
Nutritional Snapshot (Approximate)
While precise nutritional values can vary based on specific ingredients and preparation methods, these healthy chicken nuggets are a great source of lean protein. The addition of ground flaxseed boosts the fiber content and healthy omega-3 fatty acids, contributing to a more nutritious meal compared to many processed alternatives. Using avocado or coconut oil also provides healthier fats. Enjoy a meal that’s both satisfying and beneficial!
Storing and Reheating Your Nuggets
Have leftovers? Lucky you! Store any remaining crispy chicken nuggets in an airtight container in the refrigerator for up to 3-4 days. To reheat and maintain crispiness, avoid the microwave. Instead, warm them in a preheated oven at 350°F (175°C) for about 10-15 minutes, or in an air fryer at 375°F (190°C) for 5-8 minutes, until heated through and crispy once more.
We’d love to hear from you! If you tried this recipe, please leave a comment, a rating, or share your own tips and variations. Your feedback helps our community of home cooks!