From-scratch Chocolate Chip Cookies
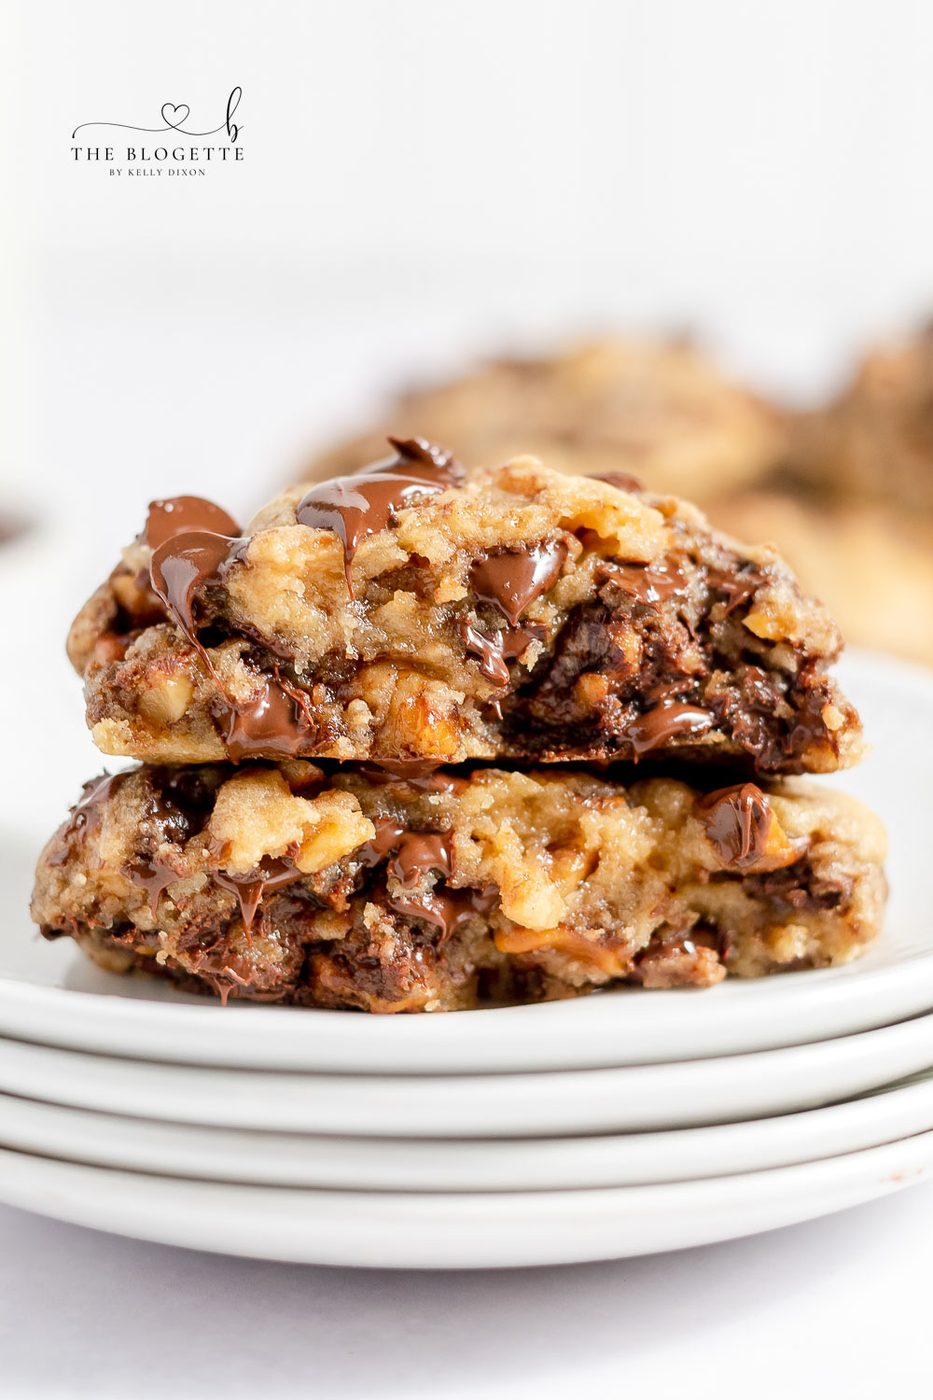
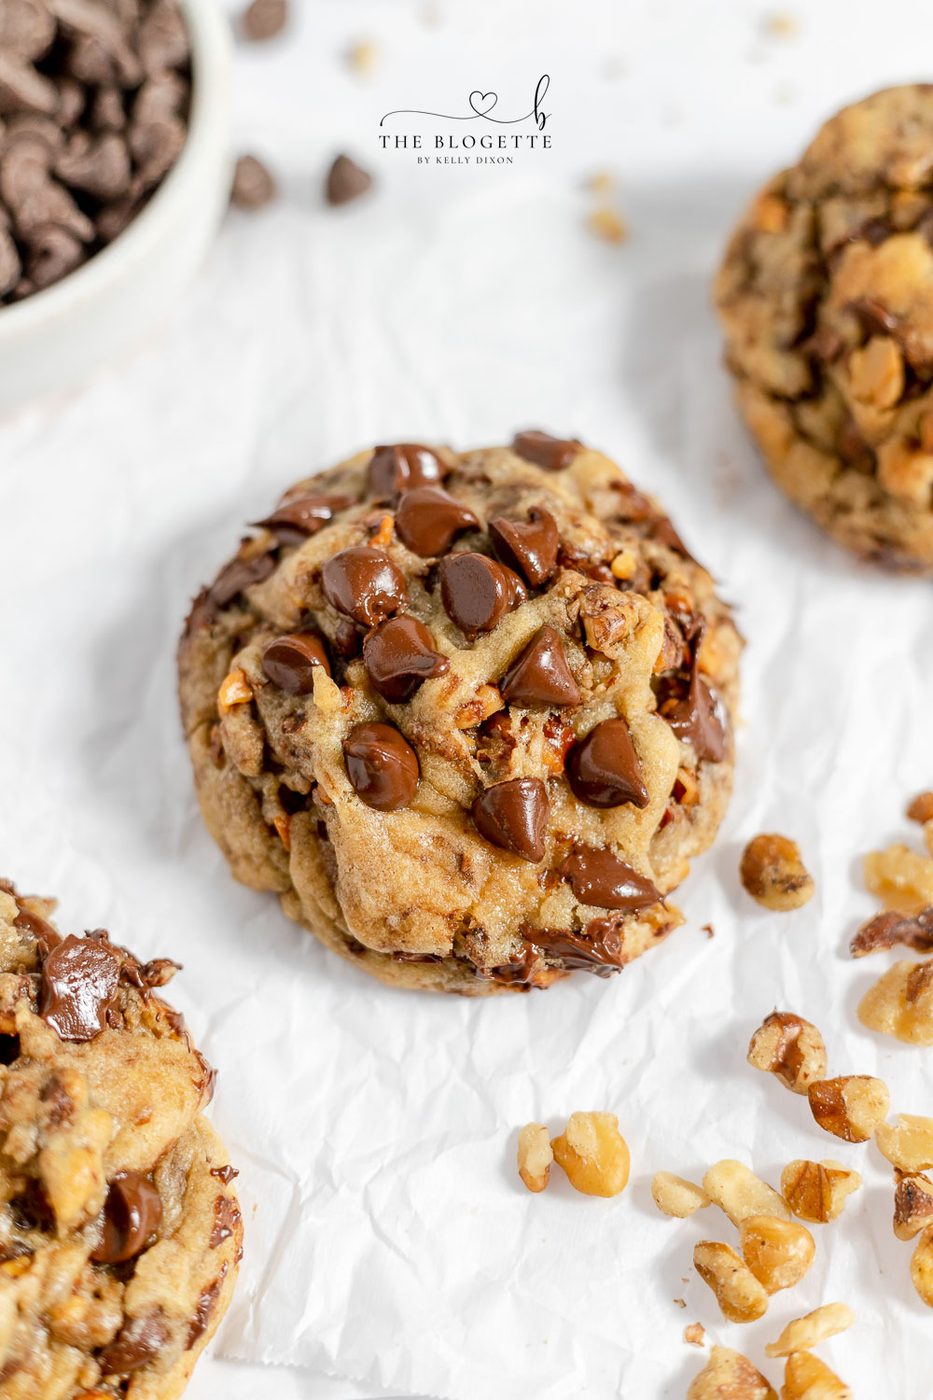
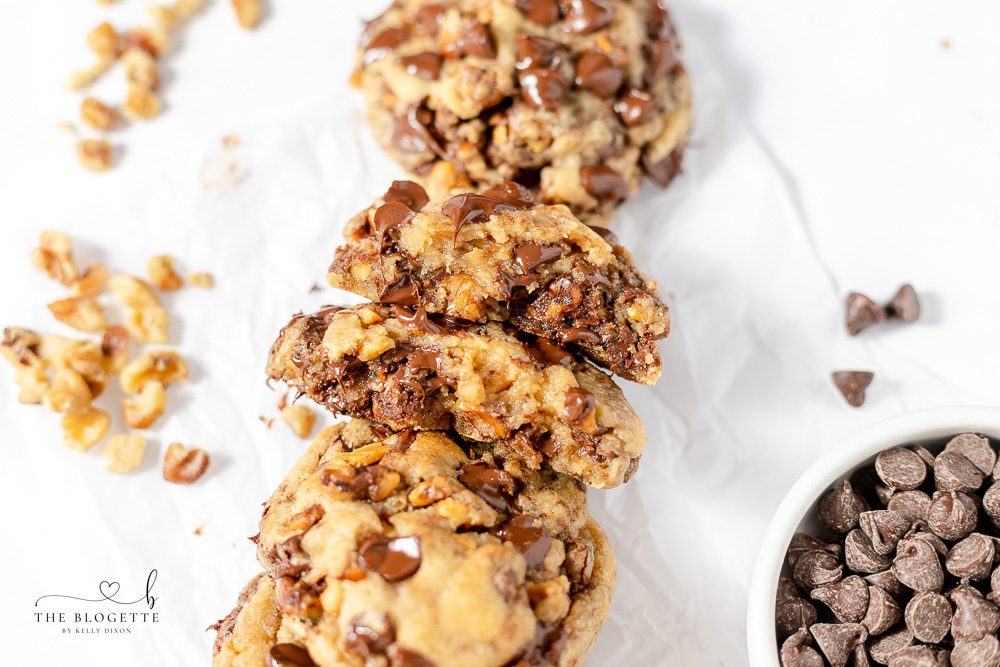
A favorite CHOCOLATE CHIP COOKIES Recipe ever! These huge bakery-style cookies are thick, warm, and soft. They are straightforward to mix with straightforward ingredients! You will want to always have bakery at-home chocolate chip cookies recipe always on hand.
Our favorite Chocolate Chip Cookies
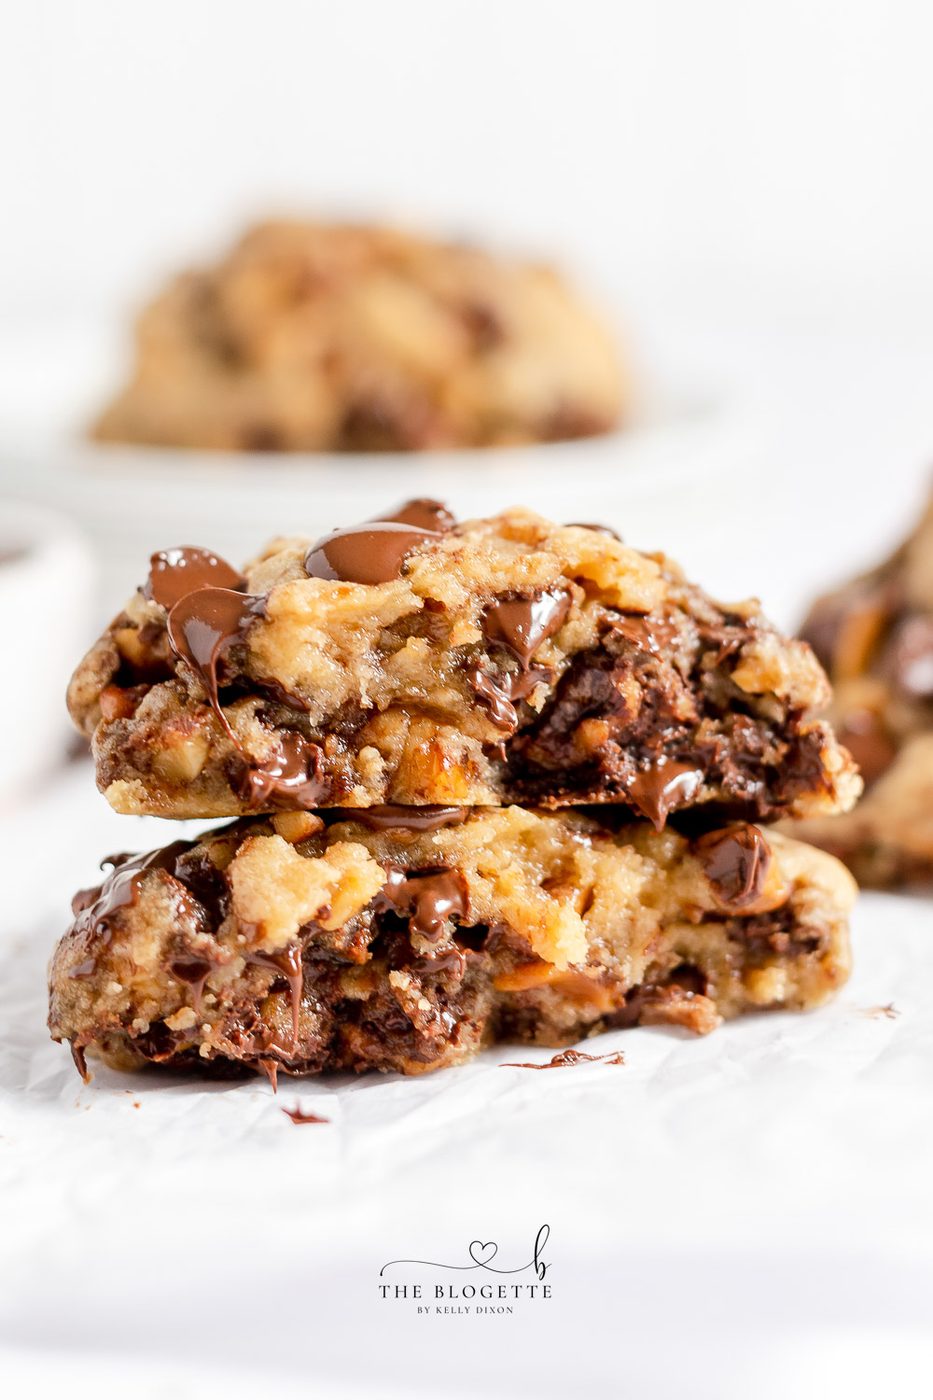
What stands out in chocolate chips mixed with walnuts are simply hard to stop at one and truly make our favorite chocolate chip cookies! This is a well-balanced chocolate chip cookie lover’s dream! They are evenly chewy, chocolatey, ooey-soft-centered, and hit the spot when you’ve got a sweet tooth.
Ingredients
- All purpose flour
- Baking soda
- Salt
- Cornstarch
- Unsalted butter
- Brown sugar
- Granulated sugar
- Eggs
- Vanilla extract
- Chocolate chips
- Chopped walnuts
Supplies Needed
- Baking sheet
- Parchment paper
- Electric mixer
- Mixing bowl
- Wire rack for cooling
- Measuring cup
- Measuring spoons
Chocolate Chip Cookie Recipe
Instructions:
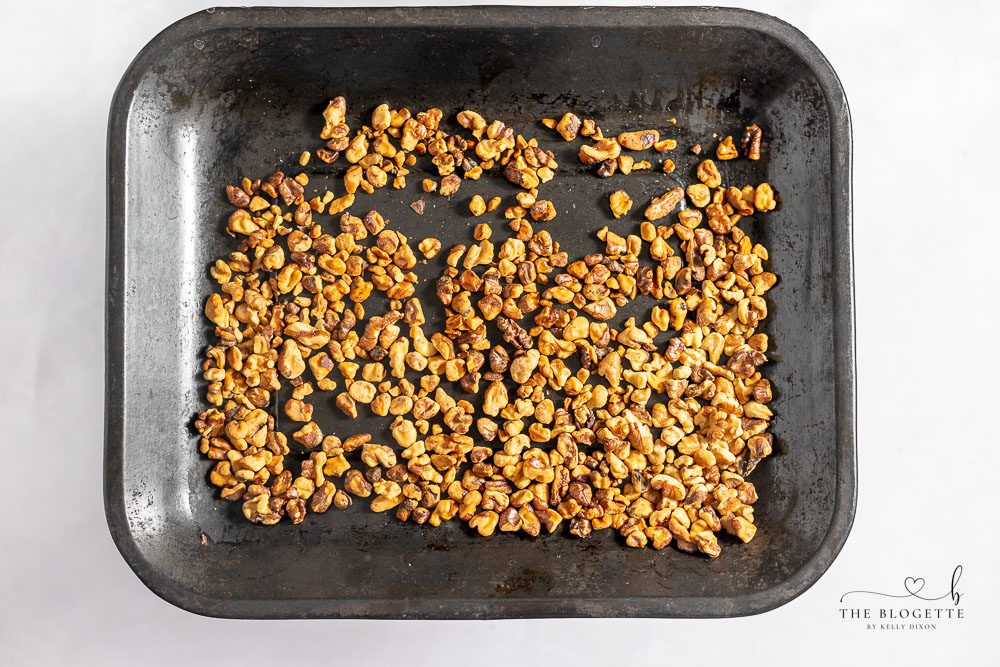
Preheat oven to 350º. Spread walnuts out on a baking sheet, and toast them in the oven for 5 minutes. Walnuts become buttery, golden brown, and crisp after toasting them in the oven. The heat brings out the natural nutty aroma that adds a delightful flavor to these cookies.
Remove from oven and let cool while making cookies (adding them to the dough while hot will melt your chocolate chips). Stir flour, baking soda, salt, and cornstarch together in a small bowl and set aside.
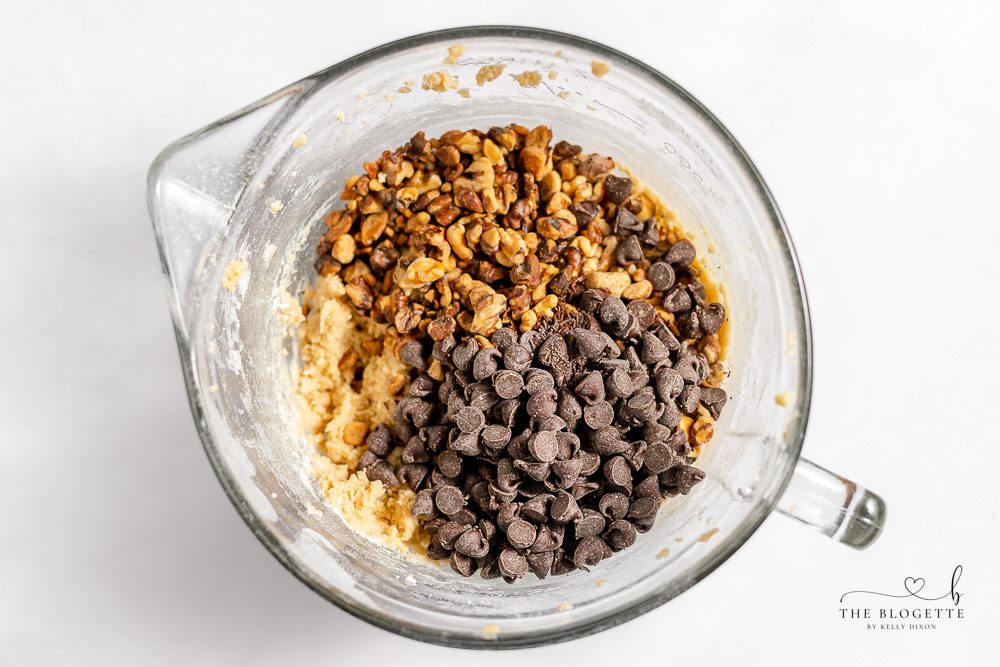
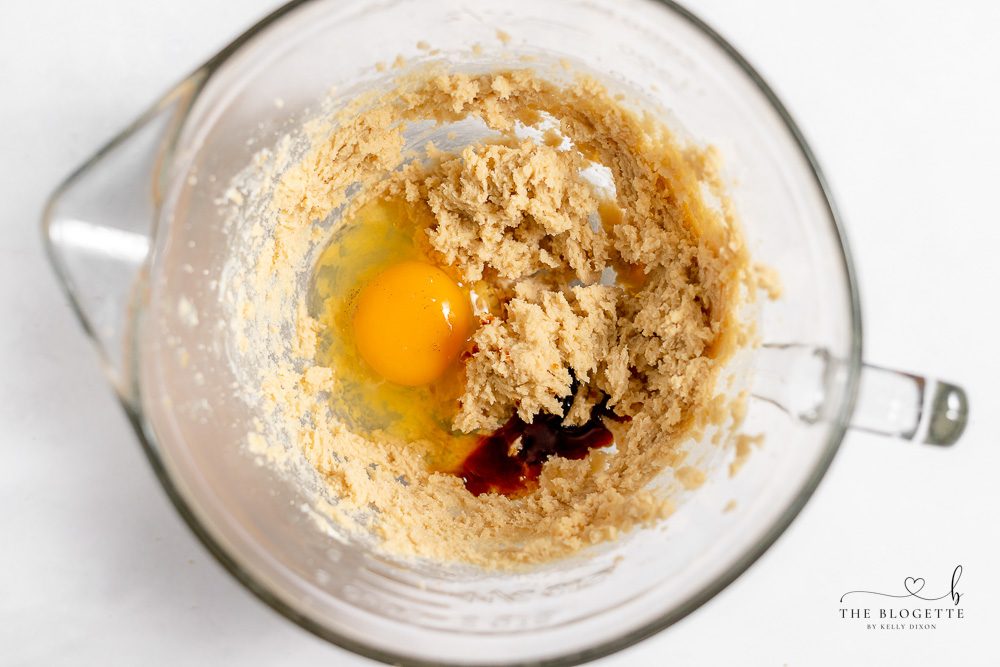
In a large bowl, beat the butter, both sugars, egg, and vanilla together on low speed until light and fluffy. Stir in dry ingredients until just combined. Then add chocolate chips and walnuts, and stir together. Refrigerate for one hour
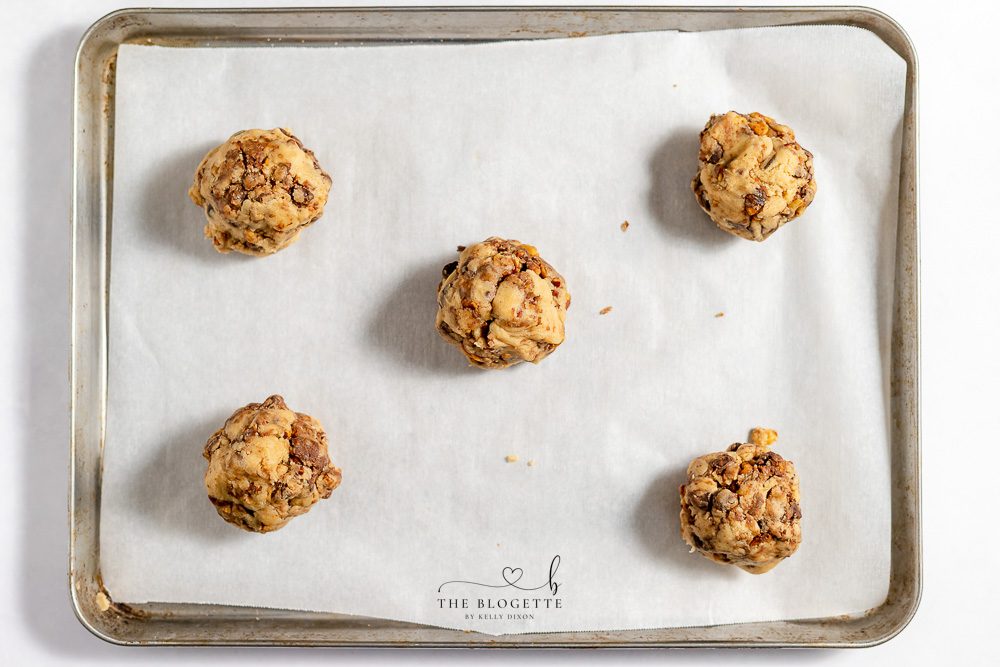
Prepare a baking sheet with parchment paper. Parchment paper prevents sticking and makes for straightforward cleanup! Separate dough into 6 balls (they’ll be big!), and place them on a cookie sheet at least two inches apart. Press additional chocolate chips on top of the cookies if desired.
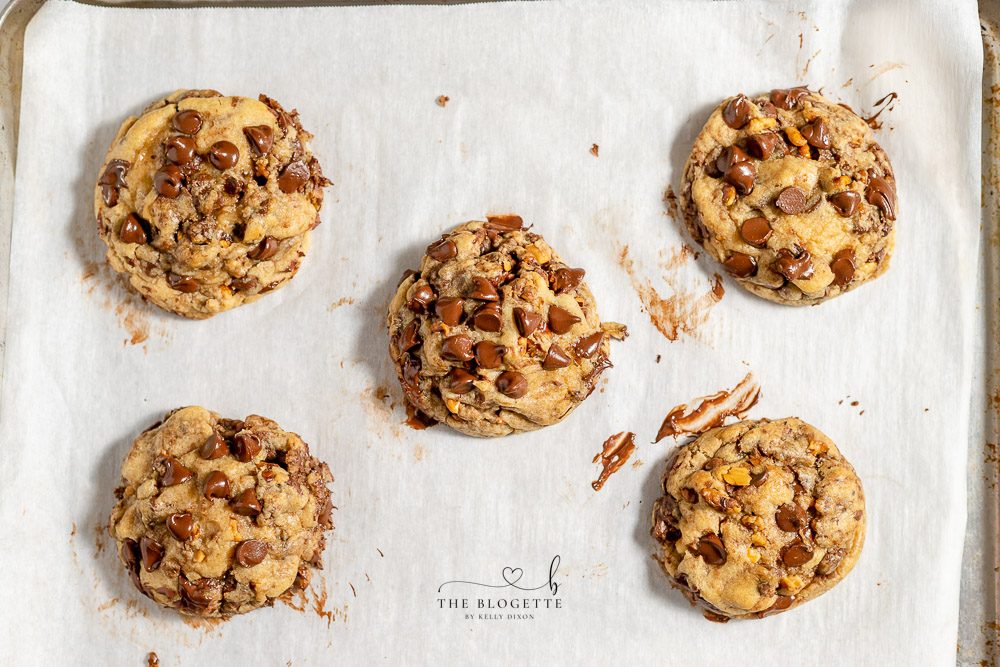
Bake for 10-12 minutes until they are set on the edges, and no longer wet looking. Bake on the short side for gooier cookies, and bake on the longer side for more set cookies.

Recipe Tip
Refrigerating the dough is key to making these thick bakery-style cookies, so don’t skip it! You can, however, speed the process up by making your cookie dough balls first, and then popping them in the freezer for 15 minutes.
Prepare-ahead
This dough can also be made ahead and refrigerated in an air-tight container for several days until you’re ready to bake.
Chocolate Chip Cookies Recipe
Prep 10 minutesCook 12 minutesTotal 1 hour 25 minutesMakes 6 cookies
Ingredients
- 1⅓ cup all purpose flour
- ¾ teaspoon baking soda
- ½ teaspoon salt
- 1 Tablespoon cornstarch
- ½ cup butter, unsalted
- ⅓ cup brown sugar
- ⅓ cup granulated sugar
- 1 egg
- 2 teaspoons vanilla extract
- 1 cup semi sweet chocolate chips
- 1 cup chopped walnuts
Method
- Preheat oven to 350º
- Spread walnuts out on a baking sheet, and toast in oven for 5 minutes
- Remove from oven and let cool while making cookies (adding them to dough while hot will melt your chocolate chips)
- Stir flour, baking soda, salt, and cornstarch together in a small mixing bowl and set aside
- Beat butter and both sugars together until light and fluffy (2-3 minutes)
- Beat in egg and vanilla
- Stir in dry ingredients until just combined
- Then add chocolate chips and walnuts, and stir together
- Refrigerate for one hour
- Separate dough into 6 balls (they’ll be very big!), and place on cookie sheet at least two inches apart
- Press additional chocolate chips on top of cookies if desired
- Bake for 10-12 minutes until set on the edges, and no longer wet looking. Go on the short side for gooier cookies, and longer side for more set cookies
Notes
- Refrigerating the dough is key to making thick bakery bakery-style cookies, so don’t skip it! You can however speed the process up by making your cookie dough balls first, then popping them in the freezer for 15 minutes This dough can also be made ahead and refrigerated in an air-tight container for several days until you’re ready to bake <div class="