
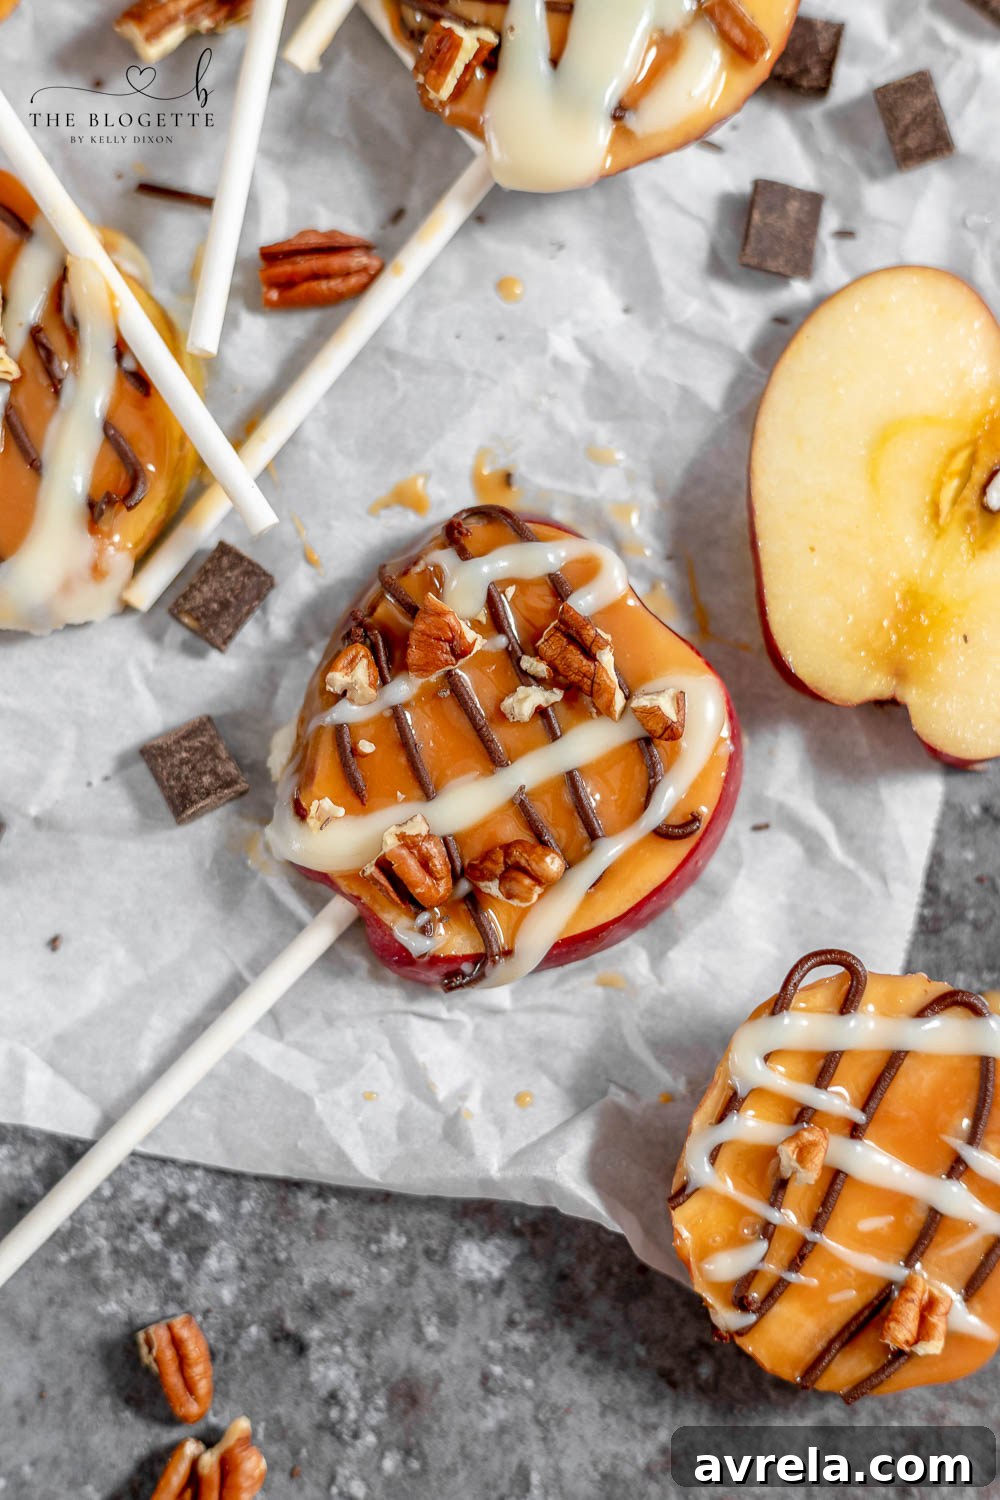
Embrace the flavors of autumn with our delightful recipe for Caramel Apple Slices! This beloved fall classic gets an exciting twist, making it easier to enjoy, share, and customize. Dip crisp apple slices in rich, chewy caramel and smooth chocolate, then adorn them with an array of festive toppings like nuts, sprinkles, marshmallows, and more. Perfect for any gathering, these caramel apple slices are a treat that combines the tartness of fresh apples with irresistible sweetness, creating a dessert that’s both fun to make and even more fun to eat!
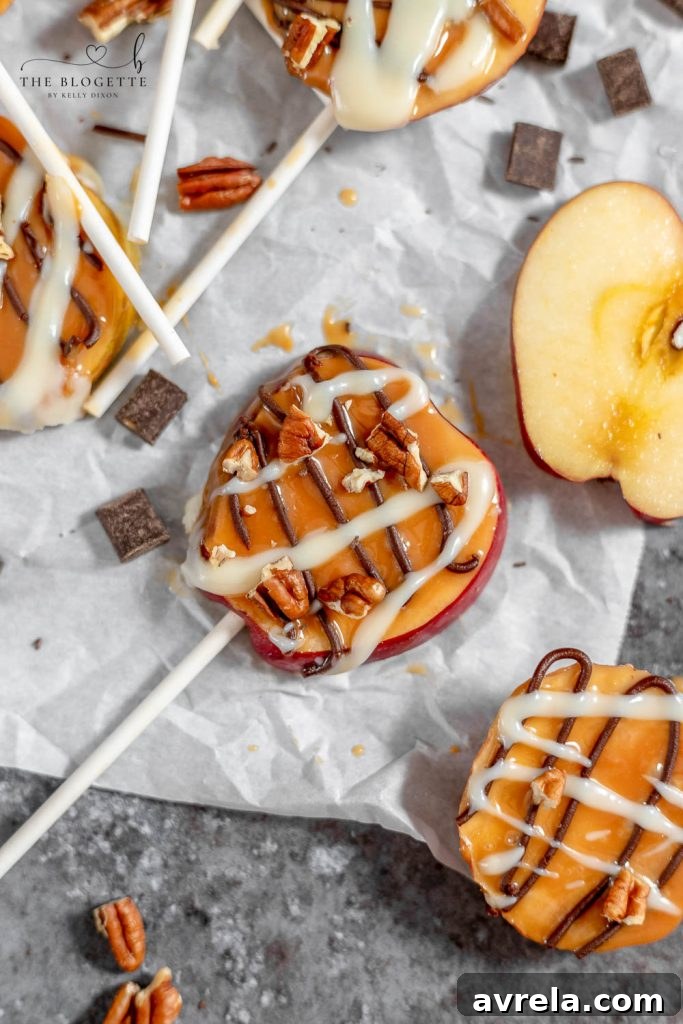
Caramel Apple Slices: A Crowd-Pleasing Fall Dessert
There’s something undeniably magical about the combination of crisp, tart apples and sweet, gooey caramel. It’s a flavor pairing that perfectly captures the essence of fall. Add a layer of decadent chocolate and an assortment of playful toppings, and you have a treat that transcends generations. While traditional caramel apples are a cherished autumn staple, they can often be a bit cumbersome to eat, especially for little ones or at parties. That’s where caramel apple slices come in! Imagine all the deliciousness of a classic candy apple, but served in convenient, bite-sized portions, making them infinitely easier to handle and enjoy.
Love this recipe? Pin it now to save for later!
Pin It Now
Essential Ingredients for Your Caramel Apple Creations
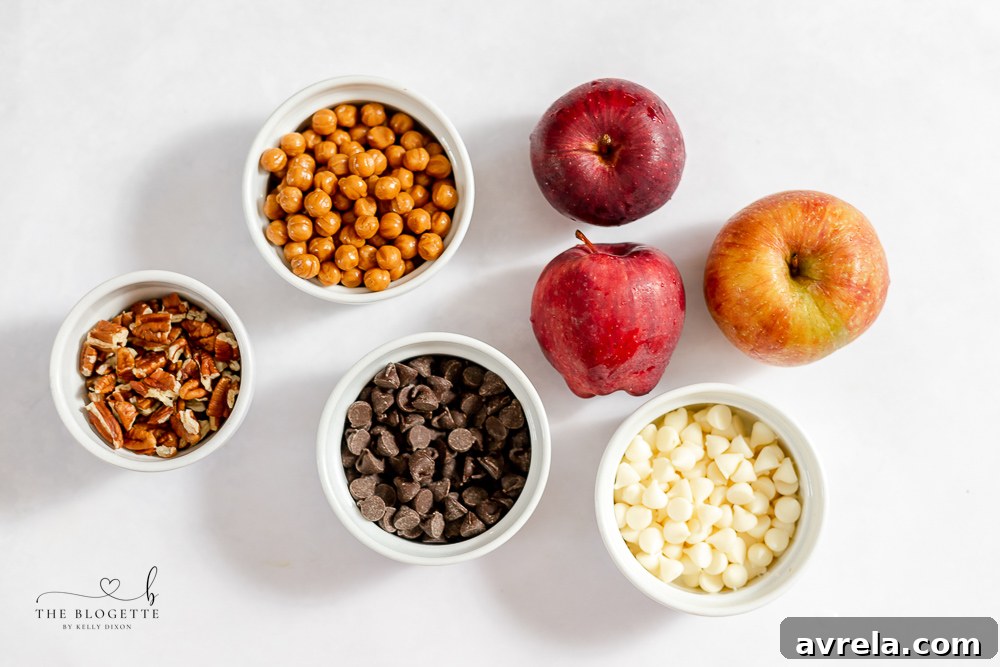
Creating these delightful caramel apple slices requires just a few basic ingredients, offering endless possibilities for customization. The beauty of this recipe lies in its simplicity and flexibility, allowing you to tailor it to your taste and what you have on hand.
What You’ll Need:
- Apples: The star of the show! While Granny Smith apples are classic for their tartness that perfectly cuts through the sweetness of caramel and chocolate, feel free to experiment with other crisp varieties like Fuji, Honeycrisp, Gala, or Pink Lady. Choose firm, blemish-free apples for the best results.
- Caramel: You can use soft caramel bits (often found in the baking aisle) or individually wrapped caramel squares. Both melt beautifully to create that luscious, sticky coating.
- Chocolate Chips: Semi-sweet or milk chocolate chips are perfect for melting and drizzling. They add a rich, complementary flavor to the apples and caramel.
- White Chips or White Chocolate: For a contrasting color and creamy flavor, white chocolate chips or a good quality white chocolate bar (chopped) work wonderfully.
- Lollipop Sticks: These are essential for making your apple slices easy to hold and dip.
- Your Favorite Toppings: This is where the fun truly begins! Think pecans, peanuts, mini marshmallows, shredded coconut, crushed pretzels, sprinkles, chopped candy bars, cinnamon, and more.
The Art of Melting Caramel and Chocolate
Achieving perfectly smooth, dippable caramel and chocolate is key to making beautiful caramel apple slices. Here’s how to do it without a hitch:
Melting Your Sweet Coatings:
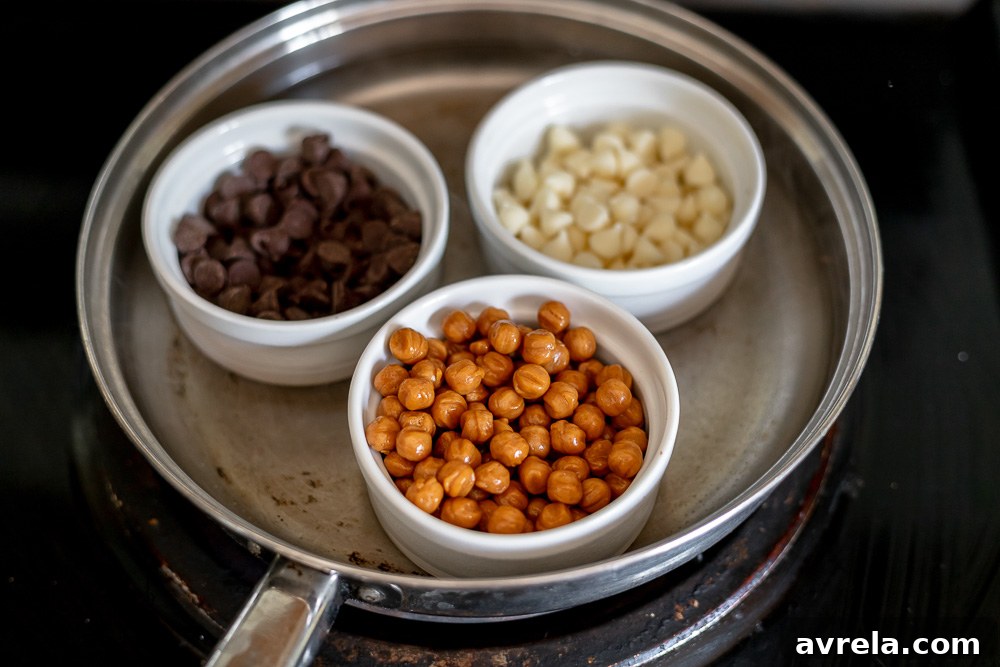
- Separate Bowls: Start by placing your caramel bits or squares in one microwave-safe bowl, and your chocolate chips and white chips in separate microwave-safe bowls.
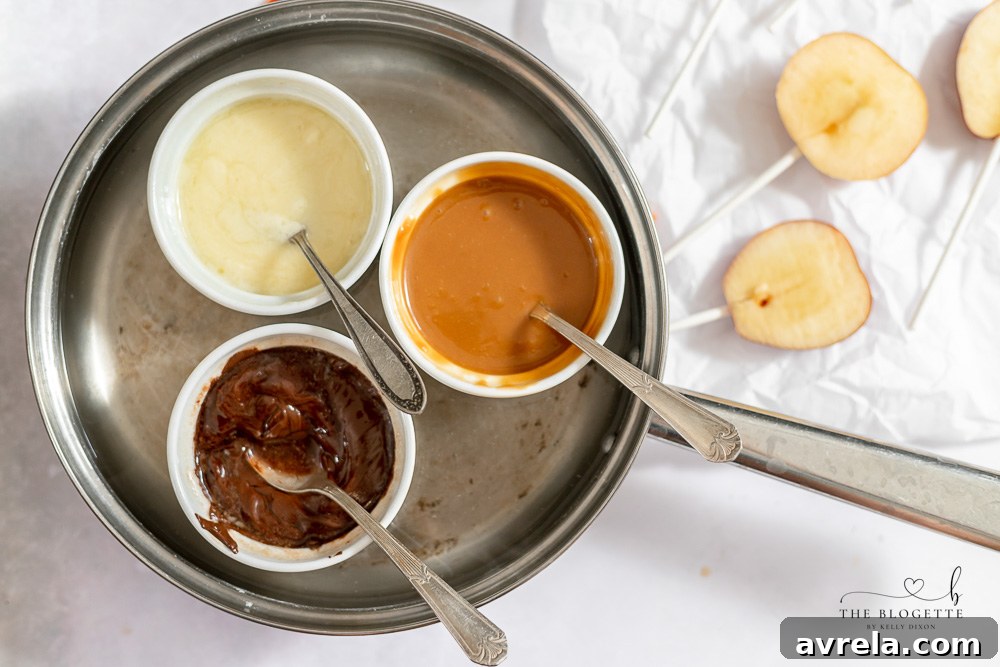
- Microwave Method: This is the quickest way. Microwave the caramel and chocolates in 10-15 second intervals, stirring well after each interval. It’s crucial not to overheat them, as this can cause chocolate to seize or caramel to harden. Keep stirring until smooth and fully melted.
- Hot Water Bath (Double Boiler) Method: For a more controlled melt, especially with chocolate, use a hot water bath. Place each bowl of caramel or chocolate over a saucepan of simmering water, ensuring the bottom of the bowl does not touch the water. The steam will gently melt the contents. Stir continuously until smooth.
A Crucial Chocolate Warning: When melting chocolate, whether in the microwave or over a hot water bath, be extremely careful not to let even a single drop of water come into contact with it. Water causes chocolate to “seize,” turning it into a stiff, clumpy, and unusable mess. Keep your tools and bowls completely dry.
Preparing Your Apple Slices for Dipping
While your caramel and chocolate are melting to perfection, it’s time to prepare your apples. This step is vital for ensuring your toppings adhere well and your slices look picture-perfect.
Step-by-Step Apple Preparation:
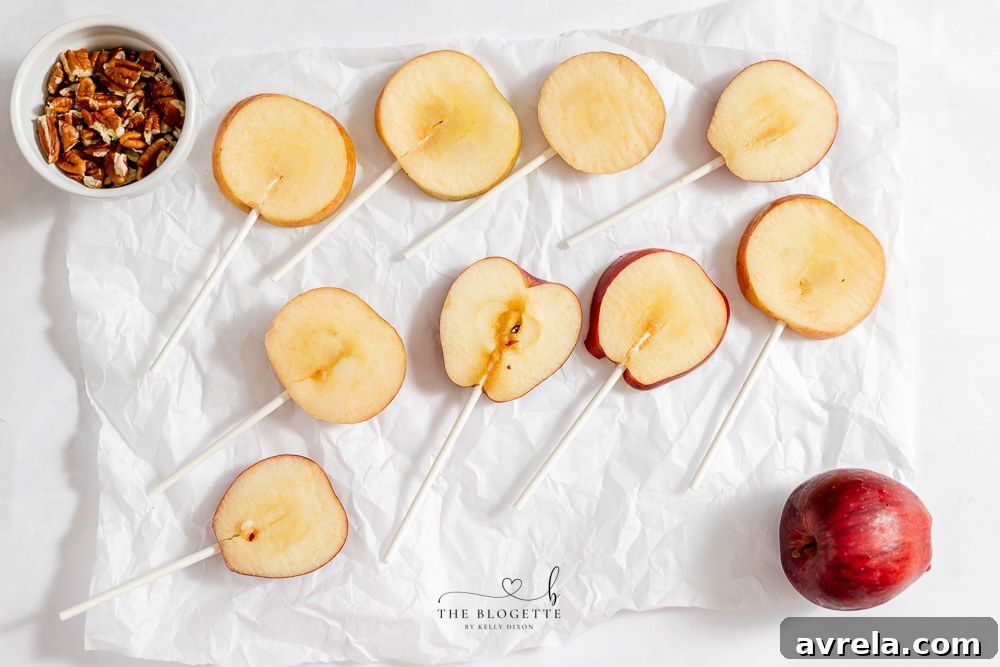
- Slice the Apples: Carefully slice your chosen apples into sturdy ⅓-½ inch thick slices. This thickness ensures they are robust enough to hold a stick and toppings without breaking.
- Insert Lollipop Sticks: Gently pierce each apple slice with a lollipop stick, pushing it about half an inch into the apple for stability. If the apple skin is tough, a small incision with a knife tip or toothpick can help the stick go in smoothly.
- Ensure Dryness: This is a critical step! Apples naturally release moisture. Before dipping, lightly pat each apple slice thoroughly with a paper towel. Any moisture on the surface will prevent the caramel and chocolate from sticking properly, leading to frustrating drips and uneven coatings.
- Prevent Browning: To keep your apple slices looking fresh and appetizing, especially if preparing ahead of time, lightly spritz them with lemon juice. The citric acid in lemon juice acts as a natural antioxidant, preventing enzymatic browning. You can use a spray bottle or gently brush a thin layer of juice.
- Prepare Your Workspace: Lay out sheets of parchment paper on a baking tray or flat surface. This will provide a non-stick area for your dipped and decorated apple slices to set, making cleanup a breeze.
Dipping and Decorating: Your Creative Canvas
Now for the most exciting part – transforming your plain apple slices into gourmet treats! This is where your creativity can truly shine.
How to Dip and Decorate:
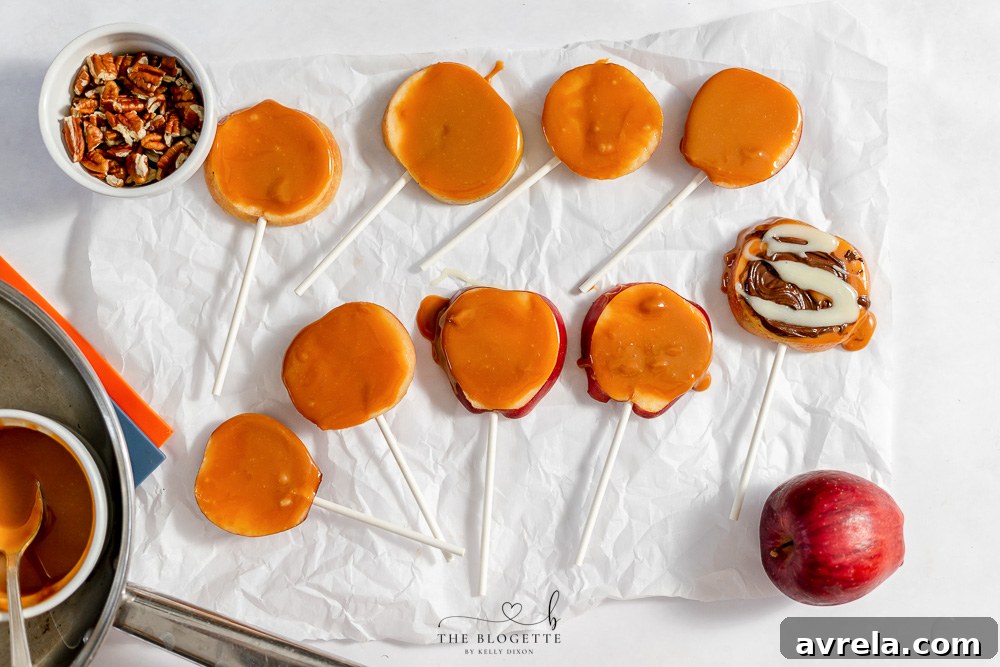
- Caramel First: Hold an apple slice by its stick and dip it into the melted caramel. You can coat the entire slice or just the top portion. Allow any excess caramel to drip off before moving to the next step. For full coverage, gently swirl the apple in the caramel.
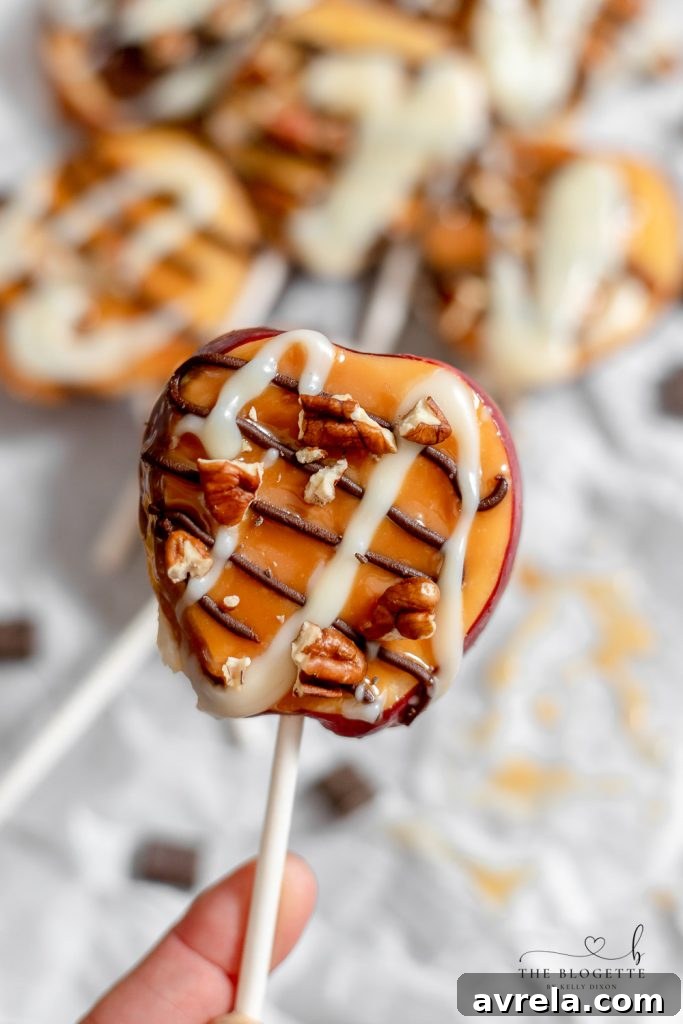
- Chocolate Drizzle: Once the caramel is applied, you can immediately drizzle melted chocolate or white chocolate over the caramel. A condiment bottle or a pastry bag with a small hole works wonders for neat, artistic drizzles. If using a spoon, try to move quickly and create thin lines. Remember, we don’t want to thin the chocolate with butter or oil, as this can make it drip off the apples once chilled.
- Add Your Toppings: While the caramel and chocolate are still wet, sprinkle your desired toppings liberally over the apple slices. You can dip the apple directly into a bowl of chopped nuts or sprinkles for full coverage, or sprinkle them by hand for a more delicate touch.
- Experiment with Layers: Don’t be afraid to combine flavors and textures! A caramel base, a chocolate drizzle, and then a sprinkle of sea salt or crushed pretzels offers a sophisticated sweet and salty profile. Mini marshmallows, shredded coconut, or crushed candy bar pieces add fun textures.
Endless Caramel Apple Topping Ideas!
Unleash your inner decorator with these fantastic topping suggestions. Mix and match to create unique flavor combinations!
- Classic Crunch: Chopped nuts (pecans, peanuts, walnuts, almonds), crushed graham crackers, crushed Oreos, granola.
- Sweet & Chewy: Mini marshmallows, shredded coconut (toasted or plain), toffee bits, mini chocolate chips, mini M&M’s.
- Sweet & Salty: Crushed pretzels, a sprinkle of sea salt flakes.
- Candy Crush: Chopped up candy bar pieces (Snickers, Heath Bar, Butterfinger), gummy worms or bears (for a fun kid-friendly option).
- Flavor Boosters: A dash of cinnamon sugar, a drizzle of extra caramel or chocolate syrup.
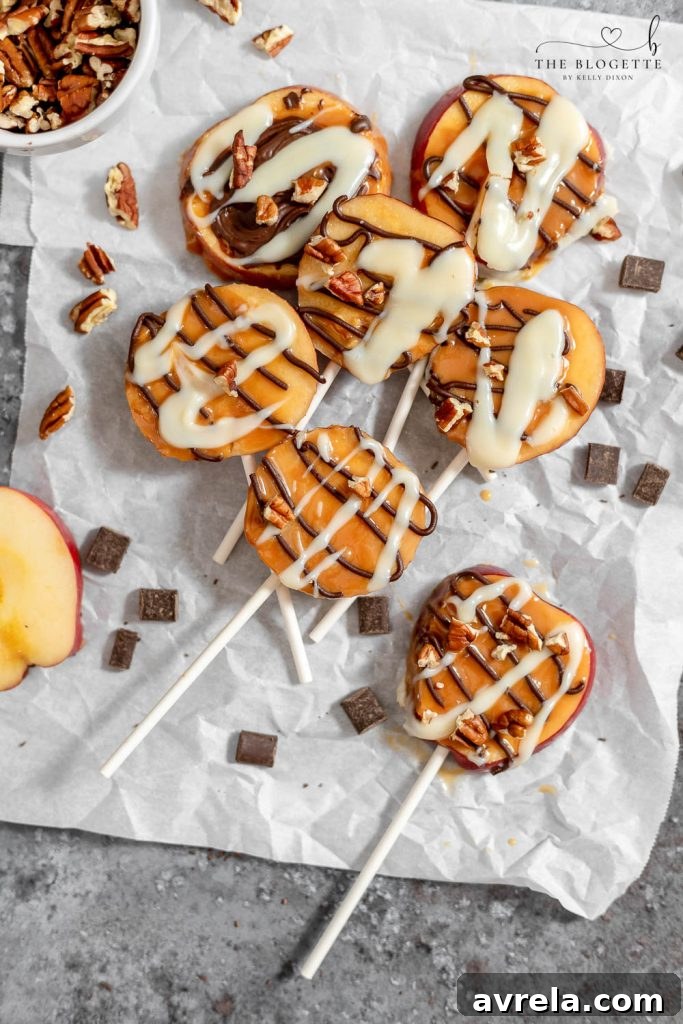
Once decorated, place your apple slices back on the parchment paper-lined tray. Refrigerate them for at least 15-20 minutes, or until the caramel and chocolate have fully set. This ensures they are firm and easy to handle when serving. These irresistible treats are wonderful for any fall occasion, from a festive Halloween buffet table to a delightful Thanksgiving snack. Their simple elegance and delicious flavor will undoubtedly make them a repeat request!

Troubleshooting Common Caramel Apple Slice Issues
Even the simplest recipes can present small challenges. Here are solutions to some common problems you might encounter while making your caramel apple slices:
- Caramel is too thick: If your caramel becomes too thick to dip, gently reheat it in the microwave in short bursts (5-10 seconds) or over the warm water bath, stirring until it reaches the desired consistency. A tiny bit of milk or cream (about ½ teaspoon at a time) can also help thin it, but be careful not to add too much.
- Caramel is too thin: This usually happens if the caramel was overheated. If it’s too runny, let it cool slightly at room temperature, stirring occasionally, until it thickens. If it still doesn’t firm up, it might be challenging to fix, so try to melt it slowly next time.
- Chocolate seized: As mentioned, water is chocolate’s enemy. If your chocolate seizes (becomes a grainy, solid mess), unfortunately, it’s very difficult to salvage. Your best bet is to start with a fresh batch, ensuring absolutely no moisture is present.
- Toppings aren’t sticking: The most common reason for this is wet apple slices. Always pat your apples thoroughly dry with paper towels before dipping. Additionally, make sure to apply toppings immediately after dipping in caramel or chocolate, while the coatings are still warm and tacky.
- Apples are browning: Lemon juice is your friend here! A quick spritz or brush of lemon juice on the cut apple surfaces will prevent oxidation and keep them looking fresh. Do this immediately after slicing.
- Sticks won’t stay in: If your apple slices are too thin or you haven’t inserted the stick far enough, they might come loose. Aim for slices that are at least ⅓-inch thick and ensure the stick is seated about ½-inch deep into the apple flesh.
More Delicious Fall Recipes to Try
Snickers Apple Salad
Pumpkin Fluff Pie
Oreo Football Truffles
Pumpkin Pie Cupcakes

Caramel Apple Slices
Make this fall apple treat with all of your favorite toppings! A fun, easy, and customizable dessert perfect for any occasion.
Prep Time:
Cooling Time:
Total Time:
Servings: 12 slices
Equipment
- Microwave-safe bowls or bowls for a hot water bath
- Lollipop sticks
- Parchment paper
- Spoons for drizzling and stirring
Ingredients
- 3 large, crisp apples (e.g., Granny Smith, Honeycrisp, Fuji)
- ½ cup caramel bits OR caramel squares (about 11 oz)
- ⅓ cup chocolate chips (semi-sweet or milk chocolate)
- ⅓ cup white chips or white chocolate
- Assorted fun additions for topping (pecans, peanuts, sprinkles, mini marshmallows, crushed pretzels, etc.)
Instructions
- Melt caramel and chocolates: In separate microwave-safe bowls, melt the caramel bits, chocolate chips, and white chips. Microwave in 10-15 second intervals, stirring well after each. Alternatively, use a hot water bath for a more controlled melt. Be extremely careful to prevent any water from getting into the chocolate, as it will cause it to seize.
- Prepare apple slices: While the coatings are melting, slice apples into ⅓ to ½-inch thick rounds or wedges. Insert a lollipop stick into each apple slice, about half an inch deep. Pat the apple slices thoroughly dry with paper towels to ensure toppings stick. If desired, spritz with a little lemon juice to prevent browning.
- Dip and decorate: Lay the prepared apple slices on parchment paper for easy cleanup. Dip or drizzle each apple slice with melted caramel, then with melted chocolate and/or white chocolate. Immediately sprinkle with your favorite toppings as desired.
- Chill to set: Refrigerate the decorated apple slices for at least 15-20 minutes, or until the caramel and chocolate have fully set.
- Serve: Serve cold and enjoy your custom caramel apple slices!
Notes
For a neater chocolate drizzle, a condiment bottle or a small pastry bag with the tip snipped off works exceptionally well. Since we are not adding any butter or oil to thin the chocolate (which can cause it to drip off the apples once they’re out of the fridge), it can be tricky to get a perfect drizzle directly from a spoon. This also applies to caramel if you’re aiming for fine lines, though a full caramel coating doesn’t require as precise a drizzle.
As mentioned in the preparation steps, if you’re concerned about your apples turning brown, a light spritz of lemon juice over the sliced surfaces is the easiest and most effective way to prevent oxidation.