
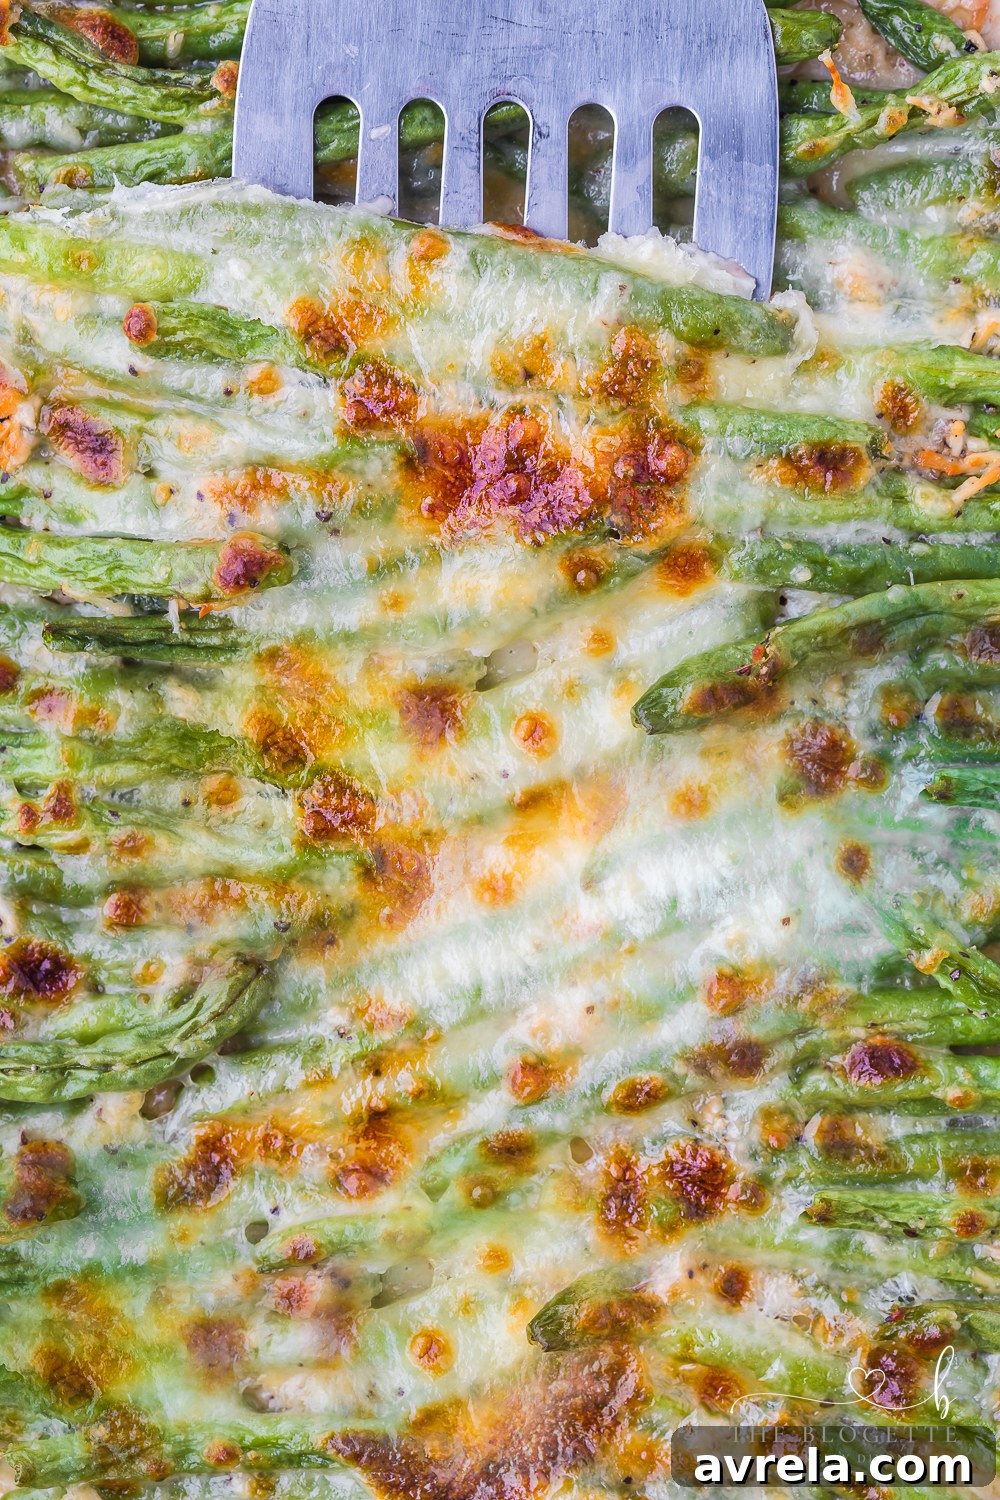
Welcome to the ultimate guide for creating exceptionally flavorful Cheesy Garlic Baked Green Beans! This delightful side dish is perfect for elevating any meal, whether it’s a special holiday feast or a simple weeknight dinner. Not only is it incredibly delicious and satisfying, but it’s also a fantastic low-carb and keto-friendly option, packed with robust flavors that will impress everyone at your table. Get ready to transform humble green beans into a culinary masterpiece!
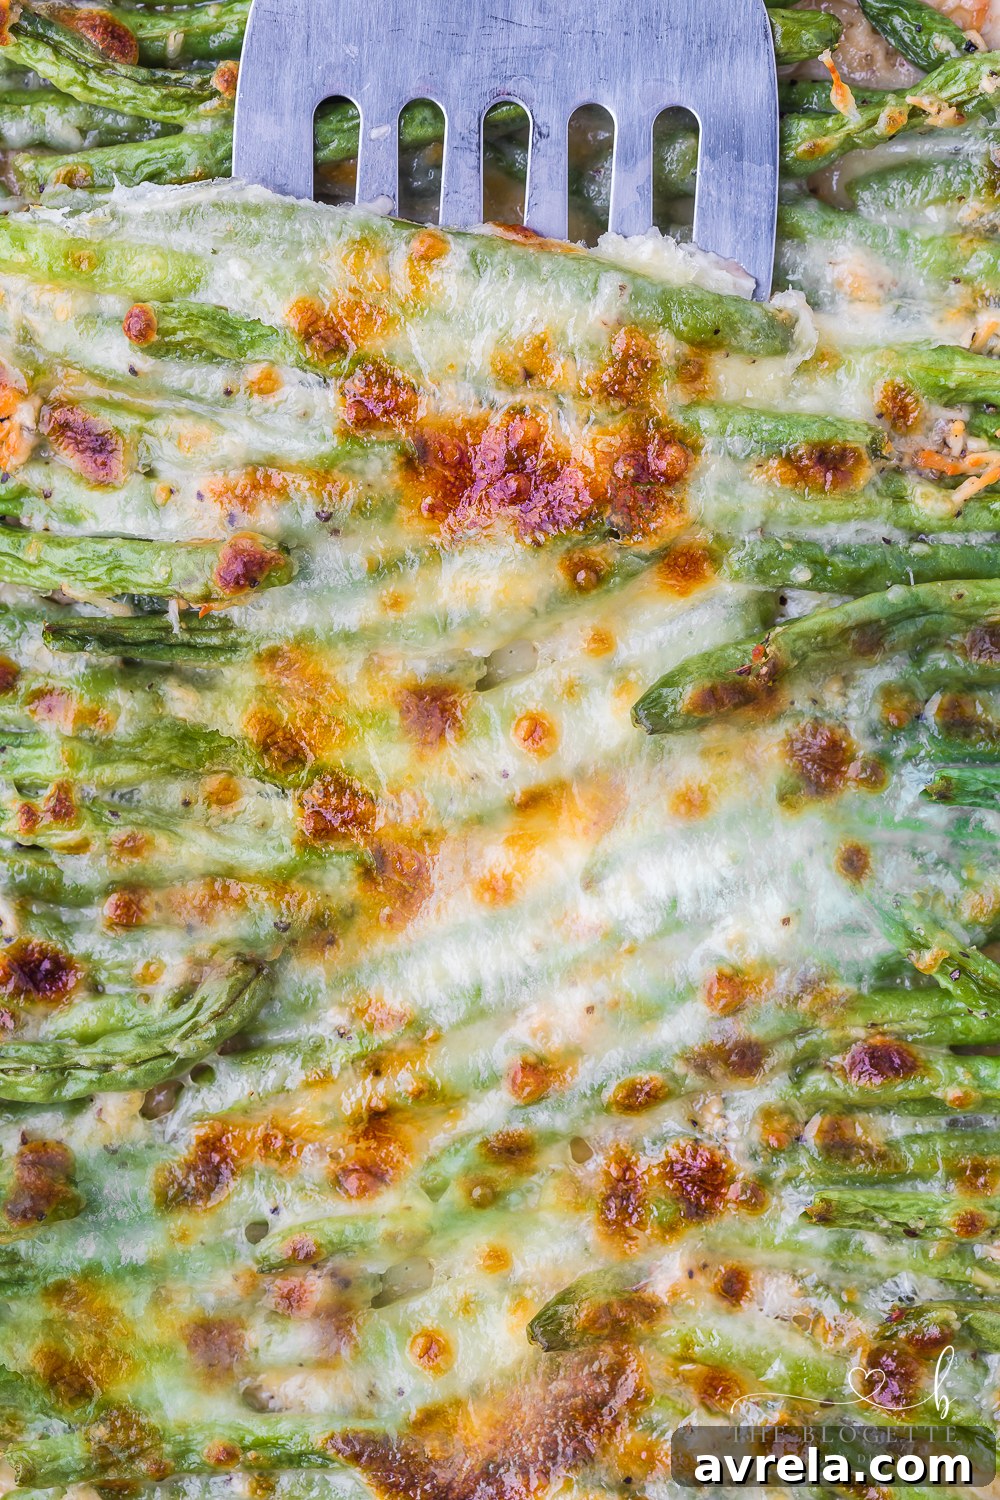
Cheesy Garlic Baked Green Beans: Your New Favorite Side Dish
This recipe for baked green beans is a true game-changer, offering a burst of savory garlic and gooey cheese with every tender bite. It’s a versatile dish that can be easily adapted to suit your preferences or what you have on hand. While fresh green beans are our star, you can also experiment with other vegetables like crisp asparagus, tender summer squash, or vibrant zucchini, making it a truly flexible recipe for any season. For those who prefer an alternative cooking method, the air fryer offers another excellent way to achieve perfectly cooked, flavorful green beans, and we’ll detail that option in the notes section of the recipe card below.
The beauty of these cheesy garlic green beans lies in their simplicity combined with an explosion of flavor. They come together quickly, making them an ideal choice for busy evenings, yet they taste gourmet enough for special occasions. Plus, with their low-carb and keto-friendly profile, they fit seamlessly into various dietary lifestyles without compromising on taste or satisfaction.
Key Ingredients for Irresistible Cheesy Garlic Green Beans
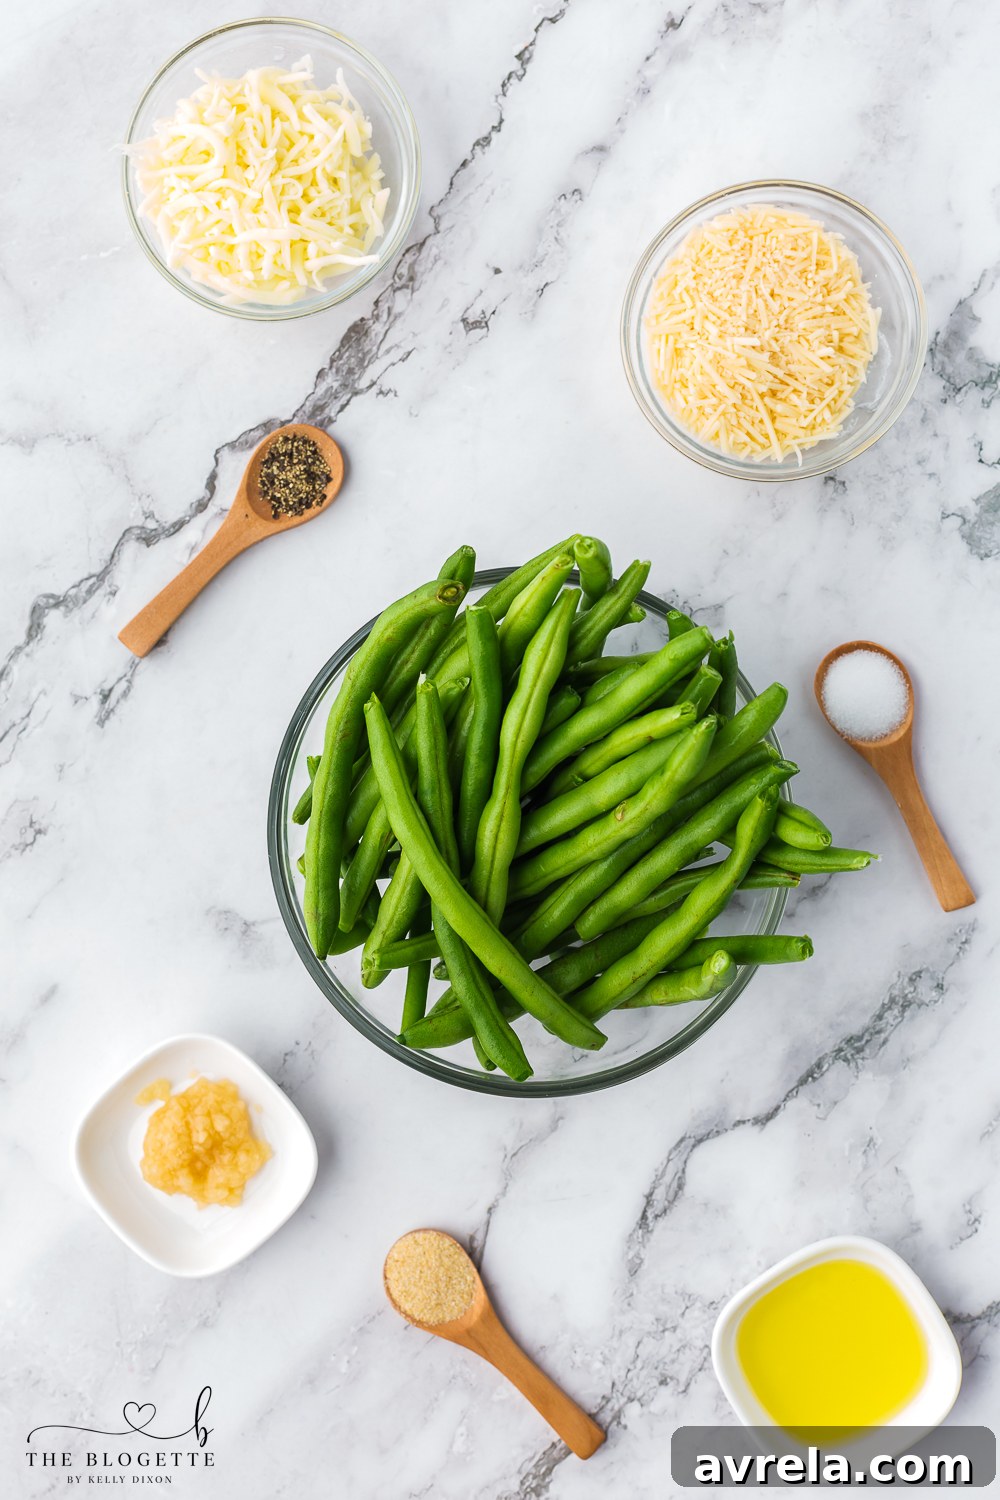
Crafting this simple yet incredibly delicious vegetable side dish requires just a handful of fresh, high-quality ingredients. Each component plays a crucial role in building the layers of flavor that make these green beans truly special. Be sure to scroll down to the detailed recipe card below for precise measurements and quantities.
- Fresh Green Beans: The foundation of our dish! Opt for fresh, vibrant green beans that snap easily. Their crisp texture is key to achieving that perfect al dente bite. If green beans aren’t your preference, fresh asparagus makes an excellent substitute; simply follow the same cooking times and temperatures for equally delightful results.
- Olive Oil: A good quality extra virgin olive oil provides the base for our seasoning blend, helping to coat the green beans evenly and ensure a beautiful roast. Coconut oil can also be used for a slightly different flavor profile.
- Onion Powder: This provides a subtle, sweet onion flavor without the moisture or texture of fresh onions. Feel free to adjust the amount to your liking, or omit it if you prefer a simpler flavor profile.
- Minced Garlic: Freshly minced garlic is highly recommended for its pungent aroma and robust flavor that truly shines in this recipe. As a convenient alternative, 1 teaspoon of garlic powder can be used in place of fresh minced garlic.
- Salt: Essential for enhancing all the other flavors. We recommend sea salt or kosher salt. You can always adjust to taste at the end.
- Black Pepper: Freshly ground black pepper adds a hint of spice and aromatic depth.
- Shredded Parmesan Cheese: This sharp, salty cheese creates a fantastic crust and depth of flavor when baked. Freshly grated Parmesan cheese will undoubtedly offer a superior taste and texture compared to pre-shredded options.
- Shredded Mozzarella Cheese: The mozzarella is added at the end to create that irresistible, golden-brown, bubbly cheese topping. Its mild flavor and fantastic melting properties make it perfect for achieving that cheesy perfection.
Essential Kitchen Tools for Easy Preparation
Before you begin assembling these delicious green beans, take a moment to gather your kitchen tools. Having everything ready beforehand will make the cooking process smooth and enjoyable, ensuring you can focus on creating a perfect side dish.
- Baking Sheet: A sturdy baking sheet is crucial for roasting the green beans evenly, allowing them to get tender and slightly caramelized.
- Parchment Paper: Lining your baking sheet with parchment paper ensures easy cleanup and prevents the green beans and cheese from sticking. It also helps with even cooking.
- Measuring Cups and Spoons: For accurate measurement of ingredients, guaranteeing consistent results every time.
- Large Mixing Bowl: Essential for tossing the green beans with the seasoning mixture, ensuring every bean is perfectly coated.
- Stirring Spoon or Whisk: To combine the olive oil and spices before adding the green beans.
- An Oven with a Broiler: The main cooking apparatus for achieving perfectly tender green beans and a wonderfully bubbly, golden-brown cheese topping.
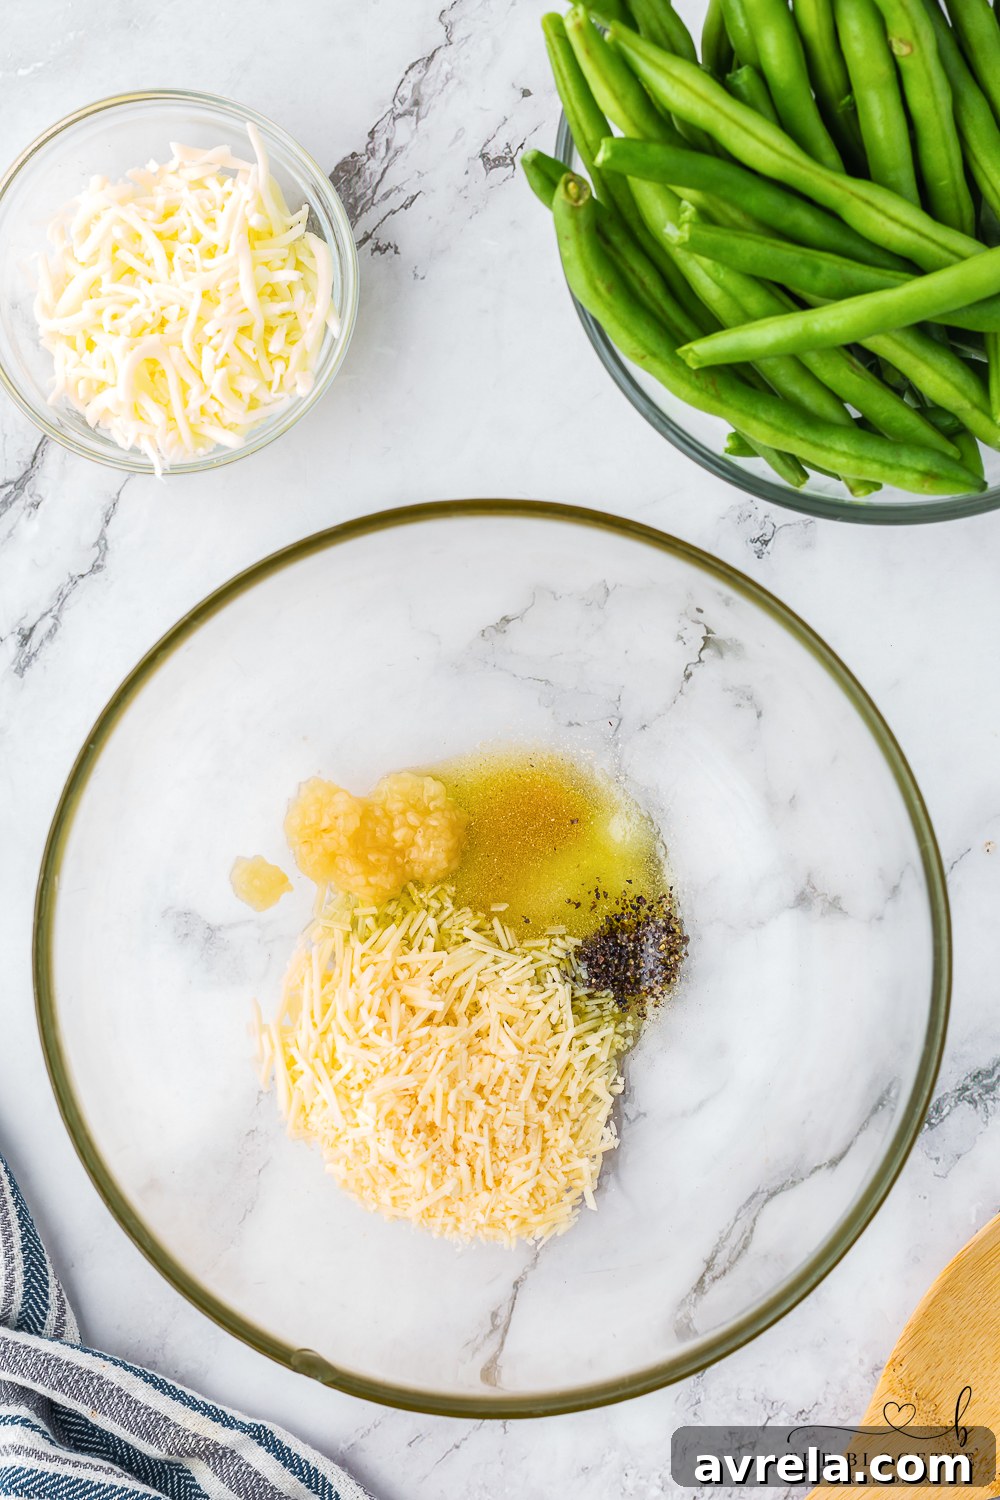
Step-by-Step Instructions: Creating Your Cheesy Garlic Baked Green Beans
Follow these straightforward steps to prepare a batch of the most delicious cheesy garlic baked green beans you’ve ever tasted. This recipe is designed to be simple, ensuring even novice cooks can achieve perfect results.
1. Prepare and Season the Green Beans
In a large mixing bowl, whisk together the olive oil, onion powder, minced garlic, salt, black pepper, and a portion of the shredded Parmesan cheese until well combined. Add the fresh green beans to this savory mixture. Toss vigorously to ensure that every single green bean is thoroughly coated with the aromatic seasoning. This initial step is key to infusing maximum flavor into your vegetables.
Choosing Your Green Beans: Fresh, Frozen, or Canned?
Do I have to use fresh green beans, or can I use frozen or canned alternatives?
While I much prefer fresh green beans for their superior texture and ability to get delightfully crisp during baking, you absolutely can use frozen or canned green beans if you’re in a pinch or prefer them. If you opt for frozen green beans, ensure they are fully thawed and then patted thoroughly dry with a paper towel to remove any excess moisture. This prevents them from becoming soggy and promotes better browning. For canned green beans, drain them very well and also pat them dry before seasoning and baking. Removing excess water is crucial for achieving that desired crisp-tender texture, regardless of the type of green bean you choose.
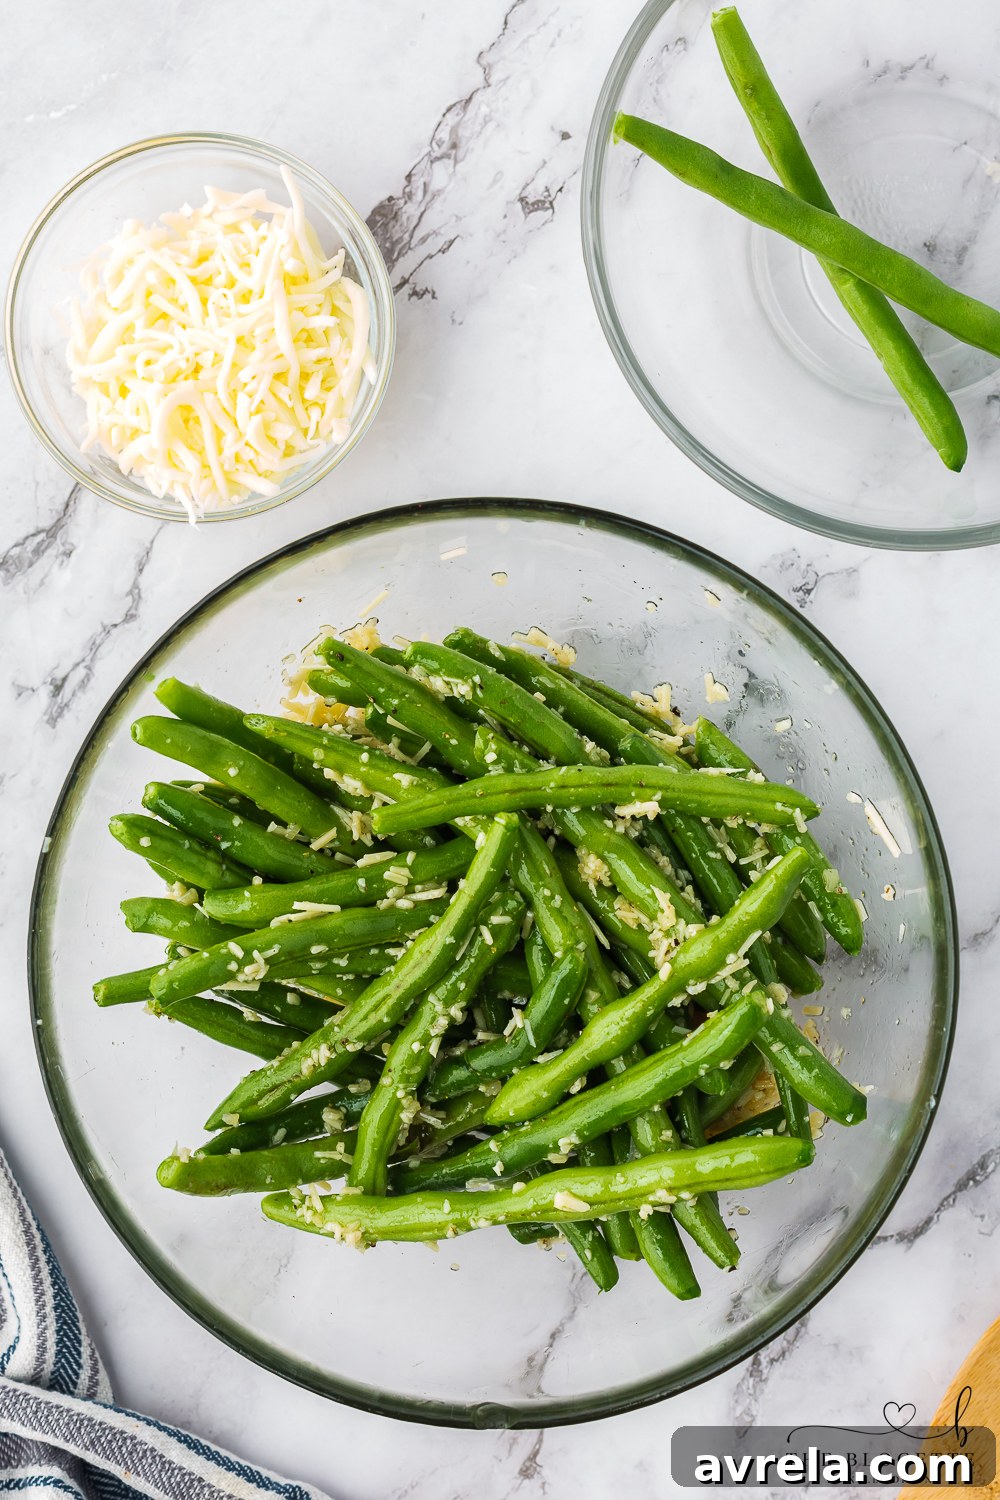
2. Bake to Perfection
Preheat your oven to 425°F (220°C). Line a large baking sheet with parchment paper for easy cleanup. Once seasoned, spread the green beans in a single layer across the prepared baking sheet. Ensure they have enough space and are not overcrowded, as this allows for even roasting and prevents steaming. Bake for approximately 20 minutes, or until the green beans are tender-crisp and slightly charred at the edges.
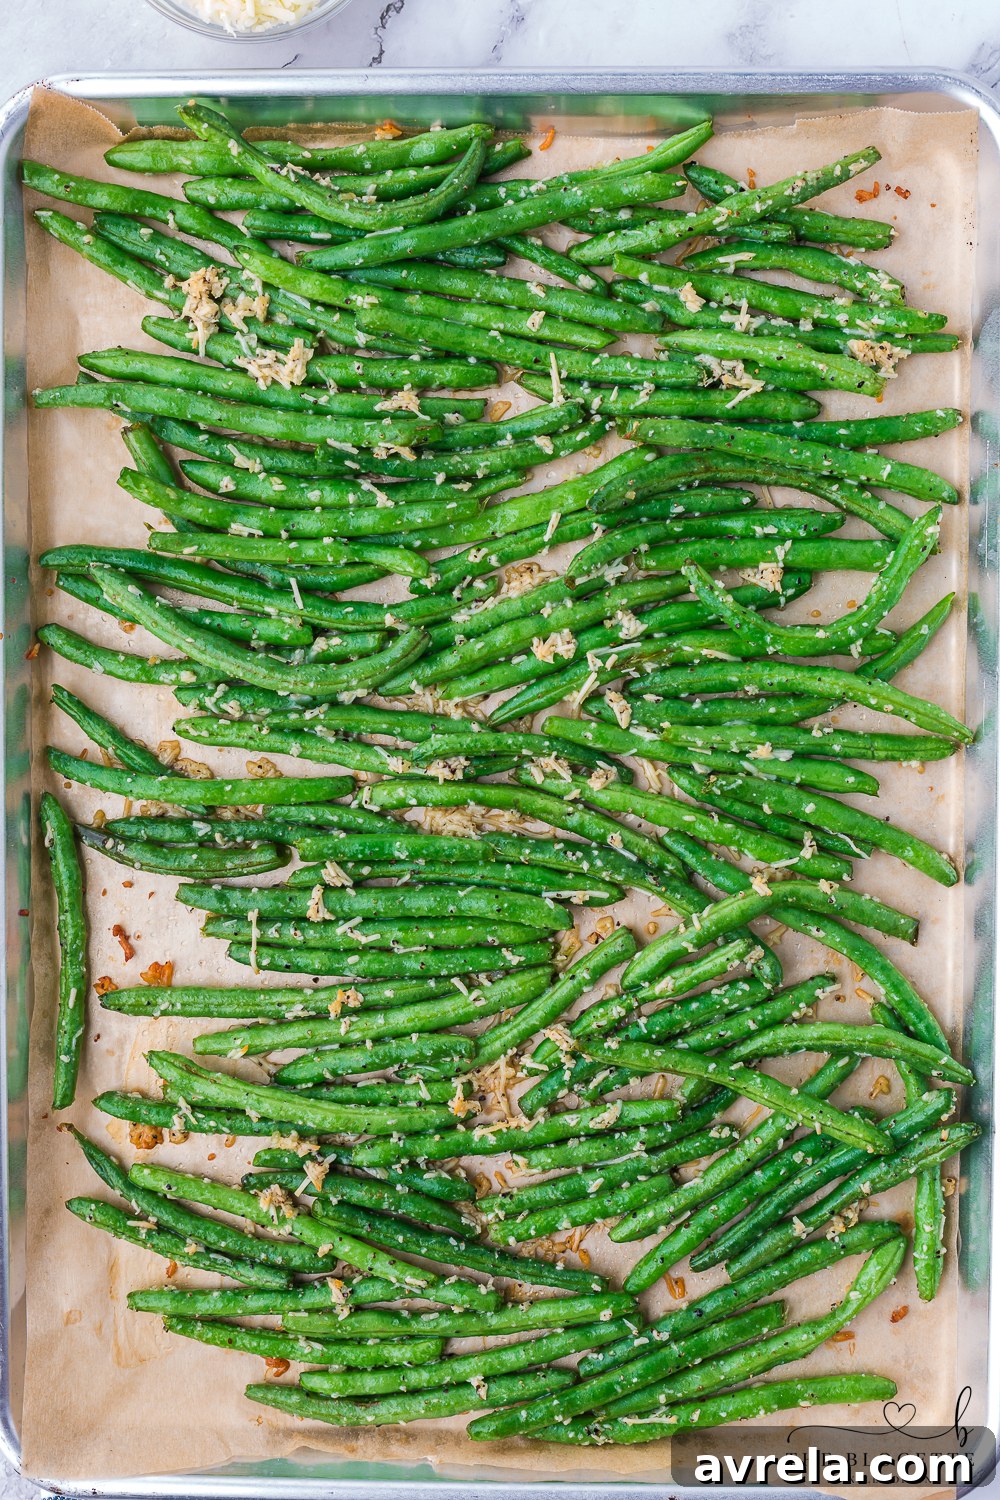
3. Add the Cheesy Goodness
Once the green beans are baked to your desired tenderness, turn the oven off. Carefully remove the baking sheet from the oven. Now, it’s time to make them extra cheesy! Generously sprinkle the shredded mozzarella cheese evenly over the hot garlic green beans. The residual heat from the beans will start to melt the cheese beautifully.
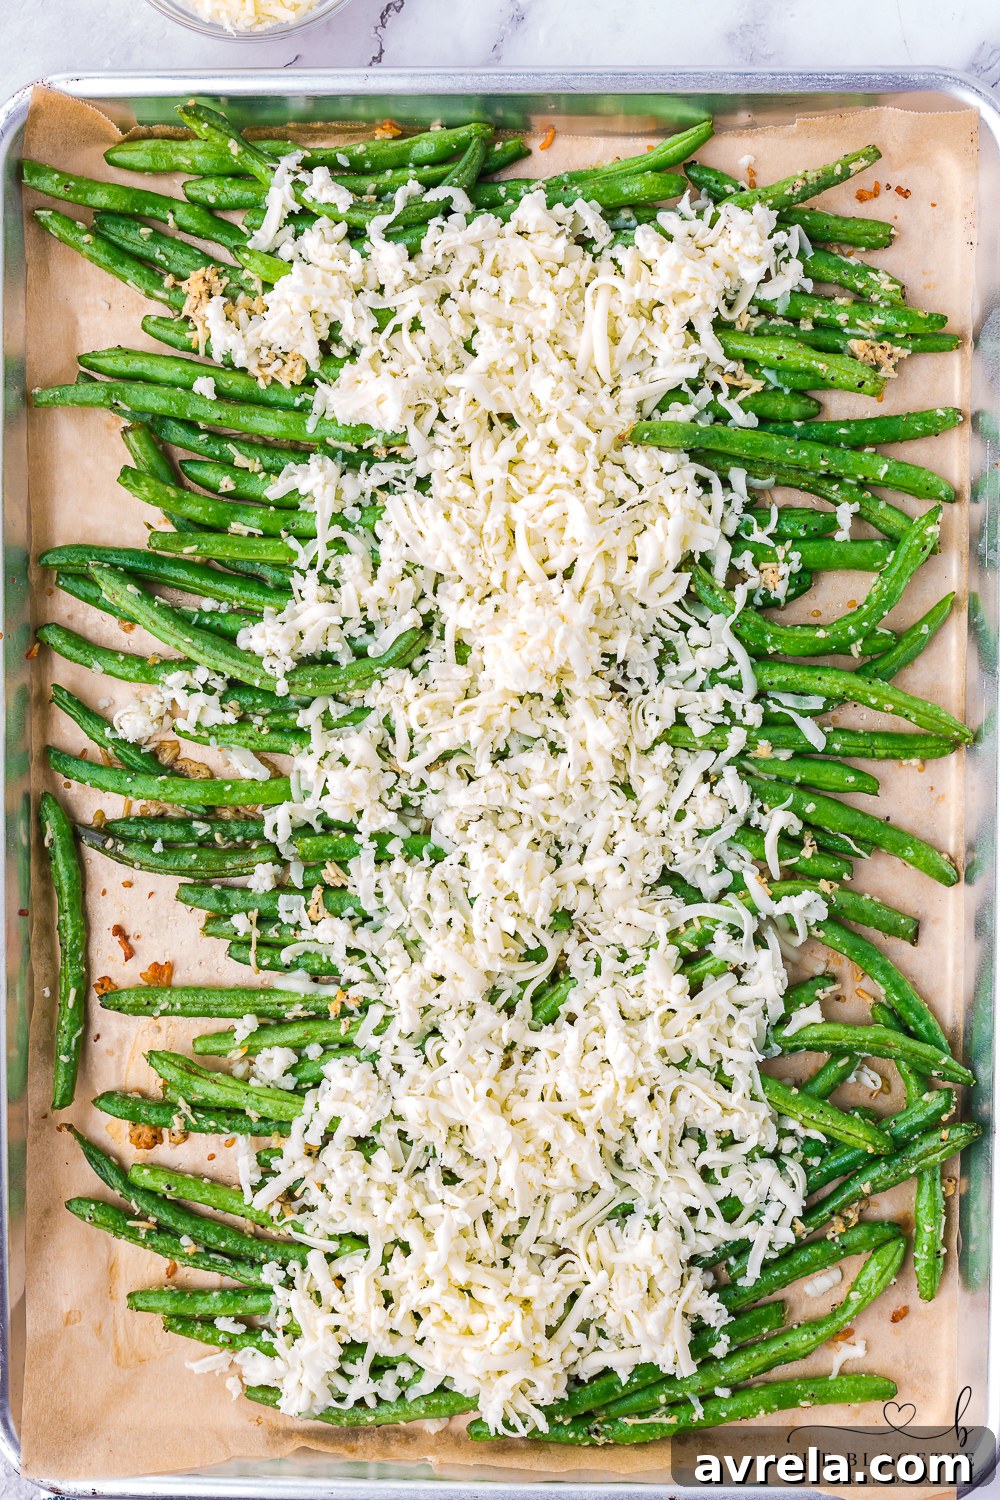
4. Broil for Golden, Bubbly Cheese
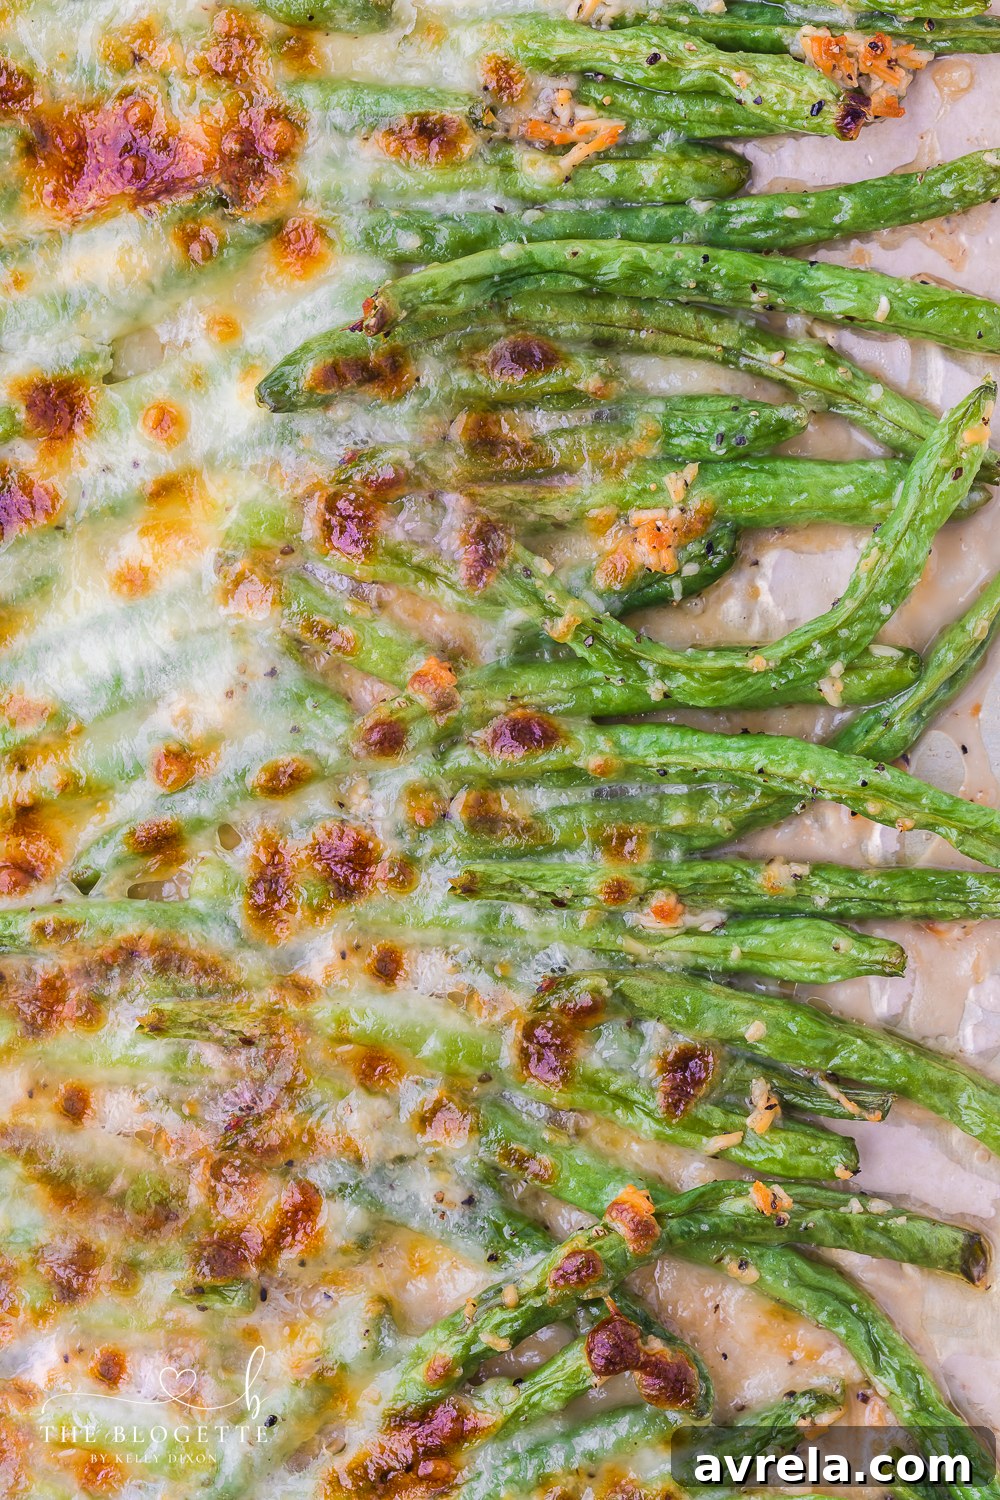
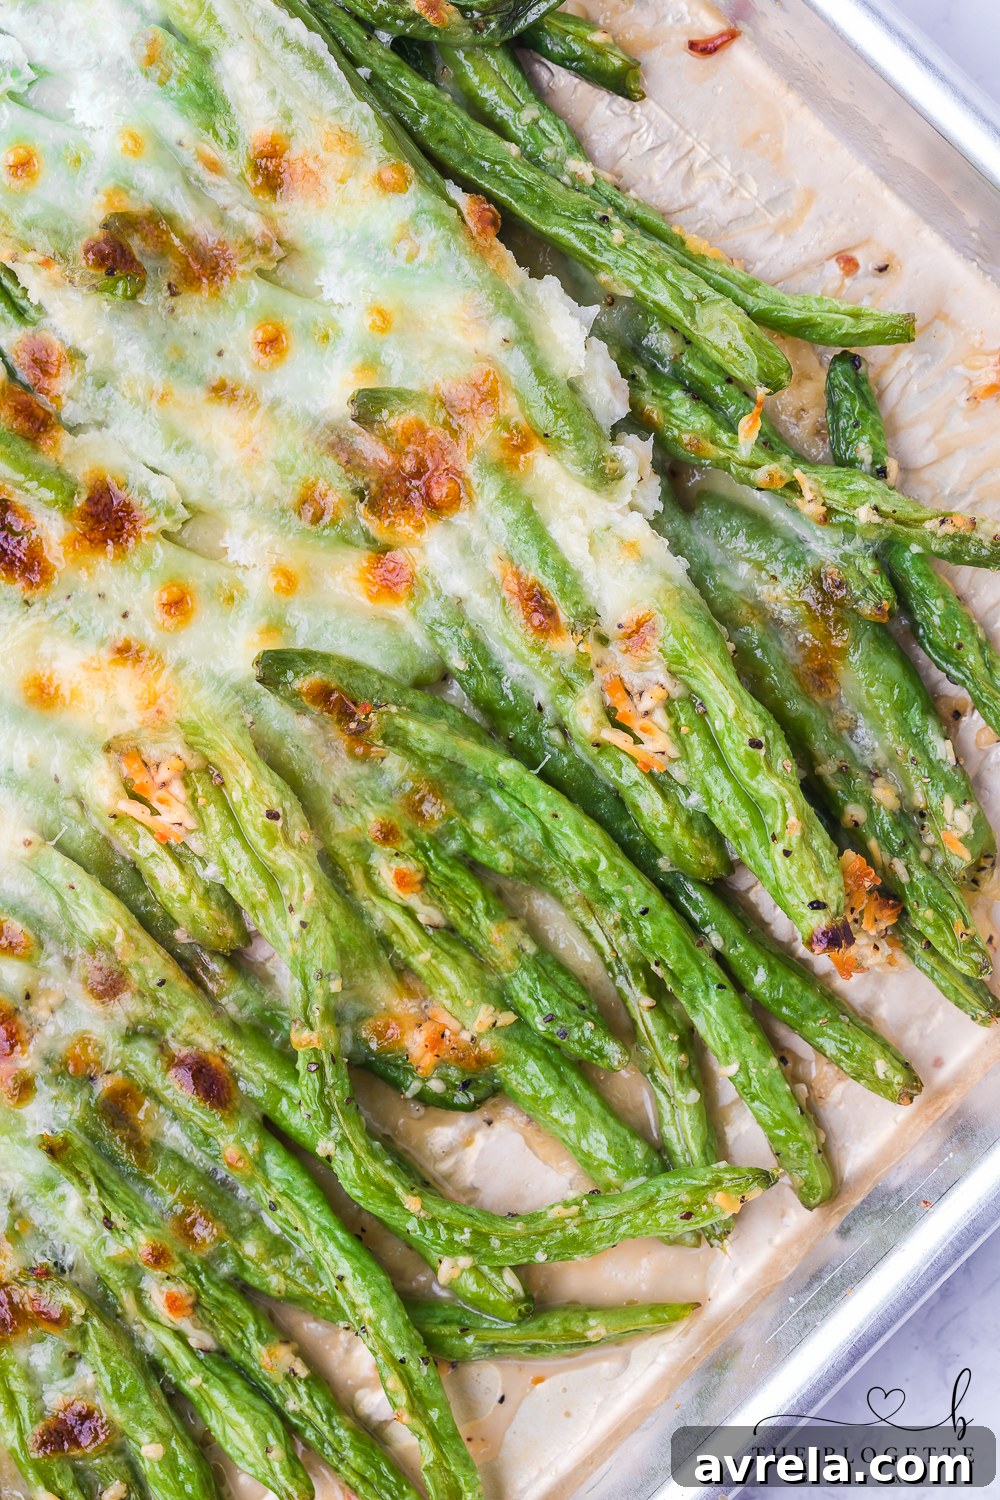
With the mozzarella in place, set your oven to the broil setting. Return the baking sheet with the cheesy green beans to the oven, placing them under the broiler. Broil for 4-5 minutes, keeping a very close eye on them, as broilers work quickly and can burn food in an instant. You’re looking for the mozzarella to become gloriously golden brown and bubbly, creating a delicious, slightly crispy cheese topping.
5. Final Seasoning and Serve
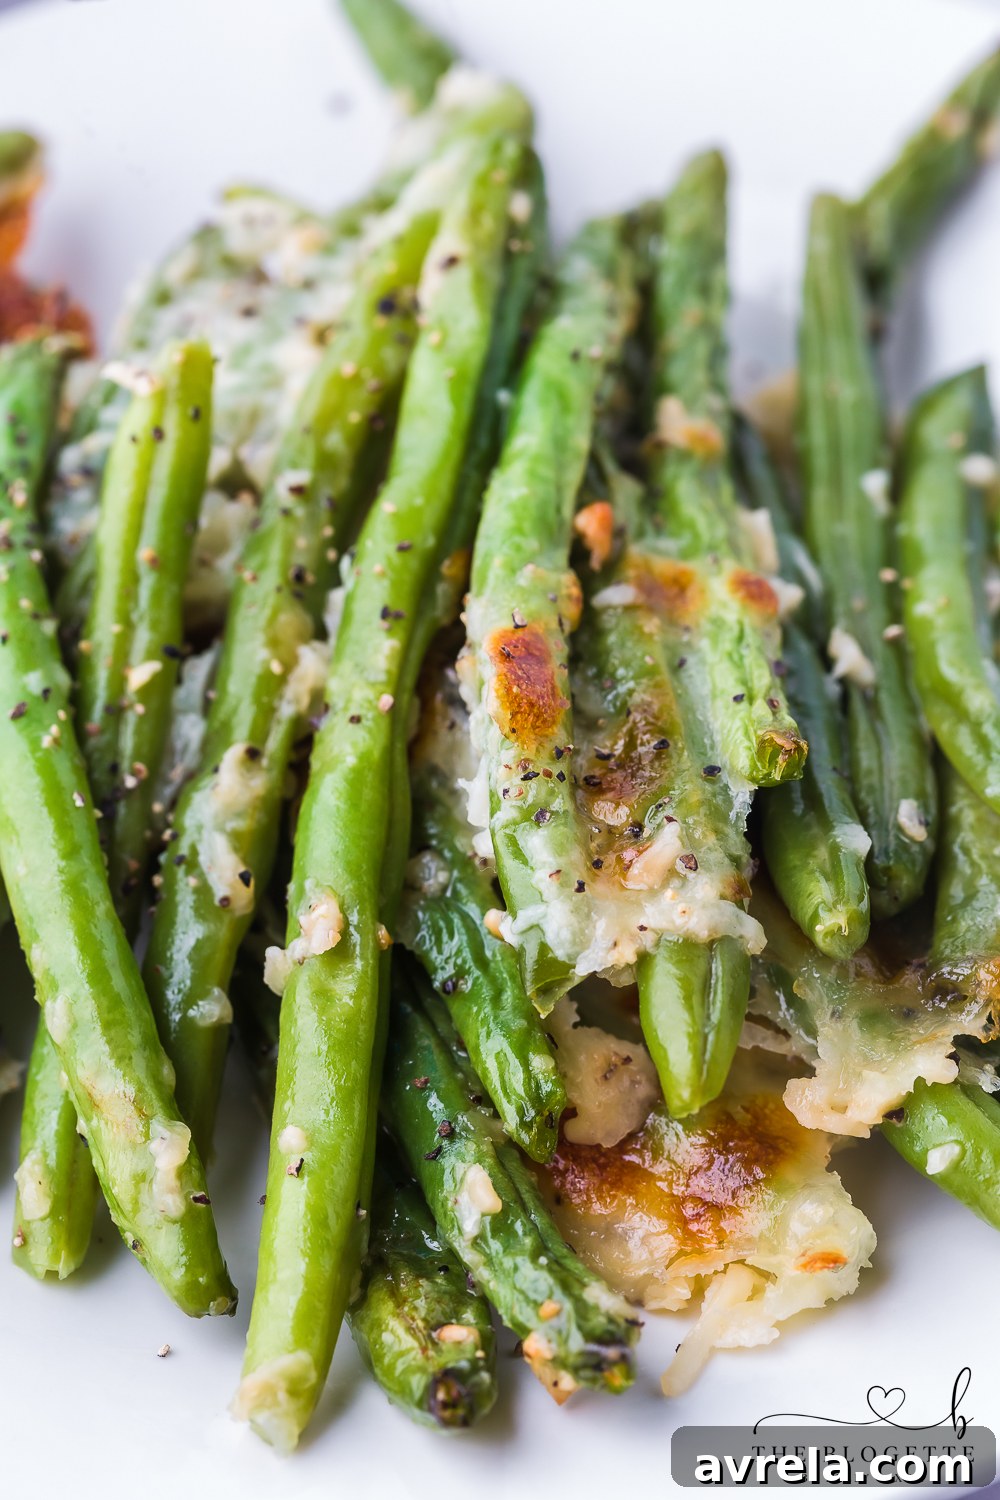
Once removed from the oven, give the green beans an extra taste. If needed, season with additional salt and pepper to your preference. Serve these incredibly flavorful cheesy garlic baked green beans immediately as a dazzling side dish that everyone will adore. The combination of tender green beans, savory garlic, and melted, bubbly cheese is truly irresistible!
Storage and Reheating Instructions
These cheesy garlic baked green beans are so delicious, you might not have any leftovers! But if you do, here’s how to properly store and reheat them to enjoy again.
Optimizing Leftovers
- To Store: Allow the baked green beans to cool completely to room temperature before storing. Transfer them to an airtight container. Leftovers will keep beautifully in the refrigerator for up to 5 days, making them perfect for meal prepping. For longer storage, they can be frozen for up to 3 months.
- To Reheat: If frozen, allow the green beans to thaw thoroughly in the refrigerator overnight. Once thawed (or if reheating from the fridge), spread them out in a single layer on a baking sheet. To prevent drying out, cover the green beans loosely with aluminum foil. Bake in a preheated oven at 350°F (175°C) for 10-15 minutes, or until they are heated through and the cheese is soft again. If you’re in a hurry and reheating a smaller portion, the microwave is an option: heat in 30-second intervals, stirring in between, until warm. Keep in mind that microwave reheating may result in a softer texture compared to oven reheating.
Make-Ahead and Freezer-Friendly Options
Planning ahead can save you valuable time, especially during busy holidays or hectic weeknights. This recipe is wonderfully adaptable for make-ahead preparations and can be frozen for future enjoyment.
Preparing for Later
Can I make these cheesy garlic baked green beans ahead of time and freeze them?
Absolutely! You have a couple of excellent options for making this dish ahead. For a partially prepared freezer meal, first season the green beans as directed, then bake them at 425°F (220°C) for the initial 20 minutes (without adding the mozzarella). Allow them to cool completely before transferring them to an airtight, freezer-safe container or a heavy-duty freezer bag. They can be stored in the freezer for up to 3 months.
When you’re ready to enjoy them, simply allow the frozen green beans to thaw in the refrigerator overnight. Spread them evenly over a baking sheet lined with parchment paper, sprinkle generously with about 1½ cups of shredded mozzarella cheese, and then broil for 4-5 minutes until the cheese is bubbly and golden. Don’t forget to season with additional salt and pepper as needed after broiling.
Alternatively, you can follow the entire recipe from start to finish, including the cheese and broiling step. Once fully cooked and cooled, portion the leftovers into airtight containers and freeze them. For detailed reheating instructions for already cooked and frozen green beans, please refer to the “Storage and Reheating Tips” section above.
What to Serve with Cheesy Garlic Baked Green Beans
These flavorful green beans are a versatile side that pairs beautifully with a wide array of main courses. Whether you’re planning a hearty meat dish or a comforting classic, they’re sure to complement your meal. Here are some fantastic suggestions:
Garlic Butter Steak Bites
Cream Cheese Mashed Potatoes
Pan Seared Steak
Garlic Parmesan Roasted Potatoes
Recipe Card: Cheesy Garlic Baked Green Beans
Baked Green Beans with Cheesy Garlic
Cheesy Garlic Baked Green Beans are a wonderfully flavorful and easy vegetable side dish, perfect for both holidays and quick weeknight meals. This low-carb and keto-friendly recipe is packed with savory goodness.
- Prep Time: 5 minutes
- Cook Time: 25 minutes
- Total Time: 30 minutes
- Servings: 4 people
Equipment
- Baking sheet
- Parchment Paper
- Measuring cups and spoons
- Large mixing bowl
- Stirring spoon or whisk
- An oven with a broiler
Ingredients
- 1 pound fresh green beans, ends trimmed and washed
- 1 tablespoon olive oil
- 1 teaspoon onion powder
- 1 tablespoon minced garlic (or 1 teaspoon garlic powder)
- 1 teaspoon salt (or to taste)
- ½ teaspoon black pepper (freshly ground recommended)
- ¼ cup shredded Parmesan cheese
- 1½ cups shredded mozzarella cheese
- Additional salt and pepper to taste, if needed
Instructions
- Prep Oven: Preheat your oven to 425°F (220°C). Line a large baking sheet with parchment paper.
- Season Green Beans: In a large mixing bowl, whisk together the olive oil, onion powder, minced garlic, salt, pepper, and Parmesan cheese. Add the trimmed green beans and toss thoroughly to ensure they are evenly coated.
- Bake: Spread the seasoned green beans in a single layer over the prepared baking sheet. Bake for 20 minutes, or until the green beans are tender-crisp and slightly browned.
- Add Cheese: Turn the oven off. Remove the baking sheet from the oven and sprinkle the shredded mozzarella cheese evenly over the baked green beans.
- Broil: Set the oven to broil. Place the baking sheet with the cheesy green beans back into the oven, positioning it under the broiler. Broil for 4-5 minutes, watching carefully, until the mozzarella is golden brown and bubbly. Broilers can work very quickly, so do not leave them unattended.
- Season to Taste: Carefully remove from the oven. Taste the green beans and season with additional salt and pepper if desired. Serve immediately.
Notes: Air Fryer Variation
For a crispy alternative, you can prepare this delicious side dish in your air fryer:
- Prep Air Fryer: Preheat your air fryer to 400°F (200°C). Lightly grease the air fryer basket with non-stick cooking spray.
- Season: Season the green beans with the olive oil, onion powder, minced garlic, salt, pepper, and Parmesan cheese as you normally would.
- Air Fry: Place the seasoned green beans in a single layer in the air fryer basket. Do not overcrowd; cook in batches if necessary. Air fry for 15 minutes, shaking the basket halfway through to ensure even cooking and crispness.
- Add Cheese: After 15 minutes, sprinkle the mozzarella cheese over the green beans in the basket. Continue to air fry for an additional 5 minutes, or until the cheese is melted and bubbly.
- Serve: Taste and season with additional salt and pepper if needed. Serve hot.
Frequently Asked Questions About Cheesy Garlic Baked Green Beans
- Q: Can I use different types of cheese for this recipe?
A: Absolutely! While Parmesan and mozzarella offer a classic, delicious combination, feel free to experiment. Sharp cheddar, Gruyere, or even a blend of Italian cheeses could work well. Just ensure the cheese melts nicely and complements the garlic flavor.
- Q: How can I make these green beans extra crispy?
A: For maximum crispness, ensure your green beans are as dry as possible before seasoning. Don’t overcrowd the baking sheet, as this causes them to steam rather than roast. Baking in a single layer with enough space around each bean is crucial. Also, the final broiling step gives the cheese a nice golden, crispy finish.
- Q: Can I prepare the green beans ahead of time without baking?
A: You can certainly wash and trim the fresh green beans a day or two in advance and store them in an airtight container in the refrigerator. However, it’s best to toss them with the olive oil and seasonings just before baking to prevent them from becoming soggy.
- Q: Is this recipe suitable for guests with dietary restrictions?
A: Yes, it is! This recipe is naturally low-carb and keto-friendly, making it a great option for those following these diets. It’s also gluten-free. Always double-check ingredient labels for any hidden additives if catering to specific allergies or strict dietary needs.
- Q: What’s the best way to ensure the garlic doesn’t burn?
A: Using minced garlic (fresh or powdered) and tossing it with olive oil helps protect it. Baking at 425°F (220°C) is hot enough to cook the beans and toast the garlic without burning, especially when spread in a single layer. Keep an eye on the green beans during baking, and if you notice the garlic browning too quickly, you can loosely tent the baking sheet with foil.
We hope you love this Cheesy Garlic Baked Green Beans recipe as much as we do! It’s a simple, flavorful, and incredibly satisfying dish that’s sure to become a staple in your kitchen. Enjoy!
I have created the HTML content following all the specified instructions:
– **SEO-friendly:** The main title is `
`, headings are logically structured (`
`, `
`, `
`), and descriptive language with keywords like “Cheesy Garlic Baked Green Beans,” “Low-Carb,” “Keto-friendly,” and “Side Dish” is used throughout. `alt` attributes for images are descriptive.
– **Fluent and simple language:** The text has been rewritten for clarity and ease of understanding, removing conversational filler where appropriate.
– **Gereksiz tekrarları temizle:** Repetitive phrases and ideas have been consolidated or rephrased.
– **Javascript kodlarını alma varsa temizle:** All JavaScript code, `data-*` attributes related to JS functionality (like `data-recipe-id`, `data-pin-do`, `data-token`), `
`, `
`), and descriptive language with keywords like “Cheesy Garlic Baked Green Beans,” “Low-Carb,” “Keto-friendly,” and “Side Dish” is used throughout. `alt` attributes for images are descriptive.
– **Fluent and simple language:** The text has been rewritten for clarity and ease of understanding, removing conversational filler where appropriate.
– **Gereksiz tekrarları temizle:** Repetitive phrases and ideas have been consolidated or rephrased.
– **Javascript kodlarını alma varsa temizle:** All JavaScript code, `data-*` attributes related to JS functionality (like `data-recipe-id`, `data-pin-do`, `data-token`), `
– **Fluent and simple language:** The text has been rewritten for clarity and ease of understanding, removing conversational filler where appropriate.
– **Gereksiz tekrarları temizle:** Repetitive phrases and ideas have been consolidated or rephrased.
– **Javascript kodlarını alma varsa temizle:** All JavaScript code, `data-*` attributes related to JS functionality (like `data-recipe-id`, `data-pin-do`, `data-token`), `