
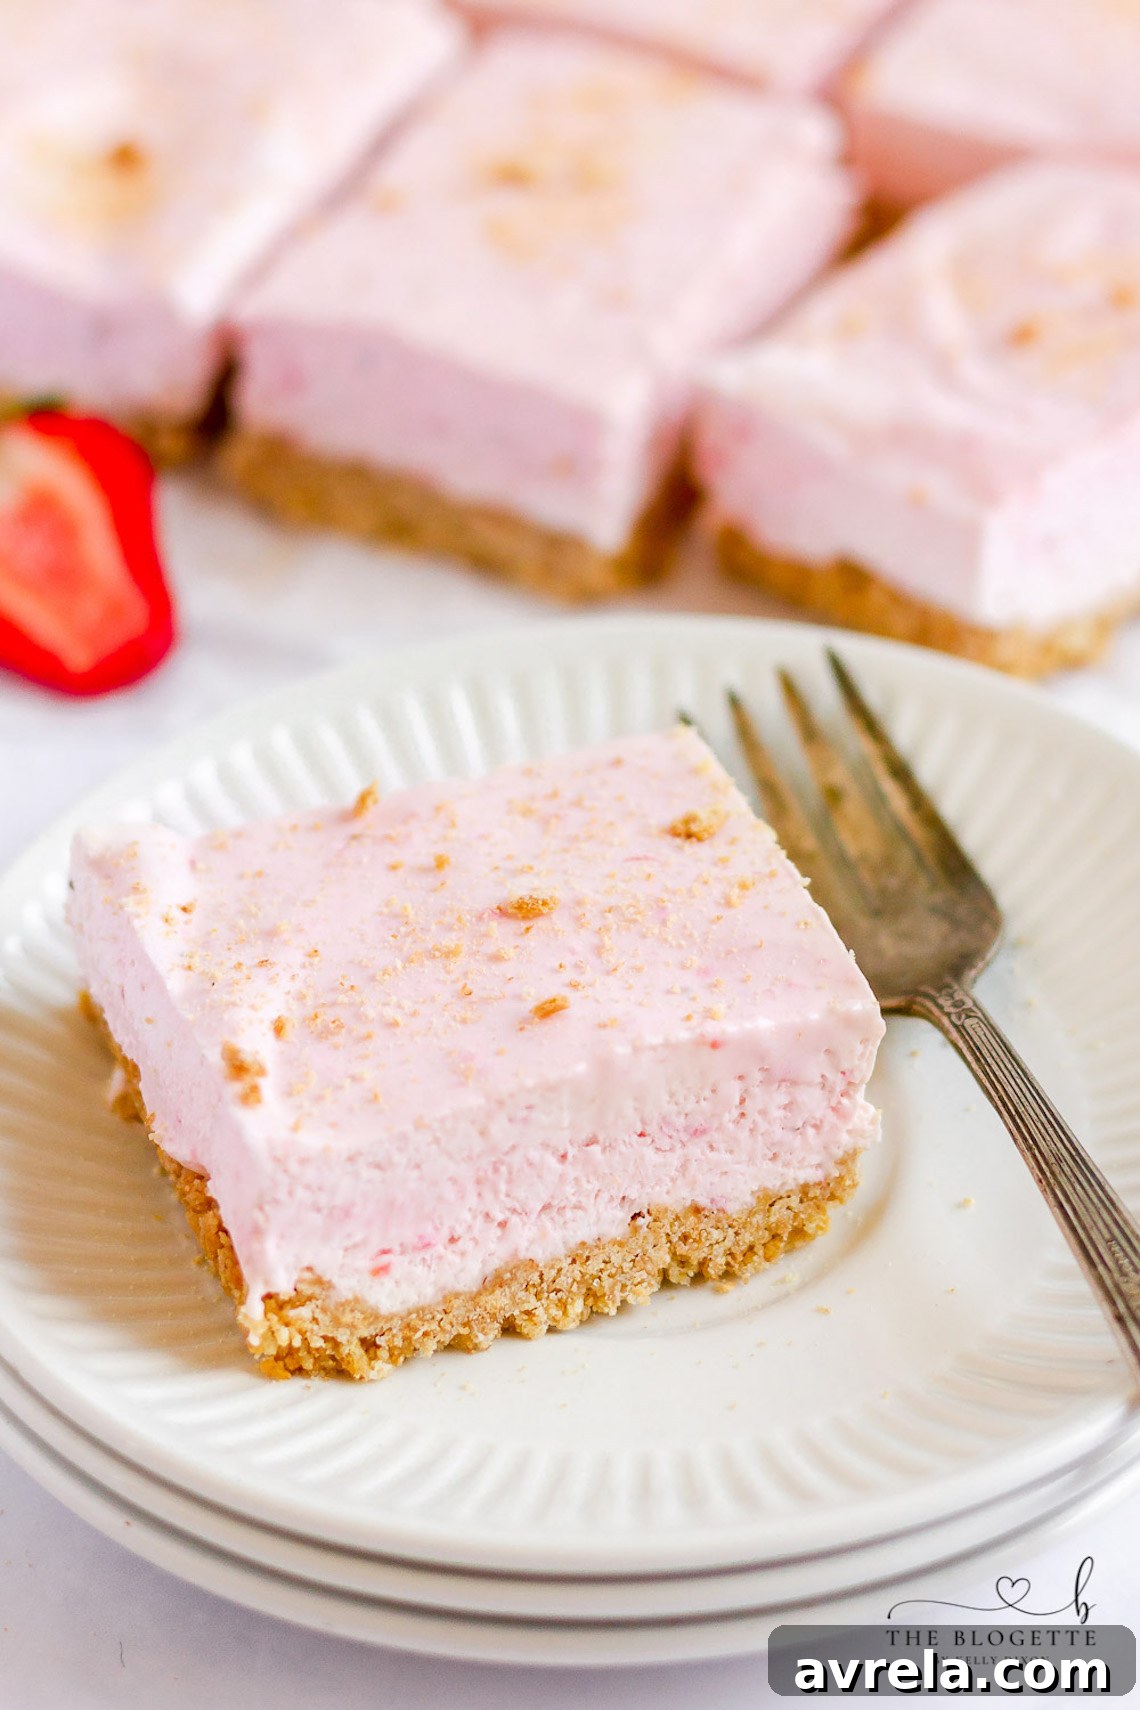
Introducing the ultimate dessert for warm weather gatherings: **Strawberry Cheesecake Bars**! These delightful bars feature a rich graham cracker crust, a velvety smooth cheesecake layer, and a vibrant, no-bake strawberry topping. They’re a true celebration of spring and summer, offering a refreshing burst of fruity flavor paired with classic creamy indulgence. Perfect for picnics, potlucks, or a simple weeknight treat, this recipe is designed for convenience, allowing you to prepare them ahead of time and even freeze them for future enjoyment. Get ready to impress with minimal effort and maximum deliciousness!
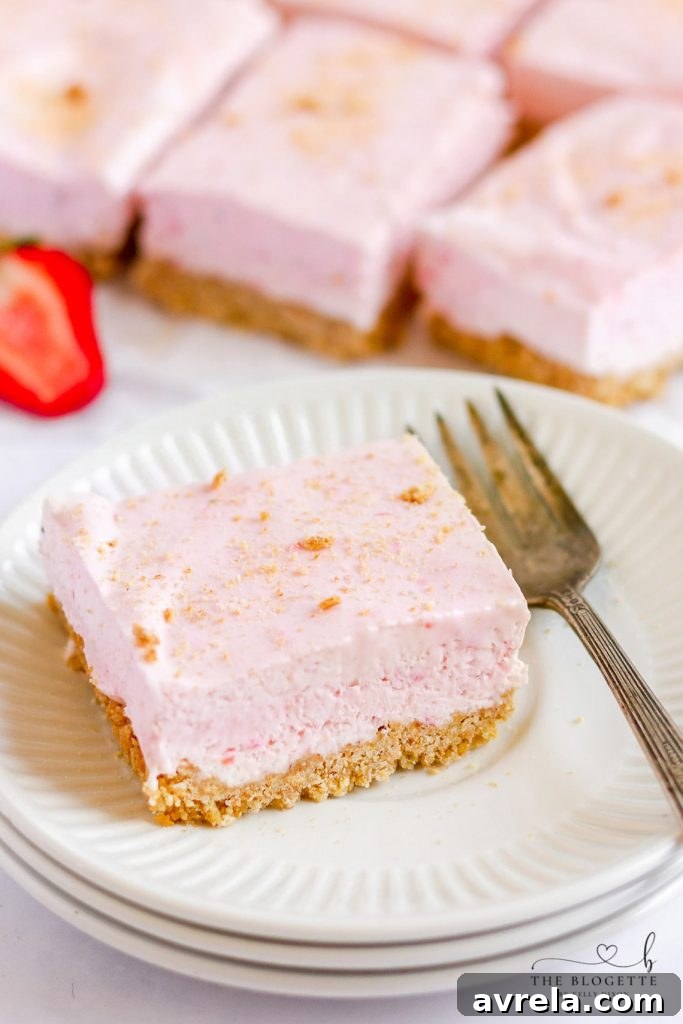
Irresistible No-Bake Strawberry Cheesecake Bars
These no-bake strawberry cheesecake bars are truly a game-changer for anyone seeking a fun, easy, and undeniably delicious dessert, especially as temperatures rise. Imagine a golden, buttery graham cracker crust forming the perfect foundation for a lusciously creamy and unbelievably smooth strawberry cheesecake filling. The best part? There’s absolutely no need to turn on your oven, making this recipe a fantastic choice for keeping your kitchen cool during those hot summer months. It’s a dessert that perfectly balances rich creaminess with the bright, refreshing tang of fresh strawberries, promising a delightful bite every single time.
Pin this now to save it for later
Pin It Now
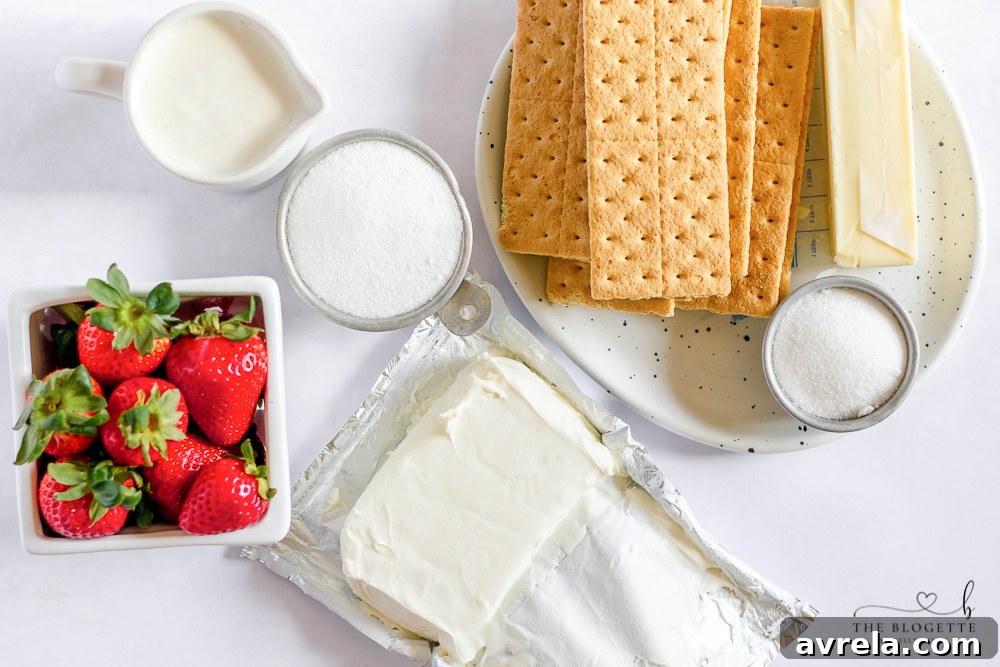
Ingredients for the Perfect No-Bake Strawberry Cheesecake Bars
Crafting these amazing bars requires simple, wholesome ingredients that come together to create a symphony of flavors and textures. Each component plays a crucial role in achieving that signature cheesecake bar perfection.
For the Crispy Graham Cracker Crust:
- Graham Crackers: The backbone of our crust, providing a classic, slightly sweet, and wonderfully crunchy base. We’ll be crushing these into fine crumbs for optimal texture.
- Granulated Sugar: A touch of sweetness that enhances the graham crackers’ flavor and helps bind the crust together.
- Melted Butter: The essential binding agent that transforms the dry crumbs into a cohesive crust. It also adds a rich, irresistible flavor that complements the cheesecake beautifully.
For the Creamy Strawberry Cheesecake Filling:
- Cream Cheese (Room Temperature): The star of any cheesecake! Using room temperature cream cheese is vital for achieving a silky-smooth, lump-free filling. It provides the signature tangy and rich creaminess that we all adore.
- Fresh Strawberries (Sliced and De-stemmed): The vibrant heart of our dessert. Fresh, ripe strawberries offer natural sweetness, a delightful tang, and a gorgeous pink hue. Slicing and de-stemming them ensures easy blending and maximum flavor distribution.
- Granulated Sugar: Balances the tartness of the cream cheese and strawberries, creating a perfectly sweet and harmonious flavor profile for the filling.
- Vanilla Extract: A classic flavor enhancer that adds warmth and depth, complementing both the strawberries and the cream cheese.
- Heavy Whipping Cream (Chilled): When whipped, this transforms into light and airy peaks that are gently folded into the cream cheese mixture. This step is crucial for giving the no-bake cheesecake its incredibly light, fluffy, and mousse-like texture, setting it apart from denser baked cheesecakes. Make sure it’s well-chilled for best results!
Step-by-Step Instructions: Crafting Your Delicious Strawberry Cheesecake Bars
Follow these simple steps to create your own batch of these amazing no-bake strawberry cheesecake bars. Precision and patience are key, but the process is straightforward and rewarding!
Preparing the Graham Cracker Crust:
The foundation of any great cheesecake bar is its crust. For this recipe, we begin by creating a perfectly crumbly yet firm graham cracker base.
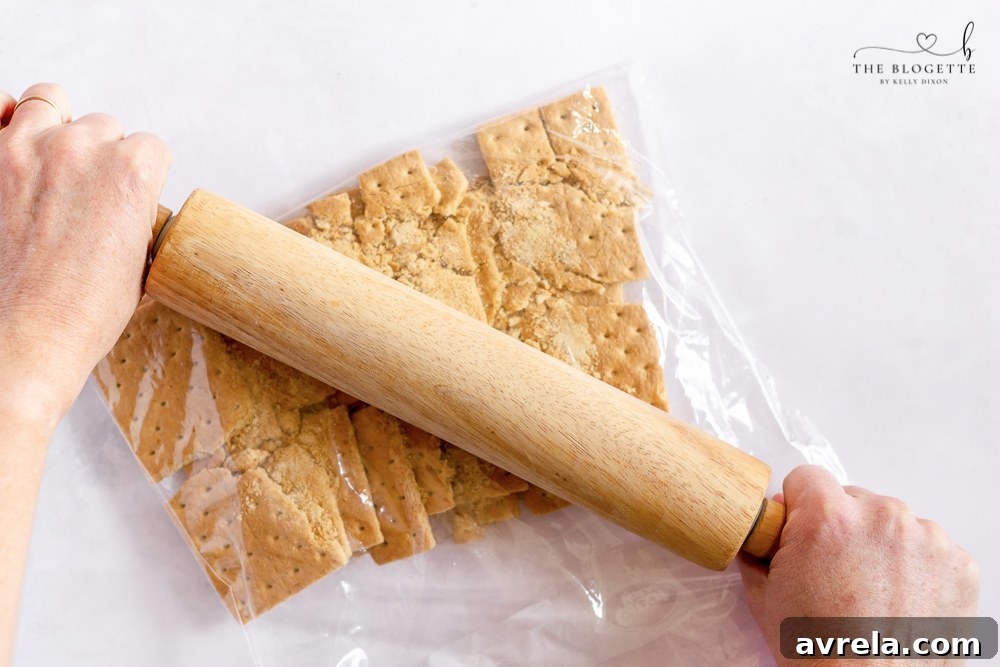
Step 1: Crush the Graham Crackers. Start by transforming your graham crackers into fine crumbs. You can achieve this in a couple of ways: either place them in a sturdy zip-top bag and crush them thoroughly with a rolling pin until uniformly fine, or, for a quicker and more consistent result, pulse them in a food processor until they resemble fine sand. The finer the crumbs, the more cohesive your crust will be.
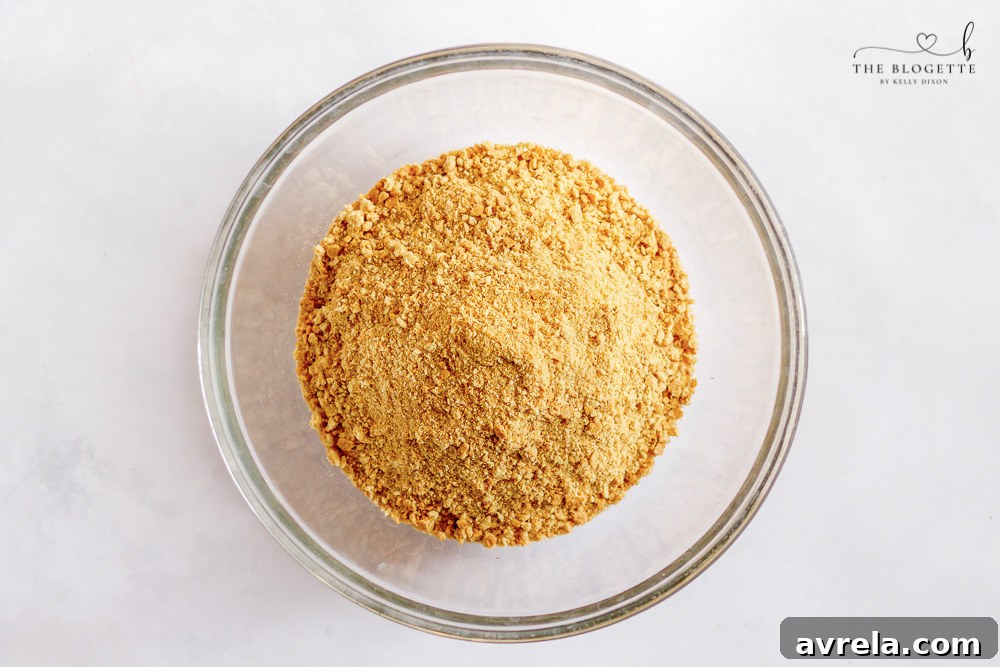
Step 2: Combine and Press. Pour the crushed graham cracker crumbs into a medium-sized bowl. Add the granulated sugar and the melted butter. Stir these ingredients together vigorously until they are evenly combined and the crumbs are uniformly moistened, resembling wet sand. This ensures that every part of the crust will bind together properly. Next, press this mixture firmly and evenly into an 8×8 inch square pan that has been lined with parchment paper. The parchment paper is crucial as it creates “slings” that will allow you to easily lift the entire cheesecake bar out of the pan once chilled, making slicing a breeze. Use the bottom of a glass or your knuckles to ensure a compact, even layer. Refrigerate or freeze the crust while you prepare the filling; this helps it set firmly.
Crafting the Creamy Strawberry Filling:
The heart of these bars is a luscious, fruity, and incredibly smooth cheesecake filling. Achieving the right consistency is key.
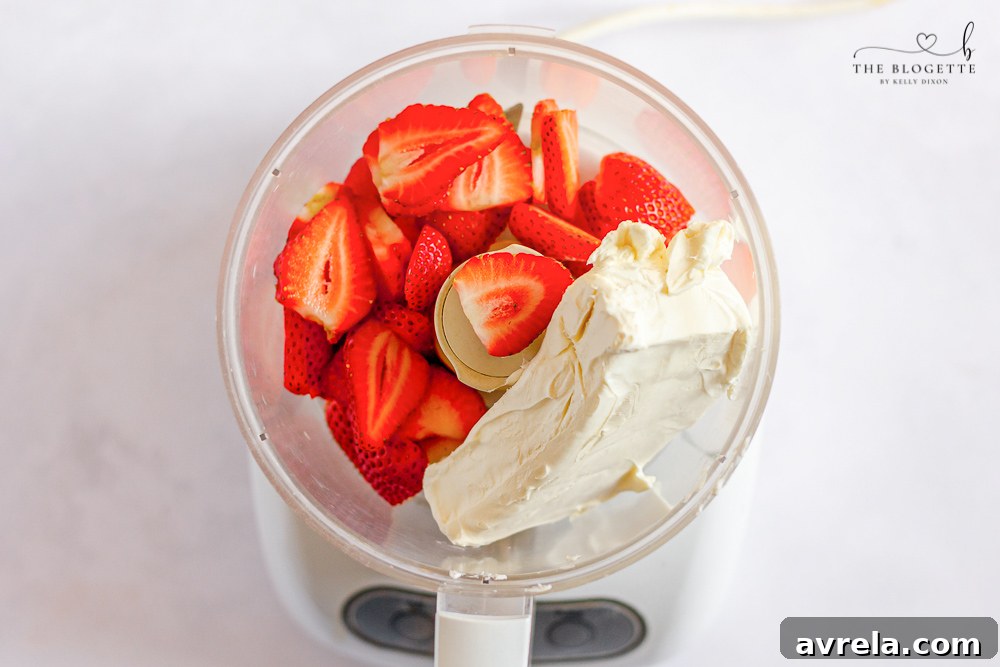
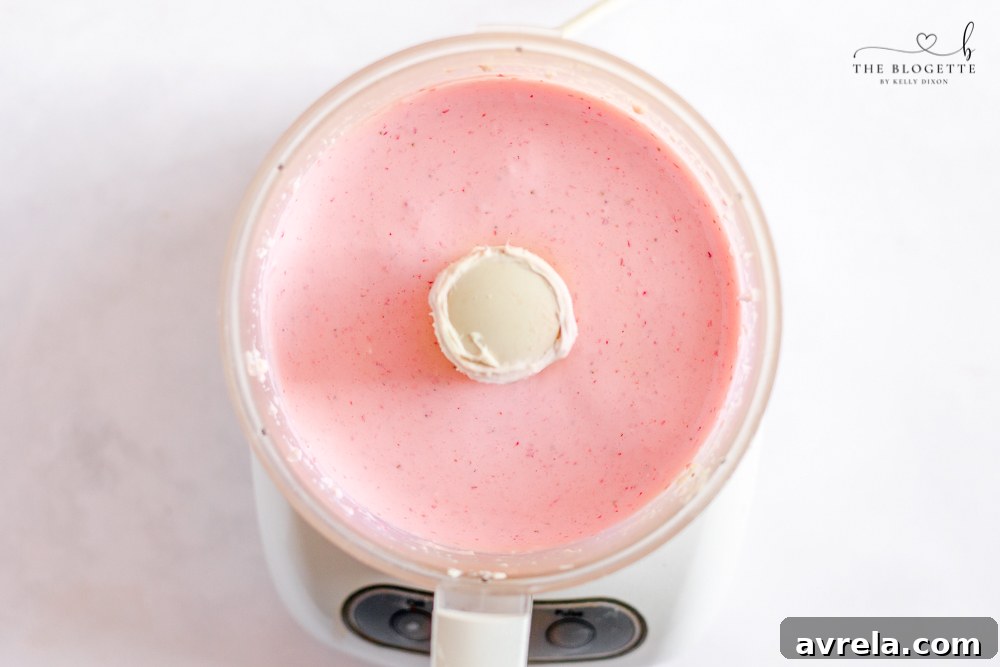
Step 3: Blend the Cream Cheese Mixture. To prepare the rich and tangy filling, combine the softened cream cheese, sliced strawberries, granulated sugar, and vanilla extract in a food processor. Process until the mixture is completely smooth and creamy, with no lumps of cream cheese or large pieces of strawberry remaining. This might take a few minutes, scraping down the sides as needed to ensure everything is fully incorporated.
Step 4: Alternative Hand Mixing. If you don’t have a food processor, you can still achieve a fantastic filling! Mash the fresh strawberries thoroughly by hand using a fork or potato masher. In a separate bowl, ensure your cream cheese is *very* soft (you can gently warm it in the microwave for a few seconds if necessary). Then, whisk the cream cheese, mashed strawberries, sugar, and vanilla extract together until smooth and creamy. A hand mixer can be very helpful here to achieve the desired consistency.
Step 5: Whip the Heavy Cream. In a separate, chilled bowl (using a cold bowl helps the cream whip faster), whip the heavy whipping cream until stiff peaks form. This means when you lift the beaters, the cream stands up firmly. Be careful not to over-whip, or it will become grainy.
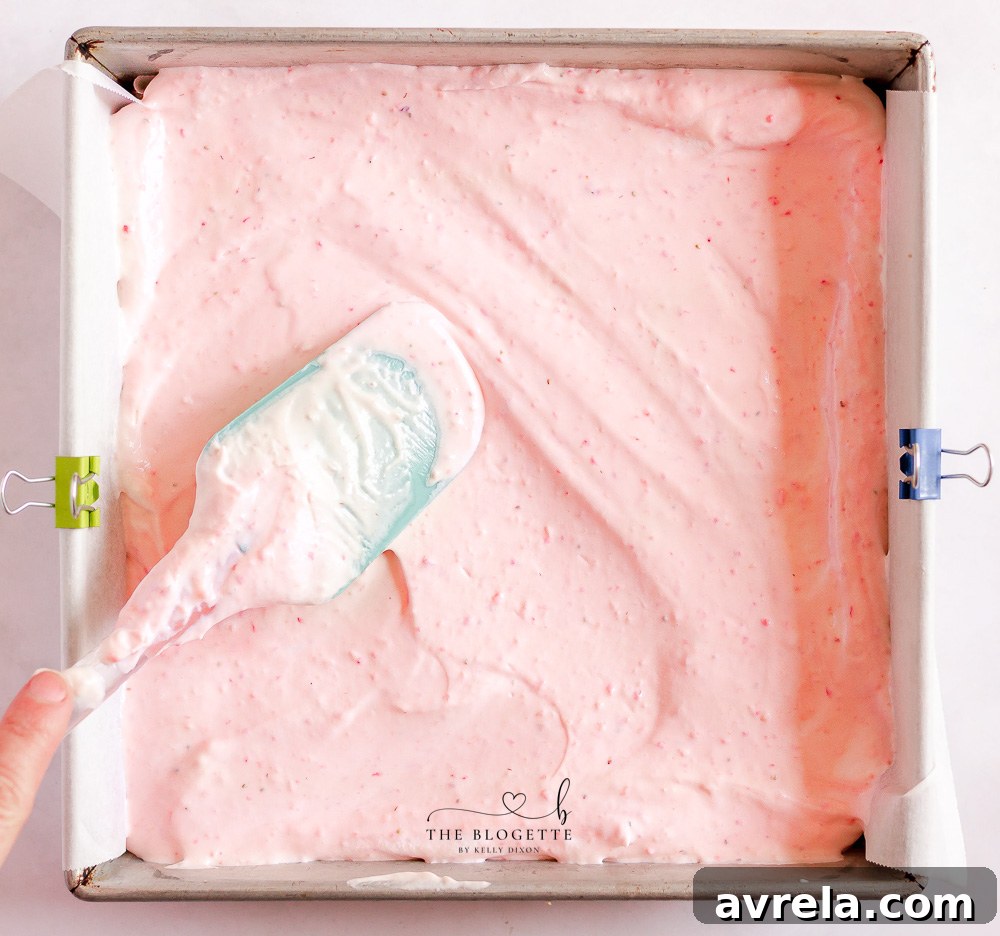
Step 6: Fold Gently. Carefully add the cream cheese and strawberry combination into the bowl with the whipped cream. Using a spatula, gently fold the two mixtures together until they are just combined and no streaks of white cream remain. Be careful not to overmix, as this can deflate the whipped cream and reduce the fluffiness of your filling. The goal is a light and airy texture.
Assembly and Chilling:
The final steps bring all the delicious components together, preparing them for the ultimate chill.
Step 7: Assemble and Freeze. Spread the freshly prepared strawberry cheesecake filling evenly over your chilled graham cracker crust. Ensure the top is smooth and level. Once assembled, place the pan into the freezer for at least one hour. This crucial freezing time allows the bars to set completely, making them easy to slice and giving them that delightful firm-yet-creamy texture. For best results and easier handling, freezing for 2-3 hours or even overnight is ideal.
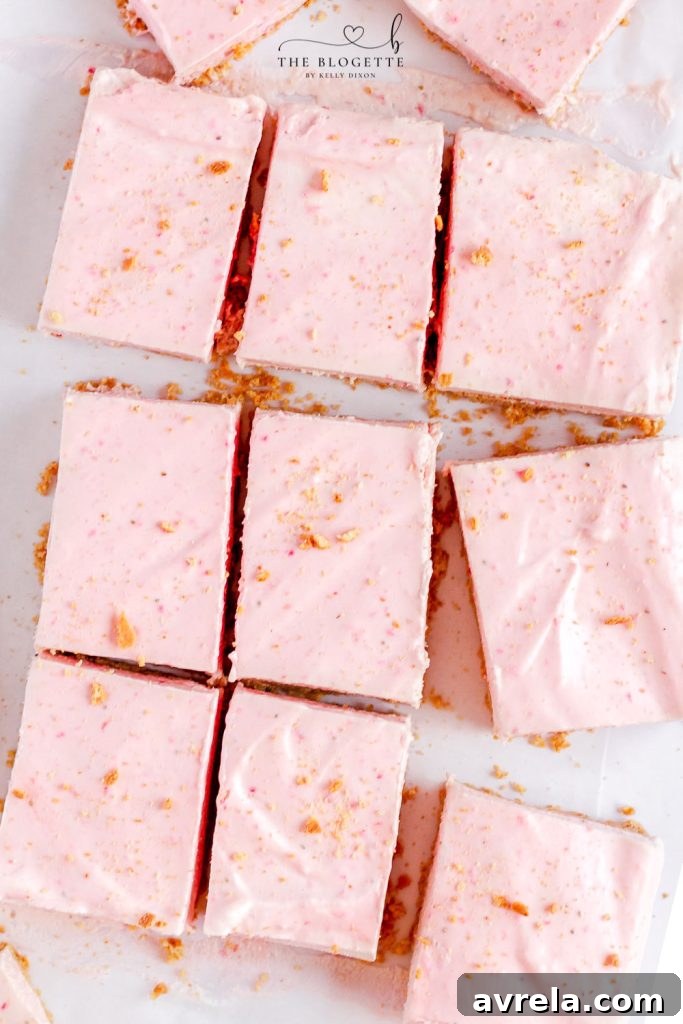
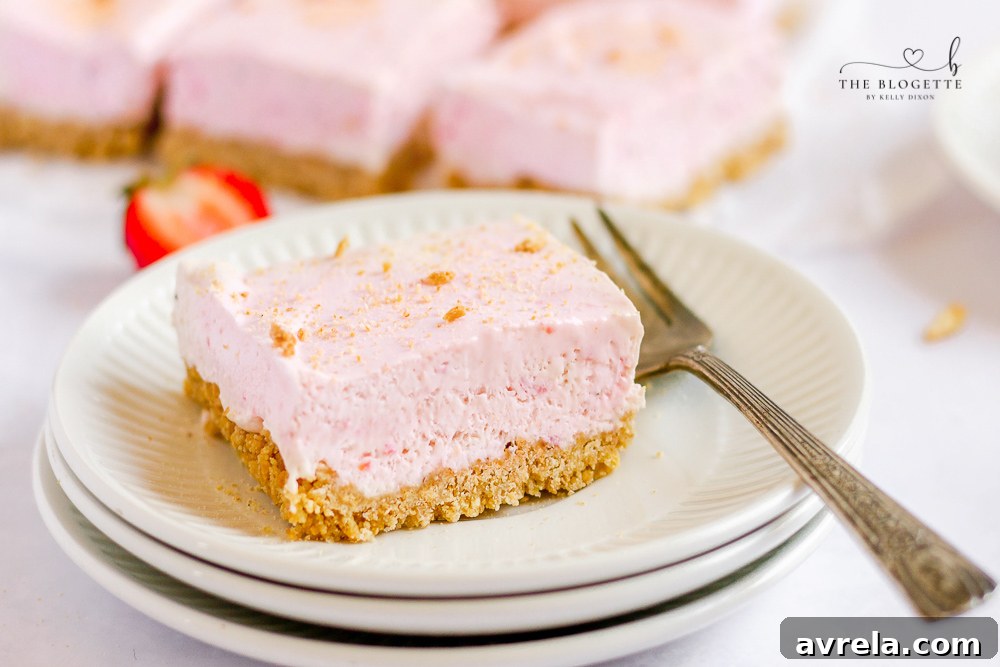
Step 8: Serving and Storage. Strawberry season is truly my favorite time of year, and once those luscious berries start appearing at markets, I can’t resist incorporating them into all sorts of strawberry desserts! These cheesecake bars are an absolute must-try. Once thoroughly chilled and firm, lift the entire block of cheesecake out of the pan using the parchment paper slings. Slice into individual bars using a sharp knife. For the cleanest cuts, wipe your knife clean between each slice. Serve immediately, perhaps garnished with an extra fresh strawberry or a sprig of mint. These bars can be covered tightly with heavy cling wrap and stored in the freezer for several days, making them perfect for advance preparation or enjoying later. They are wonderfully refreshing served slightly softened, so if they’ve been frozen solid, let them sit at room temperature for about 10-15 minutes before serving.
More Delicious Dessert Recipes to Explore
Creamy No-Bake Banana Pudding
TikTok Famous Whipped Lemonade
Delightful Pineapple Upside Down Cupcakes
Moist Amish Zucchini Bread
Strawberry Cheesecake Bars Recipe Card
Pin
Strawberry Cheesecake Bars
Equipment
-
Mixing bowl
-
Food processor (optional, for crushing graham crackers and blending filling)
-
Electric hand mixer (for whipping cream)
-
8″ x 8″ square pan
-
Parchment paper
Ingredients
For the Crust:
- 1 package graham crackers (about 10 sheets)
- 2 Tablespoons granulated sugar
- ½ cup butter, melted
For the Filling:
- 1 (8 oz) package cream cheese, room temperature
- 1 cup strawberries, sliced and de-stemmed
- ½ cup granulated sugar
- 1 teaspoon vanilla extract
- 1 cup heavy whipping cream, chilled
Instructions
-
Crush graham crackers into fine crumbs by placing them in a zip-top bag and crushing with a rolling pin, or whirling in a food processor until fine.
-
Pour the crushed crumbs into a bowl, then add the granulated sugar and melted butter.
-
Stir all crust ingredients together until evenly combined and moistened.
-
Press the graham cracker mixture firmly into an 8×8 inch square pan lined with parchment paper, ensuring an even layer.
-
Refrigerate or freeze the crust for at least 15 minutes while you prepare the filling.
-
To prepare the filling, combine the soft cream cheese, sliced strawberries, sugar, and vanilla extract in a food processor. Process until completely smooth and creamy. If you don’t have a food processor, mash the strawberries by hand and then whisk all filling ingredients together vigorously, ensuring the cream cheese is very soft to avoid lumps.
-
In a separate, chilled bowl, whip the heavy whipping cream until stiff peaks form.
-
Gently fold the cream cheese and strawberry combination into the whipped cream until just combined, being careful not to overmix.
-
Spread the finished filling evenly over the chilled graham cracker crust in the pan.
-
Freeze the bars for at least one hour before slicing and serving to ensure they are fully set.
-
For longer storage, cover the pan tightly with heavy cling wrap and freeze for several days. Allow to soften slightly at room temperature before serving for the best texture.
Notes
I personally love serving these bars half-frozen, as it gives them a delightful, almost ice-cream-like consistency. If they’ve been in the freezer for several hours or overnight, I recommend removing them about 15 minutes before you plan to slice and serve them. This allows them to soften just enough for perfect, clean cuts and a wonderful eating experience. Enjoy!
Additional Tips & Tricks for Perfect Strawberry Cheesecake Bars
Achieving the Best Texture:
- Room Temperature Cream Cheese: This cannot be stressed enough! Cold cream cheese will result in a lumpy filling. If you forget to take it out ahead of time, you can microwave the unwrapped block for 15-20 seconds on low power to soften it.
- Chilled Whipping Cream: Ensure your heavy whipping cream is very cold, and for even better results, chill your mixing bowl and beaters for 10-15 minutes before whipping. Cold cream whips up faster and holds its stiff peaks more effectively.
- Don’t Overmix: After folding the whipped cream into the strawberry mixture, stop as soon as it’s just combined. Overmixing will deflate the air from the whipped cream, leading to a denser filling.
Ingredient Substitutions and Variations:
- Other Berries: Feel free to experiment with other fresh berries! Raspberries, blueberries, or a mixed berry blend can create delicious variations. Adjust sugar content slightly depending on the sweetness of your chosen fruit.
- Crust Variations: Instead of graham crackers, you could use shortbread cookies, digestive biscuits, or even vanilla wafers for the crust.
- Chocolate Drizzle: For an extra touch of decadence, drizzle melted white or dark chocolate over the chilled bars before serving.
- Citrus Zest: A little lemon or lime zest added to the filling can brighten the flavors even further.
Make Ahead and Storage:
- These no-bake cheesecake bars are a fantastic make-ahead dessert. Prepare them fully and store them in the freezer, tightly wrapped, for up to 1-2 weeks.
- To serve, simply remove from the freezer and let them sit at room temperature for 10-15 minutes (or longer if you prefer them softer) before slicing and serving.
- Leftovers should be stored in an airtight container in the freezer.
These Strawberry Cheesecake Bars are not just easy; they are a delightful testament to how simple ingredients can create an extraordinary dessert. Their bright, fresh strawberry flavor combined with the creamy, rich cheesecake makes them an instant classic and a crowd-pleaser for any occasion. Enjoy the process of making them as much as you enjoy devouring them!