
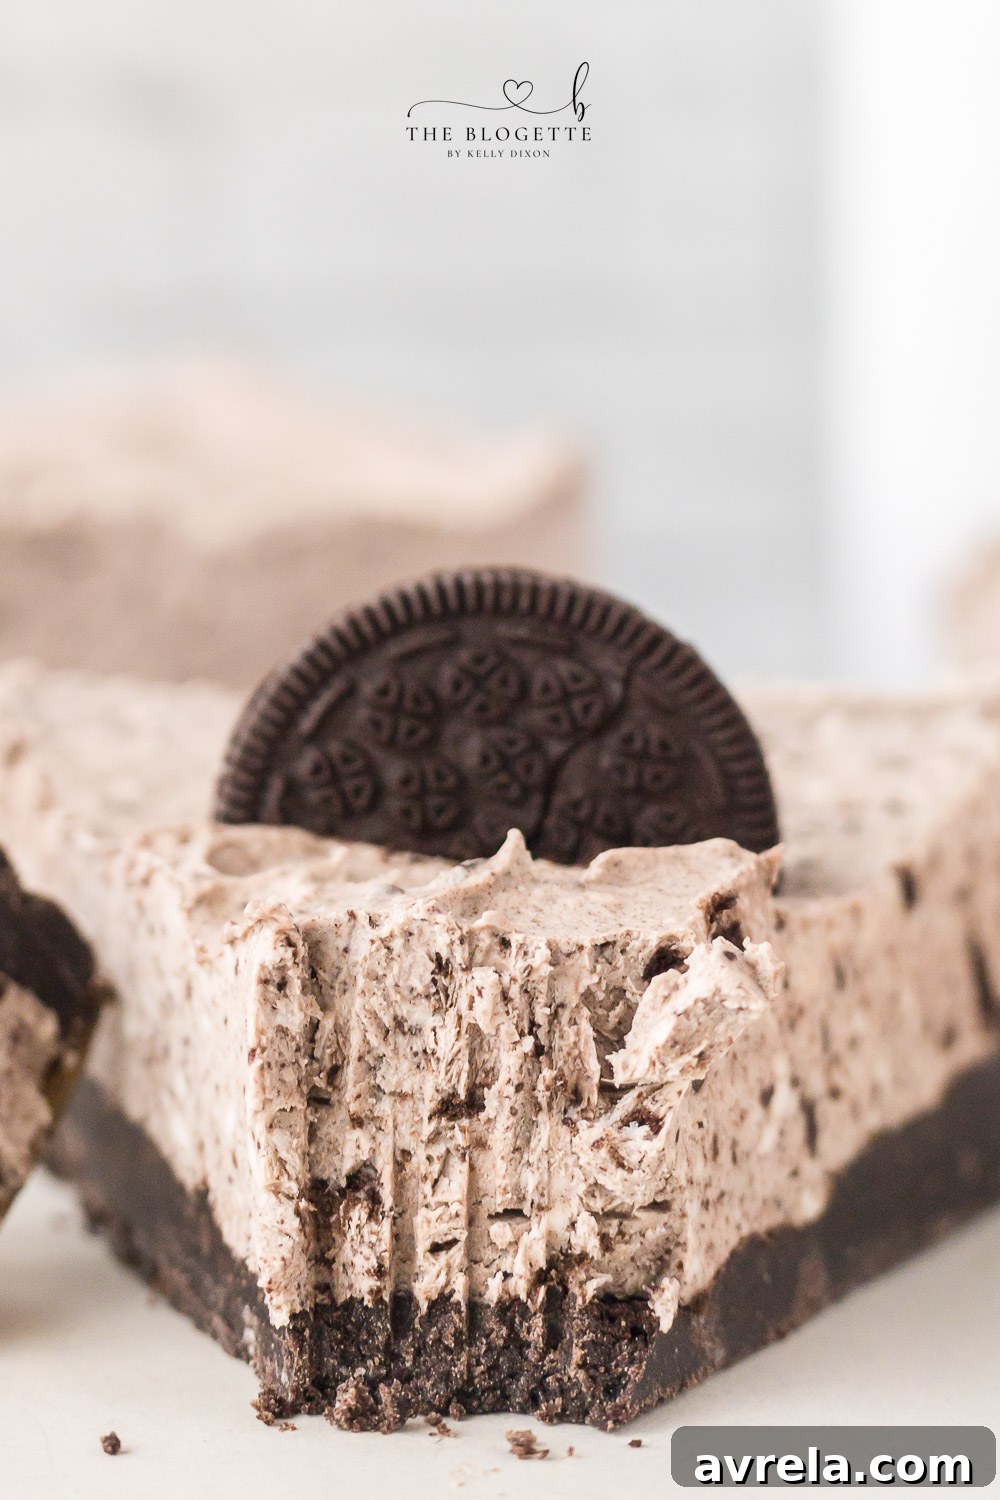
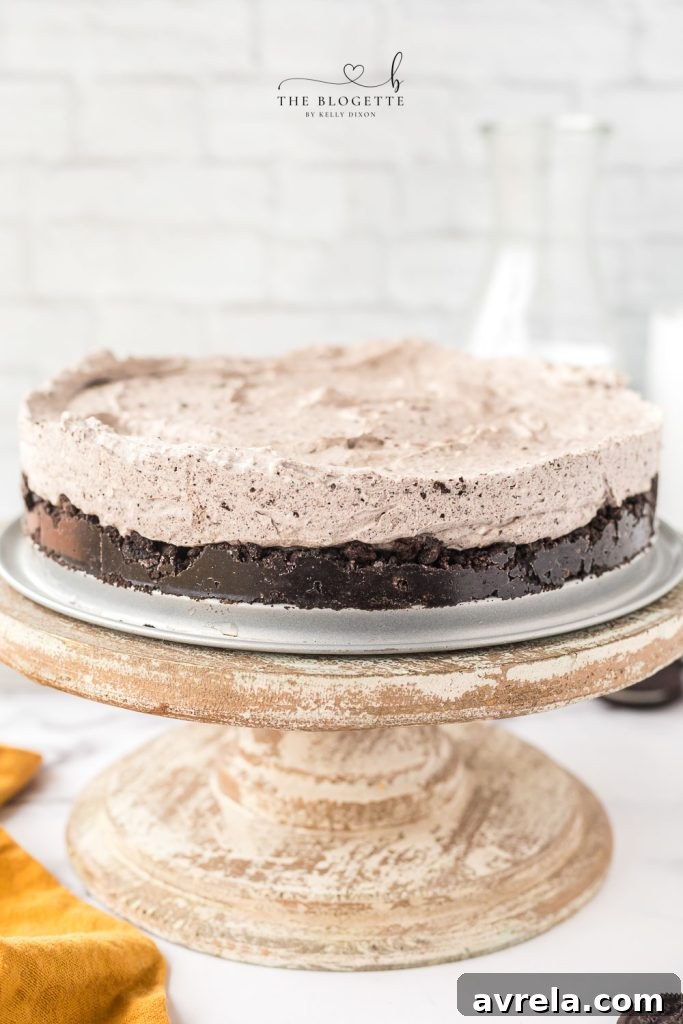
No Bake Oreo Cheesecake with its irresistible Oreo cookie pie crust is the quintessential easy summer dessert. This delightful treat is a creamy, profoundly flavorful, and utterly delicious pie crafted with just a handful of simple, readily available ingredients, including classic Oreos, rich whipped cream, and tangy cream cheese. Requiring less than 20 minutes of active preparation time, your refrigerator truly handles the majority of the work, making it a stress-free option for any occasion.
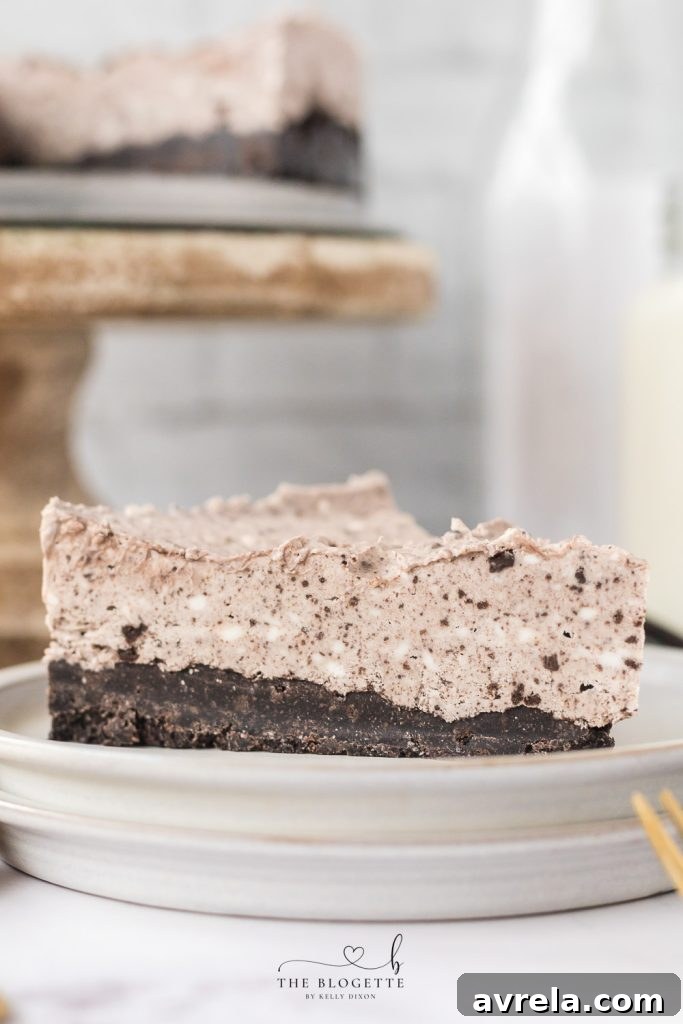
The Ultimate Easy No Bake Oreo Cheesecake: Your New Go-To Dessert
There’s nothing quite like a luscious, creamy cheesecake, especially when it requires no oven and minimal effort. Our No Bake Oreo Cheesecake recipe delivers on all fronts, combining the iconic chocolatey crunch of Oreo cookies with a velvety smooth cream cheese filling. This isn’t just a dessert; it’s a celebration of convenience and deliciousness, perfect for beating the summer heat or for satisfying a sweet craving any time of year. Since the filling needs adequate refrigeration time to set properly, typically at least 4 hours, it doubles as an ideal make-ahead dessert. For truly optimal results, we’ve found that 5 hours of chill time is the sweet spot. This extended period allows the cheesecake to firm up perfectly, ensuring it holds its shape beautifully while maintaining that desirable smooth, melt-in-your-mouth texture with every single bite.
Imagine the joy of serving a show-stopping dessert that looks and tastes incredibly indulgent, yet required only minutes of hands-on effort. This no-bake wonder takes away the stress of baking, making it accessible even for novice cooks. Its simple preparation method means more time enjoying company and less time slaving in the kitchen. Plus, the combination of creamy cheesecake and crunchy Oreos creates a textural and flavor experience that is simply unforgettable. It’s a crowd-pleaser that appeals to both adults and children, securing its place as a favorite in many homes.
Pin this now to save it for later
Pin It Now
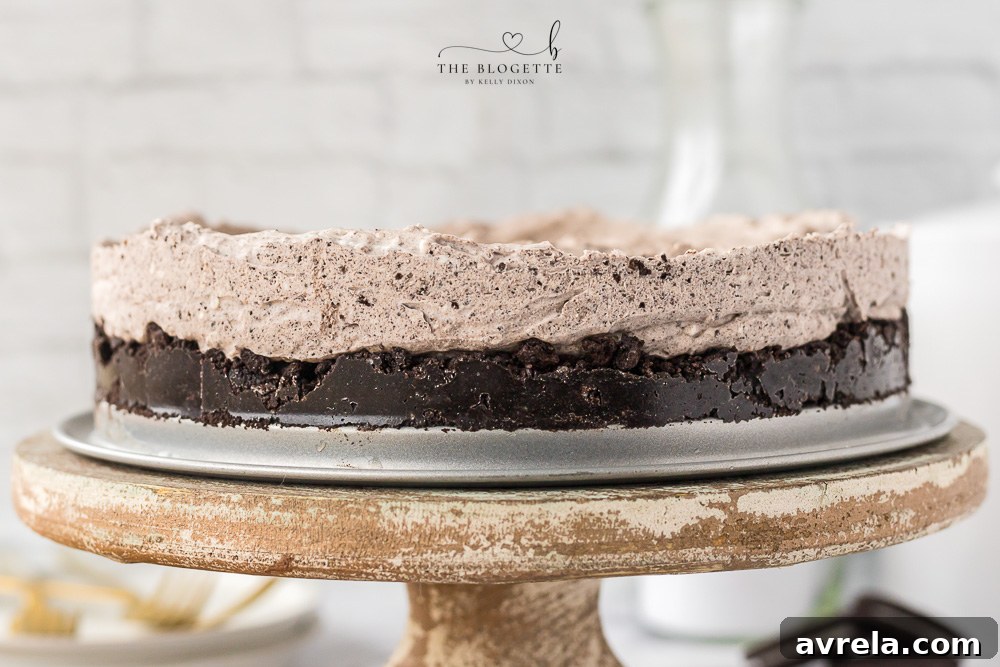
Essential Ingredients for Your Creamy Oreo Dream Cheesecake
Creating this magnificent no-bake dessert requires a short list of straightforward ingredients, most of which you likely already have in your pantry or can easily find at any grocery store. The beauty of this recipe lies in its simplicity and the way these humble components come together to create something truly extraordinary. Let’s delve into the few key ingredients that make this Oreo cheesecake so special:
- Butter: Crucial for binding the Oreo crumbs together to form a firm, buttery crust.
- Crushed Oreos: The star of the show! We use them for both the robust crust and folded into the creamy filling for bursts of chocolatey goodness.
- Cream cheese, room temperature: This is non-negotiable for a silky-smooth, lump-free filling. Cold cream cheese will result in a clumpy mixture.
- Heavy whipping cream: Provides the essential lightness and airiness to the cheesecake filling, giving it that whipped, cloud-like texture.
- Whole milk: Adds to the richness and creaminess of the filling, ensuring a perfectly balanced consistency.
- Powdered sugar: Unlike granulated sugar, powdered sugar dissolves effortlessly, ensuring a perfectly smooth and grain-free cheesecake texture.
- Vanilla extract: A touch of vanilla enhances all the other flavors, adding a warm, aromatic note to the dessert.
Using quality ingredients, especially room temperature cream cheese, is paramount to achieving the signature creamy texture of this cheesecake. Don’t underestimate the power of powdered sugar here; it prevents any gritty texture, making your filling incredibly smooth and appealing. These simple items, when combined correctly, lay the foundation for a truly unforgettable dessert experience.
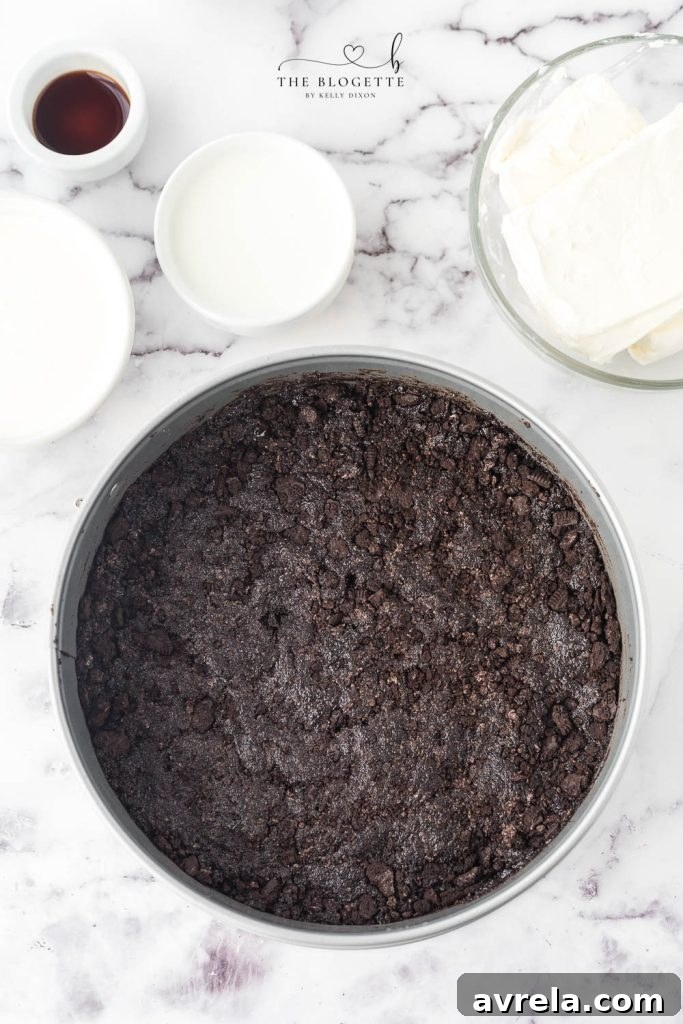
Step-by-Step Guide: Crafting Your Easy No-Bake Oreo Cheesecake
Preparing this no-bake cheesecake is surprisingly simple, broken down into two main parts: creating the delightful Oreo crust and then whipping up the luscious filling. Follow these instructions carefully, and you’ll have a stunning dessert chilling in your fridge in no time.
Part 1: The Perfect Oreo Cookie Crust
The foundation of our incredible cheesecake is its rich, dark, and crunchy Oreo cookie crust. Begin by adding 3 cups of finely crushed Oreo cookies into a 10-inch springform pan (or your preferred pie dish). While you can crush them in a food processor for ultra-fine crumbs, placing them in a Ziploc bag and crushing with a rolling pin works just as well, and can be a fun activity for kids! Next, melt the butter in a microwave-safe dish until completely liquefied. Pour this melted butter evenly over the crushed cookies. Use a fork to gently stir the mixture until all the cookie crumbs are moistened and resemble wet sand. Once combined, use the bottom of a glass or the back of a spoon to firmly press the mixture into the bottom of the pan, forming a solid and even crust. Ensure it’s packed tightly, as this will prevent it from crumbling when sliced. Set this aside as you prepare the filling.
Part 2: The Velvety Cheesecake Filling
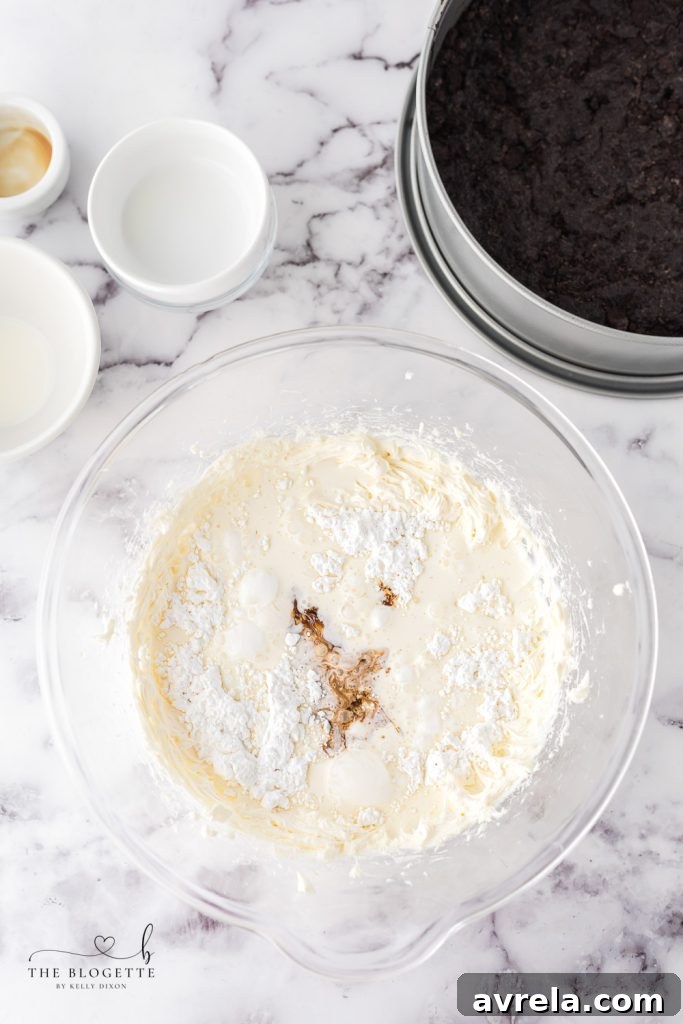
Now for the star of the show – the creamy cheesecake filling! In a large mixing bowl, take your room temperature cream cheese and whip it with an electric mixer until it is perfectly smooth and free of any lumps. This should take approximately 1 minute. The consistency should be light and airy. Next, add the heavy whipping cream, whole milk, powdered sugar, and vanilla extract to the mixing bowl. Increase the electric mixer’s speed to medium-high and continue to combine the cream cheese mixture for about 2 minutes. Keep mixing until stiff peaks begin to form, indicating that the mixture has thickened significantly and become light and fluffy. This firm consistency is essential for the cheesecake to set correctly without baking.
Bringing it All Together: Incorporating Oreo Crumbs and Chilling to Perfection
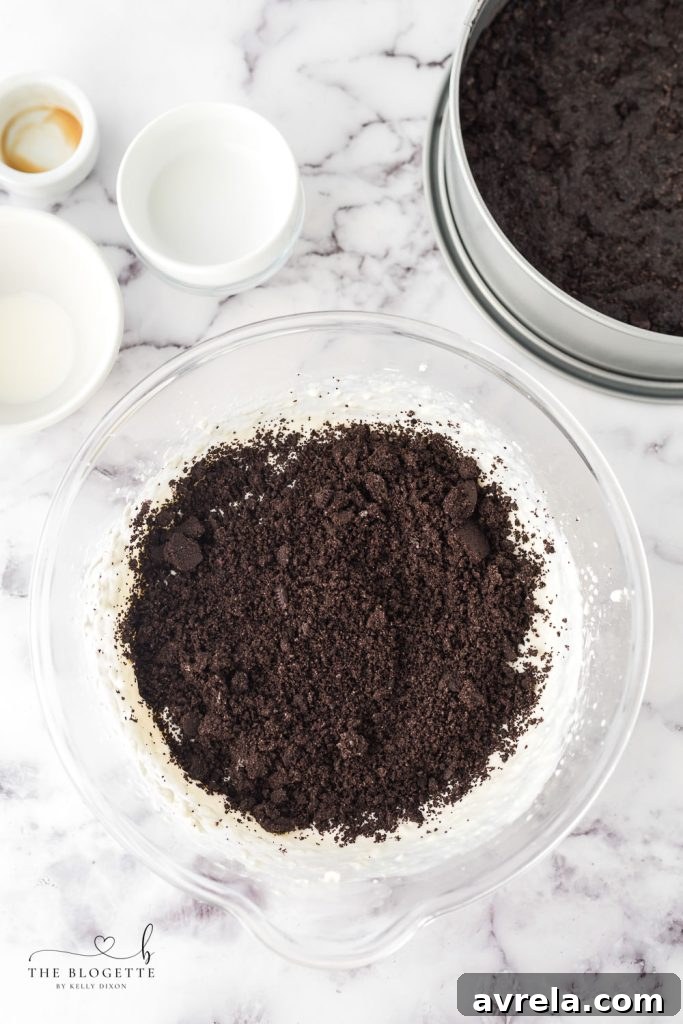
The final step before chilling is to infuse our creamy filling with even more Oreo magic. Using a spatula, gently fold in the remaining 1 cup of crushed Oreo crumbs. Be careful not to overmix at this stage; you want to retain the airiness of the whipped filling while ensuring the cookie pieces are evenly distributed throughout the cheesecake mixture. These additional crumbs provide delightful texture and an extra burst of chocolate flavor in every bite.
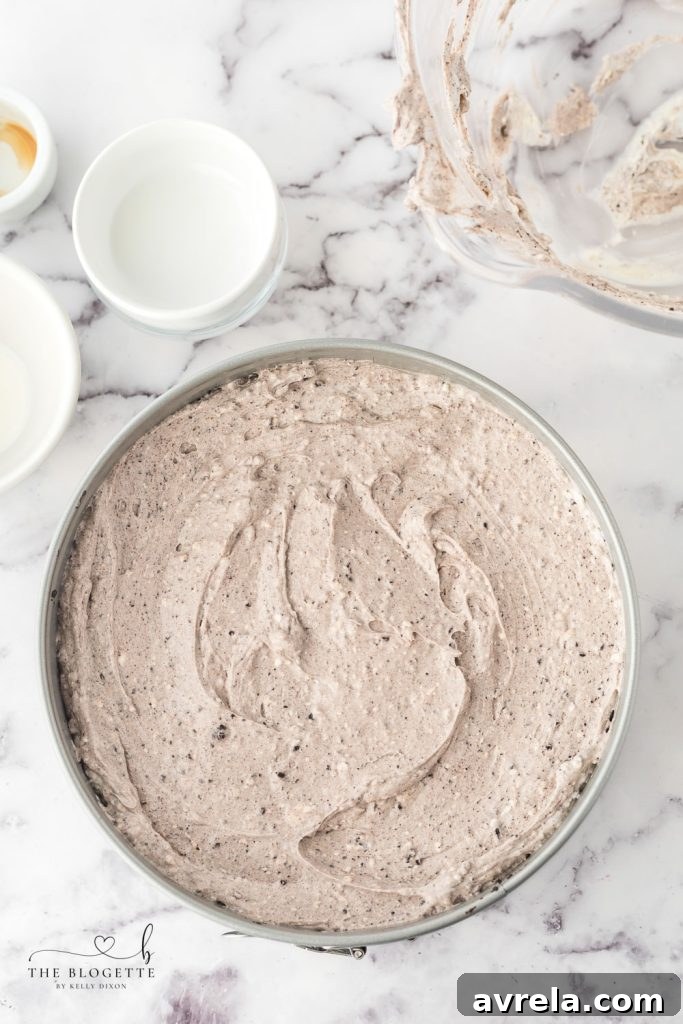
Once the Oreo crumbs are perfectly incorporated, carefully pour the cheesecake filling mixture into the prepared springform pan, spreading it evenly over your firm Oreo crust. Use the back of your spatula to smooth the top for a polished finish. Finally, cover the pan tightly with plastic wrap to prevent any freezer burn or absorption of other food odors. Now, the waiting game begins: chill your glorious No Bake Oreo Cheesecake in the freezer for a minimum of 4-5 hours. Remember, no oven is required for this decadent delight!
Smart Storage and Serving Tips for Your No-Bake Oreo Cheesecake
- To maintain its perfect texture, this cheesecake should not be left on the counter for more than 30 minutes before being returned to the freezer or refrigerator. Its creamy nature means it softens quickly.
- For longer storage, your No Bake Oreo Cheesecake can be kept in the freezer, tightly covered with plastic wrap, for approximately 3 weeks. Beyond this, it might start to develop freezer burn, impacting its texture and flavor.
- For best flavor and texture, transfer the cheesecake from the freezer to the refrigerator about 15-20 minutes before serving. This allows it to soften slightly, making it easier to slice and enhancing its creamy consistency.
- Always keep any leftovers properly wrapped and chilled. A sealed container can also help prevent it from drying out or absorbing odors.
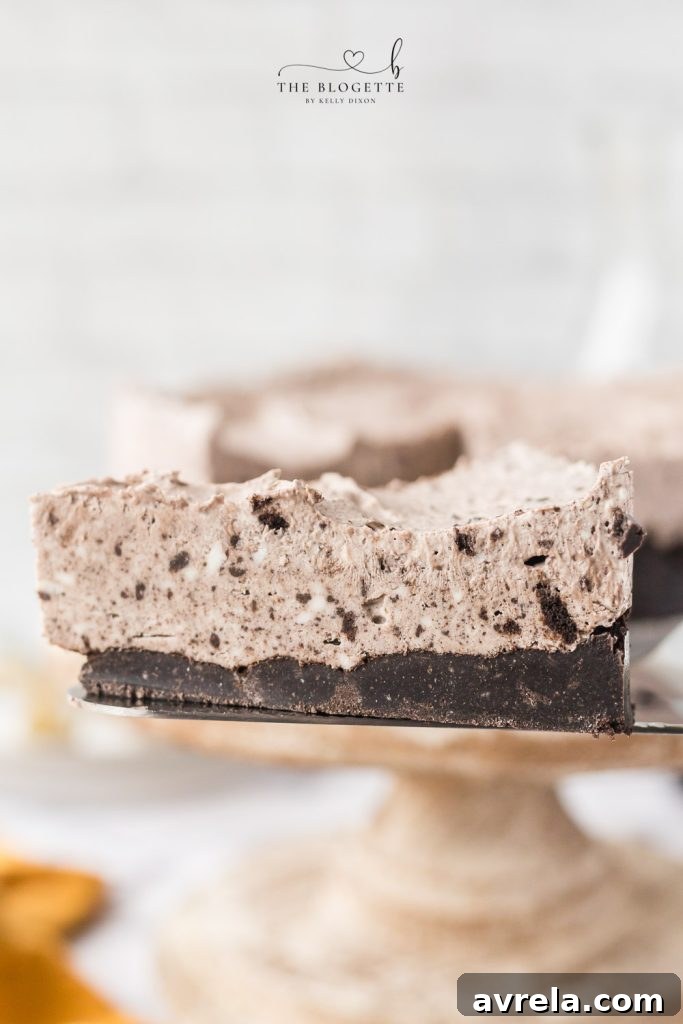
When it’s time to serve your masterpiece, a little trick can make all the difference for presentation. I always recommend running your knife under hot water for a few seconds before slicing. This simple step warms the blade, allowing it to glide through the dense, creamy cheesecake and firm crust with ease, resulting in beautifully smooth and clean cuts. Wipe the knife clean between each slice for the best results. This No Bake Oreo Cheesecake is not just a fantastic dessert; it’s also a wonderful recipe for involving the kids in the kitchen. They can eagerly help crush the Oreos into fine crumbs – a task they usually find quite enjoyable – and assist in mixing the creamy filling. It’s a rewarding experience for them and creates lasting memories!
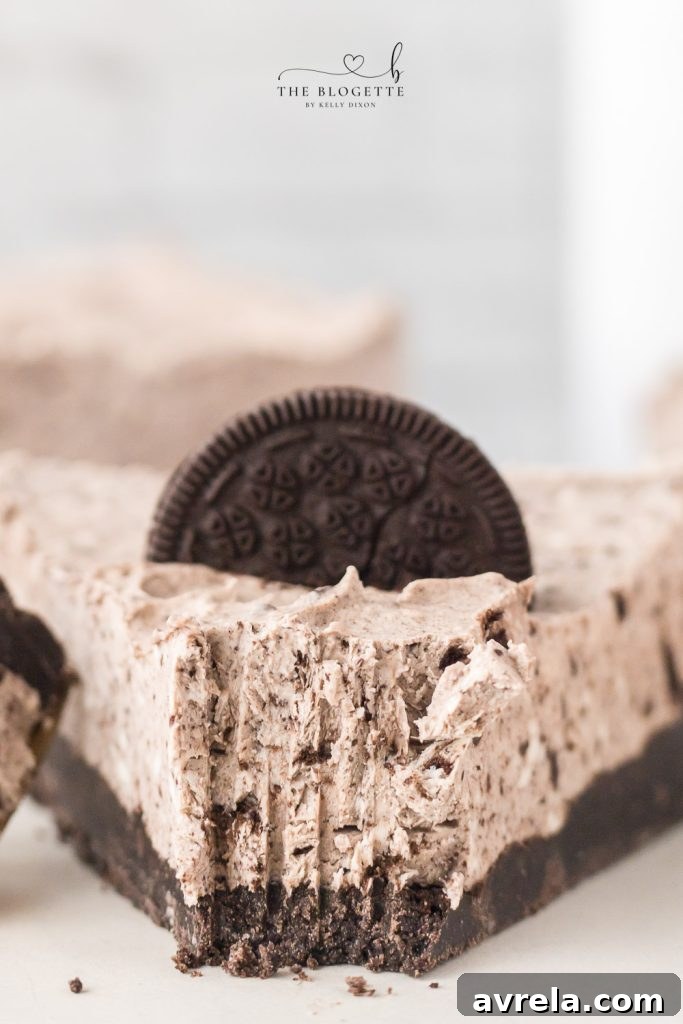
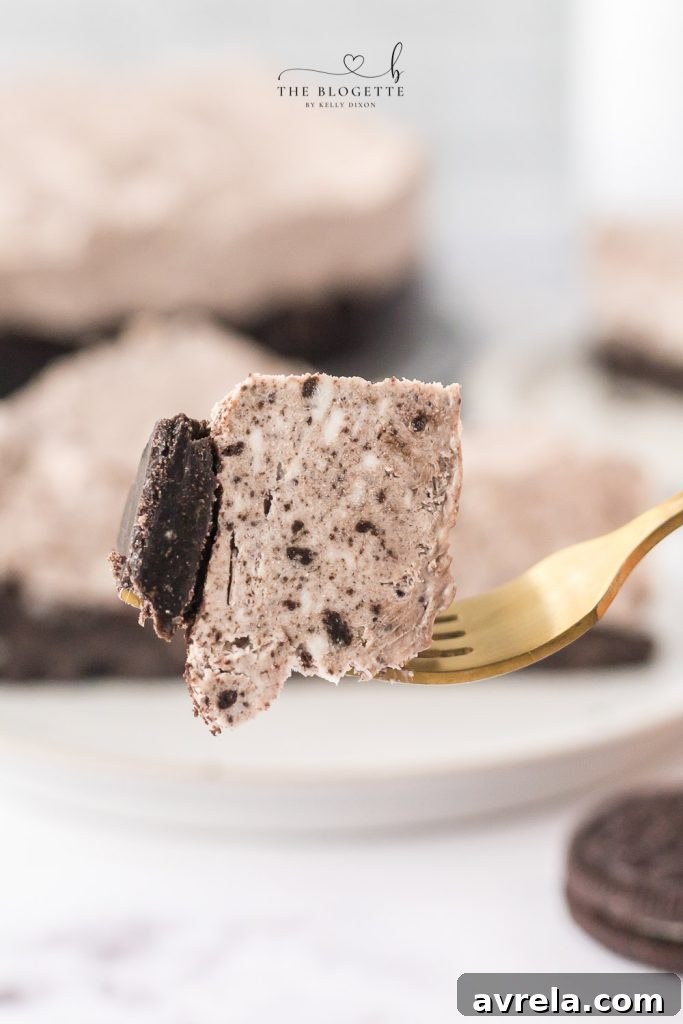
This no-bake cheesecake truly is a winner all year long, but it holds a special charm during the warmer months. Its cool, refreshing nature makes it an ideal treat for summer barbecues, pool parties, or simply a light dessert after a warm-weather meal. This particular Oreo cheesecake stands out as one of my all-time favorites because it brilliantly combines two universally beloved treats: the satisfying crunch and distinct chocolate flavor of Oreos, and the luxurious, tangy creaminess of cheesecake! It’s a harmonious blend that’s sure to become a staple in your dessert repertoire. So go ahead, whip up this delightful dessert, and prepare to be amazed by its simplicity and incredible taste!
(Email subscription functionality would appear here.)
More Indulgent Dessert Recipes You’ll Love
Oreo Football Truffles
Pecan Pie Brownies
Chocolate Chip Cookies
Buckeye Brownies
Easy No-Bake Oreo Cheesecake Recipe Card
Print Recipe
No Bake Oreo Cheesecake
This 20-Minute No Bake Oreo Cheesecake, complete with its classic Oreo cookie crust, is the ultimate easy summer dessert. It’s incredibly creamy, bursting with flavor, and utterly DELICIOUS!
Equipment
- 10 inch springform pan or pie dish
- Mixing bowls
- Electric hand mixer
- Spatula
- Plastic wrap
- Knife
Ingredients
- ½ cup butter, melted
- 4 cups crushed Oreos (approximately 2 ½ sleeves from a family-size package)
- 16 ounce cream cheese, at room temperature
- 1 cup heavy whipping cream (see notes for substitution)
- ½ cup whole milk
- ½ cup powdered sugar (omit if using sweetened condensed milk)
- 1 teaspoon vanilla extract
Instructions
-
Add 3 cups of the crushed Oreos into a 10-inch springform pan (or pie dish).
-
Melt the butter in a microwave-safe dish.
-
Pour the melted butter over the crushed cookies and use a fork to stir the mixture until fully combined.
-
Use a glass or the back of a spoon to firmly press the cookie mixture into the bottom of the pan to form a sturdy crust. Set aside.
-
In a large mixing bowl, whip the cream cheese with an electric hand mixer until it is perfectly smooth and creamy (about 1 minute).
-
Add the heavy cream, whole milk, powdered sugar (if using), and vanilla extract to the cream cheese mixture. Continue mixing on a medium-high speed for about 2 minutes, until stiff peaks form and the mixture is thick and fluffy.
-
Using a spatula, gently fold in the remaining 1 cup of crushed Oreos until they are evenly distributed throughout the cheesecake mixture.
-
Carefully pour the cheesecake filling into the prepared springform pan, spreading it evenly over the Oreo crust.
-
Cover the pan tightly with plastic wrap and chill in the freezer for a minimum of 4-5 hours, or until thoroughly set. For best results, 5 hours is ideal.
-
Once set, remove the pan from the freezer. For clean slices, run your knife under hot water for a few seconds before cutting. Serve chilled and enjoy!
Notes
- To achieve perfectly smooth cuts, run your knife under hot water for a few seconds before slicing, wiping it clean between each cut.
- Approximately 2 ½ sleeves of Oreos from a family-size package will yield 4 cups of crushed cookies.
- Powdered sugar is recommended over granulated sugar for a smoother, less grainy cheesecake texture.
- This cheesecake can be stored in the freezer, tightly covered with plastic wrap, for up to 3 weeks before it may start to develop freezer burn.
- The cheesecake can sit at room temperature for up to 30 minutes before needing to be returned to the freezer or refrigerator.
- A 5-hour chill time is the sweet spot: it ensures the cheesecake is firm enough to hold its shape yet still delightfully smooth and creamy with every bite.
- Substitution Tip: If heavy whipping cream is unavailable, you can substitute 1 cup of sweetened condensed milk. If using condensed milk, you can omit the powdered sugar as the condensed milk provides ample sweetness.
Nutrition
Calories: 812 kcal | Carbohydrates: 69g | Protein: 9g | Fat: 58g | Saturated Fat: 30g | Polyunsaturated Fat: 5g | Monounsaturated Fat: 18g | Trans Fat: 1g | Cholesterol: 123mg | Sodium: 594mg | Potassium: 317mg | Fiber: 2g | Sugar: 44g | Vitamin A: 1580IU | Vitamin C: 0.2mg | Calcium: 114mg | Iron: 10mg
Nutrition information is automatically calculated, so should only be used as an approximation.