
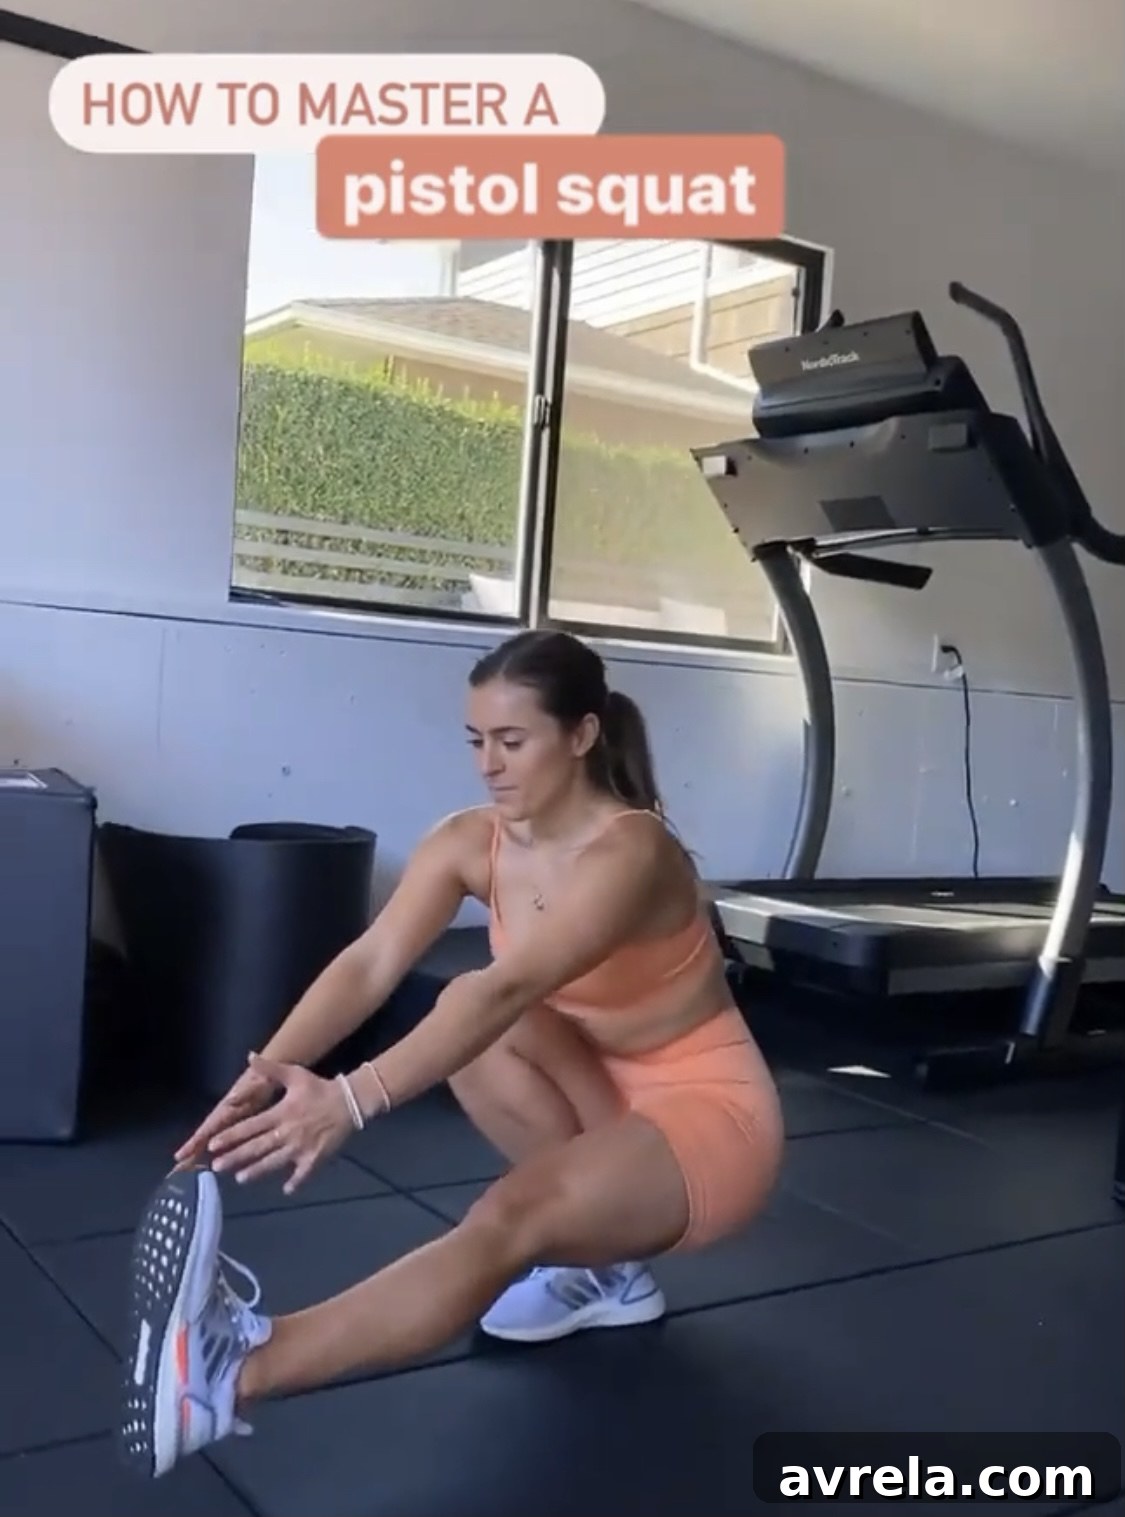
Mastering the Pistol Squat: Your Ultimate Progression Guide
The pistol squat is more than just an impressive gym feat; it’s a testament to exceptional single-leg strength, balance, mobility, and core control. For many, including myself, the journey to mastering this challenging exercise is a marathon, not a sprint. If you’ve followed my own pistol squat progression over the years, you know it’s been a long and rewarding path, marked by moments of frustration and plateaus where progress seemed non-existent. But through persistent effort and an unwavering commitment, I’m incredibly proud to have reached this goal. If you’re looking for a starting point, be sure to check out this reel I created, offering some helpful introductory exercises to build that crucial initial strength.
This comprehensive guide will walk you through every stage of pistol squat mastery, from foundational movements to the triumphant execution of an unassisted pistol. We’ll cover essential prerequisites, progressive exercises, common pitfalls, and the mindset needed to succeed. Get ready to transform your lower body strength and unlock a new level of athletic capability!
Why Master the Pistol Squat? Unlocking Peak Performance
Beyond the “wow” factor, the pistol squat offers a myriad of benefits that extend far beyond the gym:
- Unilateral Strength Development: It isolates each leg, highlighting and correcting muscular imbalances that often go unnoticed in bilateral movements like regular squats. This leads to more balanced and functional strength.
- Enhanced Balance and Stability: Performing a pistol squat demands incredible proprioception and stability, translating to improved balance in everyday life and other athletic endeavors.
- Increased Hip Mobility and Ankle Dorsiflexion: The deep squat position significantly challenges and improves mobility in the hips, ankles, and even the thoracic spine.
- Superior Core Engagement: Maintaining an upright torso and controlling the descent requires intense activation of the entire core musculature, leading to a stronger, more stable trunk.
- Improved Body Awareness: You’ll develop a profound understanding of how your body moves and where your strength and mobility limitations lie, allowing for more targeted training.
- Boosted Confidence: Achieving a challenging goal like the pistol squat is a powerful confidence booster, reinforcing the power of perseverance and dedication.
The Pillars of Pistol Squat Mastery: Mindset, Foundation, and Mobility
Before diving into specific exercises, it’s crucial to understand the foundational principles that underpin successful pistol squat progression. Neglecting these areas can lead to frustration and injury.
Pillar 1: Unwavering Patience & Consistency
This is arguably the most critical piece of advice. The pistol squat is not an overnight achievement. It requires dedication, consistent effort, and the understanding that progress often comes in waves, with periods of rapid improvement followed by plateaus. Embrace the journey, celebrate small victories, and never lose sight of your long-term goal. Set smaller, achievable milestones along the way, such as increasing the weight on your Bulgarian split squats or extending your range of motion in mobility drills. These seemingly less “sexy” goals are the stepping stones to true pistol squat mastery.
Pillar 2: Building a Rock-Solid Foundational Strength
You can’t build a skyscraper on a weak foundation. Before attempting complex single-leg movements, ensure you have a strong base in bilateral and fundamental unilateral exercises. This means mastering proper form and building significant strength in a variety of lower body movements. Focus on controlled repetitions, depth, and engagement of the correct muscle groups.
Essential Foundational Movements:
- Bodyweight and Goblet Squats: Focus on maintaining an upright torso, driving knees out, and achieving good depth.
- Sumo Squats: Excellent for targeting inner thighs and hips, crucial for pistol squat stability.
- Pulse Squats: Build muscular endurance and control at the bottom of the squat.
- Jump Squats: Develop explosive power and build resilience in your leg muscles.
- Bulgarian Split Squats: A powerhouse unilateral exercise that builds incredible single-leg strength, balance, and hip mobility – a direct precursor to the pistol squat.
- Lunges (Forward, Reverse, Walking): Improve balance and functional single-leg strength in a split stance.
- Glute Bridges & Hip Thrusts: Strengthen the glutes, which are vital for hip extension and stability throughout the squat.
- Calf Raises: Don’t underestimate the role of strong calves and ankles in providing stability during single-leg movements.
If you’re looking for an excellent program to build this foundational strength and learn about proper form, I highly recommend checking out Good Sweat At-Home 1.0. It’s designed to progressively challenge you and set you on the right path. Additionally, keep an eye out for my lower body workout roundup (going live later this week) for tons of challenging routines!
Pillar 3: Essential Mobility & Flexibility
A lack of mobility is one of the biggest roadblocks to achieving a full pistol squat. Specifically, you need good ankle dorsiflexion, hip flexion, and hamstring flexibility. Without adequate range of motion, your body will compensate, leading to poor form or an inability to reach full depth.
Key Mobility Drills:
- Ankle Mobility: Deep lunges with your knee driving forward over your toes, ankle circles, and calf stretches are crucial. The ability to keep your heel down is paramount.
- Hip Mobility: Deep squat holds, 90/90 stretches, pigeon pose, and hip flexor stretches will improve your ability to get deep into the squat without rounding your back.
- Hamstring Flexibility: Straight leg raises and active hamstring stretches help keep your non-standing leg extended and off the floor during the pistol.
- Thoracic Mobility: A mobile upper back allows you to maintain a more upright torso, preventing you from falling backward.
Incorporate a dedicated stretching and mobility session into your weekly routine, even if it’s just 10-15 minutes a few times a week. Consistency here will pay dividends.
Pillar 4: Core Strength – Your Secret Weapon
While often seen as a leg exercise, the pistol squat is a full-body movement, heavily relying on a strong and stable core. Your core acts as the bridge between your upper and lower body, preventing unwanted movement and ensuring you remain balanced throughout the entire range of motion. A weak core will cause your torso to collapse or your balance to falter.
Effective Core Exercises for Pistol Squats:
- Planks (and variations): Build isometric strength and endurance.
- Hanging Leg Raises: Strengthen the lower abs and hip flexors.
- Side Planks: Develop oblique strength for lateral stability.
- Pallof Presses: Improve anti-rotational core stability.
- Dead Bugs: Enhance core control and coordination.
Integrate core-specific exercises into your workouts 2-3 times a week, focusing on controlled movements and maintaining a neutral spine.
Your Step-by-Step Pistol Squat Progression Roadmap
Once you’ve established a strong foundation and improved your mobility, you’re ready to embark on the specific pistol squat progression. These exercises are strategically designed to build the necessary strength, balance, and control step by step.
Stage 1: Eccentric Control & Partial Range
1. Single-Leg Squat to Both Feet Stand (Box/Chair Squat)
This is an excellent starting point for building eccentric (lowering) strength and control. Use a box, bench, chair, or even stacked pillows to find an appropriate height. The focus here is on the negative portion of the movement: lowering down slowly and with complete control on one leg. Once you reach the seated position, use both feet to stand back up. The hardest part of the pistol squat is maintaining control throughout the entire range, and this exercise specifically trains that vital eccentric strength. As you get stronger, gradually decrease the height of your seat. Incorporate these into your workouts 1-2 times per week, aiming for 3 sets of 6-10 repetitions per leg.
2. Elevated Single-Leg Squats (to a Box/Chair)
Once you’ve mastered the controlled eccentric of the single-leg squat to both feet stand, it’s time to challenge your single-leg concentric (standing up) strength and balance. For this exercise, you’ll lower down to a box or chair with one leg, and then stand back up using only that same leg. Start with a higher seat (use pillows or books if needed) to decrease the intensity, and gradually lower the height as your strength and balance improve. This move is crucial for teaching your body the balance dynamics of a full pistol. Remember to sit and stand with unwavering control, focusing on a strong, stable knee. Try 3 sets of 5-8 repetitions on each leg, switching legs when you feel fatigue setting in on one side.
Stage 2: Adding Resistance & Expanding Range
3. Weighted Single-Leg Squats (to a Box/Chair)
Now that you’ve progressed through bodyweight single-leg squats, it’s time to introduce external resistance. Grab a dumbbell or kettlebell and hold it in a goblet position (at your chest) or with arms extended forward for counterbalance. The emphasis remains on control throughout the entire movement. I cannot stress enough how important it is to execute these shapes with absolute control. Without it, you’ll find yourself stuck at the bottom of your pistol with no power to return to the starting position. This stage truly builds the “return-ticket” strength. At this point in your journey, pay extra close attention to your standing knee – do NOT let it cave inward! Actively push your knee slightly outwards (tracking over your mid-foot) to protect your joints. Work up to 3 sets of 5-8 controlled repetitions per leg.
4. Single-Leg Bench Get-Ups (Pistol Prep)
These are fantastic for significantly increasing the active range of motion of your standing leg and building dynamic single-leg strength. Start on a lower bench or box without weight, focusing on a fluid, controlled movement. As you gain strength, you can increase the height of the bench and/or add weight. This exercise bridges the gap between seated single-leg squats and the full, unsupported range of a pistol. You’ll definitely start noticing significant changes and improved body awareness at this point. Your body will be increasingly ready for the full range of motion. Aim for 3 sets of 5-7 repetitions per leg, once a week.
Stage 3: Assisted Full Range of Motion
5. Assisted Pistols
The time has come to experience the full range of motion of a pistol squat, albeit with some assistance. This stage is about teaching your body the movement pattern and building confidence in the deepest part of the squat. You can use various tools for assistance:
- TRX Band or Suspension Trainer: Hold the handles and use as much or as little assistance as needed. Focus on letting your legs do most of the work.
- Resistance Bands (e.g., a power band): Loop a band around a sturdy pole or squat rack and hold onto it. The Recreation Sweat power band is a great option.
- Sturdy Pole or Door Frame: Lightly hold on for balance and support.
- Partner Assistance: Your friend or partner can lightly hold your hand or provide a spot, helping you back up from the bottom (Bridger has certainly helped me out of many a pistol squat!).
This phase is often the longest, so don’t get discouraged if you feel “stuck” here for a while. Every single rep counts, improving your range of motion and helping you find a natural rhythm. You’ll notice it becomes more comfortable over time. Practice assisted pistols at least once a week to build strong muscle memory and refine your technique. Focus on reducing the amount of assistance you need over time, striving to use just one finger or the lightest touch possible.
Stage 4: Conquering the Unassisted Pistol Squat
6. Mastering the Pistol Squat
The moment we’ve all been waiting for! Your first few unassisted pistol squats might feel clunky, messy, or even result in a minor tumble – and that’s perfectly normal! When I was in the assisted phase, I’d often try full pistols before I was truly ready, sometimes falling out, needing to drop my hands, or putting my other foot down. It can feel disheartening, but understand that every “failure” is a learning opportunity. Each attempt, successful or not, informs your body, teaching it how to recruit muscles more efficiently, improve balance, and strengthen weak links for the next attempt. Embrace the process, learn from each rep, and celebrate every small improvement.
To perform an unassisted pistol: Stand on one leg, extend the other leg straight out in front of you. Initiate the squat by bending your standing knee and hip simultaneously, lowering your body down as if sitting into a chair. Keep your chest up, core engaged, and gaze forward. Aim to go as deep as your mobility allows, ideally until your hamstring touches your calf. At the bottom, powerfully drive through your standing heel, pushing yourself back up to the starting position. Keep your non-standing leg elevated throughout the entire movement. Practice regularly, integrating 2-3 sets of 2-5 repetitions per leg into your lower body routines, and watch your proficiency soar.
Common Pistol Squat Hurdles & How to Fix Them
Encountering challenges is a natural part of the pistol squat journey. Here are some common issues and their solutions:
- Knee Caving In (Valgus Collapse): This is a major concern for knee health. Focus on actively pushing your standing knee slightly outwards, ensuring it tracks over your mid-foot. Strengthen your glute medius with exercises like clam shells, band walks, and single-leg RDLs.
- Loss of Balance: Improve ankle stability (calf raises, single-leg balancing drills), strengthen your core, and work on your gaze (fix your eyes on a stable point). Ensure you’re engaging your glutes and entire leg.
- Heel Lifting Off the Ground: This indicates insufficient ankle dorsiflexion. Dedicate more time to ankle mobility drills (deep lunges, weighted ankle stretches). You might temporarily place a small plate or wedge under your heel for assistance while you work on mobility.
- Lack of Depth: Often a combination of hip and ankle mobility limitations. Focus on deep squat holds, 90/90 stretches, and ensuring your foundational squats hit full depth.
- Falling Backwards: Usually a core strength or balance issue, or a lack of counterbalance. Try extending your arms forward more forcefully as you descend. Ensure your core is braced.
- Inability to Stand Up from the Bottom: This points to a lack of concentric strength. Revisit weighted single-leg squats, single-leg bench get-ups, and focus on slow, controlled eccentric movements to build power out of the hole.
Integrating Pistol Squats into Your Training
Once you’re consistently performing unassisted pistol squats, how do you keep them in your routine? Treat them like any other strength exercise. Start your lower body workouts with pistols when you’re fresh, or use them as a challenging finisher. Incorporate variations like holding a light weight for added difficulty. Practice 1-2 times a week to maintain and further develop your strength and skill. Remember to always warm up properly with dynamic stretches and light cardio, and cool down with static stretches.
Your Pistol Squat Journey Awaits!
The pistol squat is a challenging yet incredibly rewarding exercise that builds functional strength, improves balance, and enhances overall athletic performance. It demands patience, consistency, and a systematic approach to progression. Remember the pillars: build a strong foundation, prioritize mobility, and cultivate a robust core. Embrace every step of the journey, celebrate your progress, and don’t be afraid of the occasional stumble – each one makes you stronger.
You absolutely have what it takes to master this move! I’m so excited to witness your progress. Be sure to tag me @rachaelsgoodeats in your attempts and successes. Let’s celebrate your strength and dedication together!