
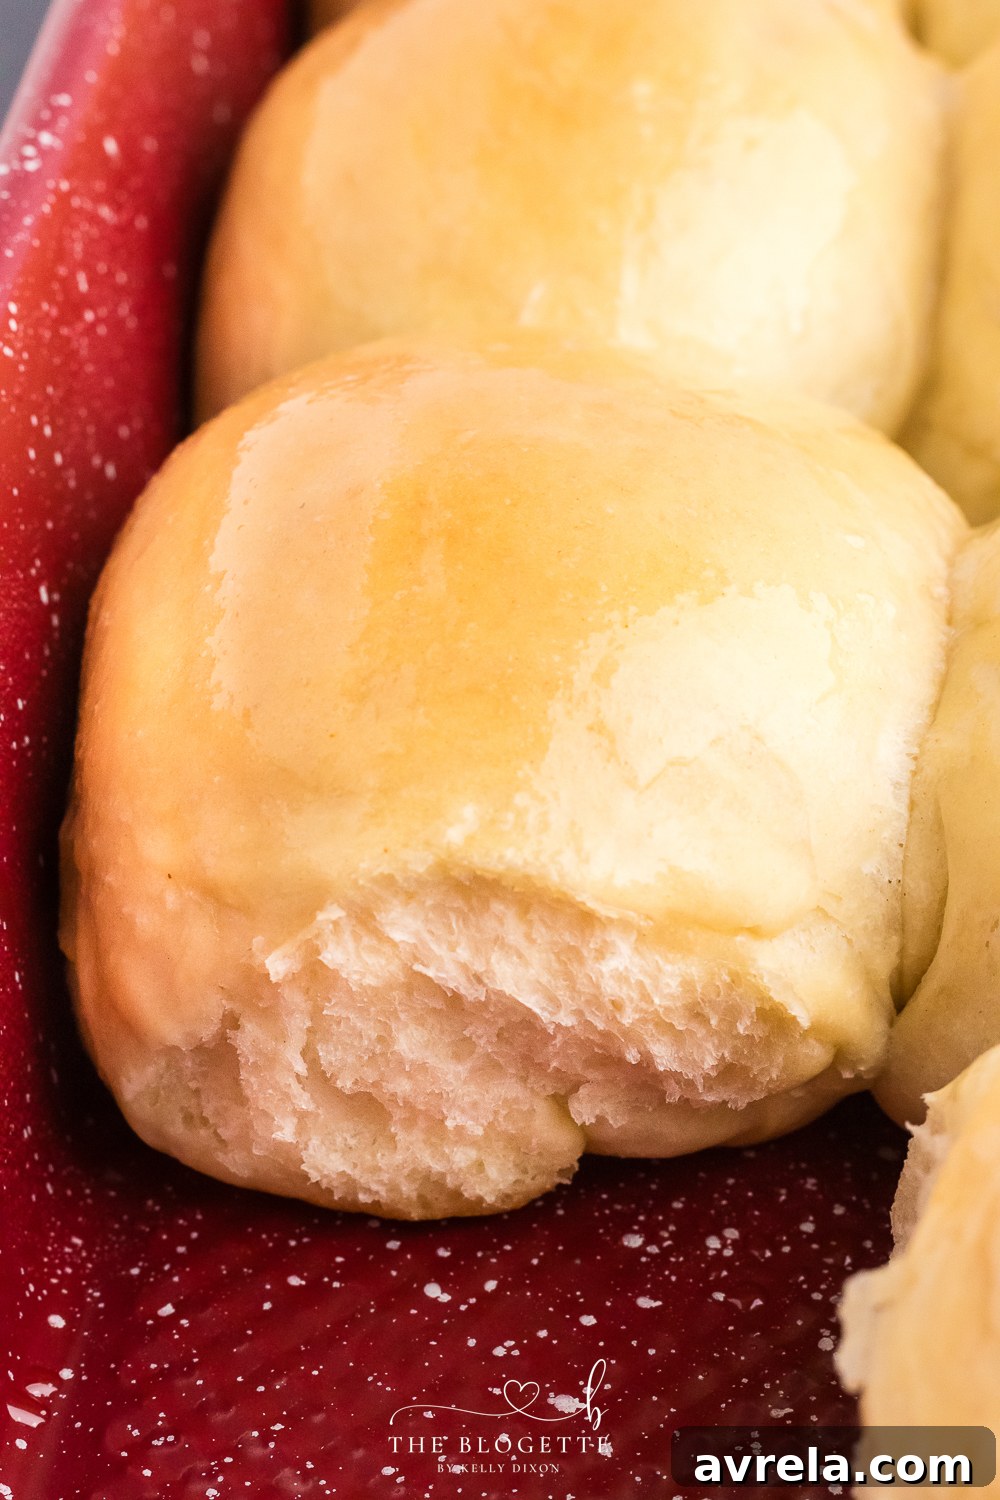
There’s nothing quite like the comforting aroma of freshly baked bread wafting through your home. And when it comes to classic comfort, nothing beats a batch of warm, fluffy, and buttery Homemade Dinner Rolls. Forget the bland, store-bought versions; this easy-to-follow recipe will guide you to bake the perfect side for any meal, from a casual weeknight dinner to a festive holiday feast. These golden-brown delights are so tender and rich, they’ll become an instant family favorite, leaving everyone eager for seconds (or even thirds!).
Why Bake Homemade Dinner Rolls?
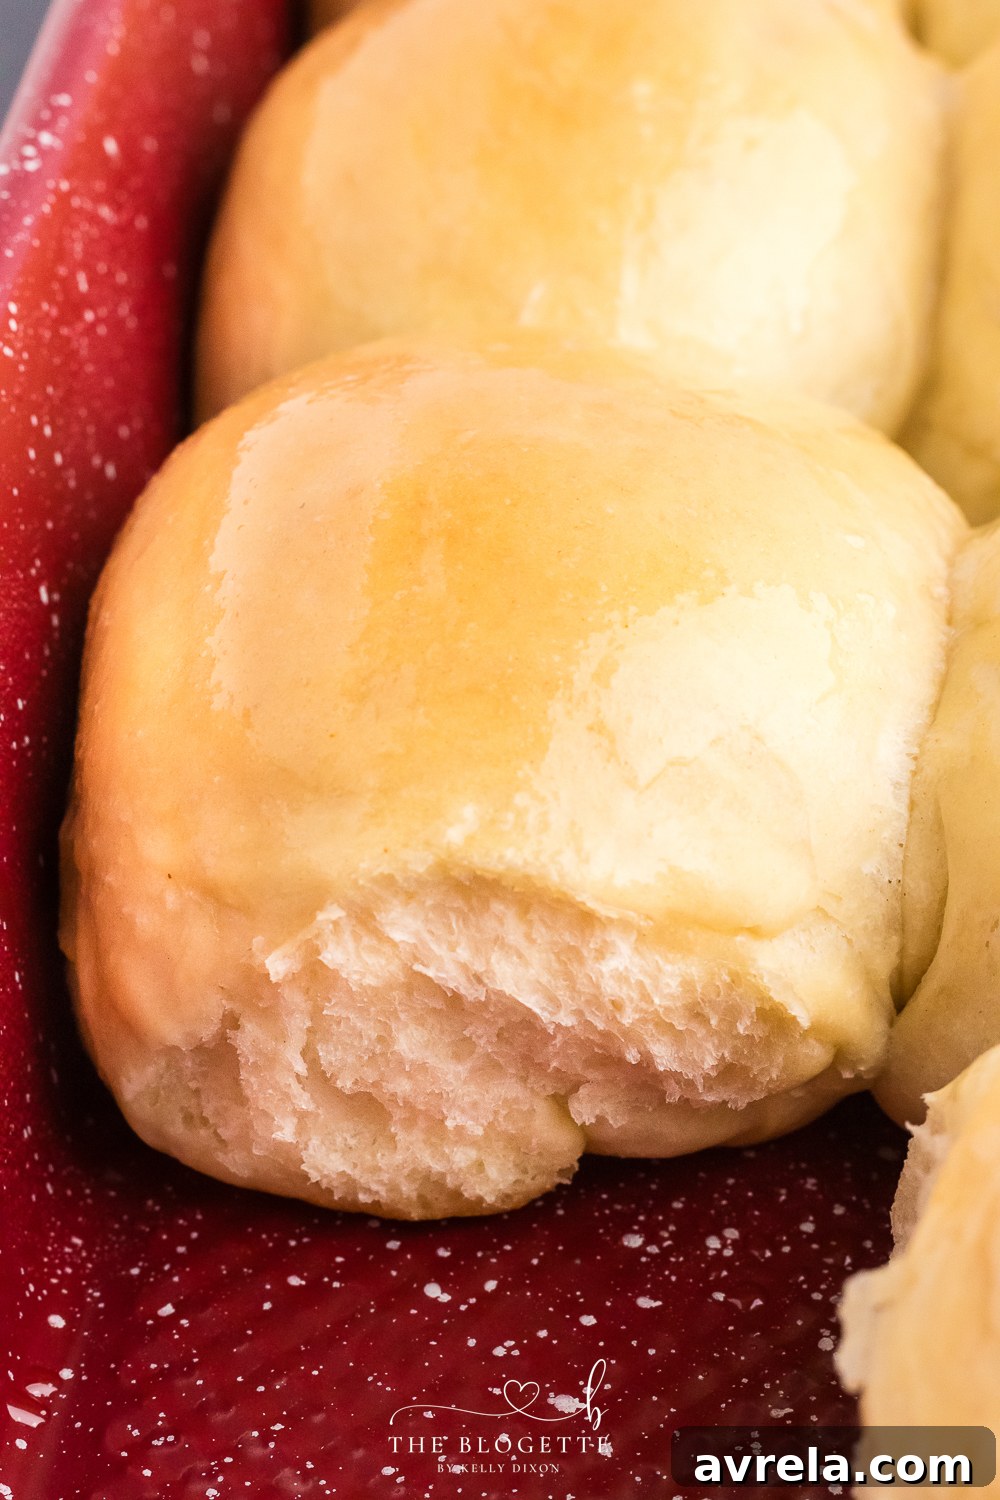
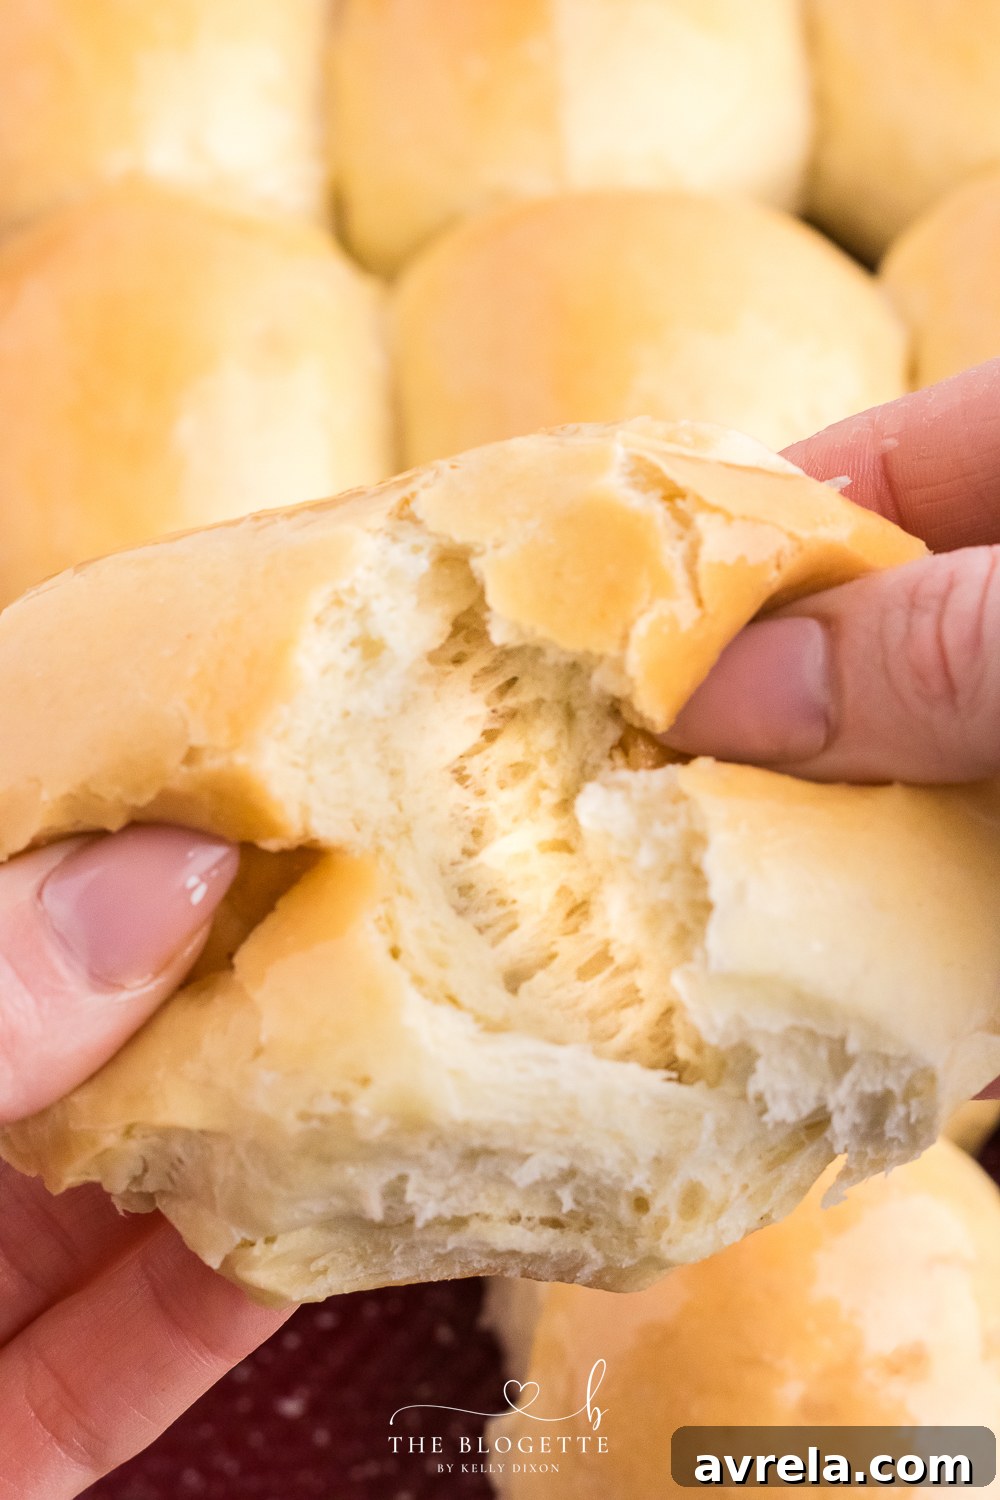
Baking your own dinner rolls is a rewarding experience that offers numerous benefits beyond just a delicious treat. First and foremost, the taste and texture of homemade rolls are simply unparalleled. They boast a tender crumb, a golden-brown crust, and a rich, buttery flavor that mass-produced rolls can’t replicate. Furthermore, the act of baking itself fills your kitchen with an inviting warmth and an incredible aroma that instantly makes your home feel more welcoming and cozy.
Beyond the sensory delight, making dinner rolls from scratch gives you complete control over the ingredients. You can choose high-quality flour, fresh yeast, and healthy oils, ensuring that what you serve your family is free from unwanted preservatives or artificial additives. This transparency in ingredients is a significant advantage for those mindful of their diet or dealing with specific dietary needs.
Economically, baking your own bread can also be more cost-effective in the long run, especially if you enjoy baking regularly. Plus, there’s an immense sense of satisfaction that comes from pulling a tray of perfectly baked rolls from the oven, knowing you created them with your own hands. It’s a culinary accomplishment that’s sure to impress guests and bring a smile to your loved ones’ faces. These irresistible rolls are not just a side dish; they are a delightful experience that enhances any meal.
Pin this now to save it for later
Pin It Now
Essential Ingredients for Perfect Dinner Rolls
Crafting the ideal dinner roll starts with understanding the role of each ingredient. Simple yet essential, these components work in harmony to create that signature fluffy texture and rich flavor.
- Warm Water: This is crucial for activating the yeast. The water should be comfortably warm to the touch, ideally between 105°F and 115°F (40°C-46°C). Water that is too hot will kill the yeast, while water that is too cold will prevent it from activating properly, leading to a dough that won’t rise.
- Active Dry Yeast: This is the leavening agent that gives your rolls their airy texture. Active dry yeast needs to be proofed (activated) in warm water with a pinch of sugar (though not listed, often recommended for faster activation) before being added to the dry ingredients. You can also use instant yeast, which can often be mixed directly with the flour without prior proofing. If using instant yeast, simply combine it with your dry ingredients and proceed as instructed, though you may find the rise time is slightly shorter.
- Avocado Oil: This provides richness and tenderness to the dough. Avocado oil is a great choice due to its neutral flavor and high smoke point, but vegetable oil or melted unsalted butter are excellent substitutes that will yield equally delicious results. The fat in the oil contributes to the soft crumb and helps keep the rolls moist.
- Egg: A single egg adds richness, helps with the dough’s structure, and contributes to a beautiful golden crust. For best results, ensure your egg is at room temperature. A cold egg can shock the yeast and slow down the rising process.
- Sea Salt: Salt is more than just a seasoning; it balances the flavors in the dough and also helps regulate yeast activity, preventing it from over-fermenting. Don’t skip it!
- All-Purpose Flour: The foundation of our rolls, all-purpose flour provides the necessary structure. It’s important to measure flour correctly to avoid dense rolls. The “spoon and level” method (spoon flour into a measuring cup and then level off with a straight edge) is highly recommended over scooping directly from the bag, which can compact the flour and result in using too much.
Step-by-Step Guide to Baking Irresistible Dinner Rolls
Instructions Overview:
Creating these delightful dinner rolls is a journey of simple steps, each contributing to the perfect final product. Follow these detailed instructions for baking success.
1. Activating the Yeast
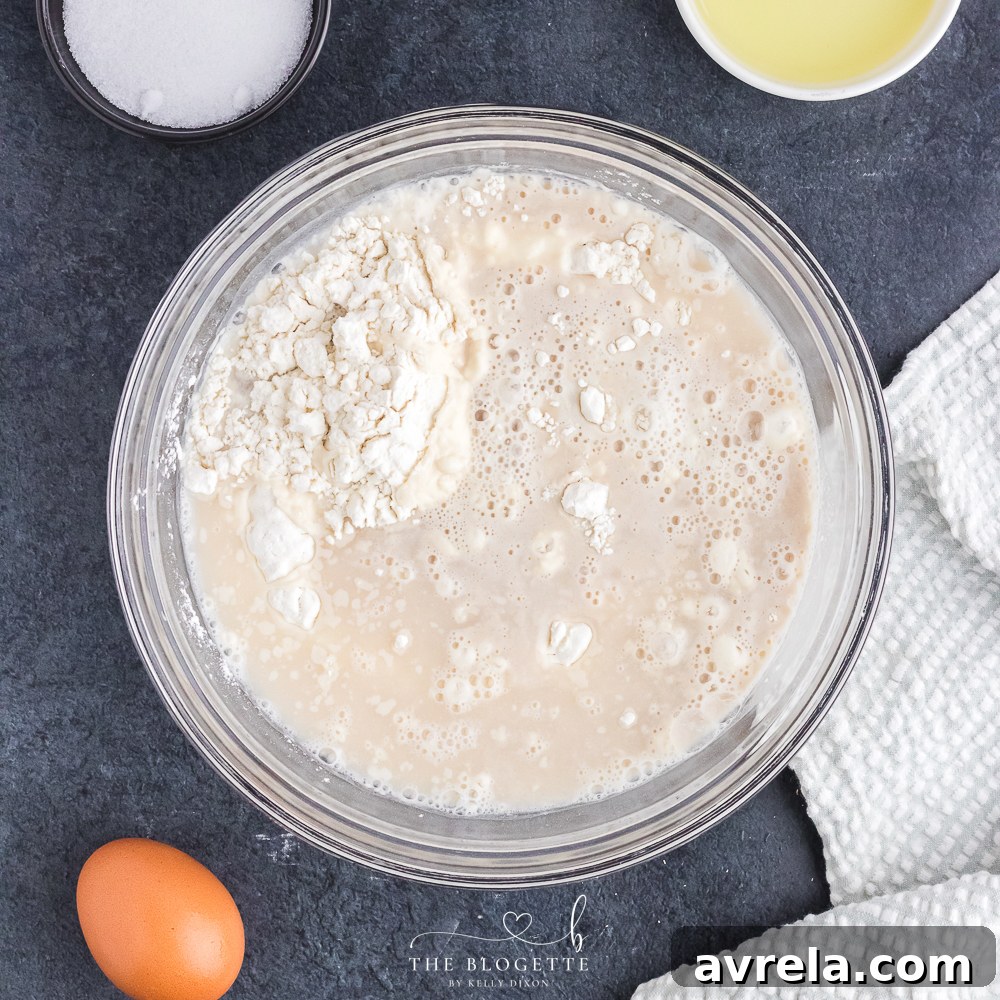
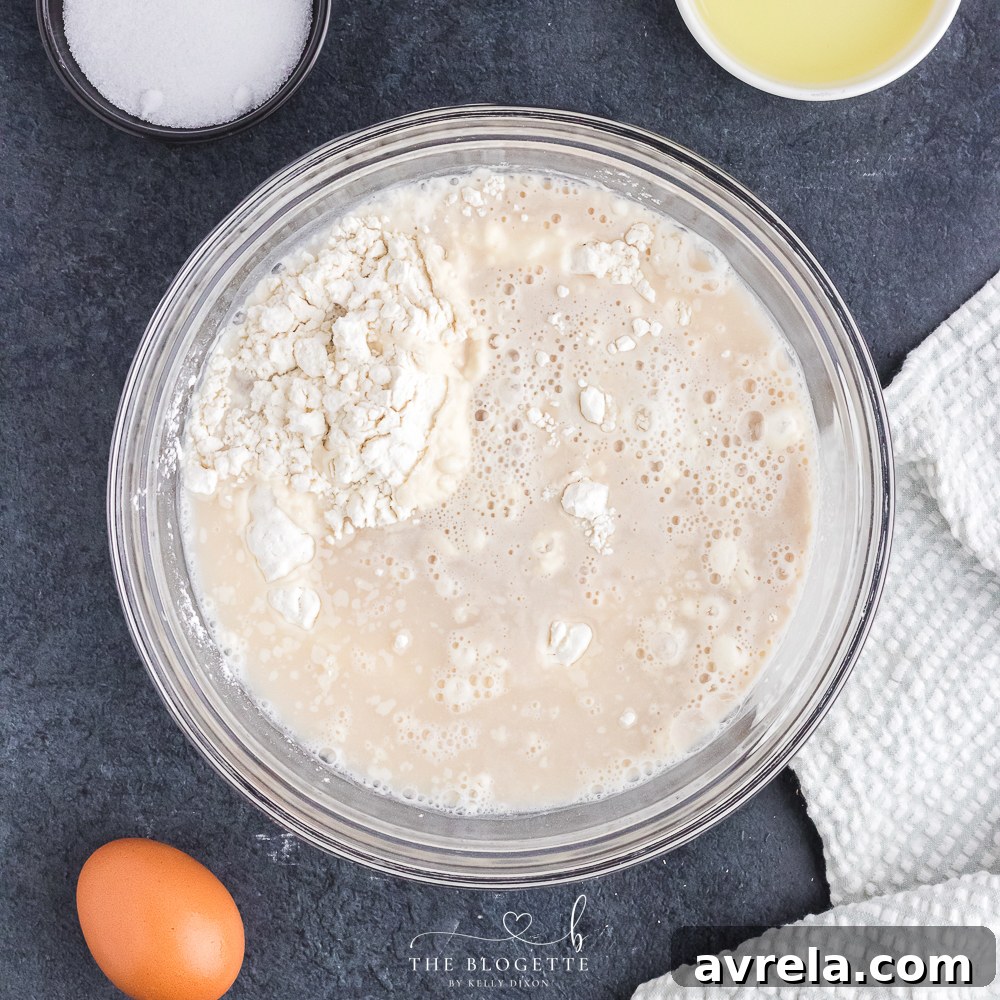
Begin by pouring your warm water (remember, 105°F-115°F is ideal) into a measuring cup or a small bowl. Sprinkle the active dry yeast over the water. Give it a gentle stir and let it sit undisturbed for about 5 minutes. You’ll know the yeast is active when it becomes foamy and bubbly on the surface, indicating that the yeast is alive and ready to work its magic. If no foam appears, your water might have been too hot or too cold, or your yeast may be old. In this case, it’s best to start over with fresh yeast and properly tempered water.
2. Combining Dry and Wet Ingredients
In a large mixing bowl, combine the all-purpose flour and sea salt. Use a whisk or a fork to thoroughly mix them, ensuring the salt is evenly distributed. Once your yeast mixture is beautifully activated and bubbly, gently pour it into the flour and salt mixture.
3. Forming the Dough
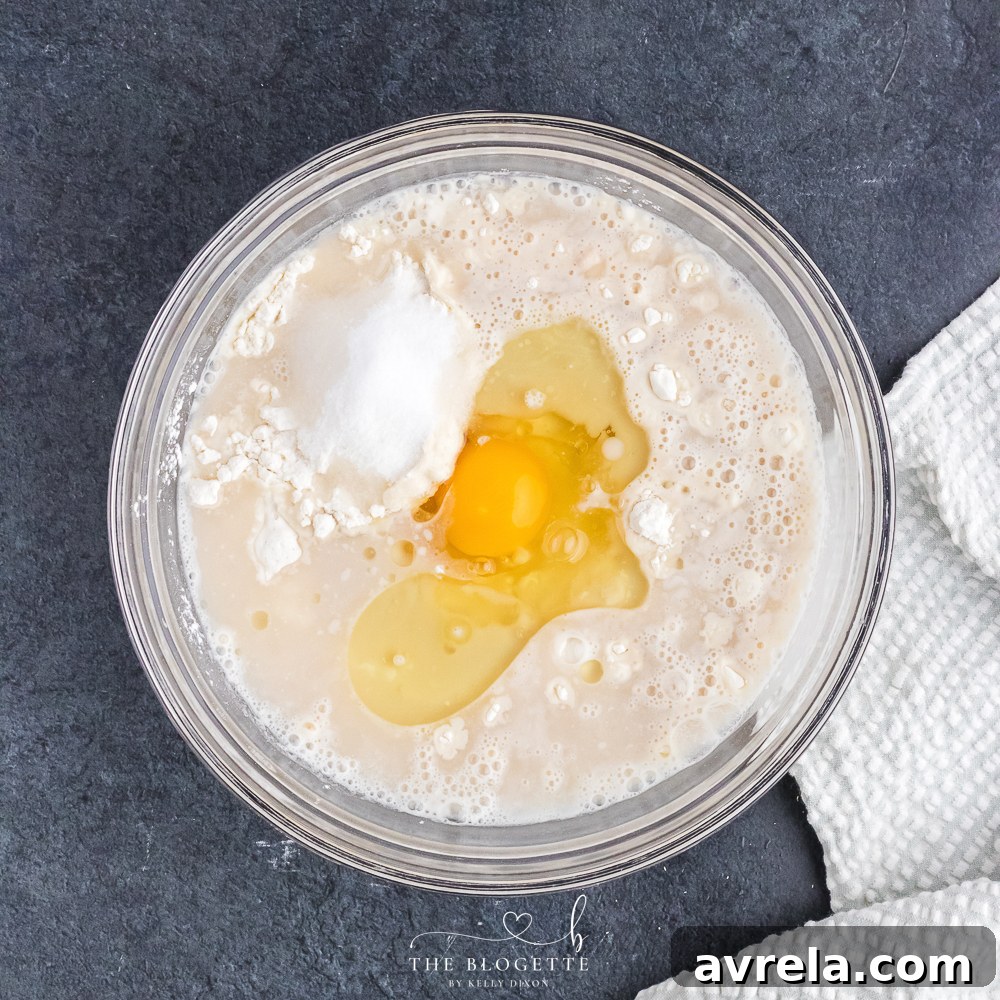
Now, add the room-temperature egg and avocado oil to the bowl. With a sturdy fork or a Danish dough whisk, mix all the ingredients together until they form a “shaggy” dough. This means the mixture will look rough, uneven, and somewhat sticky, with no dry spots of flour remaining. Avoid overmixing at this stage.
4. Kneading for Smoothness
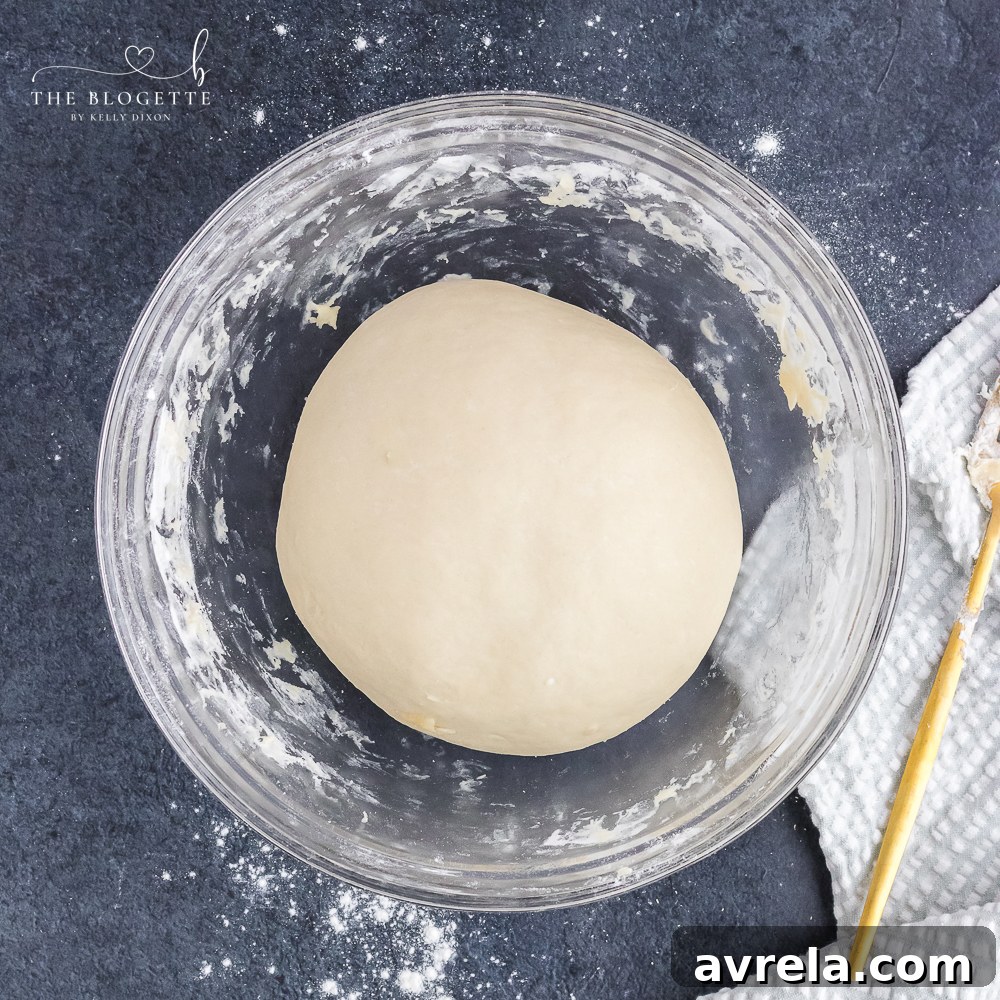
Transfer the shaggy dough onto a lightly floured surface. Begin to knead the dough for approximately 5 minutes. The goal is to develop the gluten in the flour, which creates the elastic structure of the rolls. As you knead, the dough will transform from sticky and rough to smooth, elastic, and pliable. A good indicator that your dough is properly kneaded is the “windowpane test”: gently stretch a small piece of dough; if it stretches thin enough to see light through it without tearing, it’s ready.
5. First Rise (Bulk Fermentation)
Lightly oil a clean large bowl. Place the kneaded dough into the oiled bowl, turning it once to coat all sides with oil. Cover the bowl with a clean damp kitchen towel or plastic wrap to prevent drying. Let the dough rise in a warm, draft-free place until it has doubled in size. This crucial step, known as bulk fermentation, typically takes 1 to 2 hours, but the exact time can vary depending on the ambient temperature of your kitchen. A warmer environment will generally lead to a faster rise.
6. Shaping the Rolls
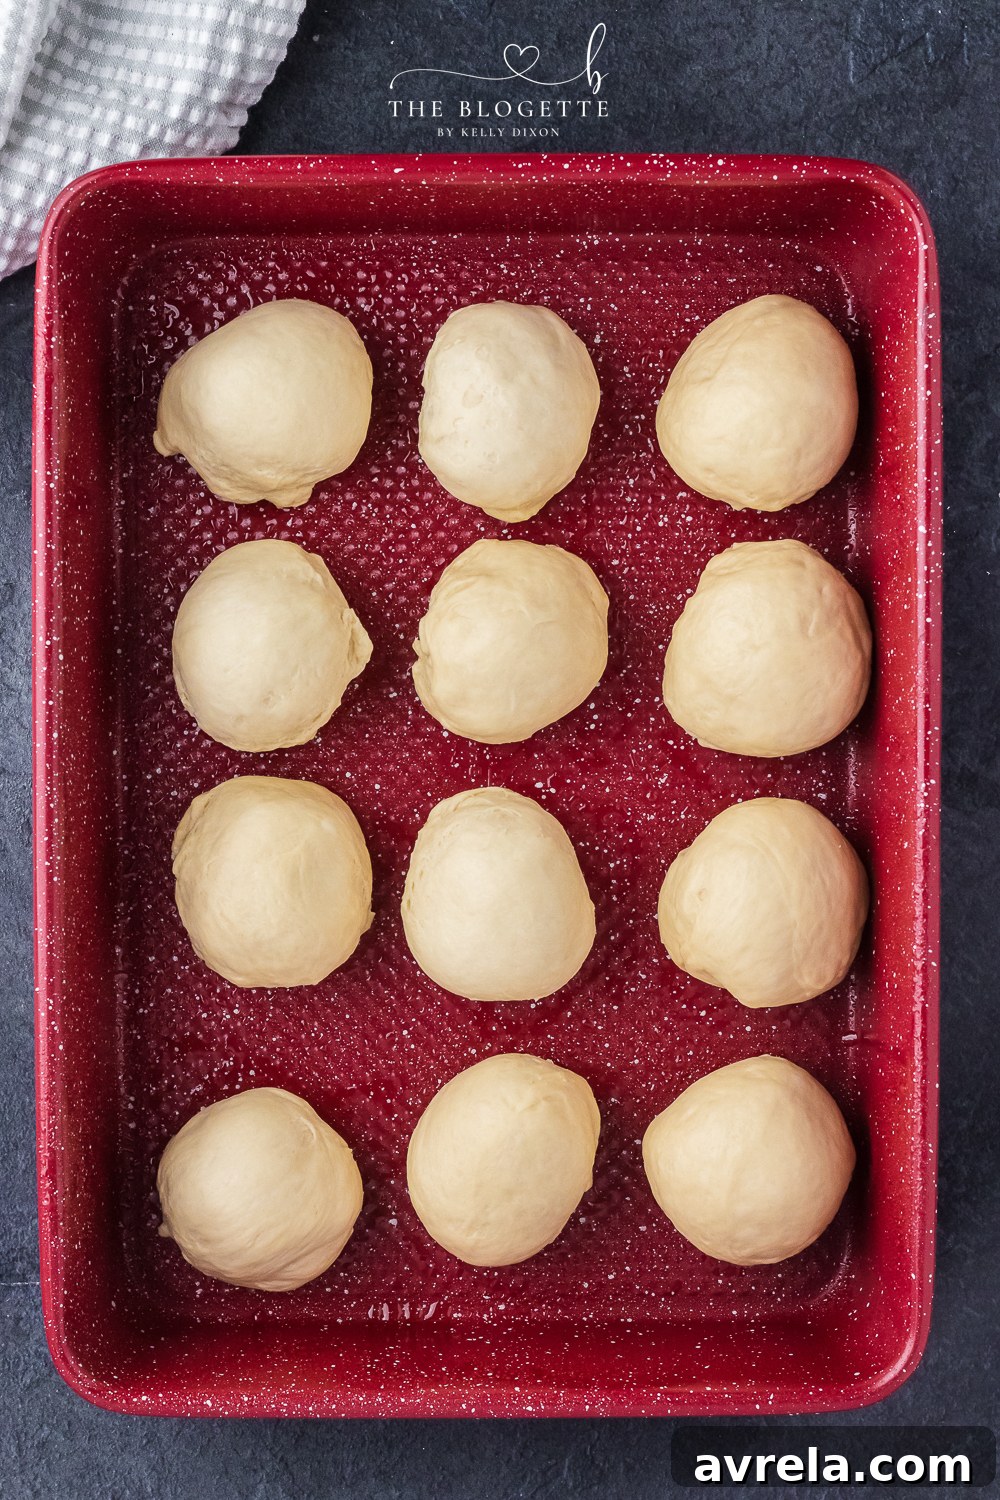
Once the dough has doubled, gently “punch it down” with your fist to release the accumulated gases. Transfer the dough onto a lightly floured surface. Now, divide the dough into 12 equal pieces. For precise results, you can use a kitchen scale to weigh each piece, aiming for consistency in size so they bake evenly. Gently shape each piece into a smooth, round ball. The goal is to create surface tension on the outside of the ball for a perfectly shaped roll.
7. Second Rise (Proofing)
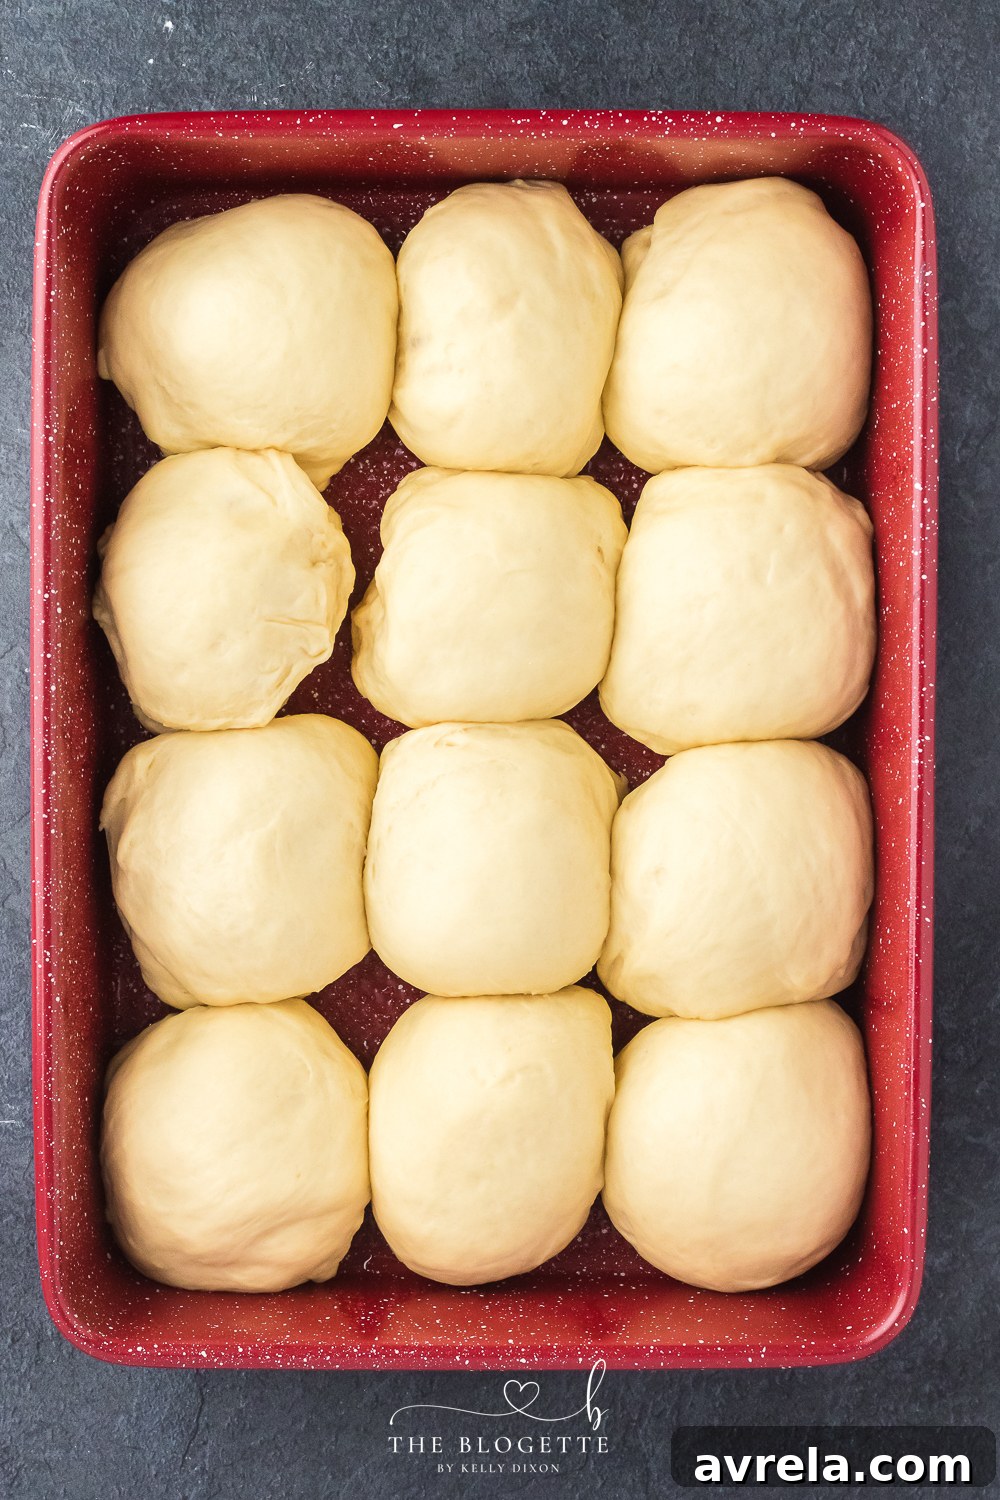
Lightly oil a 9×13 inch baking pan, or line it with parchment paper for easy cleanup. Arrange the shaped dough balls in the prepared pan, leaving a little space between each for expansion. Cover the pan again with a clean damp kitchen towel and let the rolls rise for a second time, known as proofing. This usually takes 30 minutes to 1 hour, or until the rolls are fluffy, visibly puffy, and almost doubled in size again. This second rise ensures a light and airy texture in the final product.
8. Baking to Golden Perfection
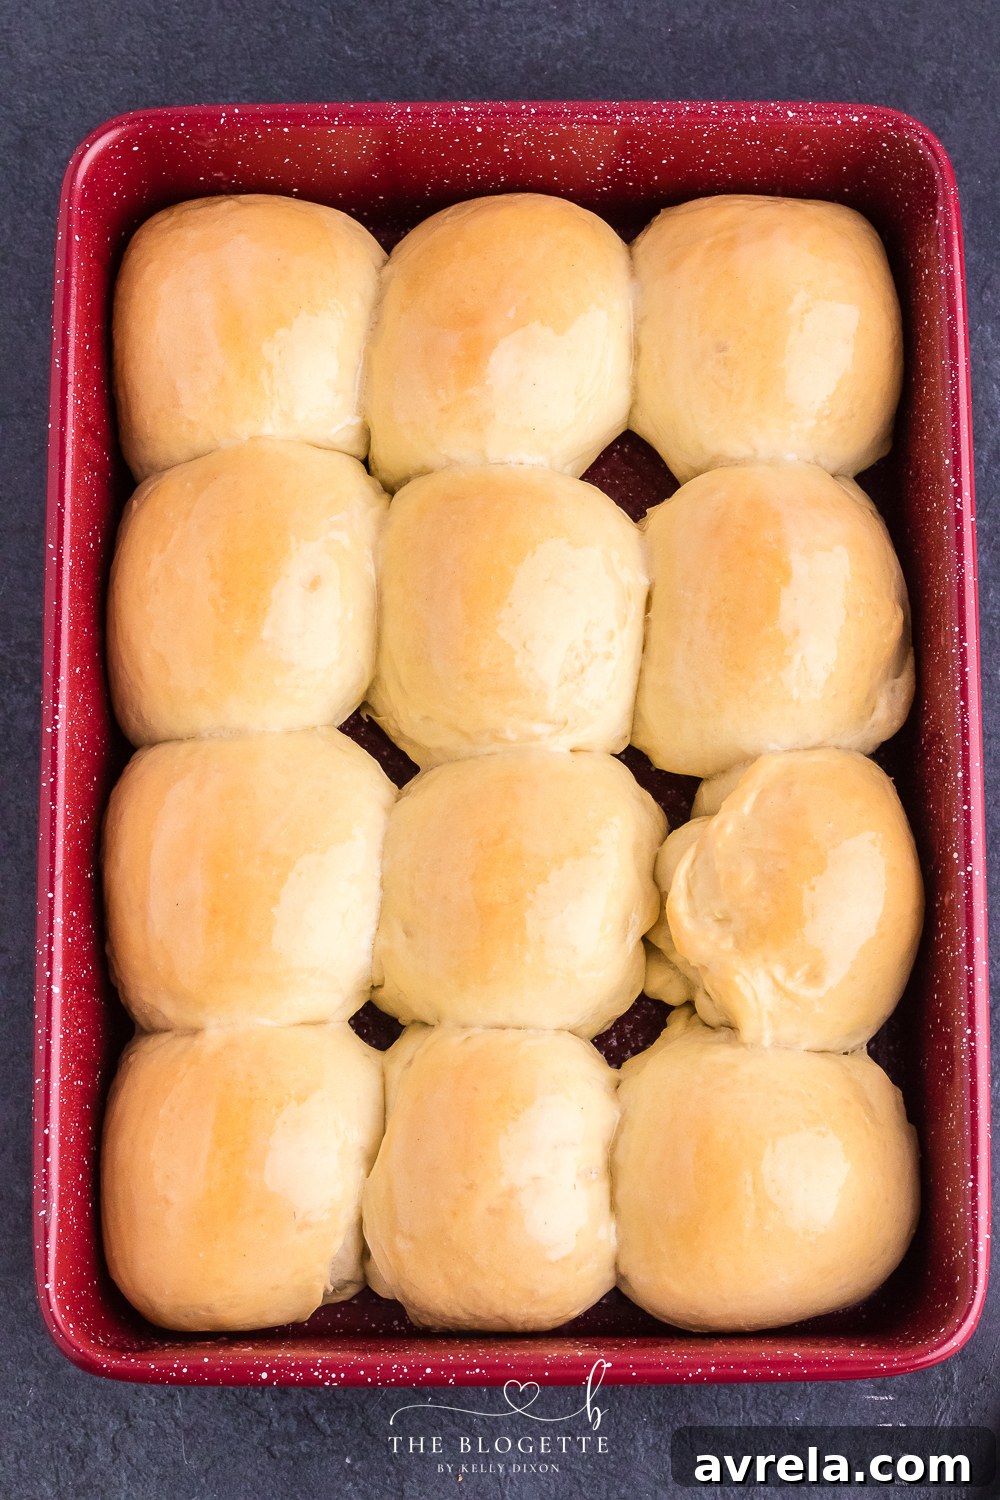
Preheat your oven to 375°F (190°C) while the rolls are on their second rise. Once preheated and the rolls are perfectly proofed, place the pan into the oven. Bake for 20-25 minutes, or until the tops are beautifully golden brown. The internal temperature of a fully baked roll should register around 200°F-210°F (93°C-99°C).
9. The Buttery Finish
As soon as the rolls emerge from the oven, brush their tops generously with melted butter. This adds an extra layer of flavor, a beautiful sheen, and keeps the crust soft. Serve them warm and enjoy the pure delight of your homemade dinner rolls! The full list of ingredients and baking details can be found in the printable recipe card below.
Expert Tips for Dinner Roll Success
Achieving bakery-quality dinner rolls at home is entirely within your reach with a few key considerations and techniques. Paying attention to these details will ensure your rolls are consistently light, fluffy, and delicious.
- Water Temperature is Key: As mentioned, the temperature of your water is paramount for yeast activation. Use a kitchen thermometer to ensure it’s between 105°F and 115°F (40°C-46°C). Water that’s too hot will kill the yeast, preventing any rise, while water that’s too cool won’t activate it sufficiently, leading to dense rolls. If you don’t have a thermometer, aim for water that feels warm but not hot to the touch—like a baby’s bathwater.
- Accurate Flour Measurement: Incorrectly measuring flour is a common pitfall. Scooping flour directly from the bag can compact it, causing you to use up to 25% more flour than needed. This results in a dry, dense dough. Always use the “spoon and level” method: gently spoon flour into your measuring cup until it overflows, then use a straight edge (like the back of a knife) to level off the excess.
- The Art of Kneading: Kneading is crucial for developing gluten, which gives the rolls their structure and chew. Knead the dough for the full 5 minutes, or until it is smooth, elastic, and passes the “windowpane test.” To perform this test, pinch off a small piece of dough and gently stretch it between your fingers. If you can stretch it thin enough to see light through it without tearing, the gluten is well-developed, and your dough is ready. Under-kneaded dough will lead to dense, crumbly rolls, while over-kneading is less common but can make the dough tough.
- To Mixer or Not to Mixer: While hand-kneading is a therapeutic process, a stand mixer fitted with a dough hook is a fantastic time-saver, especially if you’re in a crunch or prefer not to knead by hand. It achieves the same results with less effort, allowing you to multitask.
- Optimal Proofing Environment: Yeast thrives in warmth and humidity. If your kitchen is cool, you can create an ideal proofing environment. One method is to warm your oven to its lowest setting (around 100°F/38°C) for a few minutes, then turn it off. Place the covered dough in the warm (but off!) oven. Alternatively, place the covered bowl in a microwave (turned off) with a cup of hot water. These methods provide a consistent, warm, and draft-free space for the dough to rise beautifully.
- Don’t Over-Proof: While proofing is essential, over-proofing can lead to rolls that collapse in the oven or have a yeasty, alcoholic taste. Keep an eye on the dough; it should be puffy and nearly doubled, but not excessively so. Gently poke it with a floured finger—if the indentation springs back slowly, it’s perfectly proofed. If it springs back immediately, it needs more time. If it collapses, it’s over-proofed.
- Brush with Butter: Don’t skip the final brush of melted butter after baking! It adds a glistening finish, enhances flavor, and ensures a wonderfully soft crust.
Serving Suggestions and Delicious Variations
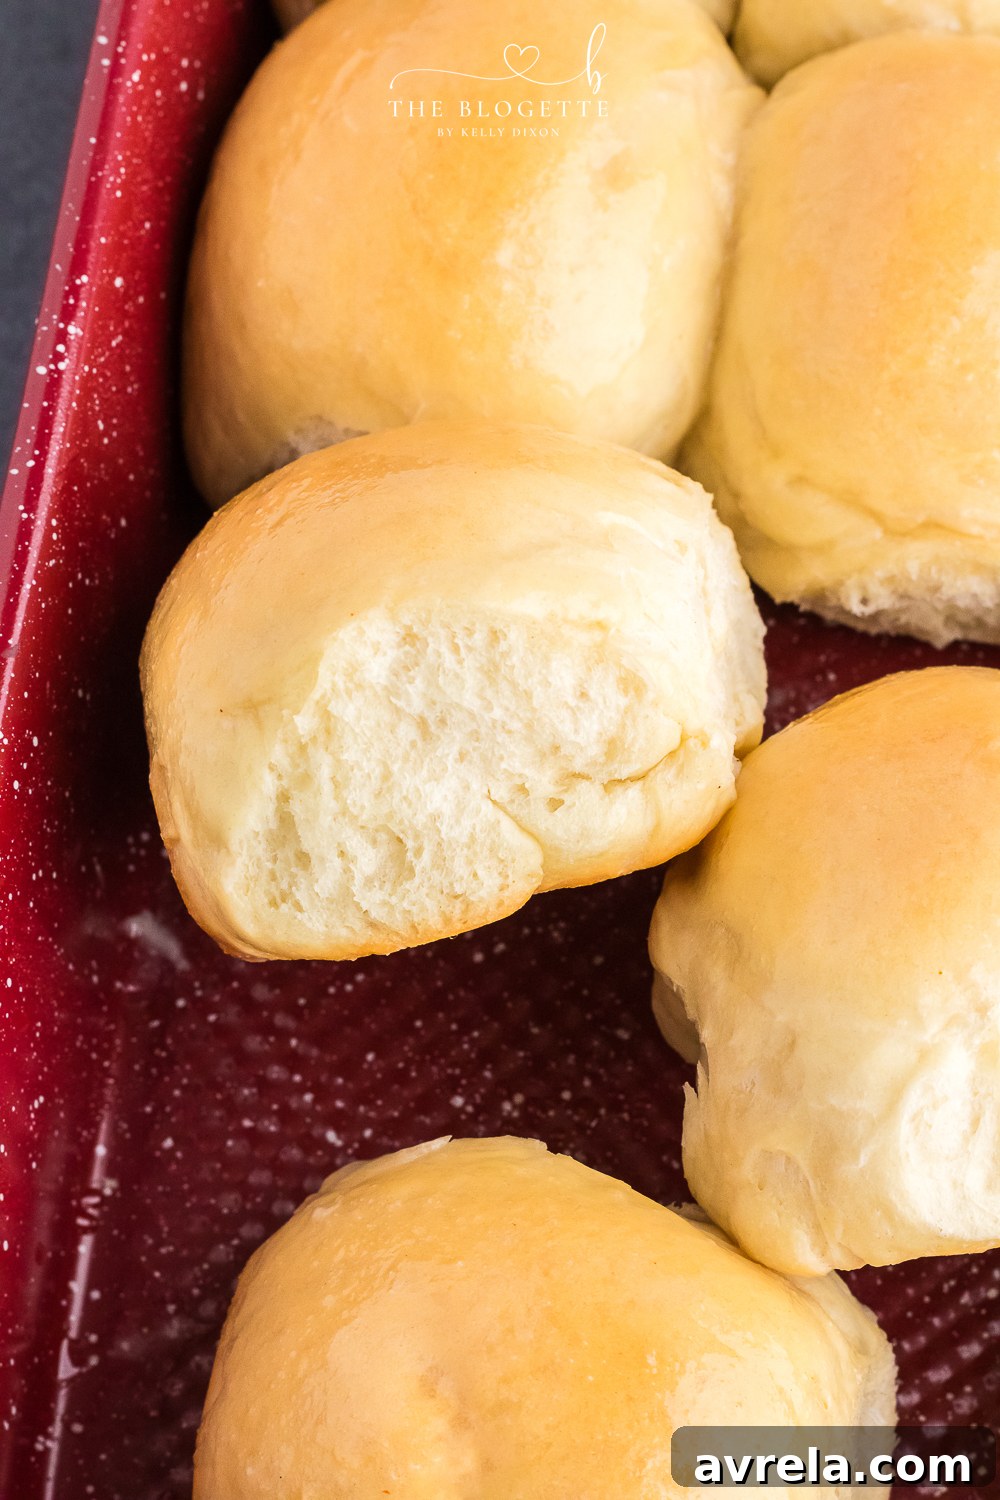
Homemade dinner rolls are incredibly versatile and can elevate almost any meal. Their soft, buttery nature makes them the perfect accompaniment to hearty stews, rich roasts, comforting soups, or a simple holiday turkey. They’re also fantastic alongside a vibrant salad, soaking up any delicious dressing. Beyond a savory side, these rolls can easily be transformed into a delightful breakfast or dessert.
For a classic twist, serve them with an herb-infused butter. Simply mix softened butter with fresh chopped rosemary, thyme, or garlic and chives. For a touch of sweetness, a sprinkle of cinnamon sugar or a drizzle of honey butter can turn them into a wonderful sweet treat. You can also experiment by adding different ingredients to the dough before the second rise, such as shredded cheddar cheese, finely chopped jalapeños for a spicy kick, or even a handful of dried cranberries and orange zest for a festive flavor profile. Leftover rolls are excellent for making mini sandwiches or even bread pudding!
More Bread Recipes You’ll Love
Cheddar Quick Bread
Cloud Bread
Pizza-Pull Apart Bread
Amish Cinnamon Bread
Homemade Dinner Rolls Recipe
Print Recipe
Homemade Dinner Rolls
2 hours
10 minutes
20 minutes
2 hours
30 minutes
12 rolls
Equipment
-
Large Mixing Bowl
-
Clean Damp Kitchen Towel
-
9×13 inch Baking Dish
-
Basting Brush
-
Measuring Cups and Spoons
-
Stand Mixer with Dough Hook (optional)
Ingredients
- 1 cup warm water
- 1 package active dry yeast (or 2 1/4 teaspoons)
- 3 Tablespoons avocado oil (or vegetable oil/melted butter)
- 1 large Egg (at room temperature)
- 1 teaspoon sea salt
- 3¼ cups all-purpose flour
- Melted butter for brushing (optional, but highly recommended)
Instructions
-
Preheat your oven to 375℉ (190°C).
-
In a measuring cup or small bowl, mix warm water and active dry yeast. Let it sit for about 5 minutes until the mixture becomes foamy, indicating the yeast is activated.
-
In a large mixing bowl, combine the all-purpose flour and sea salt. Mix thoroughly. Once the yeast mixture is activated, pour it into the flour/salt mixture.
-
Add the room temperature egg and avocado oil. Mix with a fork or Danish dough whisk until a shaggy, cohesive dough forms.
-
Turn the dough out onto a lightly floured surface and knead for about 5 minutes, or until the dough is smooth, elastic, and passes the windowpane test.
-
Place the kneaded dough in a lightly oiled bowl, turning once to coat. Cover with a clean damp kitchen towel and let it rise in a warm, draft-free place until doubled in size (1-2 hours, depending on room temperature).
-
Once doubled, gently punch down the dough to release air. Transfer it back to a lightly floured surface.
-
Divide the dough into 12 equal pieces. You can eyeball them or use a kitchen scale for precision.
-
Gently shape each piece into a smooth ball and place them in a lightly oiled or parchment-lined 9×13 inch baking pan.
-
Cover the pan with a clean damp kitchen towel and let the rolls rise for a second time (proofing) for 30 minutes to 1 hour, or until they are fluffy and almost doubled in size.
-
Bake in the preheated oven for 20-25 minutes, or until the tops are beautifully golden brown.
-
Immediately after baking, brush the hot rolls generously with melted butter. Serve warm and enjoy!
Notes
Water Temperature: Ensure your water is between 105°F and 115°F (40°C-46°C). Water that is too hot will kill the yeast, while water that is too cool will prevent it from activating properly.
Measuring the Flour: For accurate results, use the “spoon and level” method. Spoon the flour into your measuring cup, then gently scrape the top off level with the cup to avoid compacting the flour.
Kneading: Proper kneading is vital for light and fluffy rolls. The dough should be smooth and elastic, and pass the “windowpane test” when ready. If under-kneaded, your rolls could turn out dense and hard.
Stand Mixer: Yes, a stand mixer with a dough hook works wonderfully! It’s a great tool when you’re short on time or prefer not to knead by hand.
Additional Info
These homemade dinner rolls are best served warm and fresh from the oven. Store any leftovers in an airtight container at room temperature for up to 2-3 days, or freeze for longer storage. Reheat gently in the oven or microwave for that fresh-baked taste.
Embarking on the journey of baking homemade dinner rolls is an experience filled with warmth, aroma, and the undeniable satisfaction of creating something truly delicious from scratch. This comprehensive guide has provided you with all the necessary insights, from selecting the right ingredients to mastering each step of the baking process. With these fluffy, buttery, and utterly irresistible rolls, every meal becomes a special occasion. So, gather your ingredients, follow these instructions, and get ready to impress your family and friends with the best homemade dinner rolls they’ve ever tasted. Happy baking!