
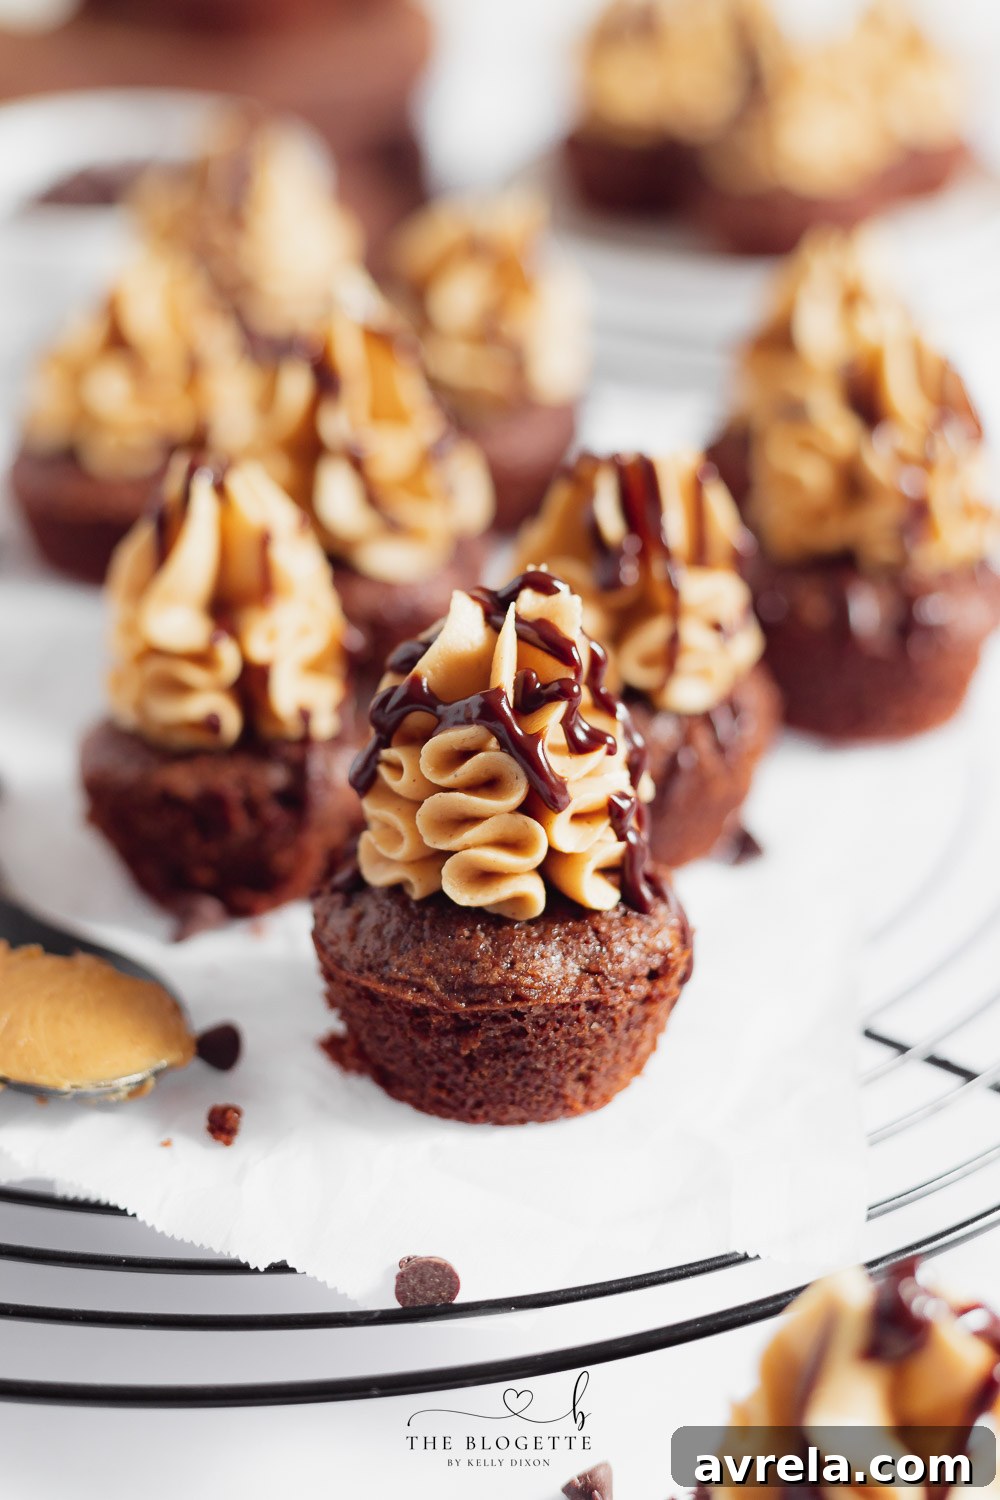
Decadent Buckeye Brownies: The Ultimate Chocolate Peanut Butter Bliss
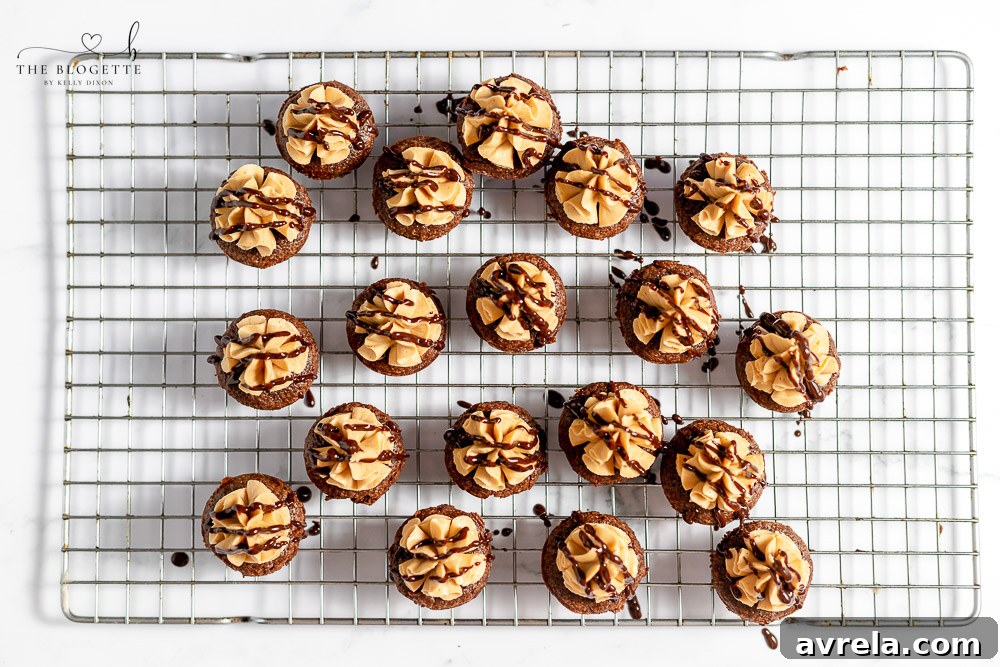
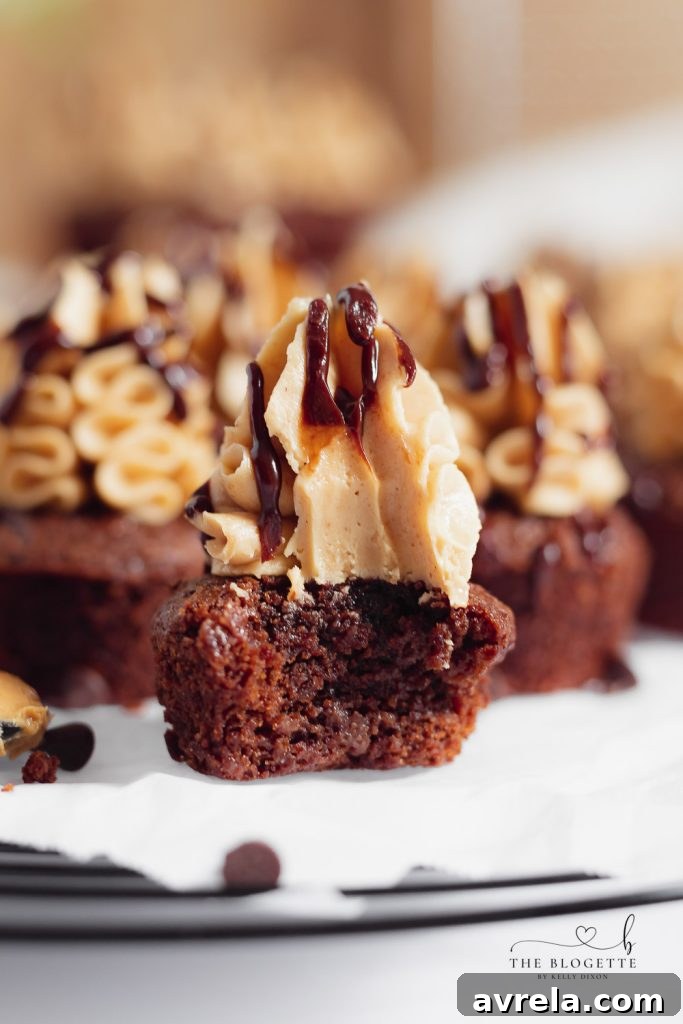
Prepare yourself for an irresistible treat that perfectly marries two beloved flavors: rich, fudgy chocolate and creamy, dreamy peanut butter. These amazing Buckeye Brownies are more than just a dessert; they’re an experience. Featuring a perfectly baked brownie base, a lavish layer of homemade peanut butter icing, and a shimmering chocolate drizzle, each bite delivers pure bliss. Whether you choose to bake them as charming brownie bites, as elegantly pictured, or as traditional squares from a baking dish, these decadent buckeye brownies are guaranteed to be a crowd-pleaser and a new favorite in your recipe collection.
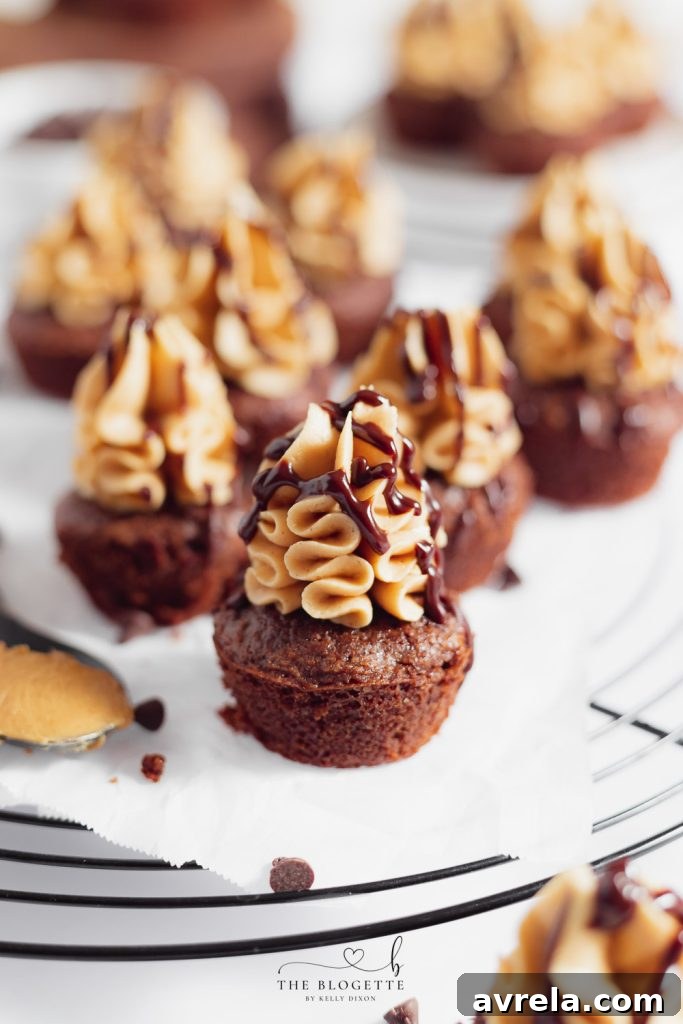
Why You’ll Fall in Love with Buckeye Brownies
Imagine the deep, comforting taste of a classic chocolate brownie elevated to gourmet status. That’s precisely what you get with these Buckeye Brownies. The combination of a tender, fudgy brownie base, a luscious, thick peanut butter fudge center, and a glistening chocolate shell creates a symphony of textures and flavors that are simply hard to resist. If you’re a devoted fan of brownies, and especially the harmonious pairing of chocolate and peanut butter, then this dessert is absolutely tailor-made for you. It’s the ideal treat for gatherings, holidays, or simply indulging your sweet tooth on a quiet evening.
Don’t lose this incredible recipe! Pin it now to save for later.
Pin It Now
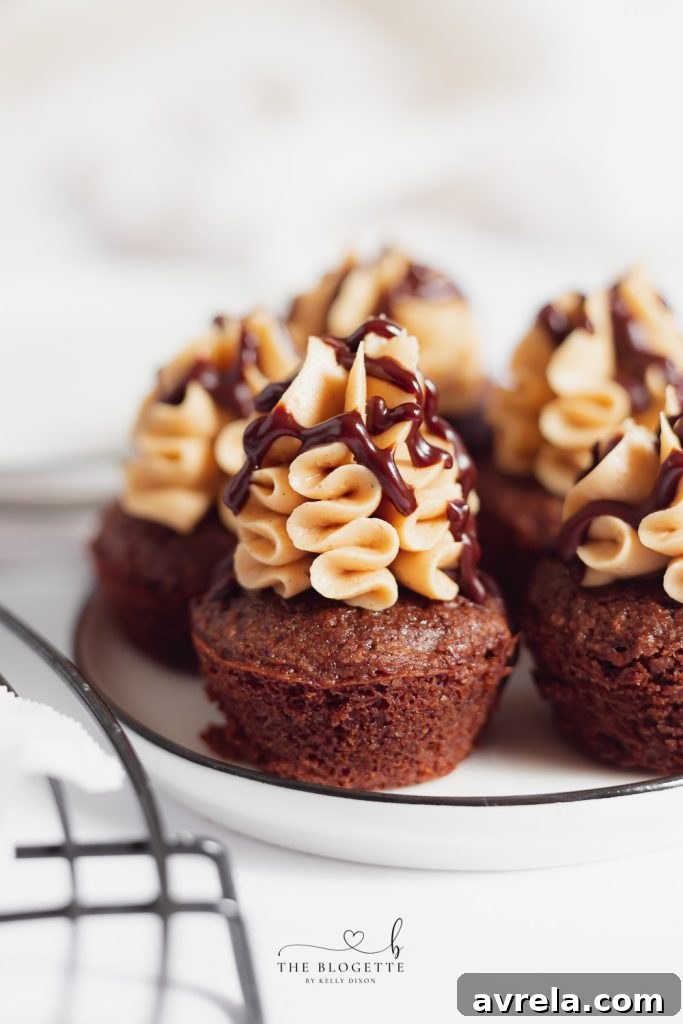
Essential Ingredients for Your Buckeye Brownies
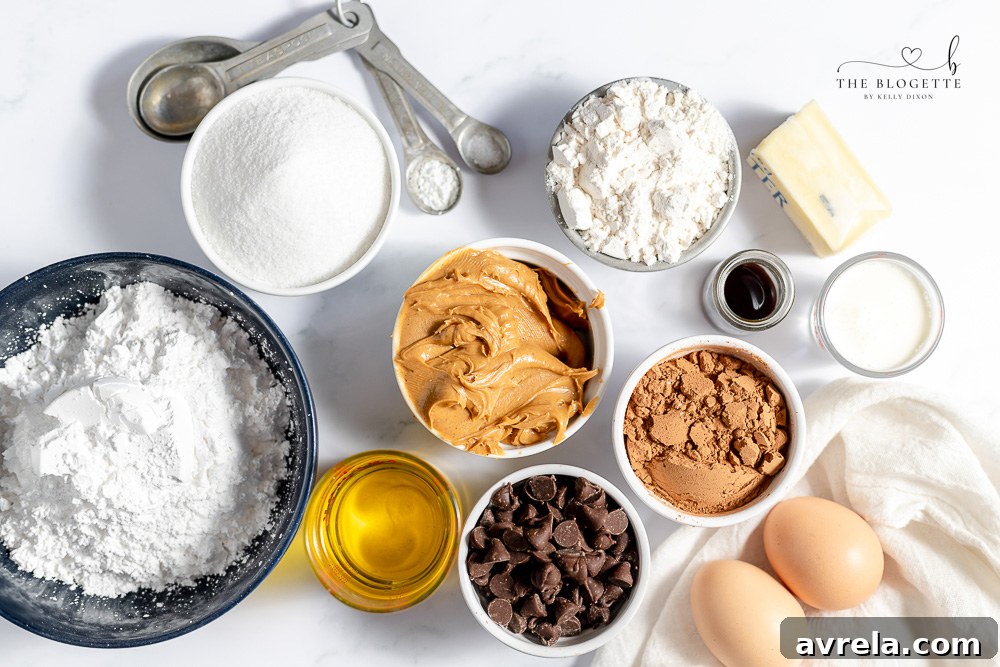
Creating these delightful Buckeye Brownies requires a few simple, everyday ingredients. We’ll break them down into three main components: the rich brownie base, the creamy peanut butter frosting, and the glossy chocolate drizzle. Quality ingredients will always yield the best results, so opt for good cocoa powder and fresh peanut butter for an outstanding flavor experience. Alternatively, for a quicker route, you can use a high-quality boxed brownie mix as your base, saving time without sacrificing too much on taste!
For the Fudgy Brownie Base
The foundation of any great brownie is a perfect blend of wet and dry ingredients. For our homemade fudgy brownies, you’ll need:
- Cocoa Powder: Unsweetened cocoa powder is key for that deep chocolate flavor. Dutch-processed cocoa will give a darker color and milder taste, while natural cocoa offers a fruitier, more intense chocolate note.
- All-Purpose Flour: Provides structure to the brownies.
- Baking Powder: A small amount helps the brownies rise slightly, giving them a tender crumb.
- Salt: Essential for balancing the sweetness and enhancing the chocolate flavor. Don’t skip it!
- Vegetable Oil: Creates a moist, fudgy texture. You can also use melted butter for a richer flavor, though oil typically results in a chewier brownie.
- Granulated Sugar: Sweetens the brownies and contributes to their moistness.
- Eggs: Act as a binder and add richness, structure, and moisture.
- Vanilla Extract: A crucial flavor enhancer for any chocolate dessert. Use pure vanilla for the best taste.
*Chef’s Tip: If you’re short on time or prefer a simpler approach, a good quality box brownie mix works wonderfully for the base. Just follow the package instructions for preparation.
For the Creamy Peanut Butter Frosting
This isn’t just any peanut butter frosting; it’s a thick, creamy, and irresistible layer that perfectly complements the chocolate. Here’s what you’ll need:
- Unsalted Butter: Softened to room temperature for a smooth, lump-free frosting.
- Creamy Peanut Butter: Use a classic creamy peanut butter (like Jif or Skippy) for the best consistency. Natural peanut butter can be too oily and might separate.
- Powdered Sugar (Confectioners’ Sugar): Gives the frosting its sweetness and smooth texture.
- Piping Bag & Frosting Tip: (Optional, but recommended for beautiful presentation) A piping bag fitted with a round or star tip will make piping the icing onto individual brownie bites much easier and more attractive. If making a slab, a spatula is all you need.
For the Decadent Chocolate Drizzle
The final touch is a glossy, rich chocolate drizzle that adds another layer of chocolatey goodness and visual appeal.
- Semi-Sweet Chocolate Chips: Provide the perfect balance of sweetness and chocolate flavor. You can also use milk chocolate or dark chocolate, depending on your preference.
- Heavy Whipping Cream: Creates a smooth, pourable ganache-like drizzle when melted with the chocolate chips.
- Microwave-Safe Bowl: For easily melting the chocolate and cream.
Step-by-Step Guide to Making Your Buckeye Brownies
Let’s walk through the process of creating these heavenly Buckeye Brownies, from mixing the batter to the final chocolate flourish. Precision and patience are key for baking success, but don’t worry, this recipe is quite forgiving!
Making the Perfect Brownie Base
- Preheat Your Oven: Start by preheating your oven to 350°F (175°C). Prepare your baking vessel, whether it’s a mini muffin tin (greased with cooking spray for about 18-20 mini muffins) or a 9×9 inch square baking pan (lined with parchment paper for easy removal and greased).
- Combine Dry Ingredients: In a medium-sized mixing bowl, whisk together the cocoa powder, all-purpose flour, baking powder, and a pinch of salt until well combined. Set aside.
- Mix Wet Ingredients: In a separate, larger mixing bowl, whisk together the vegetable oil and granulated sugar until smooth. This combination ensures a truly fudgy brownie.
- Incorporate Eggs and Vanilla: Add the eggs one at a time to the wet mixture, whisking well after each addition. Stir in the vanilla extract. Continue whisking until the mixture is lightened slightly and well emulsified.
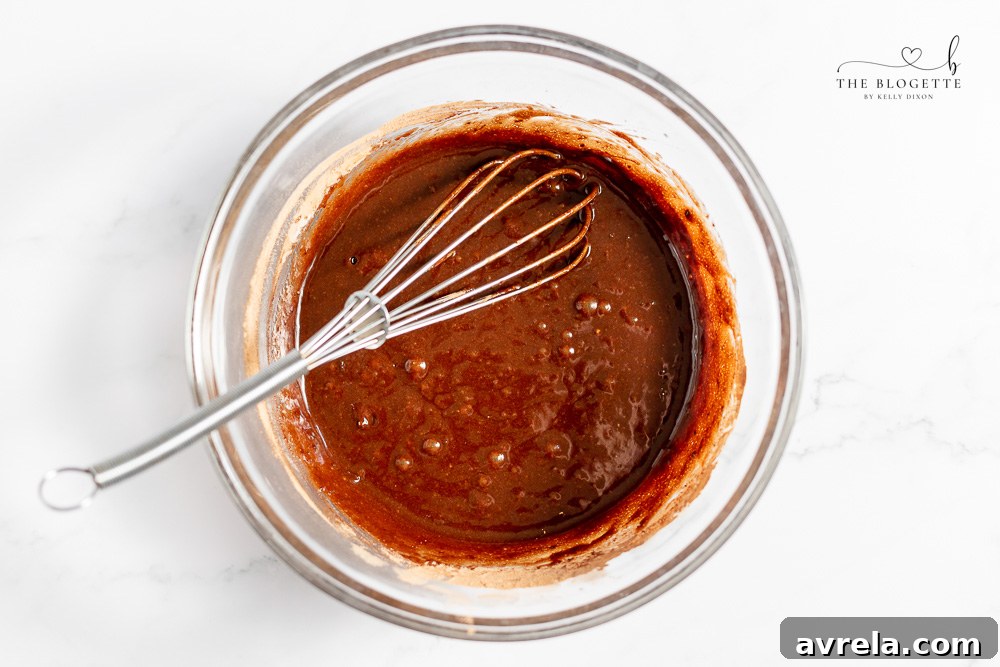
- Combine Wet and Dry: Gradually add the dry ingredient mixture to the wet ingredients. Stir gently with a spoon or spatula until just combined. Be careful not to overmix the batter; overmixing can lead to tough brownies. A few streaks of flour are fine.
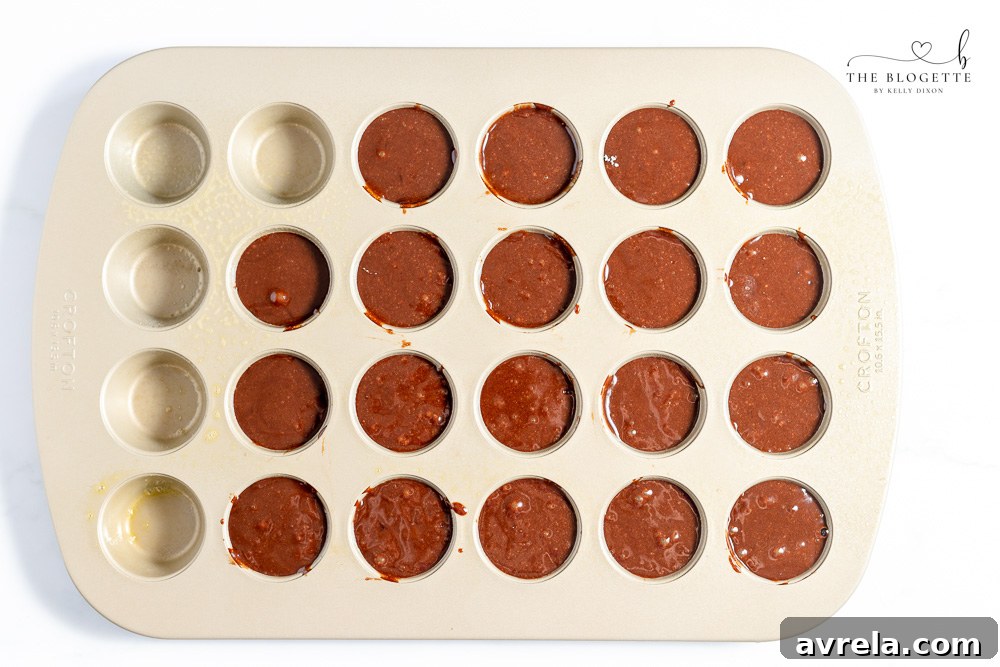
- Portion the Batter: If making brownie bites, divide the batter evenly among the prepared mini muffin tins, filling each about 7/8 full. If using a 9×9 inch pan, spread the batter evenly into the prepared pan.
- Bake to Perfection: Bake the mini muffin brownies for approximately 12 minutes, or until a toothpick inserted into the center comes out with moist crumbs, not wet batter. For a 9×9 inch pan, baking time will be closer to 20-25 minutes.
- Cool Completely: Remove the brownies from the oven and let them cool completely in the pan on a wire rack. This is crucial for the brownies to set properly and for the peanut butter icing to adhere without melting. Patience is a virtue here!
Crafting the Smooth Peanut Butter Frosting
While your brownies are cooling, it’s the perfect time to prepare the star of the show – that thick, creamy peanut butter icing!
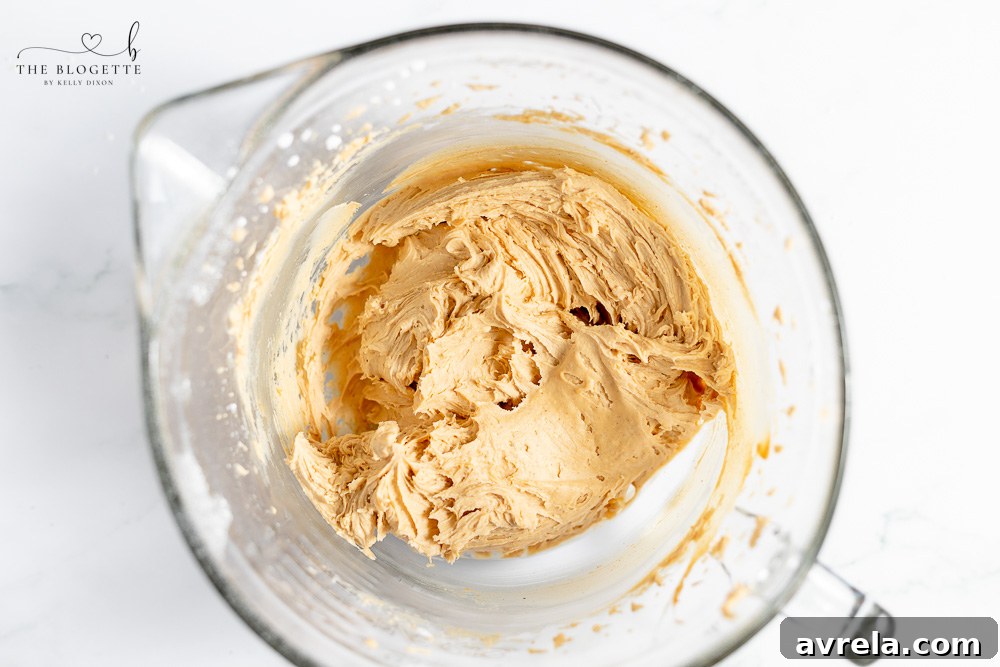
- Beat Icing Ingredients: In a medium mixing bowl, combine the softened butter, creamy peanut butter, and powdered sugar. Using an electric mixer (handheld or stand mixer), beat the ingredients together on medium speed until the mixture is completely smooth and creamy. Scrape down the sides of the bowl as needed to ensure everything is incorporated. The frosting should be thick and hold its shape.
- Prepare for Piping (Optional): If you’re making brownie bites and want that classic Buckeye look, fit a piping bag with your preferred frosting tip (a round tip for smooth mounds or a star tip for a decorative flourish). Carefully spoon the peanut butter icing into the piping bag.
- Apply the Icing: For brownie bites, pipe a generous dollop of peanut butter icing onto the center of each cooled brownie bite. If you opted for a traditional square pan, use an offset spatula to spread an even, thick layer of peanut butter frosting over the entire cooled brownie slab.
- Chill for Stability: Once iced, place the brownies (or brownie bites) into the refrigerator for at least 15-20 minutes. This step is important as it helps the peanut butter icing firm up, preventing it from melting and shifting when you apply the warm chocolate drizzle.
Adding the Silky Chocolate Drizzle
The final layer seals the deal, creating a visually stunning and utterly delicious finish.
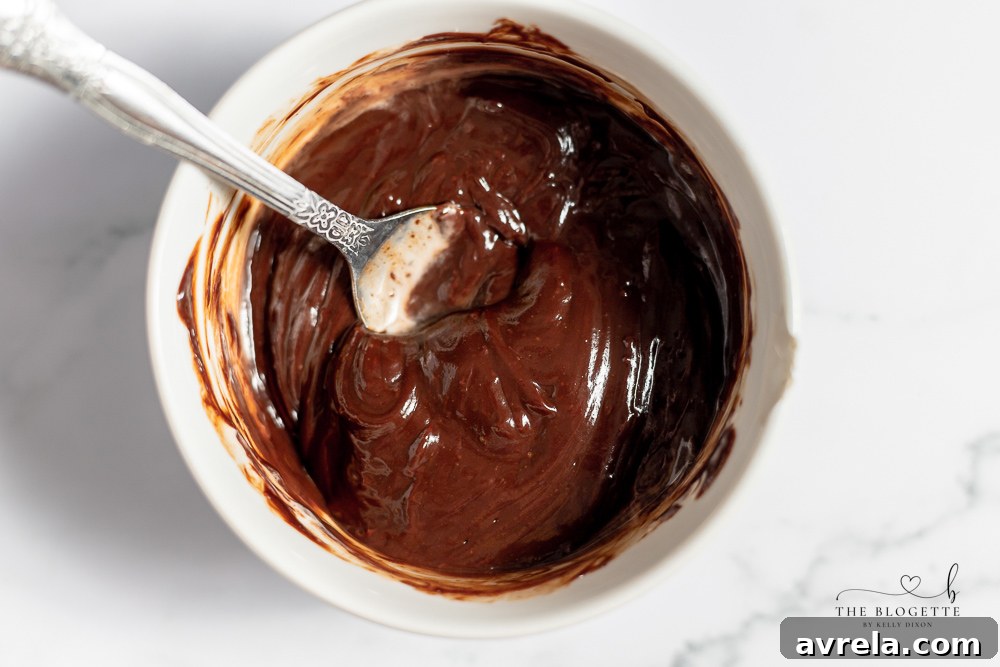
- Melt Chocolate and Cream: In a microwave-safe bowl, combine the semi-sweet chocolate chips and heavy whipping cream. Heat in the microwave in 20-second intervals, stirring well after each interval, until the chocolate is completely melted and the mixture is smooth and glossy. Be careful not to overheat the chocolate.
- Achieve Desired Consistency: Stir the chocolate mixture until it reaches a smooth, pourable consistency. If it seems too thick, add a few extra drops of heavy cream at a time, stirring until it drips off a spoon easily. You want it fluid enough to drizzle but not so thin that it runs off the sides too quickly.
- Drizzle Over Peanut Butter: Remove your chilled brownies from the refrigerator. Using a spoon, fork, or a small piping bag (if you want more control), generously drizzle the melted chocolate over the peanut butter layer. You can create a classic criss-cross pattern or simply cover the tops entirely.
- Set and Serve: Allow the chocolate drizzle to set, either at room temperature or back in the refrigerator for a quicker set. Once the chocolate is firm, your Buckeye Brownies are ready to be enjoyed!
Expert Tips for the Best Buckeye Brownies
- Don’t Overbake the Brownies: Overbaked brownies lose their fudgy texture and become dry. Keep an eye on them; a toothpick inserted should come out with moist crumbs, not liquid batter, but not completely clean.
- Quality Ingredients Matter: Use good quality cocoa powder, creamy peanut butter (avoid natural varieties that separate easily), and pure vanilla extract for the most impactful flavors.
- Cool Completely: Ensure your brownies are entirely cool before adding the peanut butter frosting. Warm brownies will melt the frosting, leading to a messy outcome.
- Chill the Peanut Butter Layer: Chilling the frosted brownies before drizzling with chocolate is key. This prevents the warm chocolate from melting the peanut butter layer and helps the layers stay distinct and beautiful.
- Adjust Chocolate Drizzle Consistency: If your chocolate drizzle is too thick, add a tiny bit more cream. If it’s too thin, let it cool slightly or add a few more chocolate chips and melt gently.
- Even Spreading vs. Piping: If baking in a square pan, spreading the peanut butter frosting evenly is quicker. For individual bites, piping creates a more uniform and attractive dome of peanut butter.
Serving Suggestions and Delicious Variations
Buckeye Brownies are fantastic on their own, but there are many ways to enjoy them or customize them to your liking. Serve them as an impressive dessert at parties, a delightful snack, or a sweet finish to any meal. Pair them with a glass of cold milk, a scoop of vanilla ice cream, or a warm cup of coffee for an extra treat.
Here are some fun variations to try:
- Nutty Crunch: Sprinkle chopped peanuts or pretzels over the chocolate drizzle before it sets for added texture and a salty crunch.
- White Chocolate Swirl: Instead of semi-sweet, try a white chocolate drizzle, or do both for a marbled effect!
- Mini Peanut Butter Cups: Press mini Reese’s peanut butter cups into the still-soft peanut butter frosting before drizzling with chocolate for an extra burst of peanut butter goodness.
- Espresso Kick: Add a teaspoon of espresso powder to your brownie batter to deepen the chocolate flavor without making it taste like coffee.
- Different Spreads: Experiment with almond butter or cashew butter instead of peanut butter for a unique twist, adjusting sweetness as needed.
- Holiday Sprinkles: Add festive sprinkles to the chocolate drizzle for seasonal celebrations.
Storage Recommendations
Storage Tips
To keep your Buckeye Brownies fresh and delicious, store them in an airtight container in the refrigerator. They will maintain their best quality for up to 5 days. For longer storage, you can freeze them for up to 3 months. When ready to enjoy, simply thaw them in the refrigerator or at room temperature.
Frequently Asked Questions (FAQs) About Buckeye Brownies
- Can I make these brownies ahead of time?
- Absolutely! Buckeye Brownies are an excellent make-ahead dessert. You can prepare them entirely a day or two in advance and store them in the refrigerator. They often taste even better after the flavors have had time to meld.
- What kind of peanut butter should I use?
- For the best results with the peanut butter icing, we recommend using a classic, creamy processed peanut butter (like Jif, Skippy, or Peter Pan). Natural peanut butter tends to be oilier and can cause the frosting to separate or become too runny.
- How do I get clean cuts for square brownies?
- If making a pan of brownies, allow them to cool completely, then chill them in the refrigerator for at least an hour before cutting. Use a sharp knife, wiping it clean between each cut, for perfectly neat squares.
- My chocolate drizzle seized/became too thick. What should I do?
- If your chocolate seized, it likely came into contact with a tiny amount of water or was overheated. If it’s just too thick, try adding a few more drops of heavy cream, one at a time, and stir vigorously until smooth. If it has truly seized (become grainy and hard), it might be difficult to rescue, but sometimes adding a tablespoon of hot water or cream and stirring rapidly can help.
- Can I use a different type of chocolate for the drizzle?
- Yes, you can! While semi-sweet chocolate chips provide a good balance, you could use milk chocolate for a sweeter drizzle or dark chocolate for a more intense, less sweet finish. Just be aware that different chocolates melt differently and might require slight adjustments to the amount of cream.
More Delicious Dessert Recipes You’ll Love
Explore More Sweet Treats
Pecan Pie Brownies
Rolo Brownies
Hot Fudge Pudding Cake
Peanut Butter Brownie Trifle
Printable Buckeye Brownies Recipe Card
Buckeye Brownies
Amazing Buckeye Brownies! Rich chocolate brownies topped with homemade peanut butter icing and drizzled in chocolate.
Prep Time: 20 minutes
Cook Time: 12 minutes
Total Time: 32 minutes
Print Recipe
Equipment
- Mini muffin tin *Note: Brownies can also be baked in a 9×9 inch baking pan, and cut into squares.
- Non-stick spray
- Piping bag
- Frosting tip of choice (round or star)
- Microwave Safe Bowl
- Electric mixer
- Mixing bowls
Ingredients
For the Brownies
- ⅓ cup cocoa powder
- ½ cup flour
- ¼ teaspoon baking powder
- Pinch of salt
- ½ cup vegetable oil
- 1 cup sugar
- 2 eggs
- 1 teaspoon vanilla extract
For the Peanut Butter Icing
- ½ cup butter, softened
- ½ cup creamy peanut butter
- 1¼ cup powdered sugar
For the Chocolate Drizzle
- ½ cup semi-sweet chocolate chips
- ¼ cup heavy whipping cream
Instructions
- Preheat oven to 350ºF (175°C).
- In a medium bowl, combine cocoa, flour, baking powder, and salt. Stir well.
- In a large bowl, whisk oil and sugar together.
- Add eggs and vanilla to the wet mixture and continue whisking until well combined.
- Stir the dry ingredients into the wet ingredients until just combined. Do not overmix.
- Divide batter between 18-20 mini muffin tins, filling each ⅞ full (or pour into a prepared 9×9″ baking pan).
- Bake for 12 minutes for mini muffins (or 20-25 minutes for a 9×9 inch pan).
- Remove from oven and let cool completely on a wire rack.
- While brownies cool, beat softened butter, peanut butter, and powdered sugar together until smooth.
- Fill a piping bag fitted with either a round or star tip (if using for brownie bites).
- Pipe icing onto brownie bites or spread evenly over the brownie slab. Place in the fridge to chill for 15-20 minutes. This helps prevent melting when adding chocolate.
- In a microwave-safe bowl, melt chocolate chips and heavy cream together, heating in the microwave for 20 seconds at a time, until completely melted. Stir well after each interval.
- Stir until smooth. If needed, add more cream a few drops at a time until the chocolate drips easily off a spoon.
- Drizzle the melted chocolate over the chilled peanut butter layer. Let set before serving.
Notes
Brownies can also be baked in a 9×9 inch baking pan and cut into squares after chilling. For clean cuts, ensure brownies are fully cooled and chilled before slicing.