
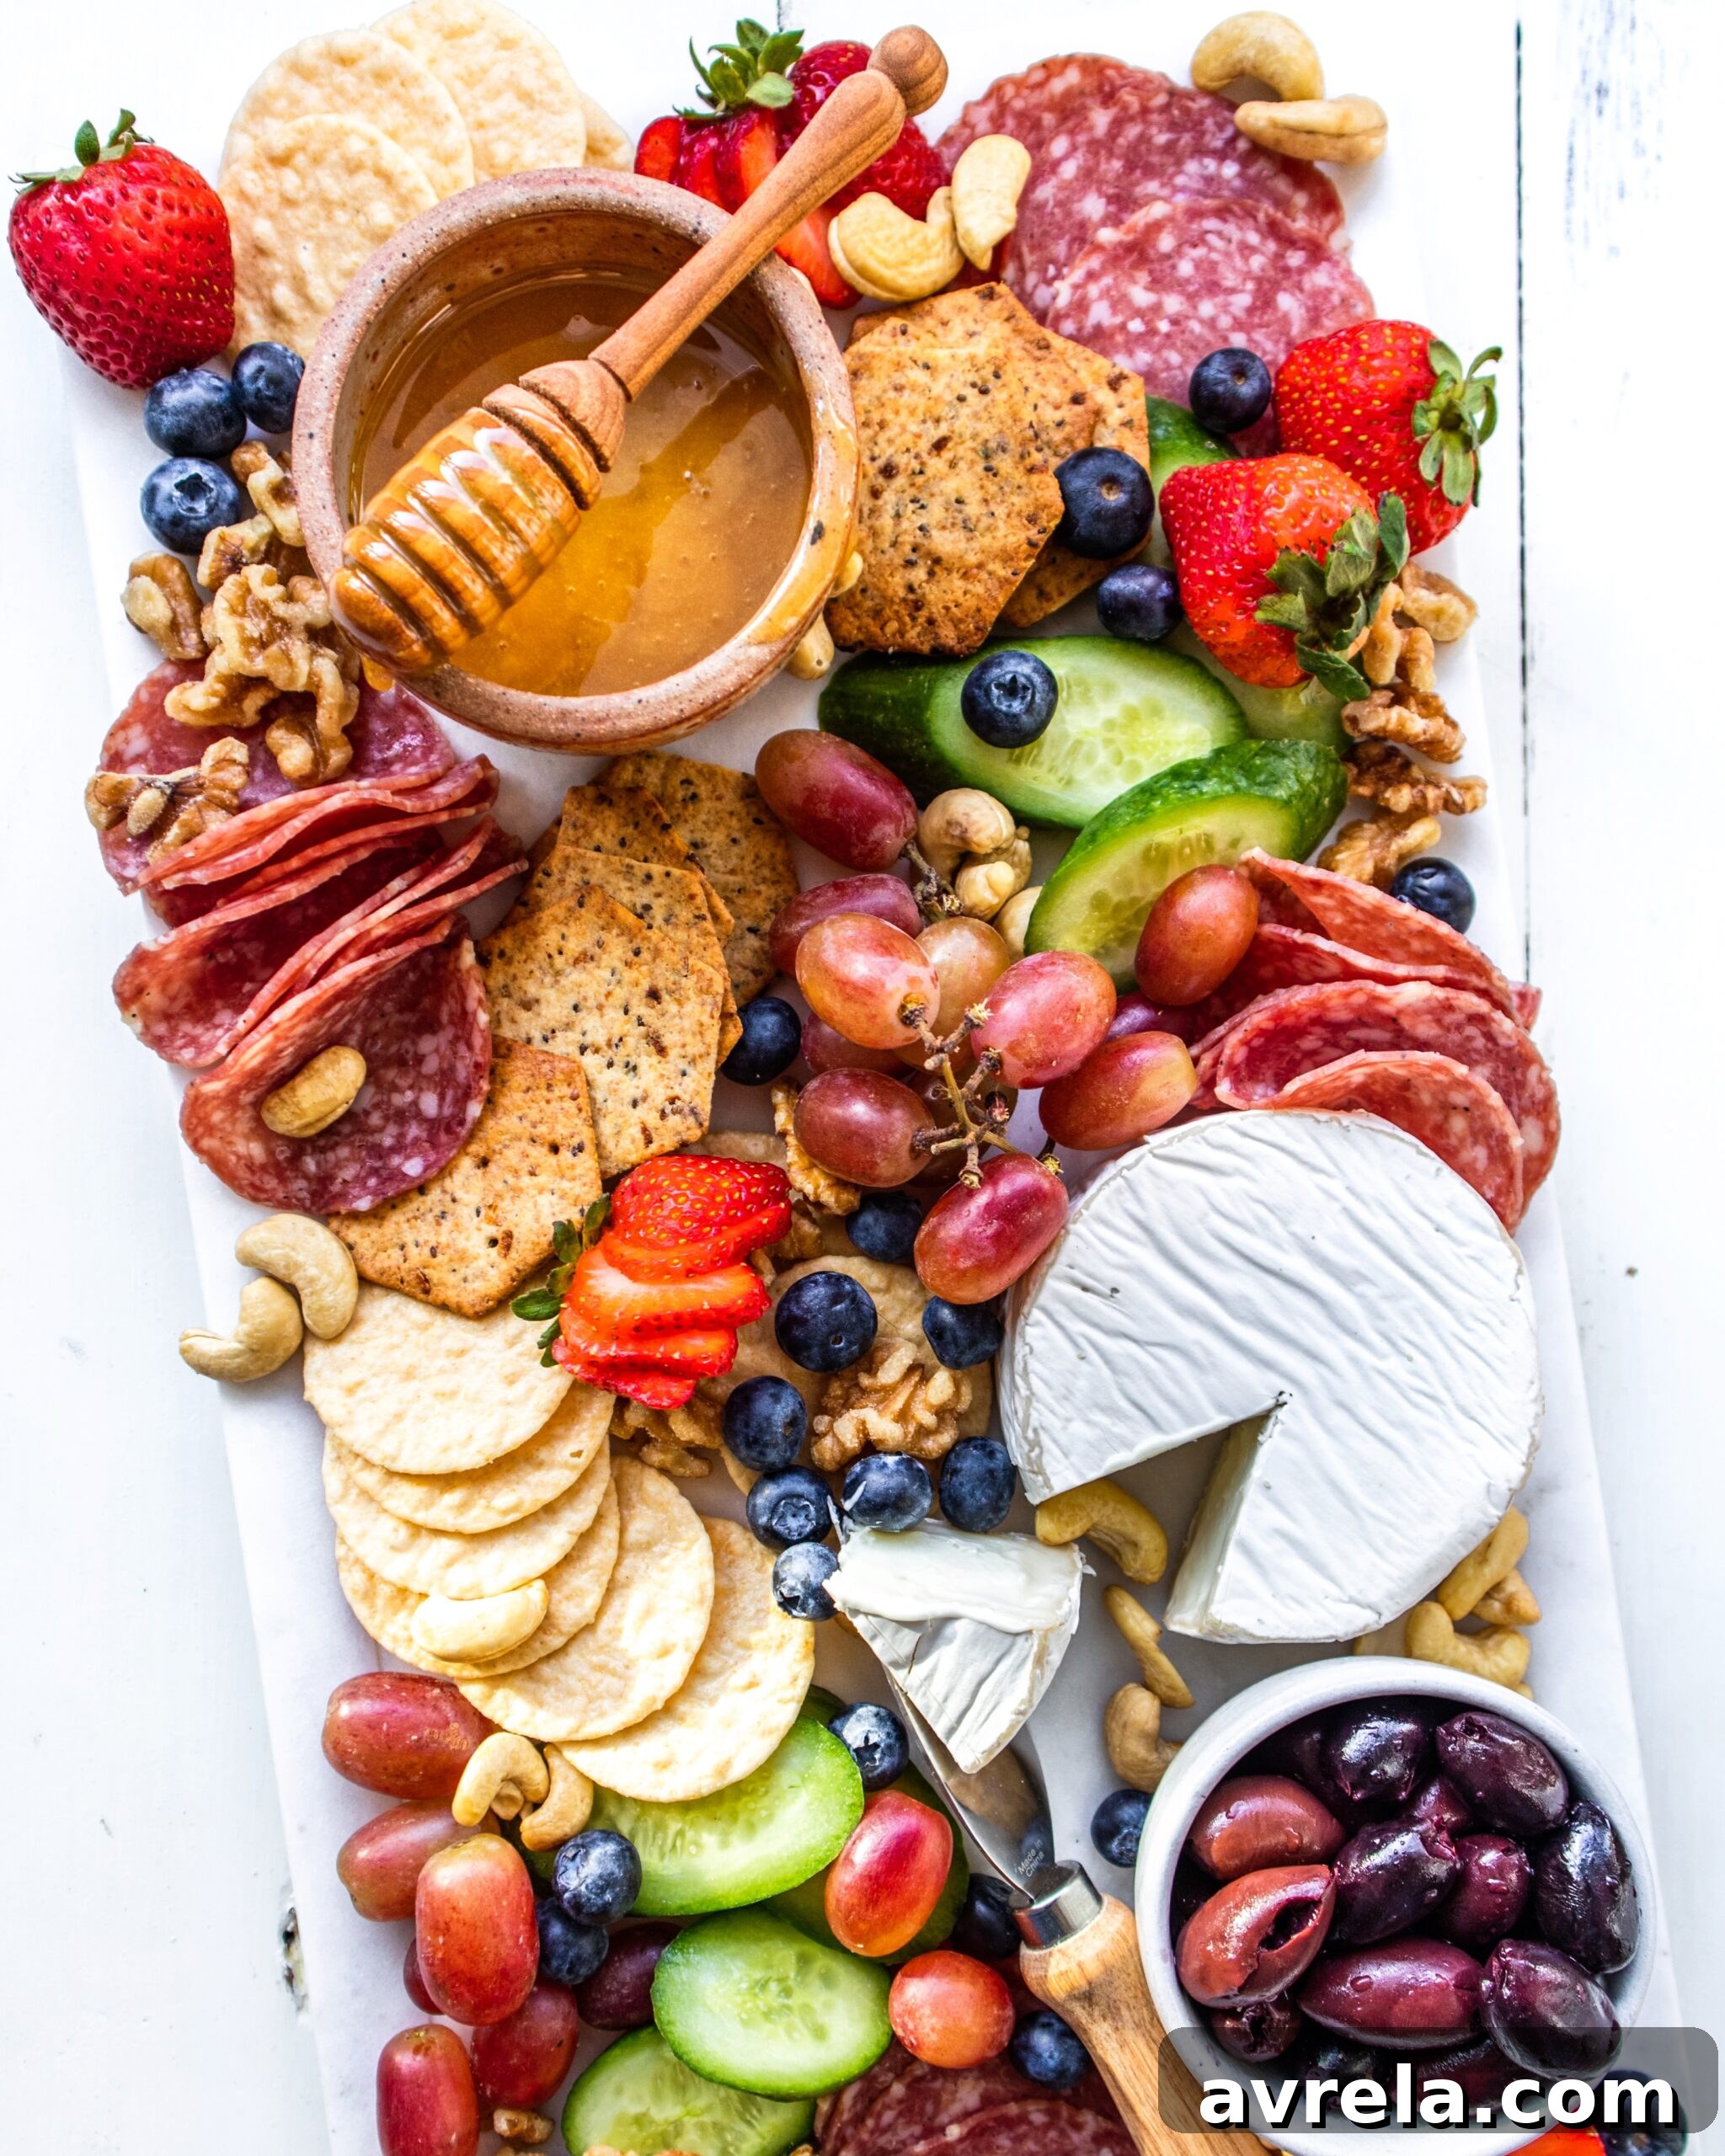
Mastering the Art of Charcuterie Boards: Your Ultimate Guide to Crafting Stunning Spreads
Charcuterie boards have become an absolute sensation, transforming from simple appetizers into elaborate culinary centerpieces for any occasion. Whether it’s a cozy family gathering, a vibrant football game day, a relaxed weekend snack, or an elegant evening with friends, these artfully arranged platters are a staple in our home. There’s an undeniable charm and satisfaction in bringing one of these food boards to life – a process that many find therapeutic and wonderfully creative. While it might seem intimidating at first, crafting an epic charcuterie board is a skill that develops with practice and a good understanding of how to harmonize flavors, textures, and aesthetics. If you’re ready to impress your guests and elevate your entertaining game, this comprehensive guide will equip you with all the tips and tricks you need to assemble a show-stopping charcuterie board every time.
What Exactly is a Charcuterie Board? A Culinary Definition
At its core, a charcuterie (pronounced “shahr-koo-tuh-ree”) board is the artful arrangement of cured meats, cheeses, and various complementary finger foods on a serving platter or board. Historically, “charcuterie” refers to a branch of French cooking dedicated to prepared meat products, primarily pork. Think of classic pâtés, terrines, galantines, and sausages. Today, the concept has beautifully evolved, encompassing a much wider array of ingredients to create a diverse “grazing board.”
The true magic of a charcuterie board lies in its balance. A truly successful board offers a delightful equilibrium of savory and sweet elements, rich and fresh textures, and a spectrum of colors. This ensures that every guest finds something to tantalize their taste buds, catering to a variety of preferences and dietary needs. When thoughtfully put together, a charcuterie board isn’t just food; it’s a visual masterpiece, an edible landscape designed to delight the senses and spark conversation.
Selecting Your Canvas: Boards, Bowls & Serving Utensils
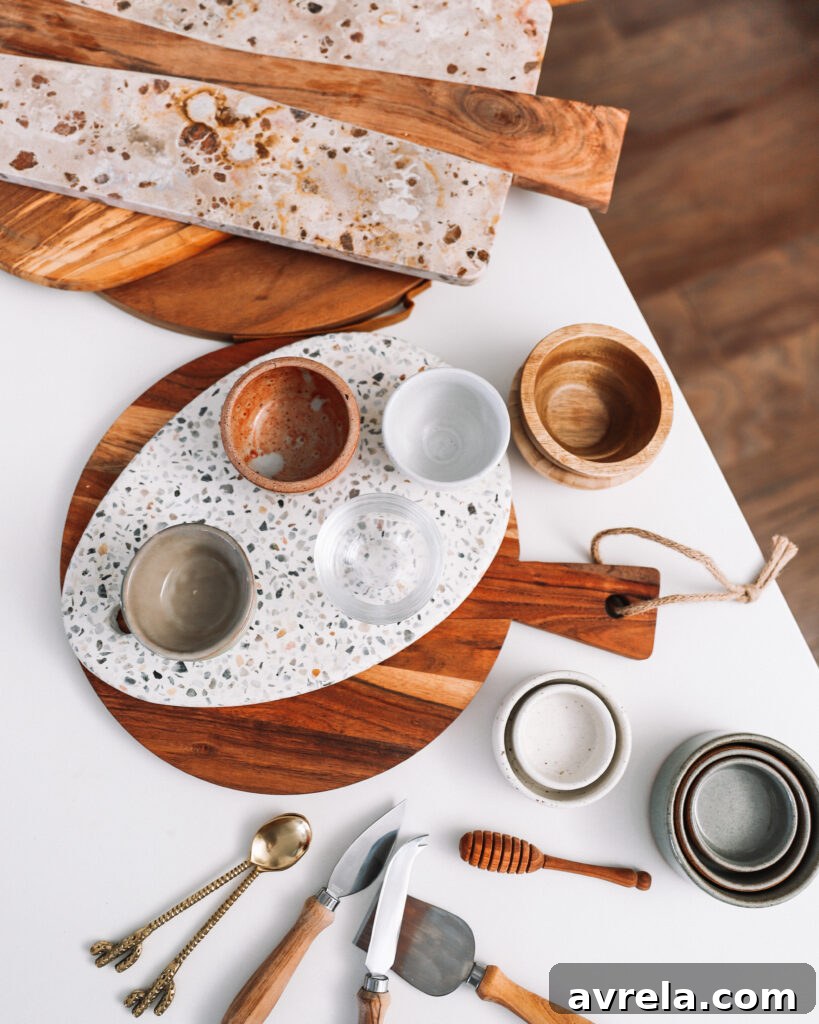
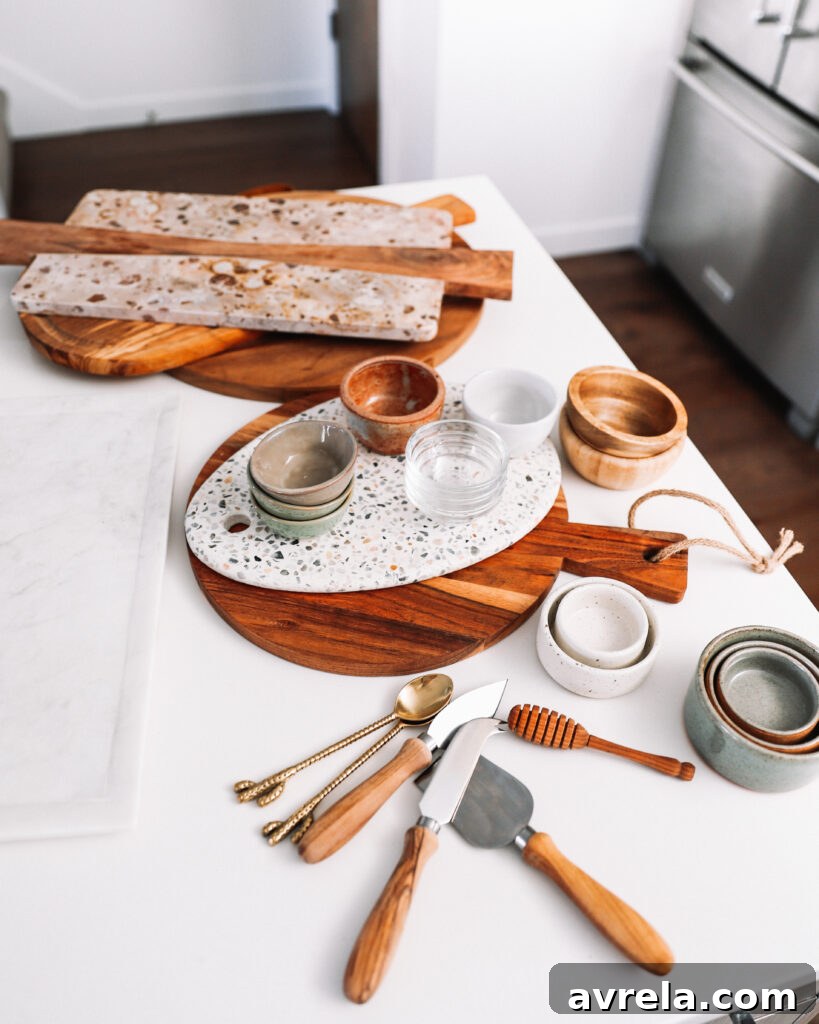
Before you even think about ingredients, the foundation of your charcuterie board needs attention. The board itself serves as your canvas, influencing the overall aesthetic and how you arrange your culinary components. Don’t feel limited to a traditional cutting board; get creative! Options range from rustic wooden planks and elegant marble slabs to slate platters, ceramic trays, or even a large baking sheet covered with parchment paper for a more casual spread.
Consider the shape and size of your chosen board. A rectangular board offers long lines for dramatic arrangements, while a circular board encourages a radial pattern. The size should be proportional to the number of guests you’re serving and the amount of food you plan to offer. Having a collection of boards in various materials and shapes allows for versatility for different occasions.
Beyond the main board, small bowls, ramekins, and serving dishes are indispensable. These are perfect for containing wet items like olives, jams, dips, or honey, preventing them from mixing with other ingredients and maintaining a clean, organized presentation. The shape and material of these smaller vessels can also add to the board’s visual appeal. Don’t forget essential serving utensils like cheese knives, spreaders, and small tongs to make it easy for guests to serve themselves gracefully.
The Art of Ingredient Selection: Curating a Delectable Spread
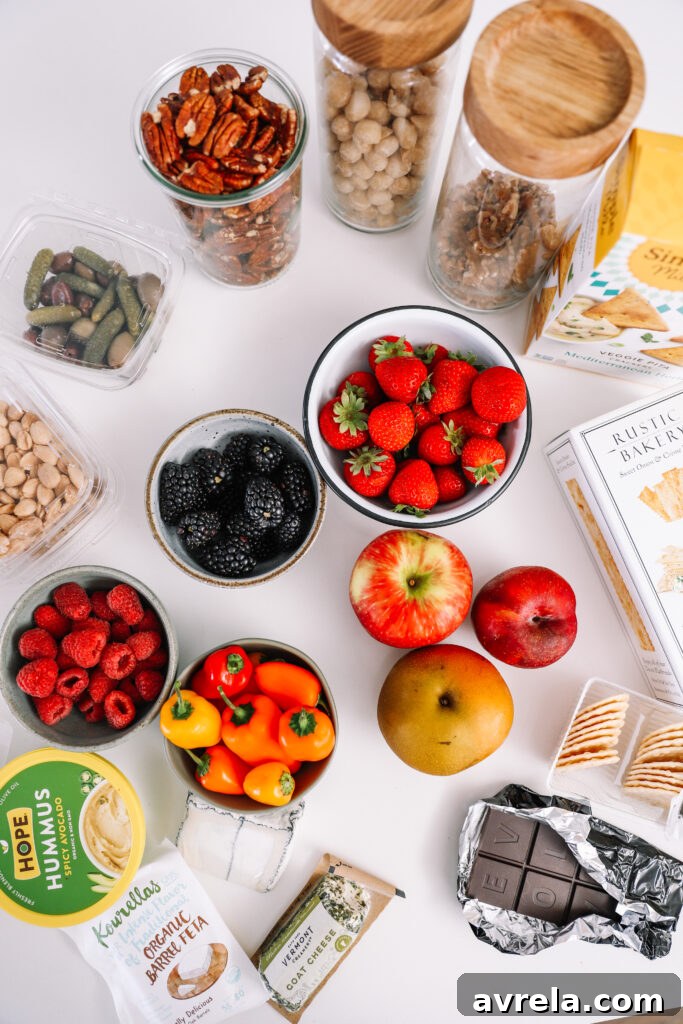
The beauty of charcuterie boards lies in their adaptability. When gathering your ingredients, it’s helpful to consider the event type, the season, and your guests’ preferences. A football-themed board might lean heavily into robust meats and cheeses, while a summertime spread could burst with fresh fruits and lighter fare. Vegan-friendly boards can feature an array of plant-based cheeses and spreads, and a brunch board might include mini pancakes, bacon, and fresh berries. A balanced board is always the goal, ensuring a harmonious blend of flavors, textures, and colors.
Cheeses: The Heart of the Board
Cheese is often the star of any charcuterie board, offering a diverse range of flavors and textures. Aim for at least three to five different types of cheese to provide variety. Think about including a mix of:
- Soft Cheeses: Creamy brie, goat cheese (chèvre), fresh mozzarella, or camembert.
- Semi-Hard Cheeses: Cheddar, Gruyère, provolone, or Monterey Jack.
- Hard Cheeses: Aged Parmesan, Manchego, or a firm aged cheddar.
- Blue Cheeses: Gorgonzola, Roquefort, or Stilton for a pungent kick (optional, as not everyone loves blue cheese).
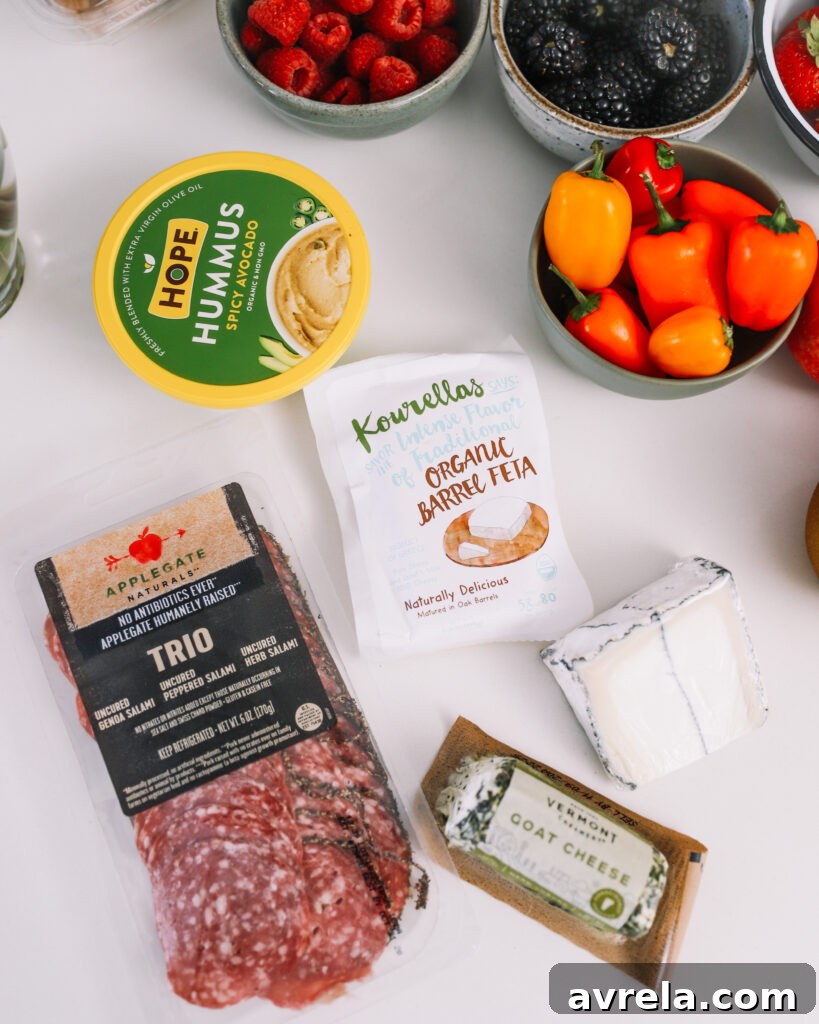
For those with dietary considerations, like lactose intolerance, there are excellent alternatives. For example, many find goat’s milk cheeses easier to digest than cow’s milk cheeses due to their lower lactose content and different protein structure (A2 casein vs. A1 casein). My personal favorites, due to a lactose intolerance to cow’s milk, include Humboldt Fog, Vermont herb goat cheese, and brie goat cheese. Organic feta has also been a delightful discovery!
When selecting cheeses, consider regional specialties and artisanal options. Always let your cheeses come to room temperature for about 30-60 minutes before serving; this allows their full flavor and aroma to develop.
Cured Meats: Savory Delights
Cured meats are essential for a traditional charcuterie board. Again, aim for a variety of flavors and textures. Options include:
- Prosciutto: Thinly sliced, salty, and melt-in-your-mouth.
- Salami: Harder, often spiced, available in many varieties (e.g., Genoa, soppressata, coppa).
- Pepperoni: A crowd-pleaser, especially for casual gatherings.
- Capicola: A flavorful and often spicy cured pork.
When possible, opt for high-quality, sustainably sourced meats or those without antibiotics. Applegate Naturals is often a reliable choice for conscientious consumers. Arrange meats in different ways – folded into elegant ribbons, rolled into spirals, or layered to create visual appeal.
Fruits & Vegetables: Freshness and Color
Adding fresh fruits and vegetables brings vibrant color, essential nutrients, and refreshing counterpoints to richer items. Think seasonally for the best flavor:
- Fresh Fruits: Grapes (bunches add visual interest), berries (strawberries, blueberries, raspberries), fig halves, apple slices (tossed in lemon juice to prevent browning), pear slices, and stone fruit like peaches or plums when in season.
- Dried Fruits: Apricots, figs, cranberries, or dates offer a concentrated sweetness and chewy texture.
- Fresh Vegetables (Crudités): Cucumber slices, baby carrots, bell pepper strips, cherry tomatoes, and radishes.
Crackers & Breads: The Perfect Scoops
No charcuterie board is complete without vehicles for all those delicious toppings. Offer a variety of crackers and sliced bread to cater to different tastes and textures:
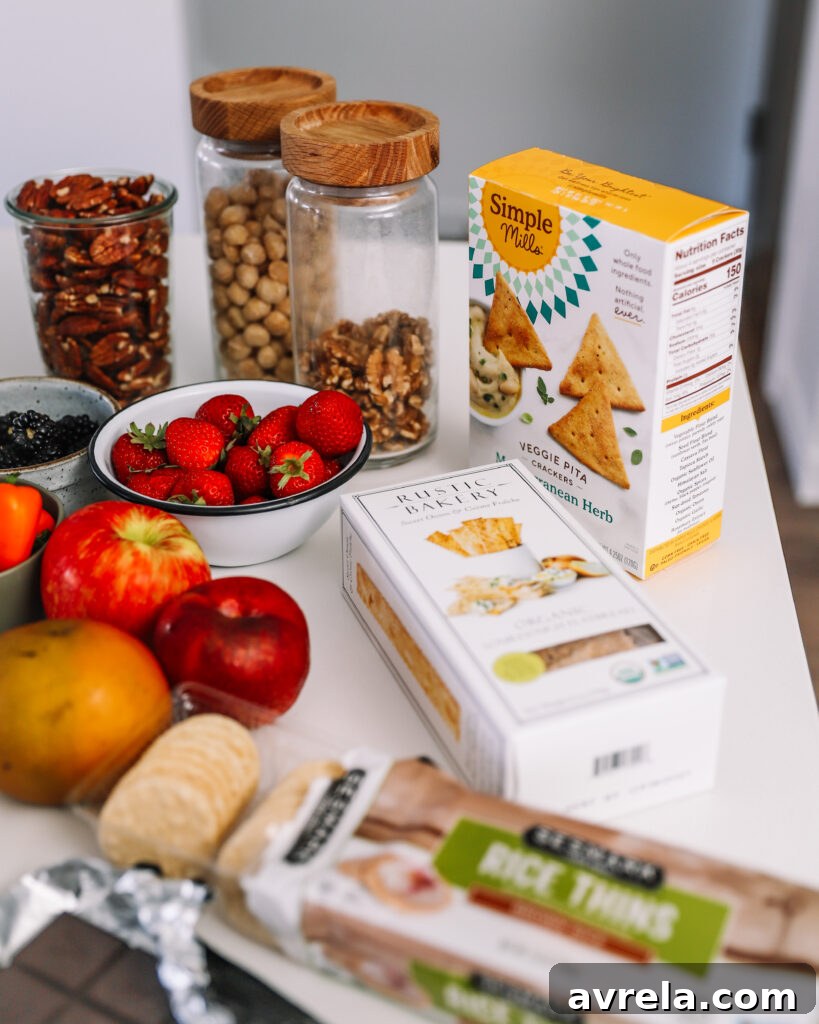
- Classic Crackers: Simple Mills, brown rice crackers, or Hu Kitchen crackers for gluten-free options.
- Artisanal Crackers: Rustic Bakery organic sourdough rosemary flavor crackers or Raincoast Crisps (especially good with fig jam and fruit).
- Sliced Baguette: Freshly sliced baguette provides a soft counterpoint to crispy crackers.
- Breadsticks: Add height and a different crunch.
Dips & Spreads: Flavor Boosters
These additions introduce moisture and intense flavor, enhancing the overall experience:
- Hummus: A creamy and savory staple. Hope Hummus Spicy Avocado, despite its name, is a personal favorite for its mild flavor and extra virgin olive oil content.
- Jams & Jellies: Fig jam, apricot preserves, or raspberry jam pair beautifully with cheeses and meats.
- Honey: A drizzle of local honey adds natural sweetness and stickiness.
- Mustards: Dijon, whole grain, or honey mustard can cut through the richness of meats.
- Olives: Marinated olives in various colors and sizes.
- Pickled Items: Mini pickles (cornichons), pickled onions, or artichoke hearts.
Nuts: Texture & Taste
Nuts add a satisfying crunch, healthy fats, and antioxidants. Always opt for raw, dry-roasted (without vegetable oil), and lightly salted varieties over heavily seasoned or glazed nuts found in many store-bought mixes.
- Walnuts
- Pecans
- Macadamia nuts
- Marcona almonds (my absolute favorite for their buttery texture)
Sweet Treats: A Delightful Finish
A small dessert section is the perfect way to conclude the culinary journey of a charcuterie board.
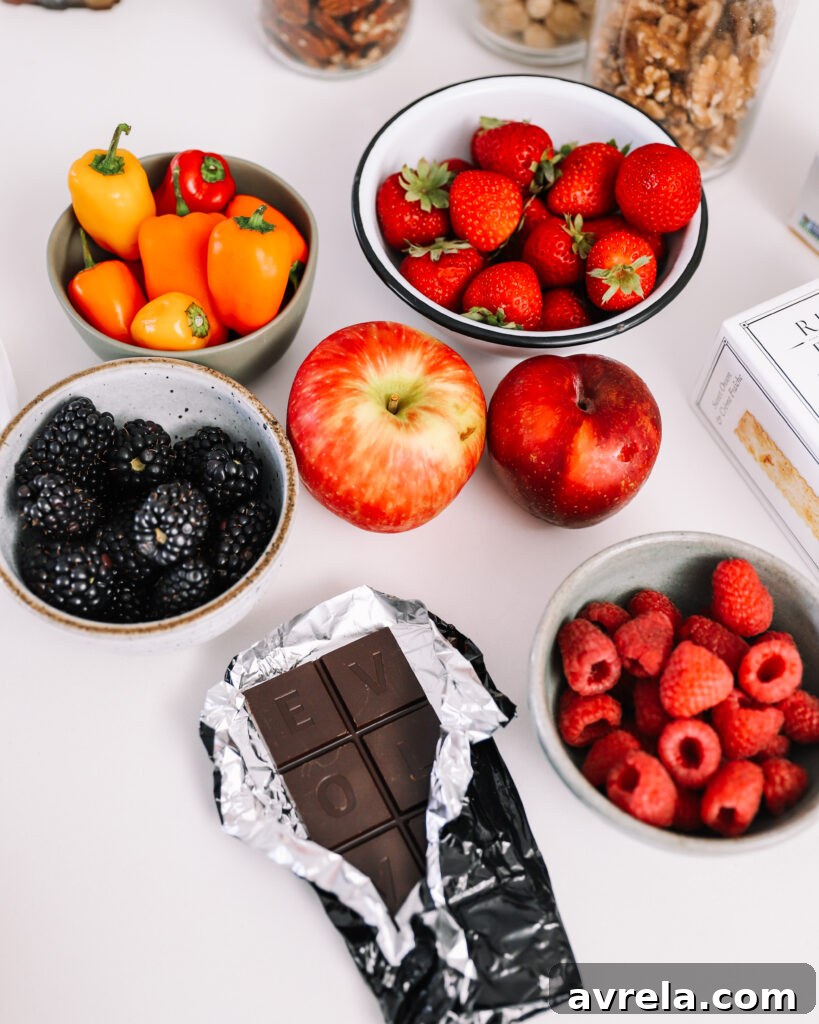
- Fresh Berries: Organic strawberries, blueberries, and raspberries.
- Sliced Fruit: Honeycrisp apples, Asian pears, or stone fruit when in season.
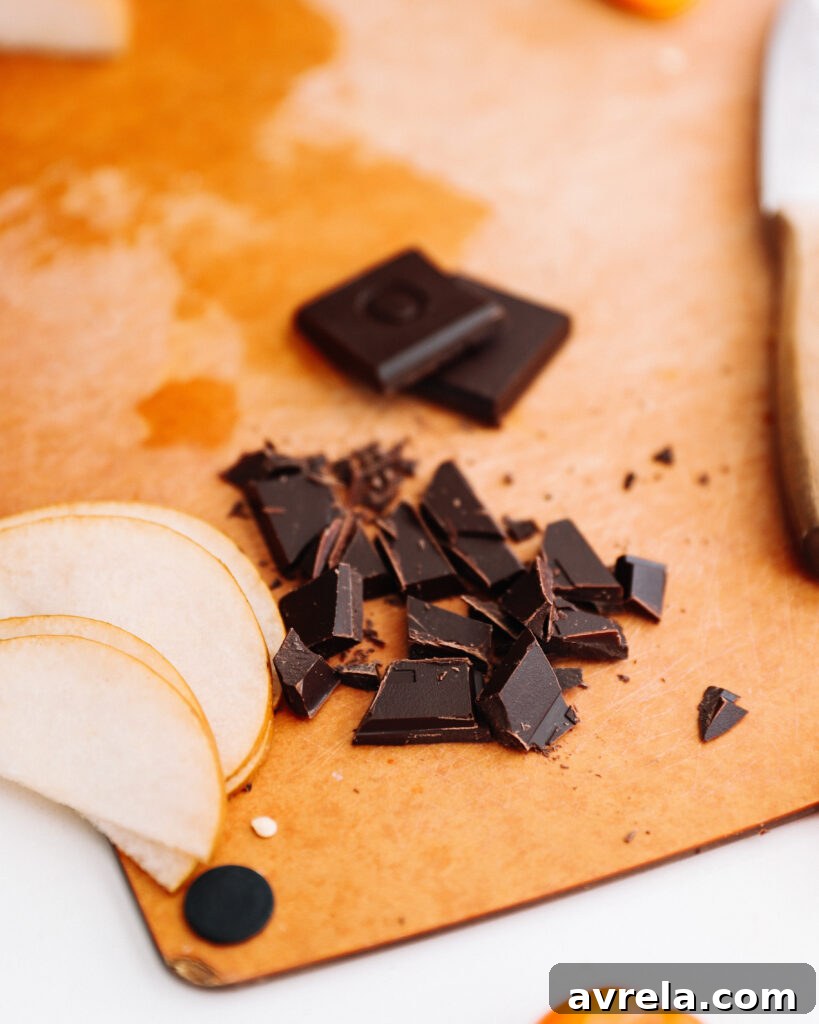
- Dark Chocolate: High-quality dark chocolate, broken into shards. Evolved Eating signature dark is a top choice.
- Chocolate-covered nuts or dried fruit: For an extra indulgence.
Decorative Touches: Elevating Your Presentation
Beyond the edibles, subtle decorative elements can transform your board from delicious to truly extraordinary. These small details are often what make a board look “epic.”
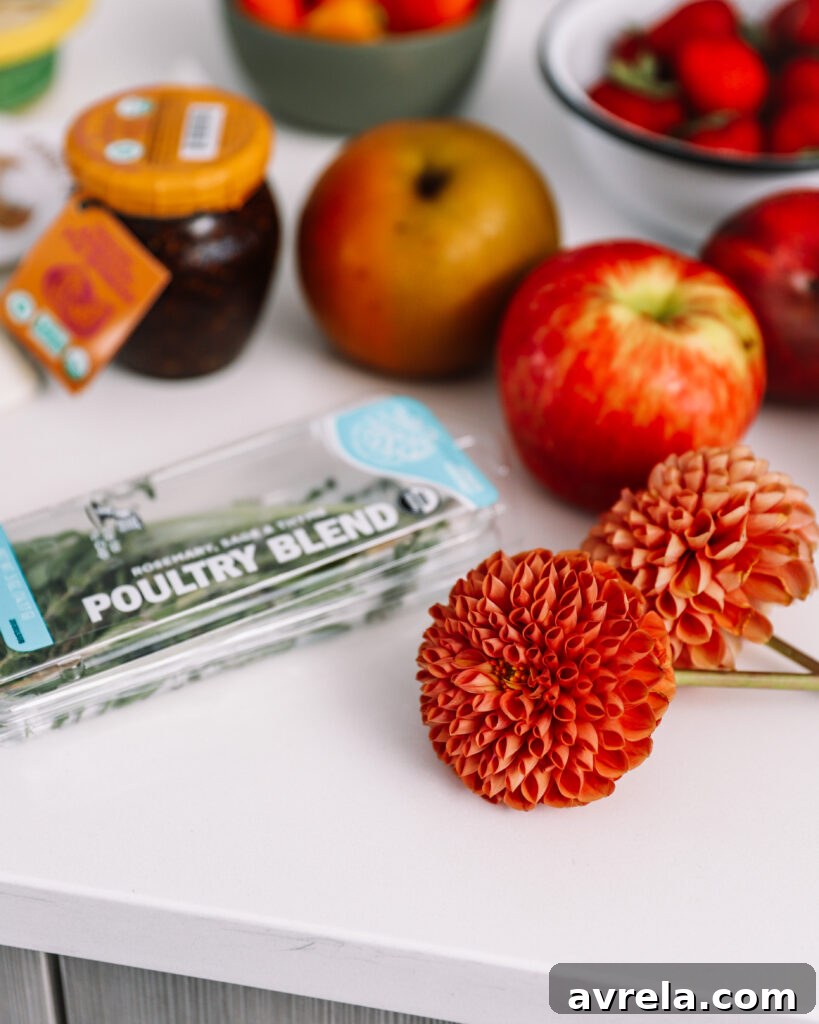
- Fresh Flowers: Small blooms like dahlias, roses, or edible flowers can add a sophisticated and whimsical touch. Ensure they are food-safe or placed purely for aesthetic value without touching the food directly.
- Fresh Herbs: Sprigs of rosemary, thyme, or basil (especially a poultry blend from the store) not only add a pop of green and fragrant aroma but also serve as natural garnishes.
- Small Cheese Knives and Spreaders: Strategically placed, these functional tools also contribute to the overall presentation.
- Toothpicks: Handy for picking up smaller items like olives or cured meats.
Mastering the Assembly: A Step-by-Step Guide to Building Your Board
Now that you’ve gathered all your gorgeous ingredients and chosen your canvas, it’s time for the fun part: assembly! There’s a method to the madness that helps create a balanced, aesthetically pleasing board.
Step 1: Anchor with Bowls & Dishes
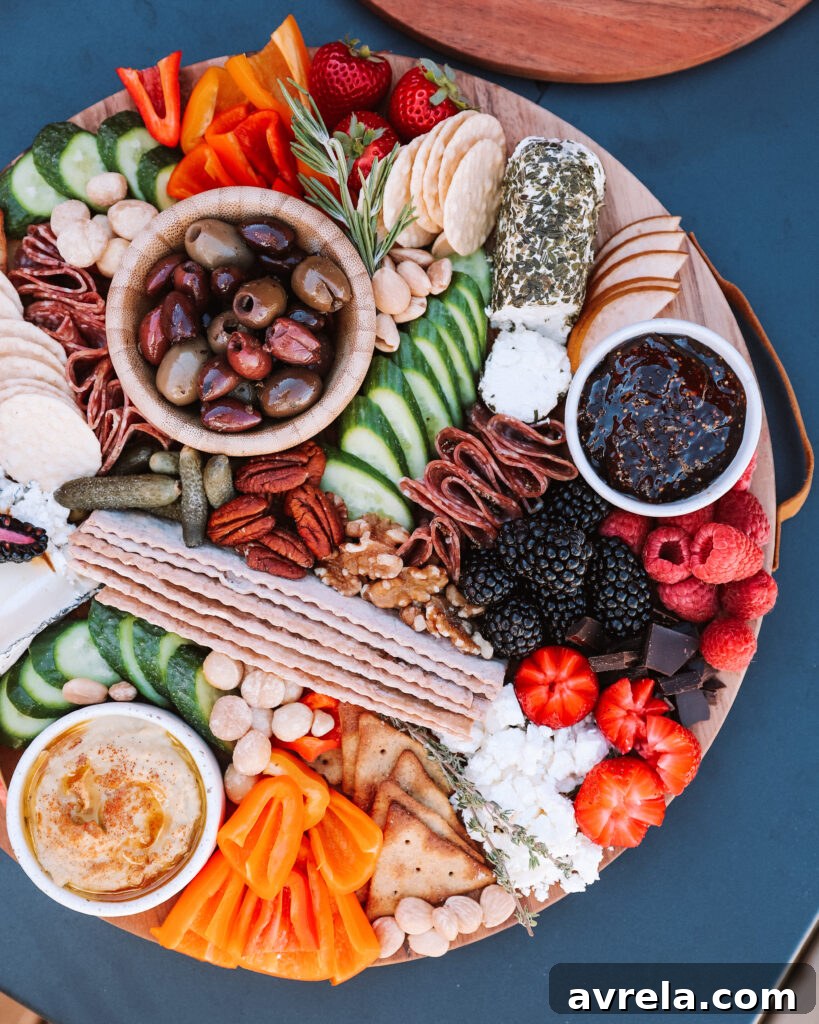
Start by placing your small bowls, ramekins, and dip dishes on the board. These are your anchors, as they take up the most space and are harder to move once the board starts filling up. A crucial design tip: aim for an ODD number of these vessels (3, 5, or 7). Odd numbers create a more natural, asymmetrical balance that is visually appealing, unlike the overly symmetrical and sometimes rigid look of even numbers.
Step 2: Place Your Cheeses & Larger Items
Next, strategically place your larger cheese blocks or wheels. Cut some of the cheese beforehand (slices, cubes, wedges) to make it easier for guests and to reveal the texture of the cheese, but leave some intact for visual interest. Distribute them across the board, ensuring there’s a good amount of space around each to build upon.
Step 3: Arrange Your Meats
Meats are next. Get creative with how you arrange them. You can fold thin slices of prosciutto into elegant ribbons or roses, roll salami into cones, or simply layer them beautifully. Spread your meats out around the cheeses and bowls, creating visual pathways or “rivers” of cured goodness across the board. The goal is to distribute color and texture evenly.
Step 4: Incorporate Crackers & Breads
Now, fill in larger gaps with your crackers and sliced bread. Fan them out, stack them, or arrange them in neat rows. Don’t be afraid to break some crackers to fit odd spaces. The key is to add dimension and make them easily accessible for guests. Vary their placement throughout the board so they are not all clumped together or facing the same direction.
Step 5: Fill with Fruits & Vegetables
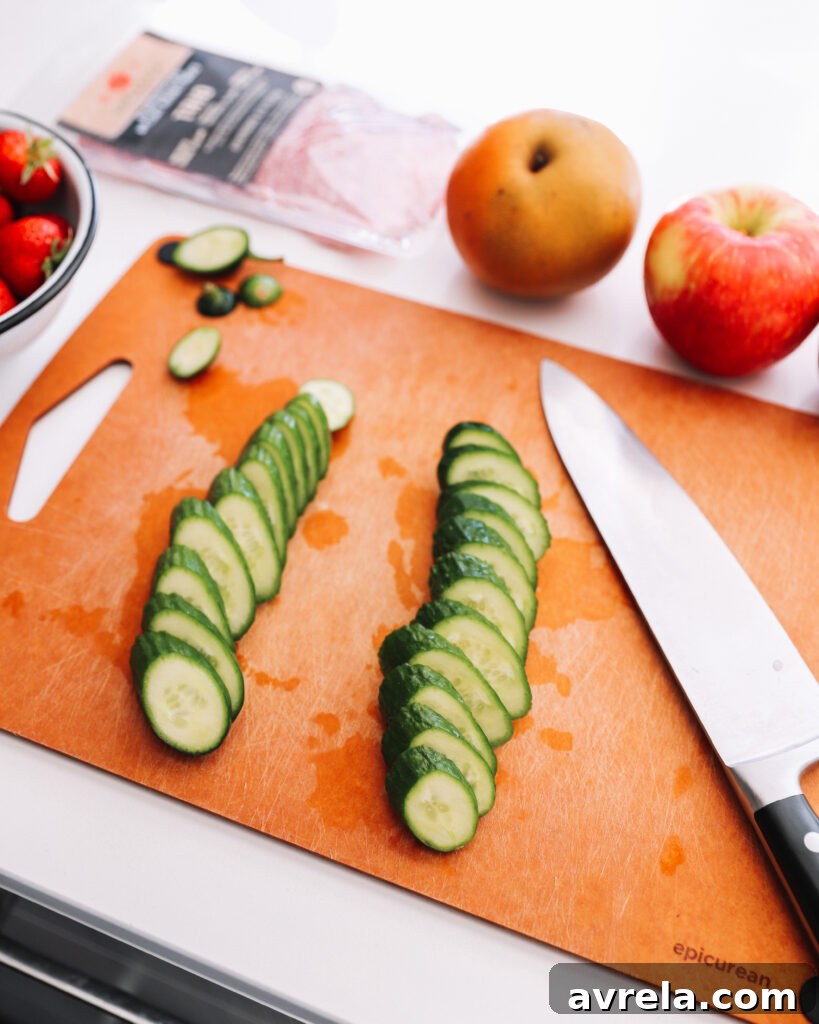
Begin adding your fresh and dried fruits and vegetables. These bring bursts of color and freshness. Scatter grapes in clusters, arrange berries in small piles, and fan out apple or cucumber slices. Think about how colors contrast and complement each other. These are great for filling in some of the larger, remaining blank spaces.
Step 6: Layer in Nuts, Olives & Pickled Goods
At this stage, your board should be looking pretty full. Use your smaller items like nuts, olives, and mini pickles to fill in any remaining small gaps. Sprinkle nuts into empty corners or between larger items. Tuck olives into small pockets. This layering technique makes the board look abundant and inviting, ensuring no bare spots of the board itself are visible.
Step 7: The Finishing Details
This is where the magic truly happens! Add your decorative touches and final flourishes. Drizzle a bit of extra virgin olive oil over your hummus, perhaps followed by a sprinkle of paprika or cumin for color and aroma. Garnish with fresh herbs like rosemary or thyme. Place small sprigs of fresh flowers strategically. Don’t forget those cheese knives, spreaders, and toothpicks.
Get creative with small culinary details: slice the end off a log of goat cheese, cut a blackberry in half and place it on top of a soft cheese with a drizzle of honey, or fan out strawberry slices to resemble flowers. These thoughtful touches elevate the entire presentation.
Pro Tips for an Unforgettable Board
- Mind the Temperature: Keep necessary items chilled until the last possible moment. Cheeses and some meats are best served at room temperature to enhance their flavor, but don’t let them sit out for too long before serving. If you’re making the board ahead, keep it refrigerated and only add the most delicate items right before guests arrive.
- Prepare Ahead: Slice and chop most of your ingredients in advance. This makes the final assembly much quicker and less stressful.
- Embrace Imperfection: Don’t strive for absolute perfection on your first try. The beauty of charcuterie boards often lies in their organic, abundant feel.
- Theme Your Board: Beyond seasonal or event themes, consider color themes, regional themes (e.g., Italian, Mediterranean), or even dietary themes (e.g., all vegan, gluten-free).
- Have Fun! The process of creating a charcuterie board should be enjoyable. It’s a culinary expression and a wonderful way to show hospitality.
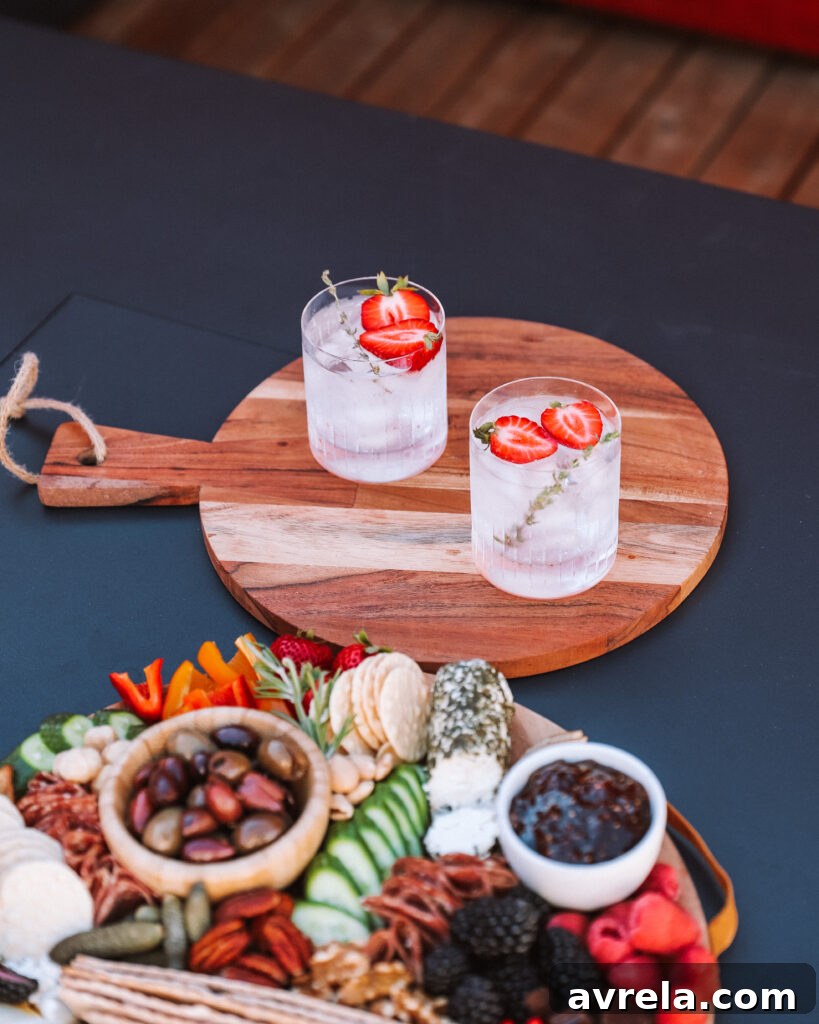
With these tips, you’re well on your way to crafting charcuterie boards that are not only delicious but also visually stunning. It may take a couple of attempts to find your rhythm, but the reward of a beautiful and delicious spread is absolutely worth it. So gather your ingredients, unleash your creativity, and enjoy the process of building an unforgettable grazing experience for yourself and your loved ones. Don’t forget to pair your masterpiece with a refreshing iced seltzer garnished with fresh strawberries and dried thyme for the ultimate touch!
xx Rachael