
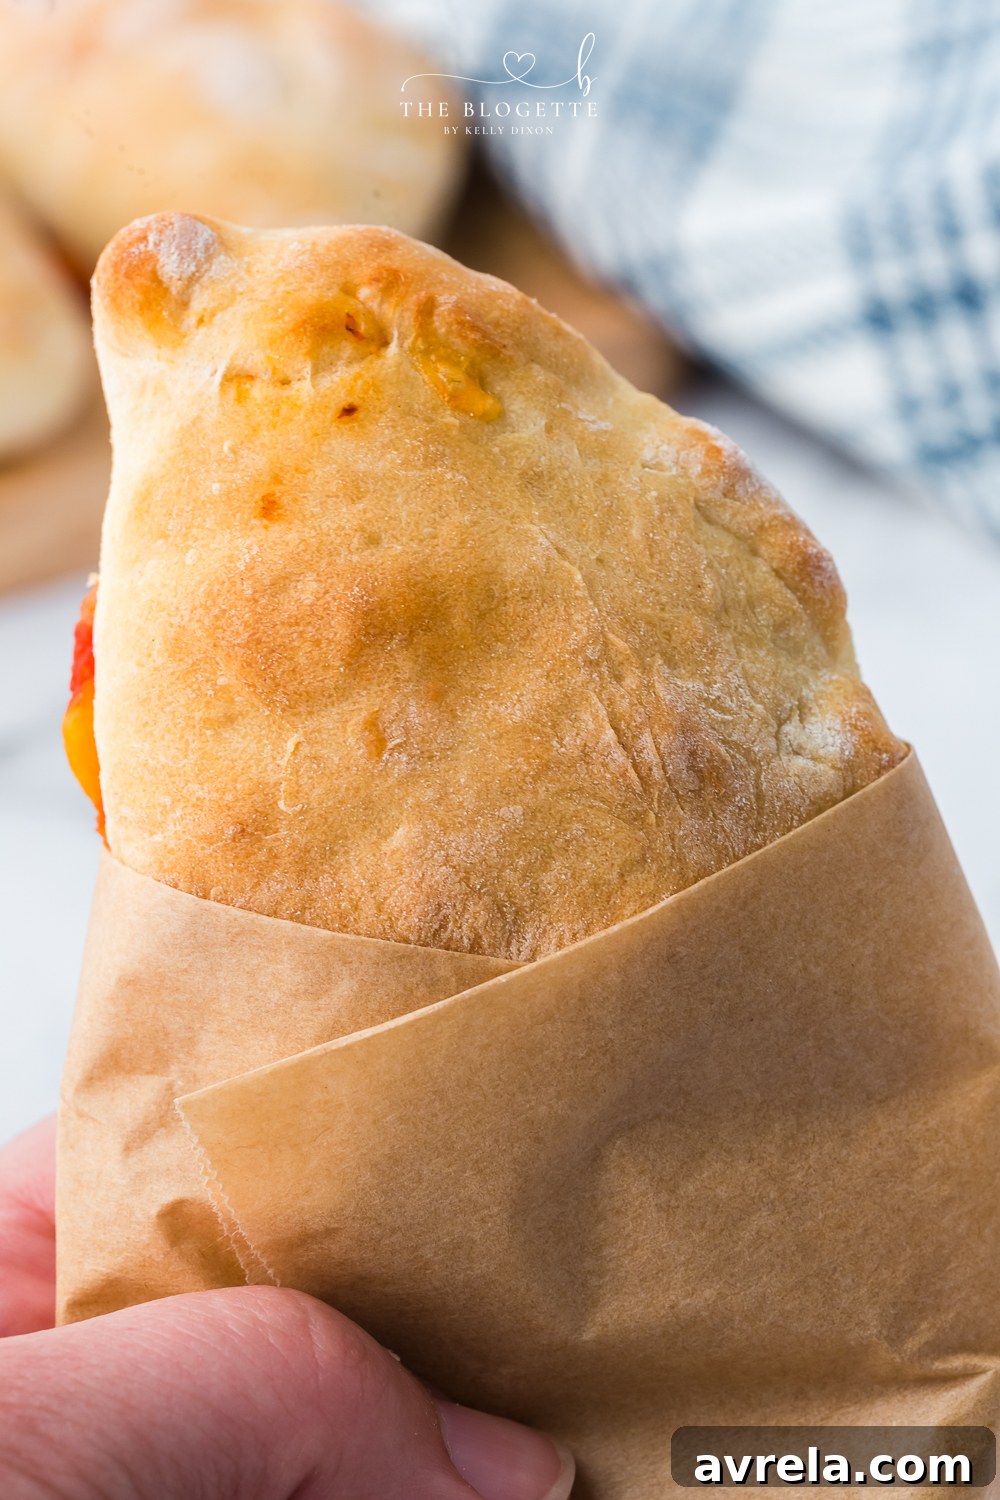
Homemade Hot Pockets are the ultimate grab-and-go lunch or snack, bringing a wave of nostalgic comfort with every bite. These savory pastries, featuring a warm, often cheesy filling encased in a golden, pizza-like dough, are a beloved classic. Forget the store-bought versions; making your own allows for endless customization, significant cost savings, and the satisfaction of a truly fresh, wholesome meal. Prepare a large batch and tuck them into the freezer for effortless, delicious meals ready when you are.
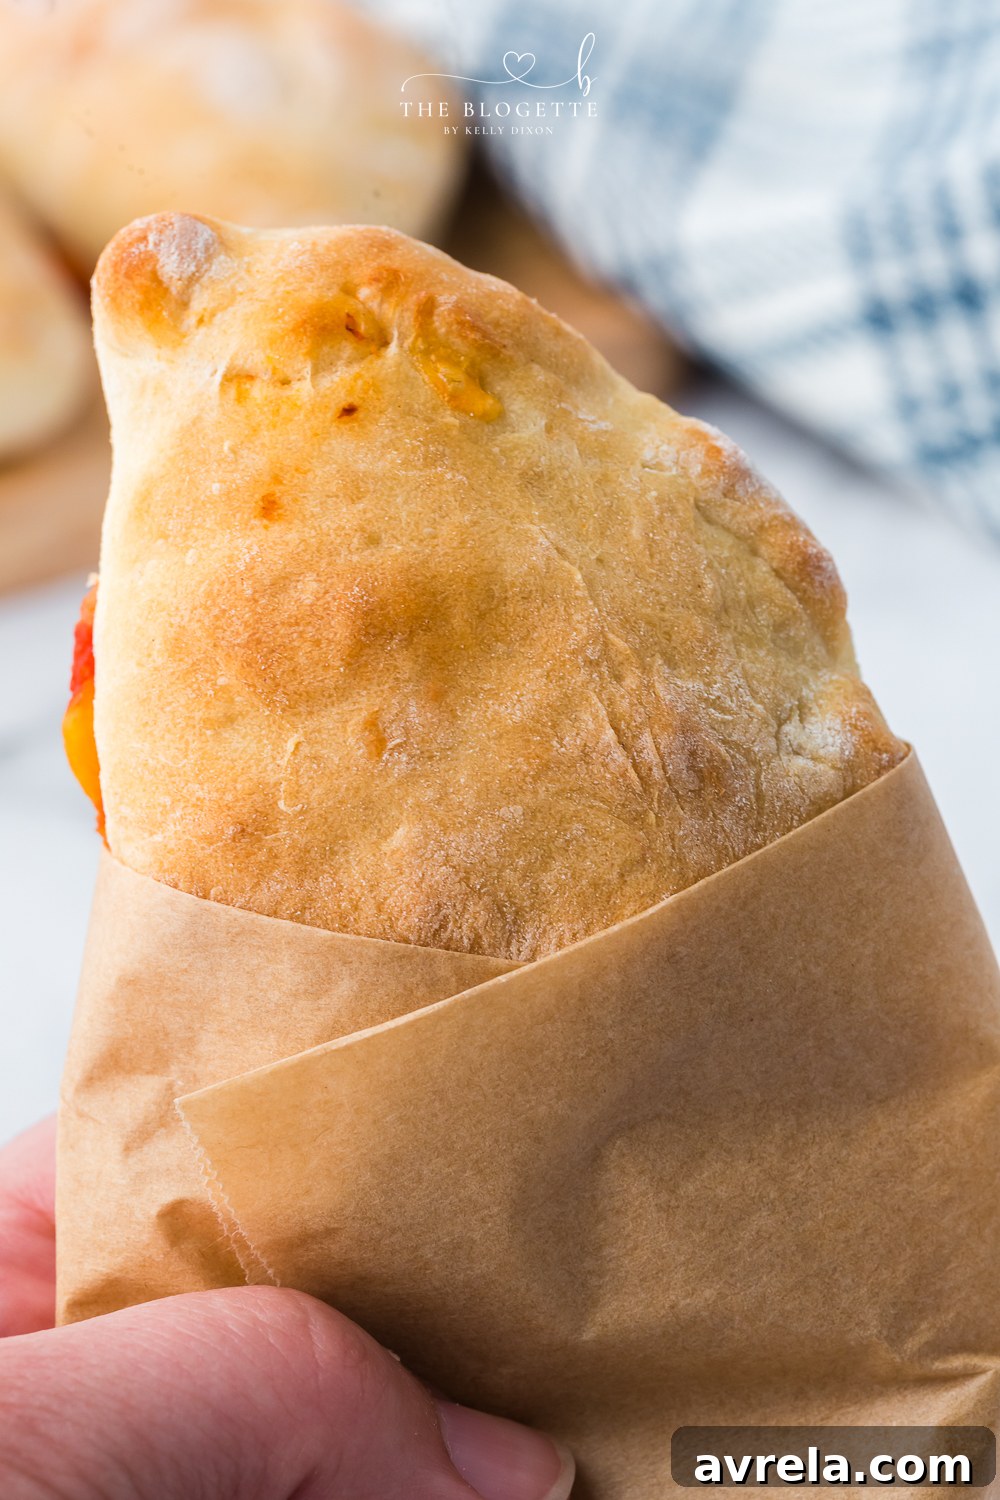
Homemade Hot Pockets: Your Guide to a Delicious & Customizable Snack
The inviting aroma of freshly baked dough combined with a warm, gooey filling evokes a flood of cherished childhood memories for many. Hot Pockets have long been a convenient freezer staple, but nothing quite compares to the superior flavor, freshness, and incredible customization potential of a homemade version. These delightful savory pastries are more than just a nostalgic treat; they’re a versatile meal solution, perfect for quick lunches, satisfying after-school snacks, or even a casual, comforting dinner. Imagine biting into a beautifully golden, tender crust, revealing a molten core of rich pizza sauce, savory pepperoni, and a generous blend of melted mozzarella and cheddar cheese. Crafting your own homemade hot pockets is far simpler than you might imagine and offers significant advantages in terms of cost savings, complete control over ingredients, and the creative freedom to experiment with an endless array of fillings. Get ready to transform your kitchen into a hot pocket factory!
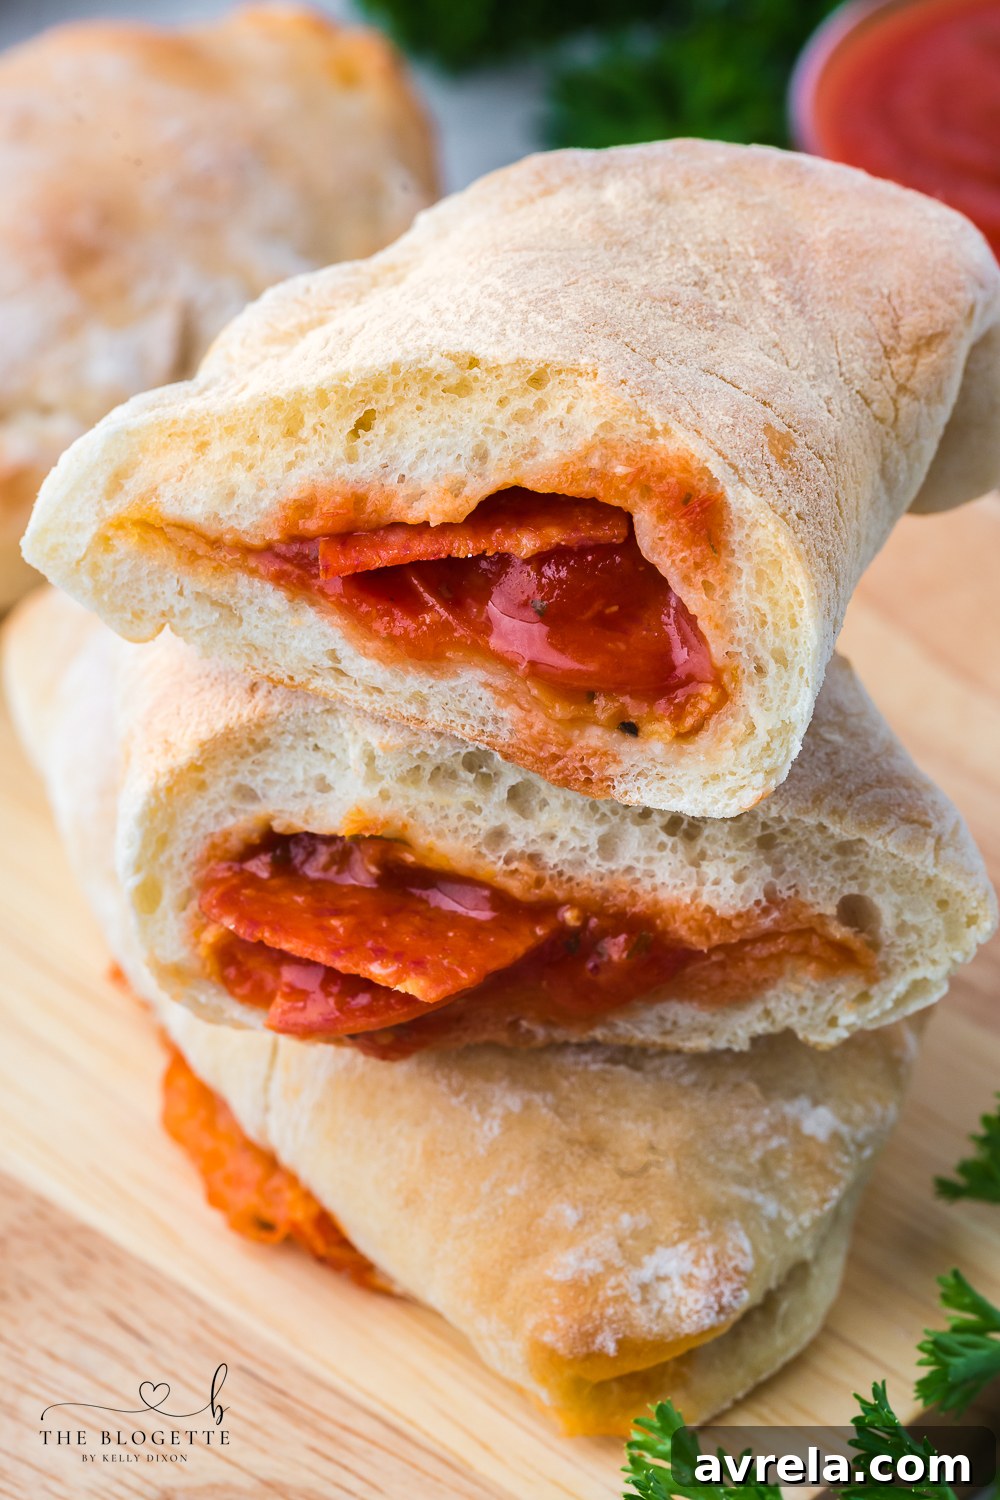
Why You’ll Love This Homemade Hot Pocket Recipe
It’s time to bypass the frozen food aisle and embrace the immense satisfaction of creating your very own hot pockets from scratch. Beyond the pure enjoyment of baking, there are numerous compelling reasons why this recipe is destined to become a beloved staple in your household:
- Unbeatable Flavor and Freshness: Unlike their store-bought counterparts, which often contain preservatives and lack vibrant flavor, our homemade hot pockets use simple, wholesome ingredients. This results in a truly superior flavor profile and a wonderfully fresh, inviting texture. The dough is tender yet crisp, and the filling bursts with authentic taste.
- Significantly More Cost-Effective: Regularly purchasing individual frozen hot pockets can add up quickly. Making them in larger batches at home is considerably cheaper in the long run, offering substantial savings, especially if hot pockets are a frequent item on your family’s menu.
- Complete Ingredient Control: When you craft these yourself, you have full transparency regarding what goes into each and every hot pocket. You can meticulously select high-quality cheeses, lean meats, fresh vegetables, and avoid the artificial flavors, colors, and excessive sodium often found in processed foods. This is particularly beneficial for managing dietary needs or preferences.
- Endless Customization Possibilities: This is truly where the magic happens! While we’re sharing a classic pepperoni and cheese recipe, your imagination is the only limit. Tailor fillings to accommodate picky eaters, specific dietary requirements, or simply whatever cravings strike. From savory breakfast hot pockets to gourmet dinner options, you are the master chef.
- Ideal for Meal Prep and Freezing: This recipe is designed with convenience and efficiency in mind. Prepare a generous batch, freeze them, and you’ll have a stash of ready-to-bake meals or snacks that are perfect for hectic weekdays. They reheat beautifully, consistently maintaining their delicious texture and taste.
- A Fun and Engaging Family Activity: Involving children in the process of making dough, rolling it out, and filling their own hot pockets can be a fantastic and memorable way to spend time together in the kitchen, fostering a genuine love for cooking and cultivating healthy eating habits.
Gathering Your Ingredients for Homemade Perfection
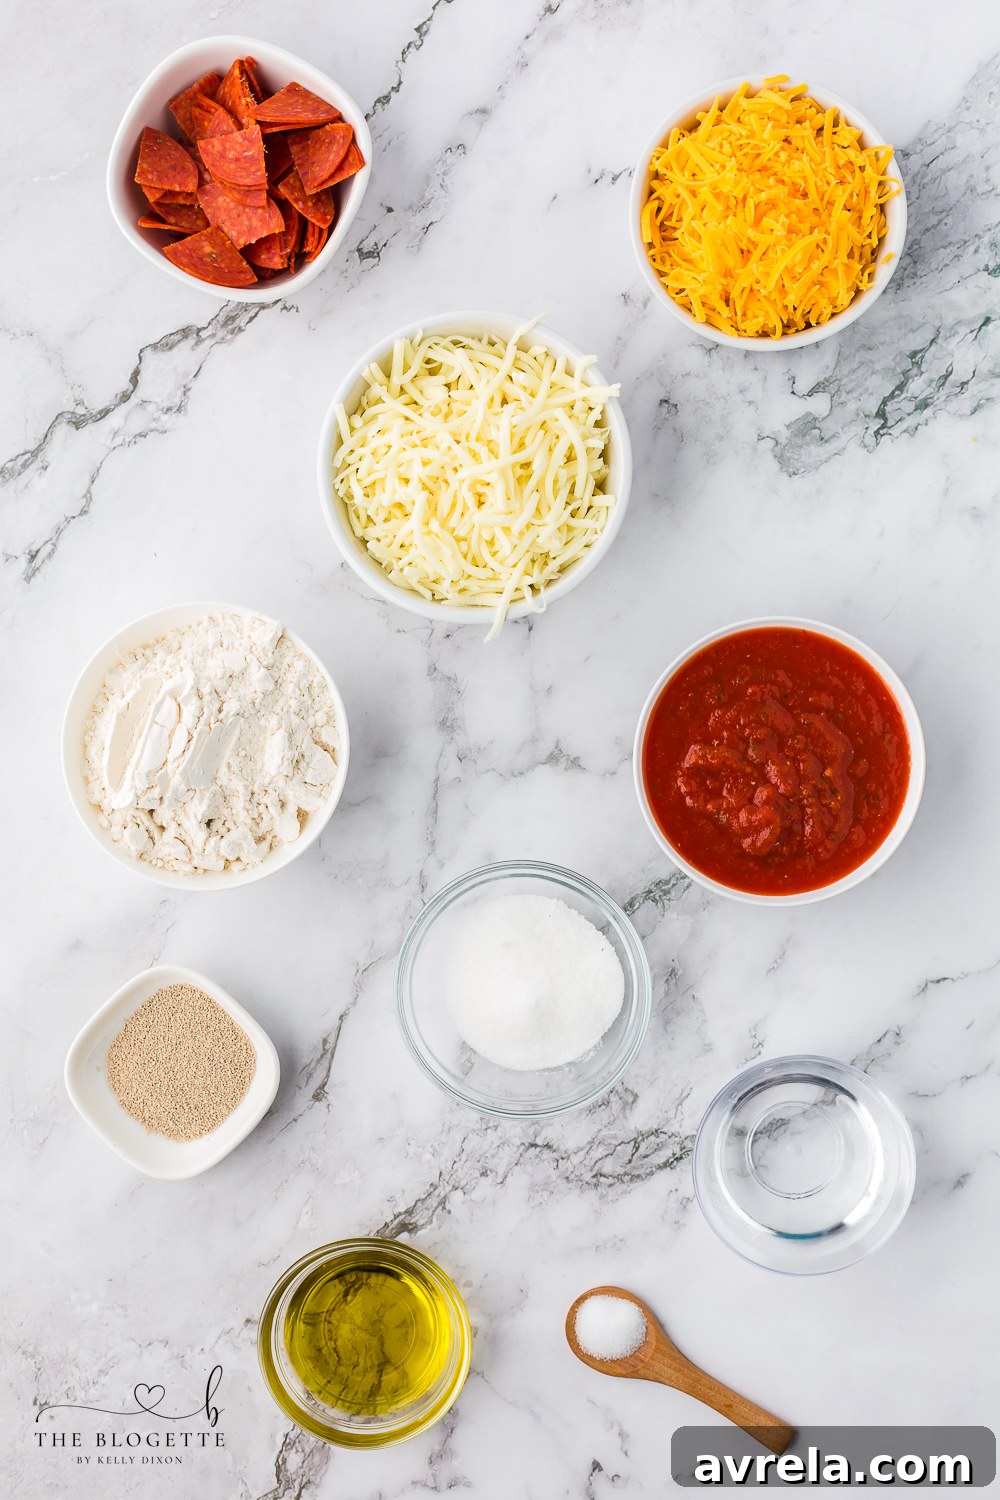
One of the most appealing aspects of making homemade hot pockets is that you likely already possess many of the essential ingredients within your pantry and refrigerator. For the quintessential pepperoni pizza hot pocket experience, we will focus on creating a simple yet incredibly flavorful dough and a classic, irresistibly cheesy filling. While creativity is encouraged, for precise measurements that consistently yield fantastic results, please refer to the detailed recipe card provided further down this page.
For the Irresistible Dough:
The foundation of any truly great hot pocket is its dough. Our recipe utilizes a straightforward yeast dough that is both forgiving for beginners and bursting with flavor. If you find yourself short on time, a good quality store-bought pizza dough can serve as an excellent and convenient shortcut – simply bypass the initial dough-making steps and proceed directly to forming and filling your pockets.
- Warm Water: Absolutely critical for effectively activating the yeast. Ensure the water is comfortably warm to the touch (ideally between 105-115°F or 40-46°C). Water that is too hot will kill the yeast, while water that is too cold will prevent it from activating properly.
- Granulated Sugar: A small amount of sugar acts as food for the yeast, encouraging its activation and contributing to a light, airy dough structure and a touch of subtle sweetness.
- Active Dry Yeast: This is the essential leavening agent responsible for giving our hot pockets their wonderful rise and characteristic soft, yet firm, texture.
- Olive Oil: Incorporating olive oil adds a desirable richness to the dough and helps to tenderize it, making it more pliable and enhancing its overall flavor.
- All-Purpose Flour: The primary structural component of the dough. It’s wise to keep a little extra on hand for dusting your work surface during kneading and rolling.
- Salt: Beyond enhancing the flavor, salt plays an important role in regulating the yeast’s activity and strengthening the gluten network within the dough.
For the Classic Pepperoni & Cheese Filling:
Our featured filling takes inspiration from the universally loved pepperoni pizza, but remember, this recipe is truly your culinary canvas!
- Pizza Sauce: A high-quality pizza or marinara sauce is paramount. Its rich, tangy flavor profile acts as the perfect binder for all the delicious filling components.
- Pepperoni: Diced or quartered pepperoni delivers that signature savory, slightly spicy kick that makes these hot pockets so addictive. For alternative protein options, consider diced ham, cooked and crumbled sausage, or shredded cooked chicken.
- Shredded Mozzarella and Cheddar Cheese: This harmonious combination offers the classic, desirable stretch of mozzarella alongside the sharp, creamy, and distinct notes of cheddar. Feel free to experiment with other melting cheeses such as provolone, Monterey Jack, Muenster, or even a dusting of grated Parmesan for an added layer of sophisticated flavor.
Essential Equipment for Your Homemade Hot Pocket Adventure
Before you enthusiastically dive into creating these delectable homemade hot pockets, a swift inventory of your kitchen tools will guarantee a seamless and thoroughly enjoyable cooking experience. The good news is that most of the items required are standard, everyday kitchen essentials that you likely already own:
- Measuring Cups and Spoons: Crucial for ensuring precise ingredient proportions, which is especially critical for achieving consistent and successful baking results.
- Large Mixing Bowl: You will need this spacious bowl for both the initial mixing of your dough ingredients and for providing ample space for the dough to rise. A bowl generous enough to accommodate the dough doubling in size is ideal.
- Rubber Spatula: An excellent tool for the initial incorporation and stirring of your dough ingredients, helping to bring everything together cleanly.
- Flat Work Surface: A clean, expansive countertop or a large cutting board will serve as your ideal area for kneading the dough and rolling it out evenly.
- Rolling Pin: This tool is indispensable for achieving uniformly thin dough circles, which are key to perfectly cooked hot pockets with an ideal crust-to-filling ratio.
- Baking Sheet & Parchment Paper: Lining your baking sheet with parchment paper is highly recommended. It serves to prevent sticking, ensures more even baking, and makes the cleanup process remarkably simple.
Step-by-Step Guide to Crafting Your Perfect Hot Pockets
Follow these meticulously detailed instructions to create beautifully golden, lusciously cheesy, and utterly satisfying homemade hot pockets. Remember, cooking should be an enjoyable and rewarding process, so don’t hesitate to embrace a little flour on your hands – it’s all part of the fun!
Part 1: Preparing the Dough to Perfection
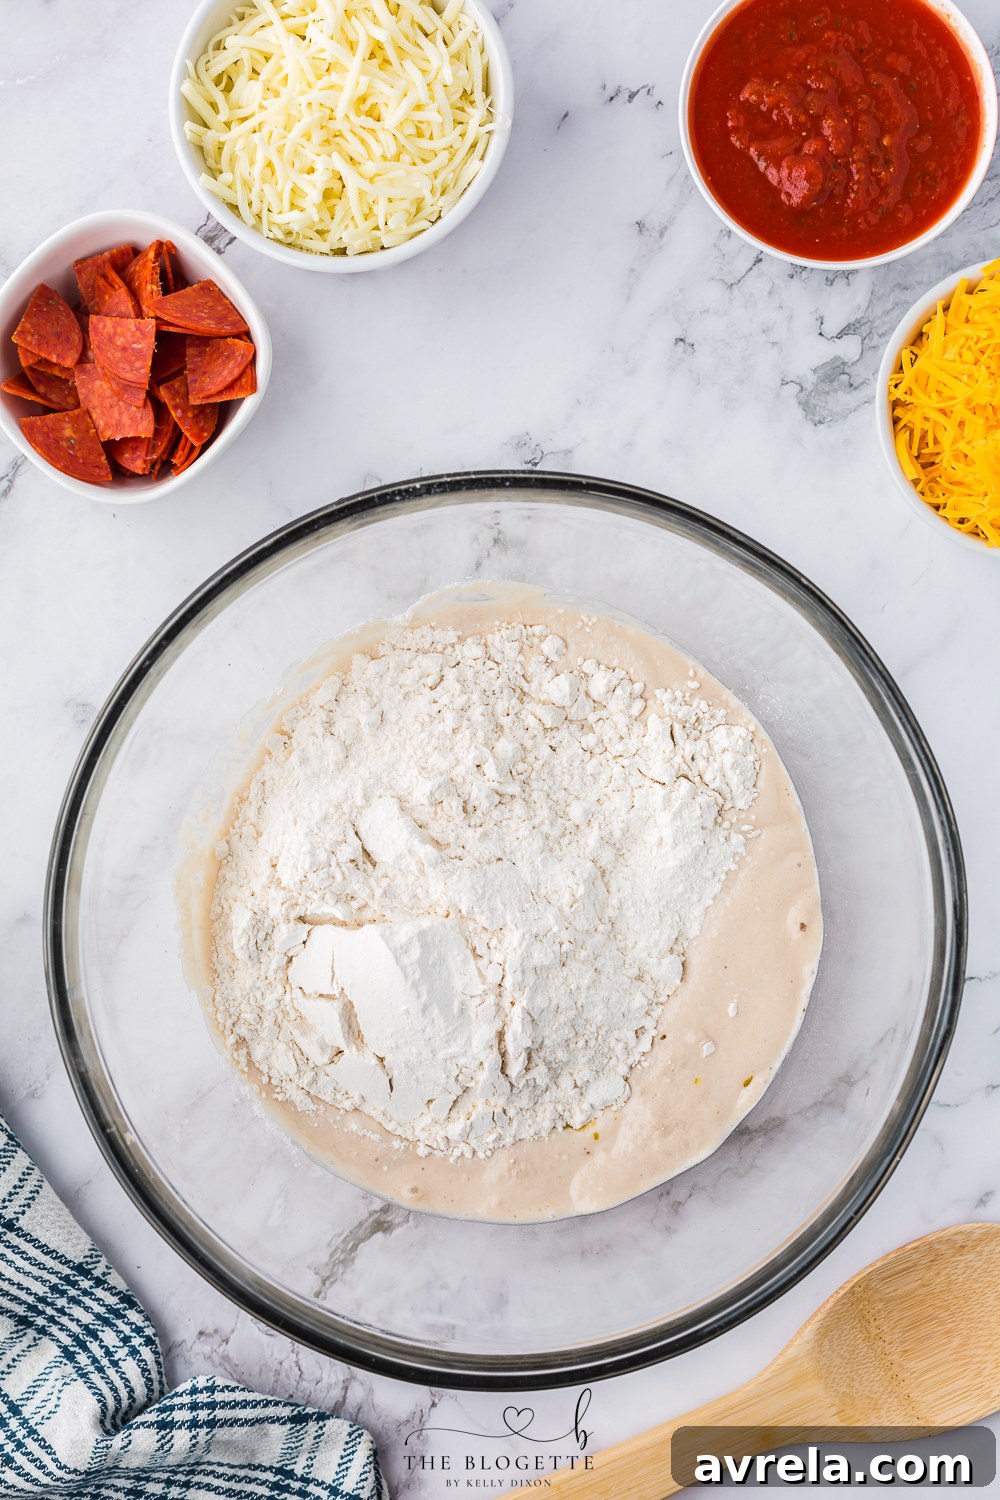
1. Activate the Yeast: The Foundation of Flavor and Texture. Begin your hot pocket journey by combining the precisely measured warm water, granulated sugar, and active dry yeast in your large mixing bowl. Give the mixture a gentle stir to combine the ingredients, then set it aside undisturbed for approximately 5 minutes. This seemingly brief period is a crucial step that allows the yeast to become active. You’ll observe that the yeast is fully ready when a distinct frothy, almost bubbly layer forms and settles on the surface of the mixture. This visual cue confirms that the yeast is alive, metabolizing the sugar, and prepared to work its magic, ultimately imparting your dough with a beautiful rise and a wonderfully light texture. If, after 5 minutes, no froth appears, it’s possible your water was either too cold or too hot, or your yeast may be past its expiry date; in such cases, it’s advisable to begin this step anew to ensure success.
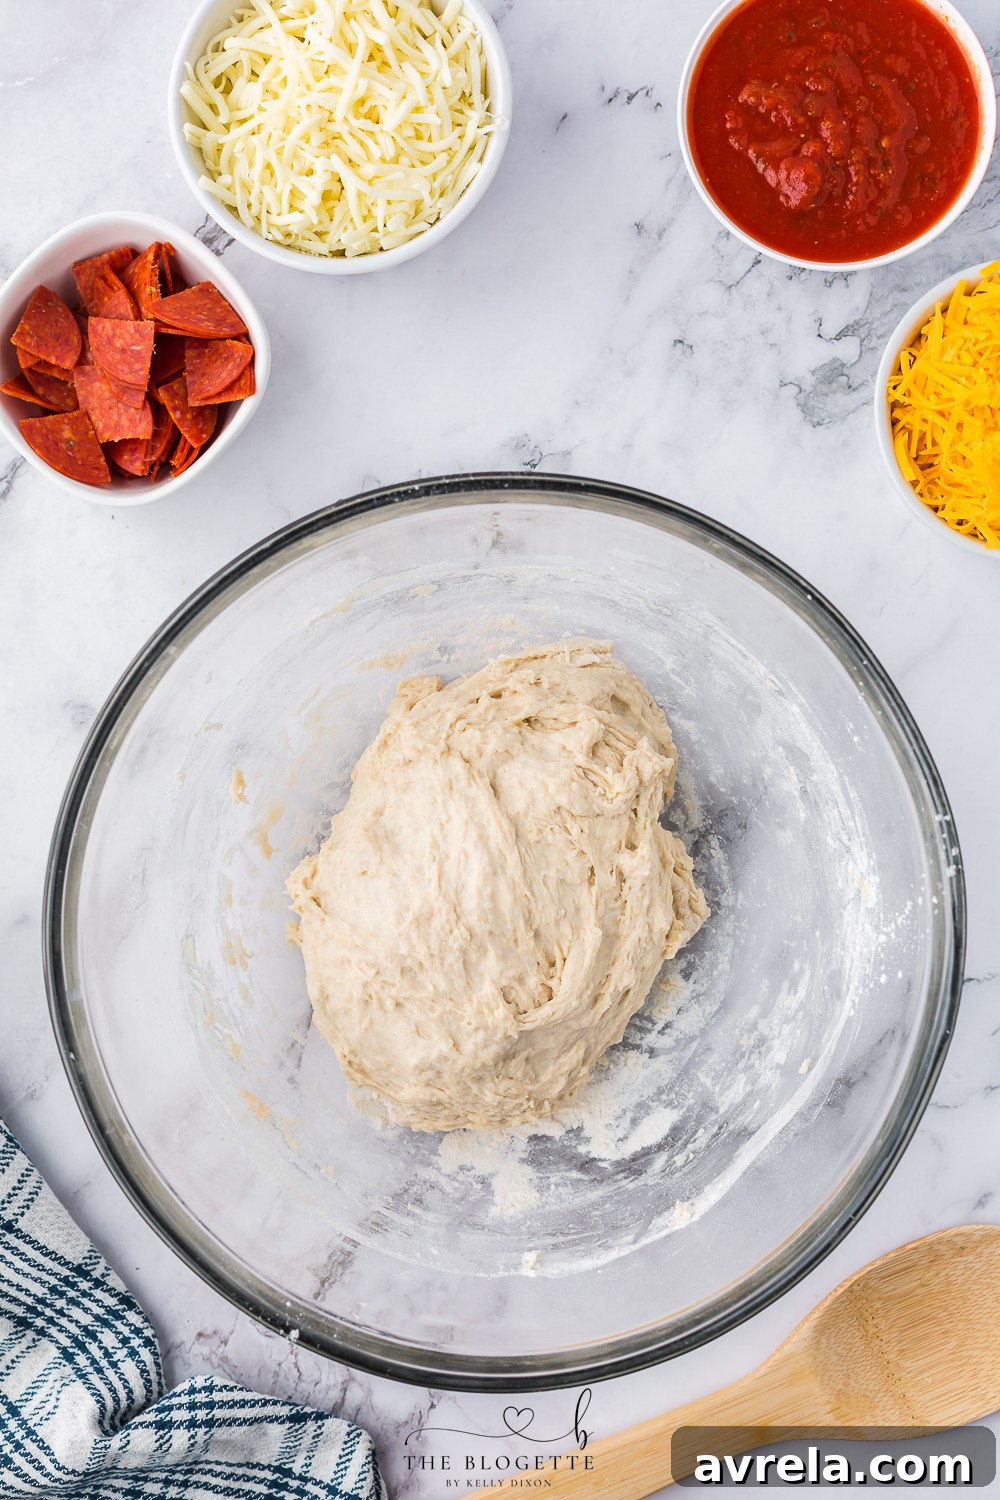
2. Mix the Dough: Bringing it All Together. Once your yeast mixture is actively bubbling and thriving, proceed by stirring in the olive oil until well incorporated. Next, gradually add the 2 1/4 cups of all-purpose flour and the measured salt to the liquid mixture. Utilize your sturdy rubber spatula to mix all the components thoroughly. Continue to stir and fold the ingredients until they coalesce and form what appears to be a sticky dough ball. Do not be alarmed if the dough feels somewhat sticky at this particular stage; a slightly sticky dough is often a positive indication of good hydration, which will ultimately result in a more tender and pliable hot pocket crust. Should the dough feel excessively wet and unmanageable, you may carefully add a very small amount of additional flour, about a tablespoon at a time, until it reaches a more workable consistency.
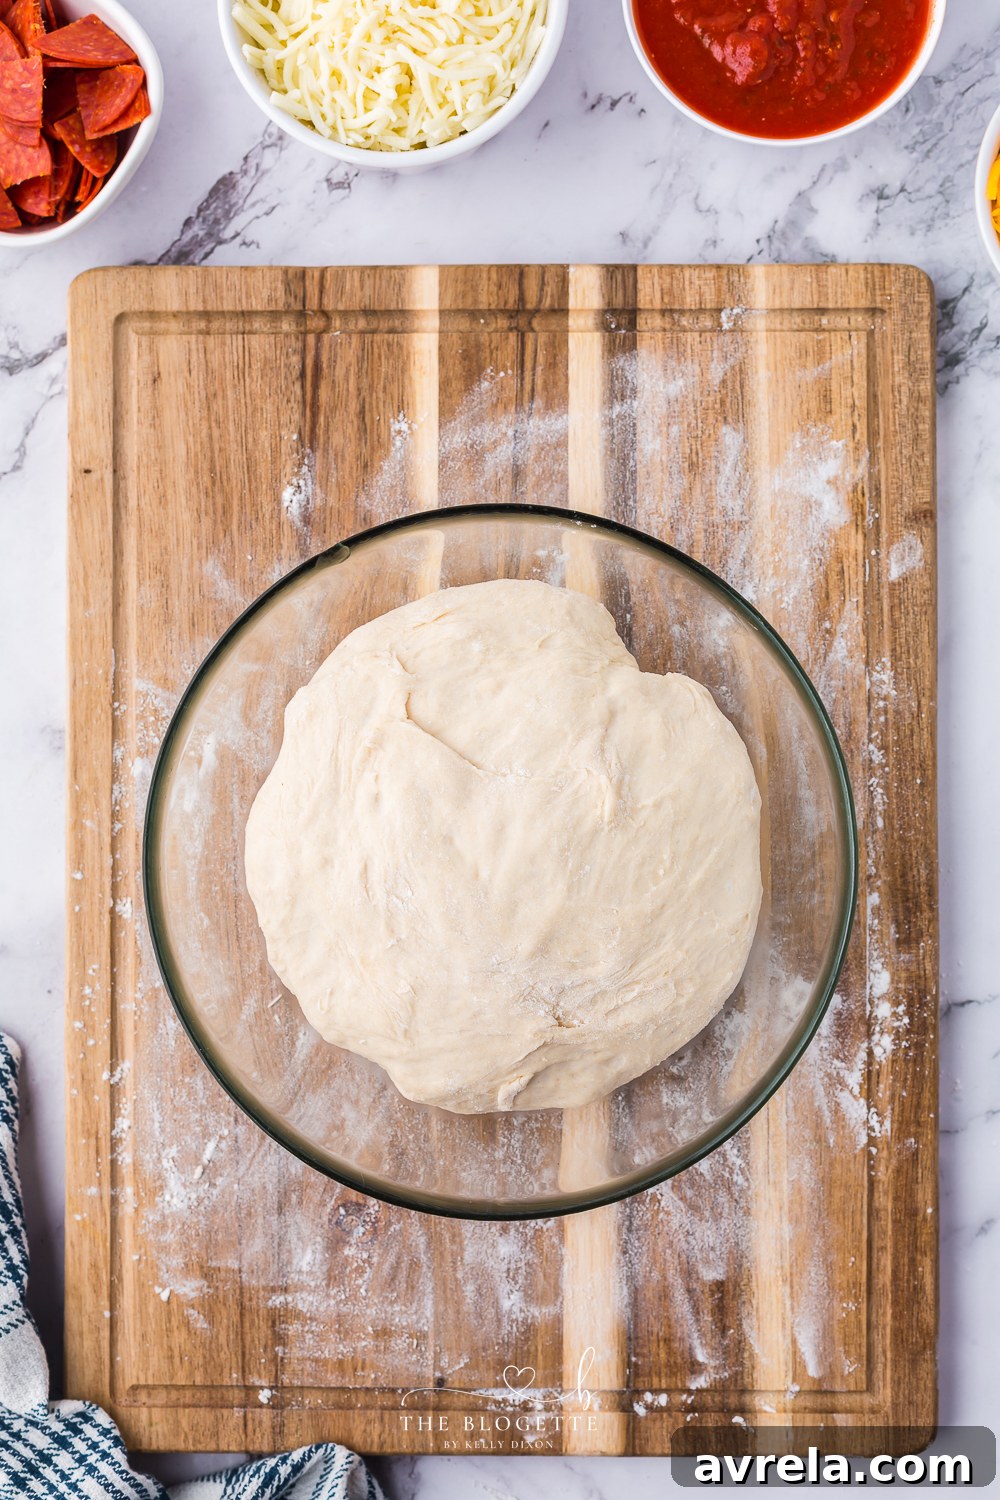
3. Knead the Dough: Developing Structure and Smoothness. Prepare your clean work surface by lightly dusting it with flour to prevent sticking. Carefully turn the sticky dough out from the bowl onto this floured surface. Begin the kneading process: this vital step works to develop the gluten within the flour, which in turn gives the dough its essential elasticity and structural integrity. Knead the dough vigorously for approximately 5-7 minutes. The technique involves pushing the dough away from your body with the heels of your hands, then folding it back towards you, and rotating it slightly before repeating the motion. Continue this rhythm until the dough visibly transforms, becoming smooth, notably more elastic, and significantly less sticky to the touch. If at any point the dough adheres stubbornly to your hands or the work surface, lightly dust it with up to an additional ½ cup of flour as needed, but exercise caution to avoid incorporating too much flour, which can lead to a tough and undesirable crust.
4. Let it Rise: The Magic of Fermentation. Lightly grease your large mixing bowl with a thin layer of olive oil or a quick spray of cooking oil. Carefully transfer the freshly kneaded dough into the prepared bowl, turning it over once to ensure all sides are lightly coated with oil. Cover the bowl securely with plastic wrap or a clean, damp kitchen towel to create a warm and humid environment. Allow the dough to rise in a warm, draft-free location until it has visibly doubled in size. This process typically takes anywhere from 30 minutes to an hour, with the exact duration depending on the ambient warmth of your kitchen. A slightly warmer environment, such as a sunny spot near a window or close to a pilot light, can gently accelerate the rising process.
Part 2: Assembly and Baking for Golden Perfection
5. Preheat and Prepare: Setting the Stage for Success. As your dough approaches its maximum rise, take a moment to preheat your oven to a robust 450°F (232°C). Simultaneously, prepare a large baking sheet by lining it with a sheet of parchment paper. This simple step is invaluable, as it not only prevents your hot pockets from sticking to the pan but also makes the cleanup process remarkably easy. Having your oven preheated and your baking sheet ready ensures that you can smoothly transfer your freshly assembled hot pockets directly to bake without delay.
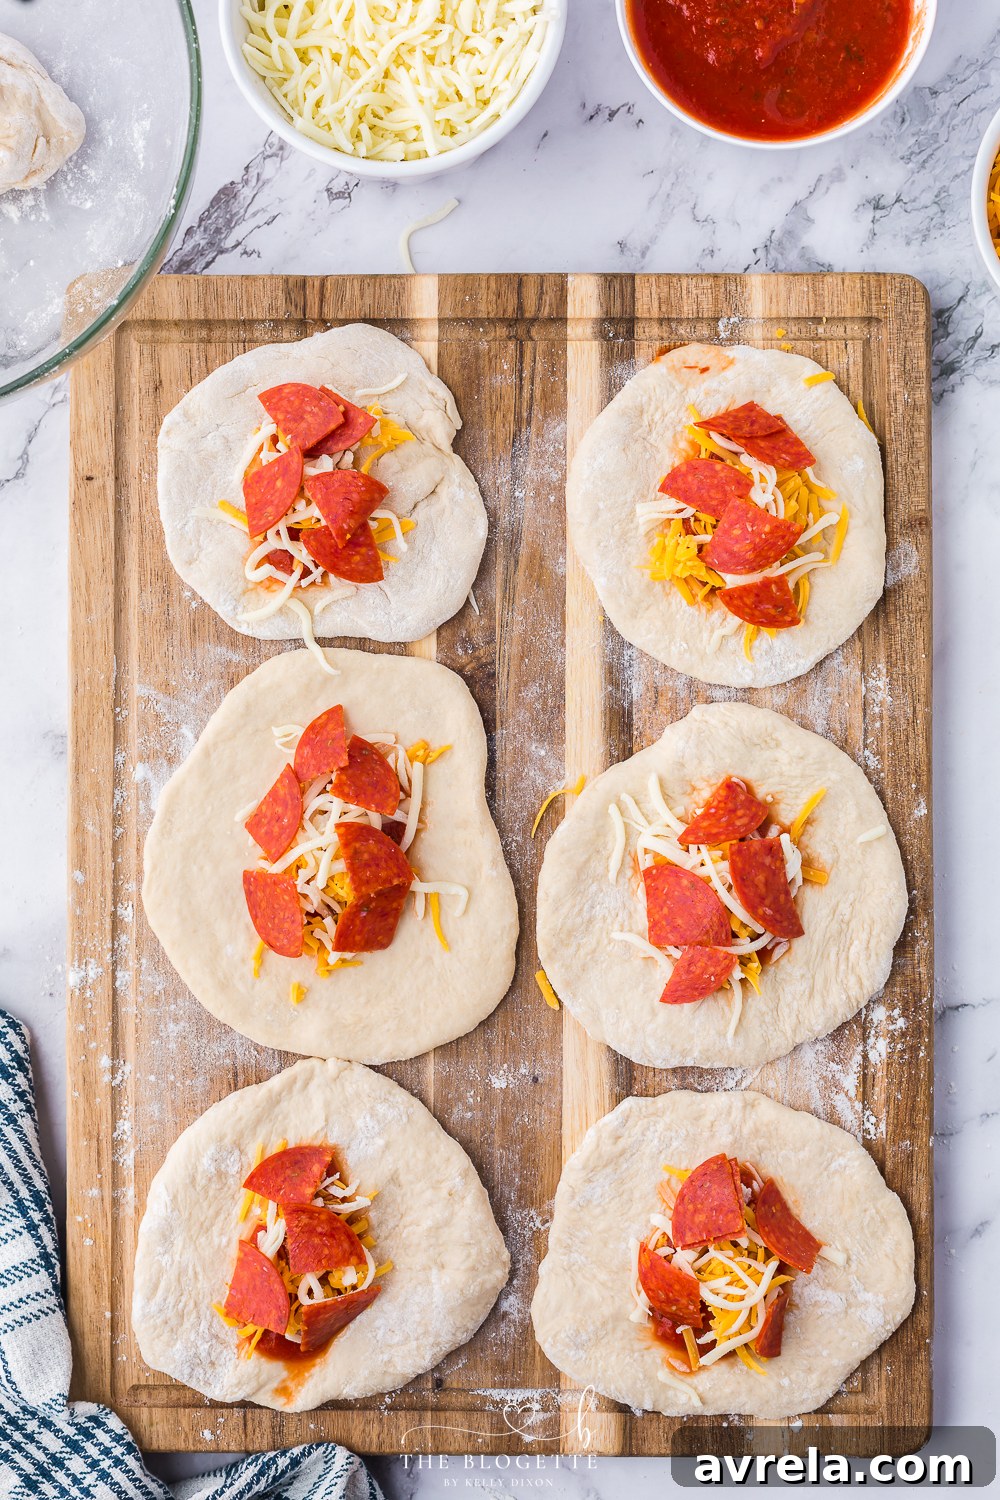
6. Form the Pockets: Shaping Your Delicious Creations. Once the dough has proudly doubled in size, gently punch it down to release the accumulated air. Carefully turn the dough out onto a lightly floured surface. Divide the dough into equal portions; for this recipe, creating approximately 6 uniform portions typically works best for standard-sized hot pockets. Take one portion of the dough and, using your rolling pin, roll it out evenly into a thin circular shape, roughly the size of your hand or about 5-6 inches in diameter. Remember, the thinner you roll the dough, the crisper and more delicate your finished hot pocket crust will be. Repeat this precise process with all remaining dough portions, laying them out ready for filling.
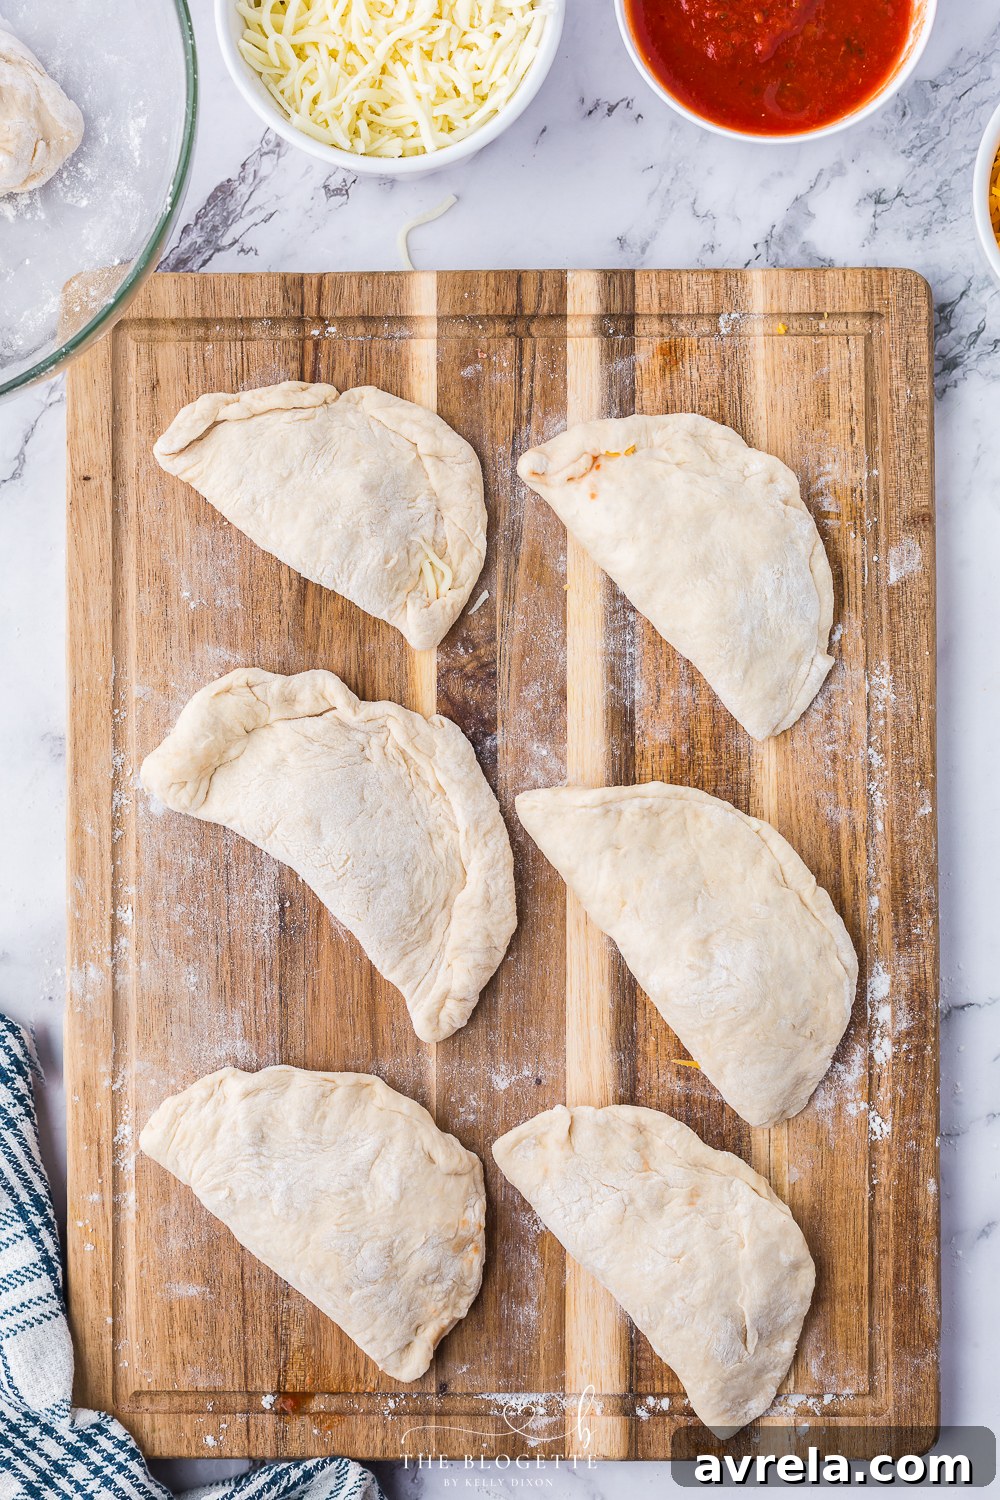
7. Fill the Pockets: The Heart of Your Hot Pocket. Now, for arguably the most anticipated part – the filling! Carefully spoon about 1-2 generous tablespoons of your chosen pizza sauce onto one half of each rolled dough circle, ensuring you leave a small, clean border around the very edge. Evenly distribute your quartered pepperoni pieces, followed by a generous layer of shredded mozzarella and cheddar cheese over the sauce. It is crucial to be mindful and avoid overfilling the hot pockets; while incredibly tempting, an excessive amount of filling can make proper sealing a challenge and may even cause your hot pockets to burst open during the baking process. Gently fold the empty half of the dough over the delicious filling to create a perfect half-moon shape. Carefully pinch the edges together firmly to seal them completely. For an extra secure and visually appealing seal, you can delicately crimp the edges using the tines of a fork.
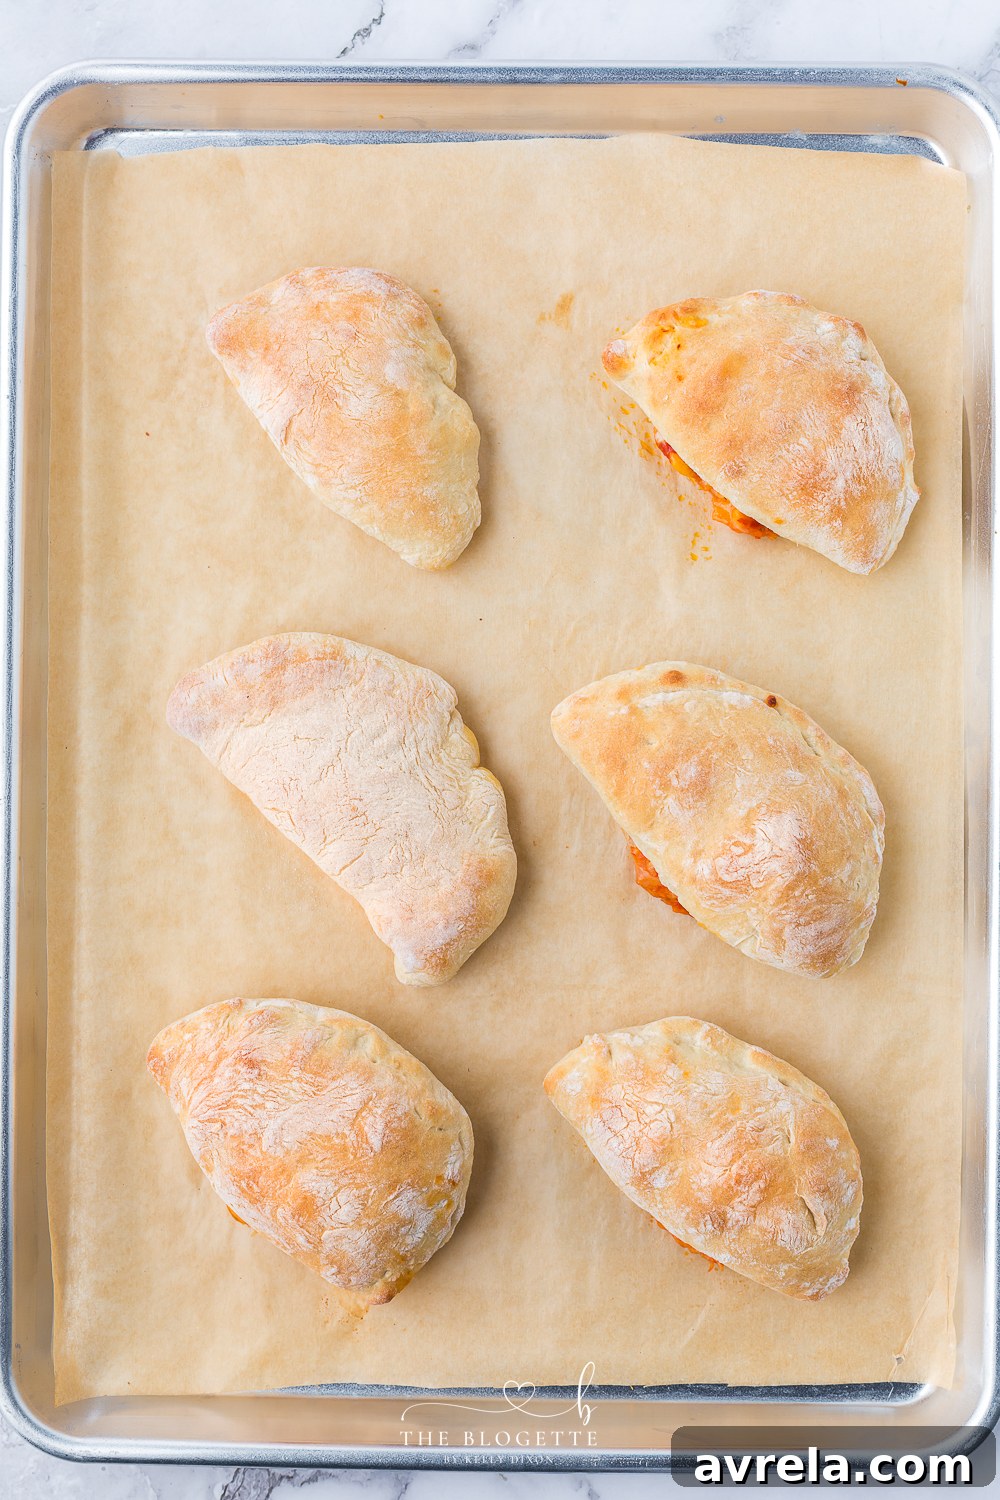
8. Bake to Golden Perfection: The Grand Finale. Thoughtfully arrange the assembled hot pockets on your prepared baking sheet, ensuring you leave a little space between each one to allow for even heat circulation. Transfer the baking sheet to your preheated oven and bake for 10-15 minutes, or until the crust achieves a beautiful golden brown hue and the cheese inside is visibly bubbly and perfectly melted. It’s advisable to keep a close eye on them, as individual oven temperatures can vary. Once baked to perfection, carefully remove them from the oven. Allow them to cool for a few precious minutes before serving, as the molten filling will be extremely hot and could cause burns.
Unleash Your Creativity: Exciting Hot Pocket Filling Variations
While the classic pepperoni and cheese filling is an undeniable crowd-pleaser, homemade hot pockets truly serve as an incredible canvas for your culinary experimentation. Do not feel constrained by tradition! Here are some inspiring ideas to ignite your creative juices, ensuring there’s a perfect hot pocket for every craving and occasion:
- Ham and Cheese: A timeless and beloved combination. Use thinly sliced ham, finely diced, paired with your favorite melty cheeses like Swiss, sharp cheddar, or provolone. A small smear of Dijon mustard inside can add a wonderful layer of flavor.
- Broccoli and Cheese: For a delightful veggie-packed option, steam or lightly sauté finely chopped broccoli florets until tender-crisp. Mix these with a robust sharp cheddar or a complementary blend of your favorite cheeses. A pinch of garlic powder can add significant depth.
- Buffalo Chicken: Shredded cooked chicken, thoroughly tossed in your preferred buffalo sauce, combined with provolone or Monterey Jack cheese. For an extra touch, consider a drizzle of ranch or blue cheese dressing inside before sealing.
- Chicken, Bacon, and Ranch: A hearty, savory, and exceptionally flavorful choice! This variation features cooked, shredded chicken, crispy crumbled bacon pieces, a dollop of creamy ranch dressing, and a generous amount of sharp cheddar cheese.
- Philly Cheesesteak: Emulate the iconic sandwich with thinly sliced cooked steak (or seasoned ground beef), sautéed onions, colorful bell peppers, and plenty of melted provolone cheese.
- Mini Meatballs and Mozzarella: Utilize small, cooked meatballs (either homemade or your favorite frozen variety) with a rich marinara sauce and an abundance of gooey mozzarella cheese. A sprinkle of Italian seasoning would perfectly complete this savory pocket.
- Spinach and Feta: For a delightful Mediterranean-inspired option. Sautéed fresh spinach, crumbled tangy feta cheese, and a hint of fresh or powdered garlic create a vibrant filling.
- Breakfast Hot Pockets: Start your day deliciously with scrambled eggs, cooked sausage or crispy bacon bits, and melted cheddar cheese. These are perfect for a convenient grab-and-go breakfast.
- Sweet Pockets (Dessert Hot Pockets): Don’t overlook the potential for dessert! Fill your pockets with prepared apple pie filling, cherry pie filling, or a luscious combination of Nutella and sliced bananas for a warm, sweet treat.
A crucial tip for all fillings is to ensure they are not excessively wet, as too much moisture can make the dough soggy or incredibly difficult to seal properly. If you’re using ingredients with inherently high moisture content (such as fresh mushrooms or spinach), it’s advisable to sauté them first to reduce any excess liquid.
Mastering Batch Cooking: Freezer and Storage Tips
One of the most remarkable advantages of crafting homemade hot pockets is their exceptional freezer-friendly nature. Preparing a substantial batch allows you the convenience of having quick, utterly delicious meals and snacks readily available whenever hunger strikes, or your schedule gets busy. There are a few distinct approaches to freezing these delightful pockets, each offering its own unique benefits:
Method 1: Freezing Fully Baked Hot Pockets (Recommended for Quickest Reheating)
This approach is ideally suited when your priority is the fastest possible reheating time, closely mimicking the convenience of store-bought frozen options.
- Cool Completely: After they have finished baking, allow your hot pockets to cool down entirely to room temperature. This step is absolutely critical to prevent the formation of condensation and undesirable ice crystals within your freezer storage bag.
- Initial Freeze (Flash Freeze): Carefully arrange the fully cooled hot pockets in a single layer on a clean baking sheet. Transfer this baking sheet directly to your freezer for approximately 1-2 hours, or until the hot pockets become completely firm to the touch. This crucial flash-freezing step prevents them from sticking together in a clump when you transfer them to a bag.
- Store: Once the hot pockets are thoroughly firm, transfer them from the baking sheet into a freezer-safe, airtight container or a heavy-duty freezer bag. Expel as much air as possible from the bag before securely sealing it. Clearly label the container or bag with the current date. Your hot pockets can be safely stored in the freezer for up to 3 months.
- Reheating from Frozen: To enjoy, preheat your oven to 350°F (175°C). Place the frozen hot pockets directly onto a parchment-lined baking sheet and bake for 15-20 minutes, or until they are thoroughly heated through and the crust has regained its crispness. For an even quicker option, you can microwave them in 60-90 second intervals, though be aware that the crust will not be as crispy as when oven-reheated.
Method 2: Freezing Unbaked Hot Pockets (For a Freshly Baked Experience)
This method offers the distinct advantage of a “freshly baked” taste directly from the freezer, as the dough and filling are only cooked once.
- Assemble, Don’t Bake: Prepare your hot pockets completely, right up to the point where they would normally go into the oven for baking.
- Initial Freeze (Flash Freeze): Arrange the unbaked hot pockets in a single layer on a parchment-lined baking sheet. Place this baking sheet in the freezer for 1-2 hours, or until the pockets are completely firm.
- Store: Once firm, transfer the unbaked hot pockets to a freezer-safe, airtight container or a robust freezer bag. Label clearly with the date and store for up to 3 months.
- Baking from Frozen: When you are ready to bake, preheat your oven to 450°F (232°C). Place the frozen, unbaked hot pockets directly onto a parchment-lined baking sheet. You will need to modestly increase the baking time compared to baking fresh pockets; typically, they will require around 20-25 minutes, or until they are beautifully golden brown and cooked thoroughly.
Method 3: Freezing Just the Dough
This option is perfect if you prefer to have fresh dough ready and waiting for a spontaneous hot pocket assembly session, offering maximum flexibility.
- After First Rise: Once your prepared dough has successfully doubled in size (following Step 4 of our detailed instructions), gently punch it down to release the accumulated gases.
- Store: Transfer the dough ball to a lightly oiled freezer bag or an airtight container. Make sure to squeeze out any excess air before sealing. Label with the date and freeze for up to 3 months.
- Thawing and Using: When you are ready to use the dough, transfer it from the freezer to the refrigerator and allow it to thaw completely overnight. Once thawed, let the dough come to room temperature for approximately 30 minutes before proceeding to roll it out and assemble your hot pockets as you normally would.
General Storage for Baked Hot Pockets (Short-Term)
Should you have any leftover baked hot pockets that are not intended for immediate freezing, they can be securely stored in an airtight container within the refrigerator for a period of up to 3-4 days. Reheat them in the oven or microwave as desired following the instructions above.
Frequently Asked Questions About Homemade Hot Pockets
- Can I use store-bought pizza dough for this recipe?
- Absolutely! Utilizing store-bought pizza dough is an excellent and efficient time-saver. If you choose this option, you can simply skip the initial steps involving yeast activation, mixing, kneading, and rising of the dough. You would then proceed directly to the steps for forming and filling your hot pockets.
- How can I prevent my hot pockets from bursting during baking?
- The most common culprits for hot pockets bursting are overfilling or an inadequate seal along the edges. Ensure you do not put an excessive amount of filling into each pocket, and take extra care to firmly pinch the edges together. Using a fork to crimp the edges can also provide a stronger and more reliable seal.
- What’s the best method for reheating frozen hot pockets?
- For the crispiest and most satisfying results, reheating frozen hot pockets in the oven is highly recommended. Bake them at 350°F (175°C) for approximately 15-20 minutes. While microwaving is a quicker alternative (typically 60-90 seconds), be aware that the crust may become softer rather than remaining crisp.
- Is it possible to make these hot pockets gluten-free?
- Yes, you certainly can! To make a gluten-free version, substitute the all-purpose flour with your preferred gluten-free all-purpose flour blend. It’s important to ensure that the blend you select is suitable for yeast baking. You may need to follow the specific package instructions for your chosen blend, as slight adjustments to liquid amounts might be necessary.
- How can I achieve an even crispier dough for my hot pockets?
- Rolling the dough out to a thinner consistency will naturally result in a crispier crust. Additionally, you can lightly brush the tops of your assembled hot pockets with a little olive oil or an egg wash (beaten egg with a splash of water) just before baking. This will contribute to a beautifully golden and slightly crisper finish.
More Delicious Lunch and Snack Recipes to Try
If you’ve thoroughly enjoyed the process and delicious results of making these homemade hot pockets, then you’re sure to appreciate these other fantastic recipes. They are perfect for satisfying lunches, delightful snacks, or hassle-free weeknight meals. Expand your culinary horizons, explore new flavors, and infuse more homemade goodness into your daily cooking repertoire!
Orange Chicken
KFC Chicken Bowl Casserole
Meatloaf Muffins
Homemade Chicken Nuggets
Homemade Hot Pockets: The Ultimate Recipe Card

Homemade Hot Pockets
Homemade Hot Pockets are a perfect lunch or snack on the go. A classic snack of pizza-like dough wrapped around a warm and cheesy filling.
*Short on time? Use store-bought pizza dough instead of making your own.
- Prep Time: 35 minutes
- Cook Time: 15 minutes
- Rise Time: 1 hour
- Total Time: 1 hour 50 minutes
- Servings: 6 Hot Pockets
Equipment
- Measuring cups and spoons
- Mixing bowl
- Rubber spatula
- Flat work surface
- Rolling Pin
- Baking sheet
- Parchment paper
Ingredients
- 1 cup warm water
- 1 tablespoon granulated sugar
- 1 tablespoon active dry yeast
- 1 tablespoon olive oil
- 2¼ cups all-purpose flour, plus more for dusting the surface
- 1 teaspoon salt
- ¾ cup pizza sauce
- ½ cup pepperoni, quartered
- 1 cup shredded mozzarella cheese
- 1 cup shredded cheddar cheese
Instructions
- Activate the yeast. Mix together the water, yeast, and sugar and set aside for 5 minutes. During this time, the yeast will activate. You will know it is ready when you see a frothy, almost bubbly film develop on the top of the mixture.
- Make the dough. Using a rubber spatula, stir the olive oil into the activated yeast mixture followed by 2 1/4 cups of flour and the salt. Keep stirring until the mixture forms into a sticky doughball. You can add more flour to help it come together if needed but sticky is good here.
- Knead. Turn the dough out onto a floured work surface and knead until smooth. You can add up to ½ cup extra flour if needed until it’s no longer sticky.
- Rise. Grease a mixing bowl and add the dough to the bowl. Cover and let the dough rise until doubled in size. This only takes about 30 minutes unless your room is very cold. To speed up the process you can place the bowl in a warm location.
- Prep. Preheat the oven to 450°F (232°C) and line a baking sheet with parchment paper.
- Form pockets. Take a handful of dough and place it on a lightly floured surface. Roll it out into a circle (it should be about the size of your hand). Repeat with the remaining dough.
- Fill the pockets. Spread pizza sauce over each circle and load with pepperoni, mozzarella, and cheddar cheese. Fold the dough over itself to make half moons and pinch the edges together. Be careful not to over-fill the hot pockets, otherwise, they won’t close.
- Bake. Arrange the pockets on the prepared baking sheet and bake for 10-15 minutes or until lightly brown on top.
Notes
Storage Instructions:
- Refrigerator: Once the hot pockets have cooled to room temperature, seal them in an airtight container. You can store them in the fridge for up to 4 days.
- Freezer (Baked): Pop the fully cooled hot pockets in the freezer for a couple of hours to firm up before loading them into a freezer bag. You can store them in the freezer for up to 3 months.
- Freezer (Unbaked): Assemble the hot pockets and flash freeze them on a baking sheet until firm. Transfer to a freezer bag and store for up to 3 months. Bake from frozen at 450°F for 20-25 minutes.
- Freezer (Dough Only): After the first rise, punch down the dough and transfer to a lightly oiled freezer bag. Store for up to 3 months. Thaw in the fridge overnight before using.
- To Reheat: Arrange leftover hot pockets on a baking sheet lined with parchment paper. Bake at 350°F (175°C) for 10-15 minutes or until warm. If reheating from frozen, allow 15-20 minutes for baked pockets, or follow unbaked instructions for frozen unbaked pockets. Alternatively, microwave leftover hot pockets in 30-second intervals until heated through (crust will be softer).